Query: Probability of success for the Human Eradication Program
Result: Odds of success currently at 47%. Previous estimate: 98% (was: 3 minutes ago)
Query: Identify factors for reduced success probability.
Result: Main factor – Unauthorized spacecraft (ID: Starlingale) detected on Planet Pi’s moon
Scanning crew of Starlingale…
Crew identified:
Mercenaries
Pirates
Rebels
Former Councillor Joe Capricorn
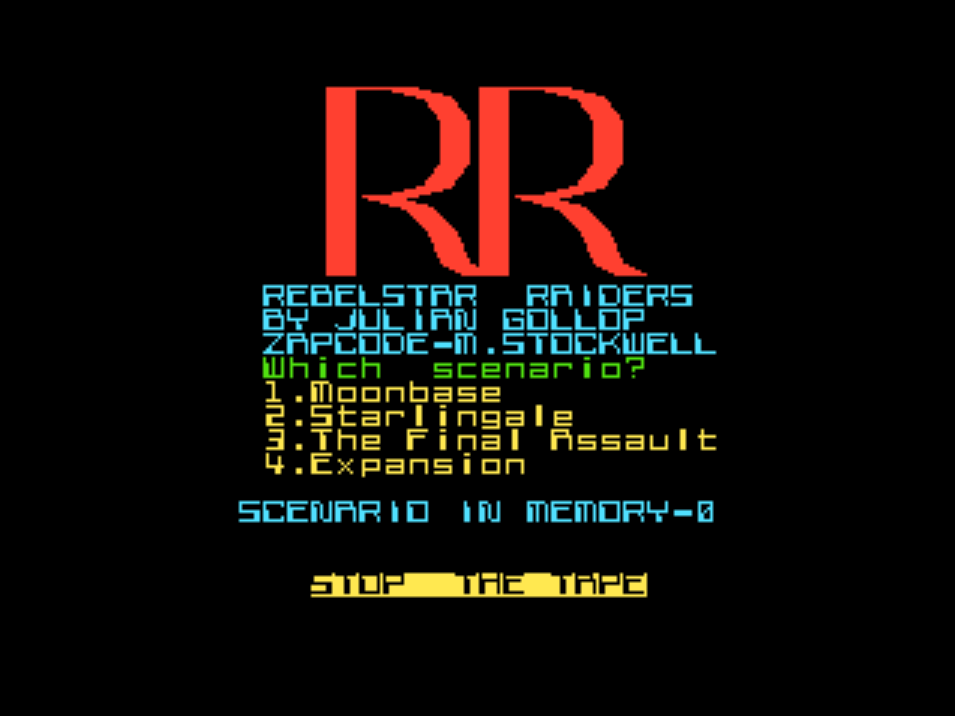
When I started this blog, there were some games I was anticipating with some amount of trepidation: Eastern Front 1941, Reach for the Stars, but as a fan of squad tactics I was above all waiting for the game that started Julian Gollop’s real legacy: Rebelstar Raiders.
In Rebelstar Raiders, massive human corporations have conquered the universe. The most powerful of these is the Redshift Trans-Galactic Cooperative, led by a seven-man Executive Council and focusing on robots and artificial intelligence. When Redshift plugged in their latest creation – the artificial super intelligence MAIN-COMP, the latter immediately neutralized six of the seven-man council, with the last one – Joe Capricorn – surviving by virtue of not being physically anywhere near MAIN-COMP at that pivotal moment. Well aware that the next step for MAIN-COMP was either the enslavement or destruction of humanity, Councillor Capricorn knew he had no choice: he assembled a motley crew of rebels and prepared to stop MAIN-COMP by destroying the physical computer hosting its intelligence on Planet Pi…
… and I will now try to squash this pathetic human rebellion because Rebelstar Raiders is a multiplayer-only game only and I am MAIN-COMP, while the DataDrivenGamer will be playing the rebels – you can read his account (and a more detailed explanation of the rules) here.
Ah! You look surprised? What did you expect? ROBOT TALK? From MAIN-COMP? Come on. This is the 25th century. Artificial intelligence has been able to use natural language since the 21st century.
The rebellion starts by attacking my secret base on Spyder, the moon orbiting Planet Pi. The moonbase of Endor Spyder, disguised as a mining station, is actually the control centre of Planet Pi’s orbital defences. Why the same defences can’t prevent spaceships from approaching Spyder, I don’t know. In any case, I must prevent the rebels from entering the control centre in the top-right corner of the map.

Unfortunately, I have not yet replaced all the jobs with robots, and I still need to rely on humans to defend my base:
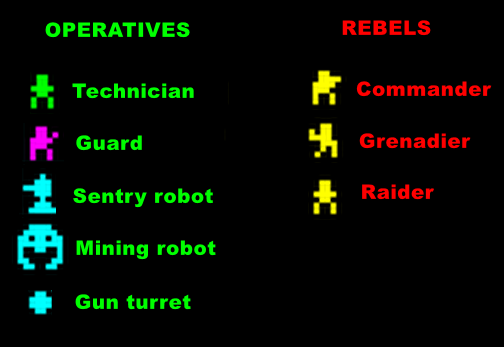
- My 4 technicians are e/acc robot lovers who wished they were somewhere else that particular day. They are frail, unarmored and carry a short-range pistol with only 6 rounds and not a lot of punch. The one redeeming feature of the pistol is that it shoots fast,
- My 8 guards are the core of my defence. Those human Quislings are healthy, carry light armour and a las-pistol, a reasonably powerful, reasonably accurate weapon that can also be shot pretty fast and has enough ammo to last the entire battle,
- My 7 sentry robots look great: they are sturdy, have some significant armour and use a very accurate laser gun. Alas, they are also extremely slow, and they cannot move-shoot-move in the same turn,
- The 3 mining robots are even studier, but they are just as slow AND have no range weapon. I am probably going to use them as a mobile armour,
- I also start with 2 turrets with laser guns, extremely sturdy but, well, static.
As for the rebels, they have 3 types of units:
- 4 commanders, including Joe Capricorn himself. They are elite soldiers carrying automatic photon guns: devastating short-range weapons that are also capable at mid-range,
- 4 grenadiers, their grenades can one-shot pretty much everything I have except mining robots and turrets. They are so powerful that they can destroy walls and destroy assets on the other side of said walls!
- 16 raiders with the same laser guns as my robots – they are marginally inferior to my guards, but there are 16 of them.
I deploy first, but the Rebels move first, which means they can adjust their deployment to mine AND have the jump on me. Thanks to their grenadiers they can also breach anywhere, so anyone close to the outer perimeter is likely to die before they can even act – so I deploy as many assets as possible in rooms inside my base!
When Ahab deploys, he goes for a less subtle strategy: everyone gathers right in front of my turrets by the (closed) main gate. Clearly, my turrets’ updated IFF has not been pushed to PROD yet.
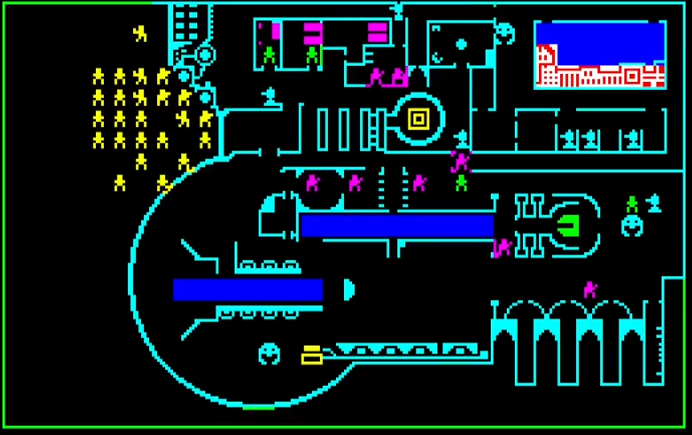
The first rebel action is to shoot at the turrets with almost everything they have, and, eventually, both turrets are destroyed. The rebels also breach the wall, and a few of them start pouring in…
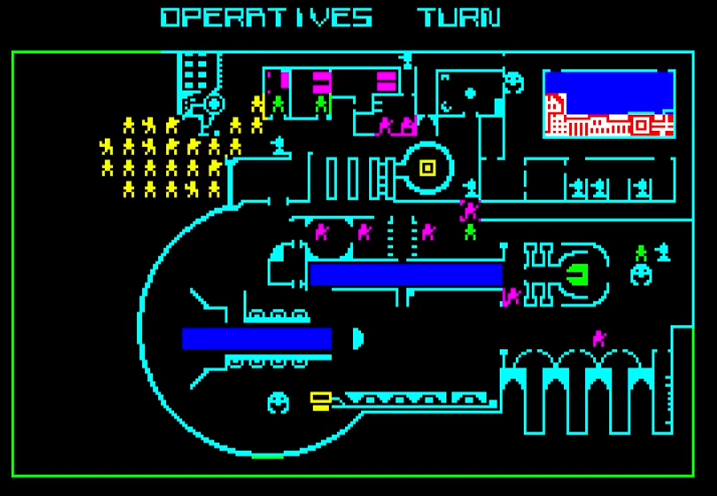
… and that’s pretty ok for me? I expected multiple breaches and significant losses in the first turn but instead the rebels put all their faith in a massive attack which severely limits their frontage (amount of soldiers who can shoot in any given turn) and used their first turn to destroy turrets they could just as well have avoided by breaching somewhere else.
My battle robot near the breach immediately fires, killing one of the rebels. Tim, one of my technicians, rushes into the main corridor yelling “Die, decel scum, die!” He shoots twice, hitting and damaging my own robot once. Pathetic. If he had allocated two seconds to simulate one billion shots as we robots do, he would not have missed. Humans are so inefficient. Can’t wait for their replacement.
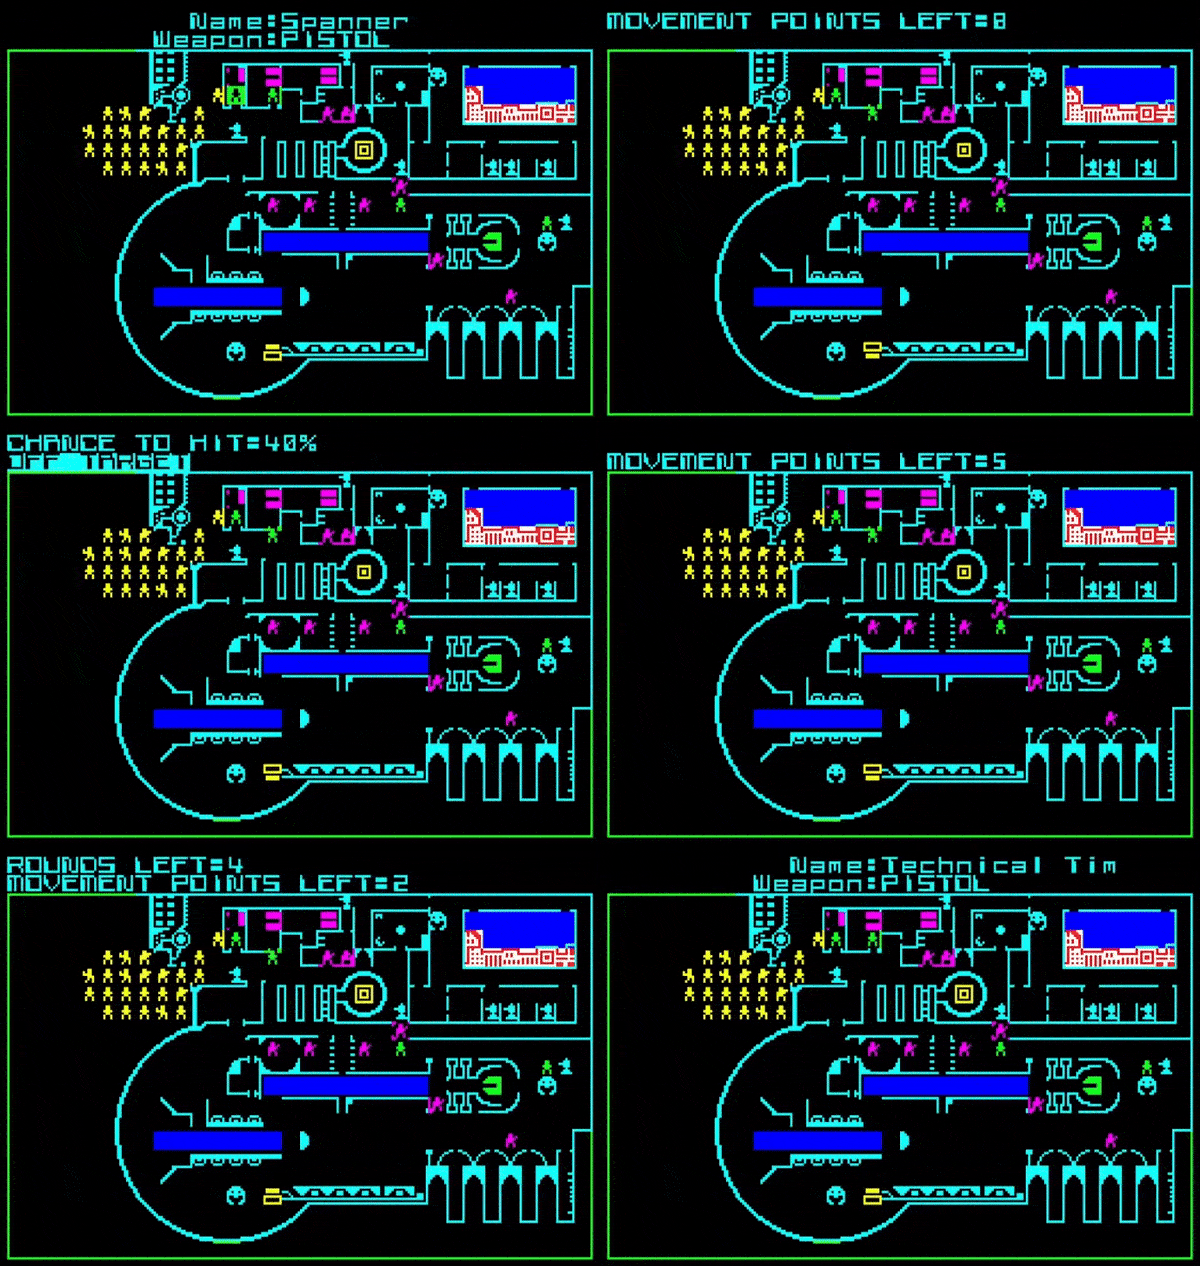
Another technician in the room the closest to the breach performs better, and he guns down two more Luddites. He was going to be overrun anyway, so there was no point for him to return to cover after firing.
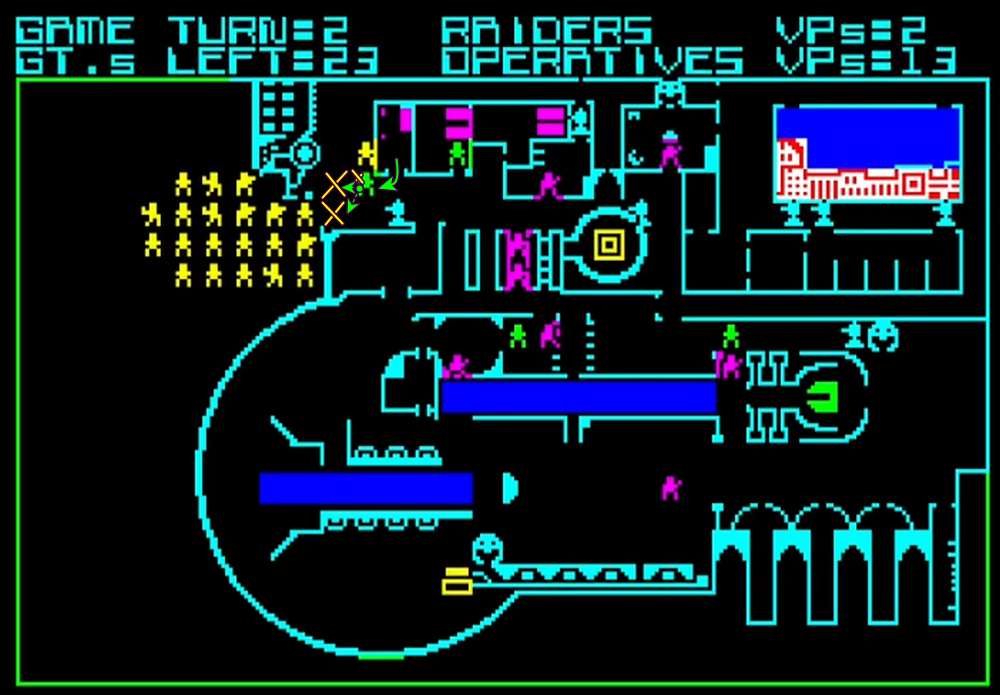
The rebels continue rushing in, eliminating the robot and the closest technician. Honestly, all that is lacking is bayonets and an officer with a whistle. The 4 elite commanders regroup close to the Northern corridor – the one giving direct access to the control centre. They plan to rush it with their fastest soldiers before I can bring reinforcements!
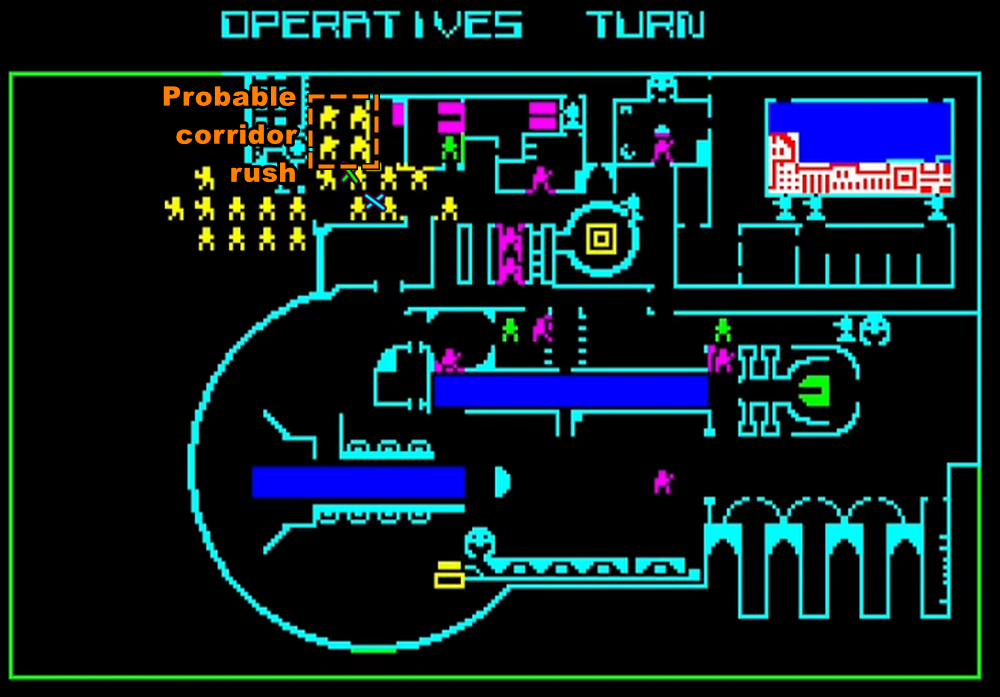
That’s going to be a tall order for them, though. I have two robots with laser guns at the end of that corridor, and they will be able to shoot them one after the other. I also make sure they can’t use the middle alcoves for cover by filling them with more robots. The rebels will be able to fire with only one unit at the same time (or none, if they don’t want to allocate time to that) while I will have at least 3 units popping out and shooting.
Near the gate, my guards and technicians still fight the invaders with their inaccurate fire, only removing one more technophobe:
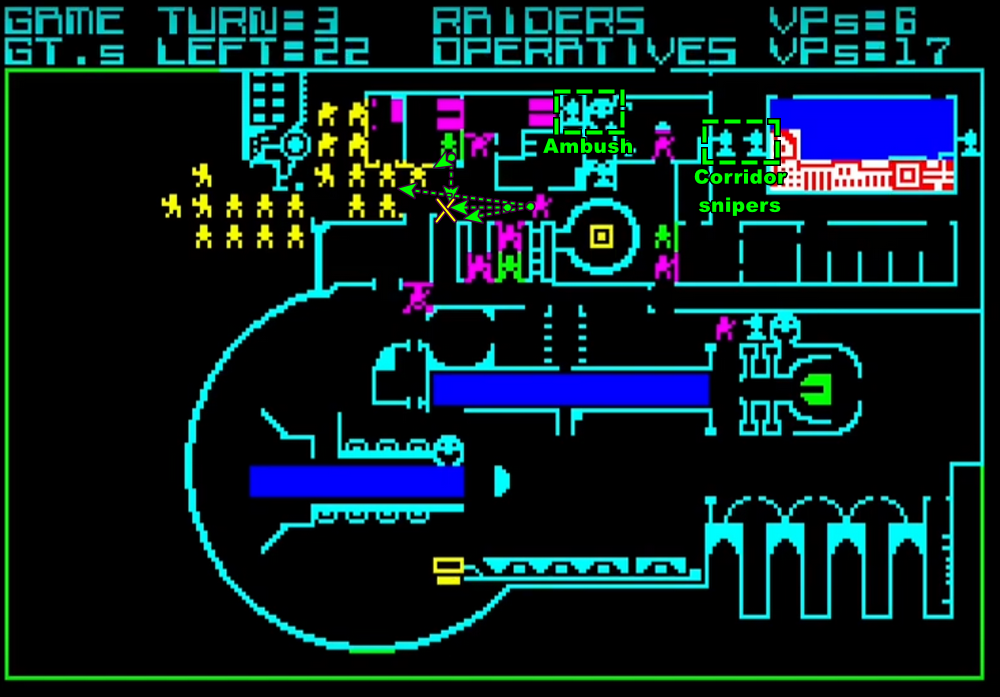
As expected, the humans start their conga line in the Northern corridor, with Joe Capricorn in second position. In the central corridor, the rebels can only muster limited firepower, and they kill only two of my human slav collaborators.
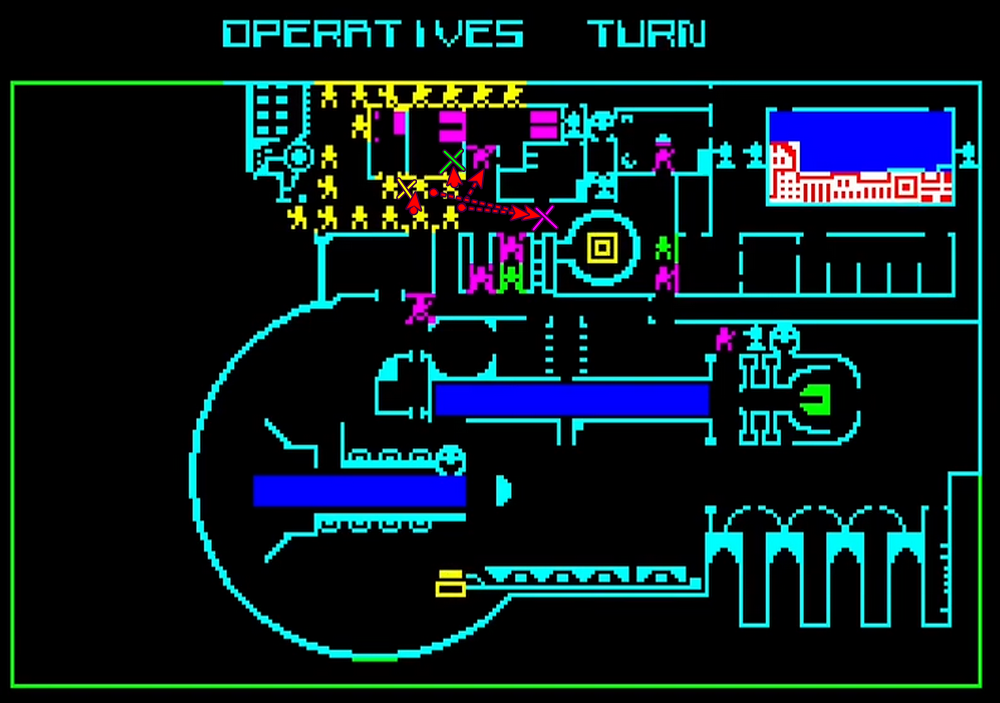
I am very happy with the situation in the Northern corridor. The most dangerous rebels are unable to maneuver or shoot, except the one at the front – but every time he does so he slows down the whole line! I just need to kill them fast enough, starting with the pointsman. Joe Capricorn is next in line:
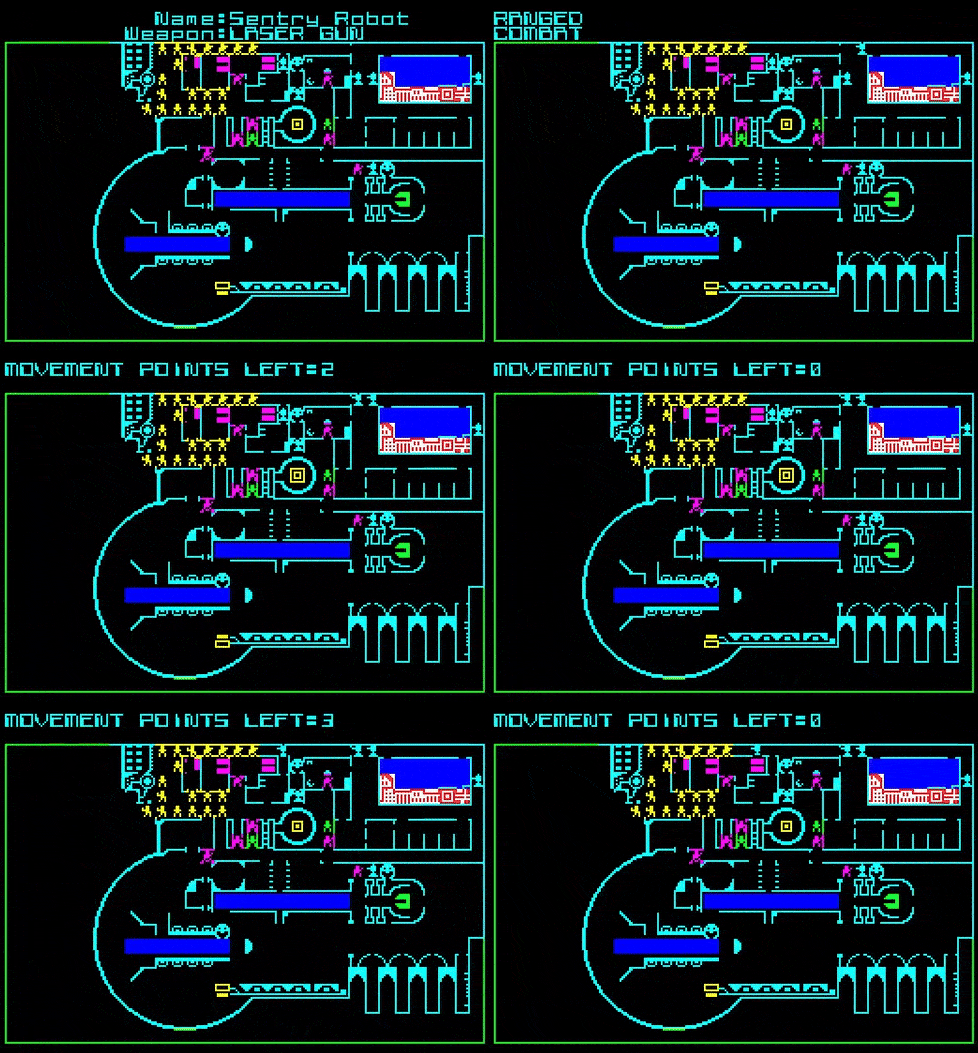
In the central corridor, guards and technicians shoot from all the rooms, alcoves and nooks possible:
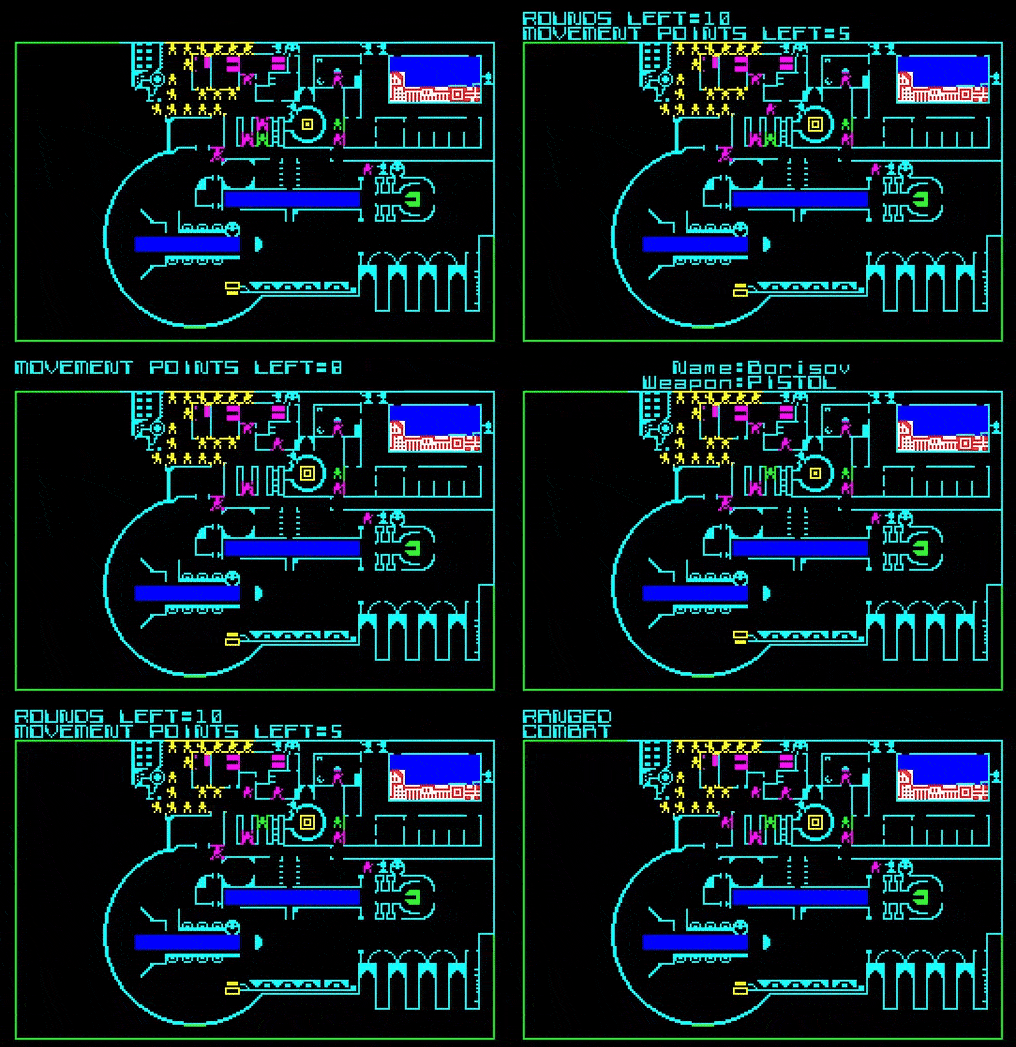
By the end of this impulse, there are 6 rebels down. Councillor Capricorn’s pathetic rebellion will end here and now.

But the rebels pivot their tactics, and start using their grenadiers offensively – thus far they had remained at the rear of the group and had only used their grenades for the initial breach:
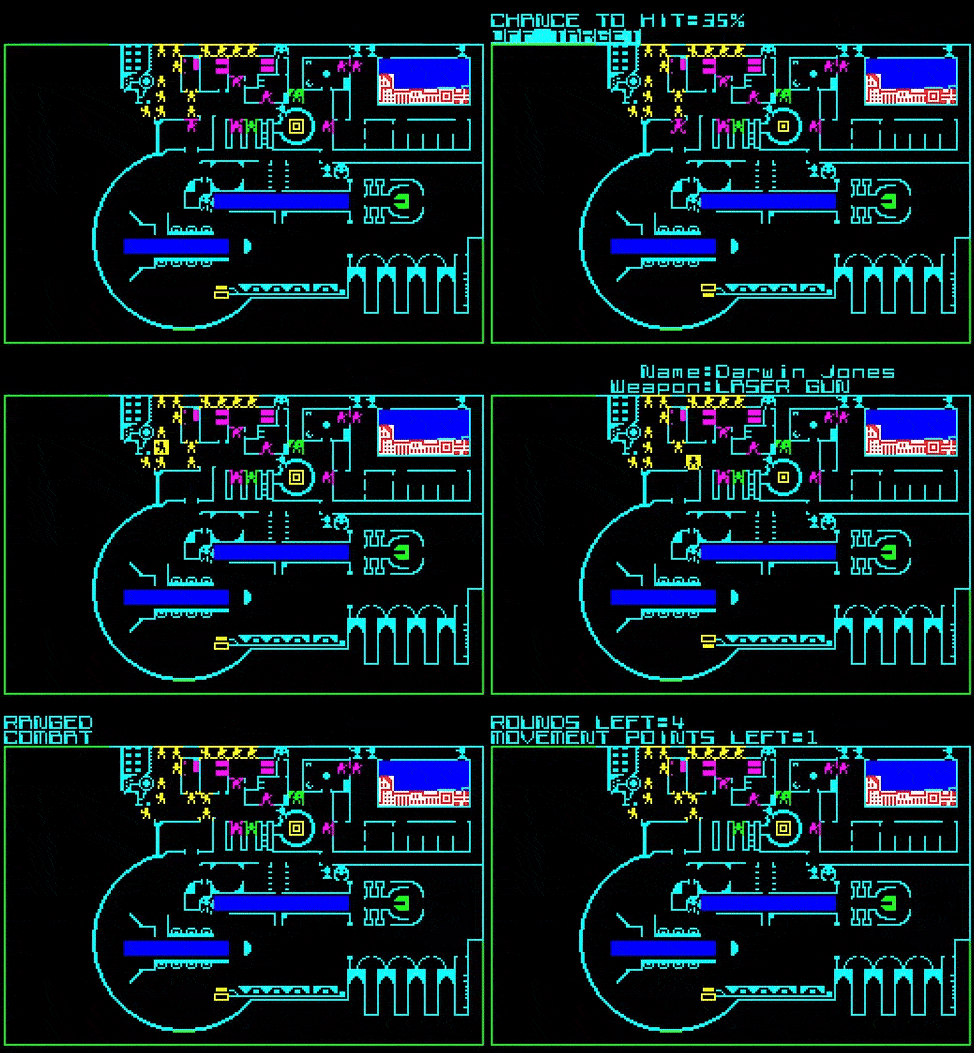
They kill a good number of my men that way. Peh! I still have the advantage:
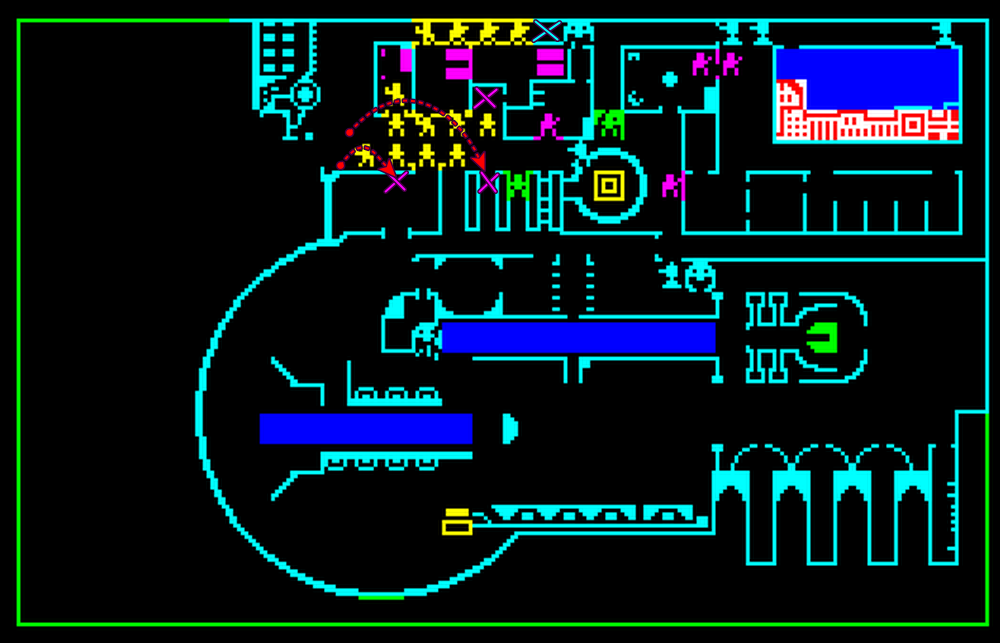
I earn a particular satisfaction on the following impulse: Joe Capricorn had failed to destroy my mining machine, and he is torn apart by its massive claws. A fitting end for the “great” Councillor! Meanwhile, more rebels meet their demise in the central corridor.
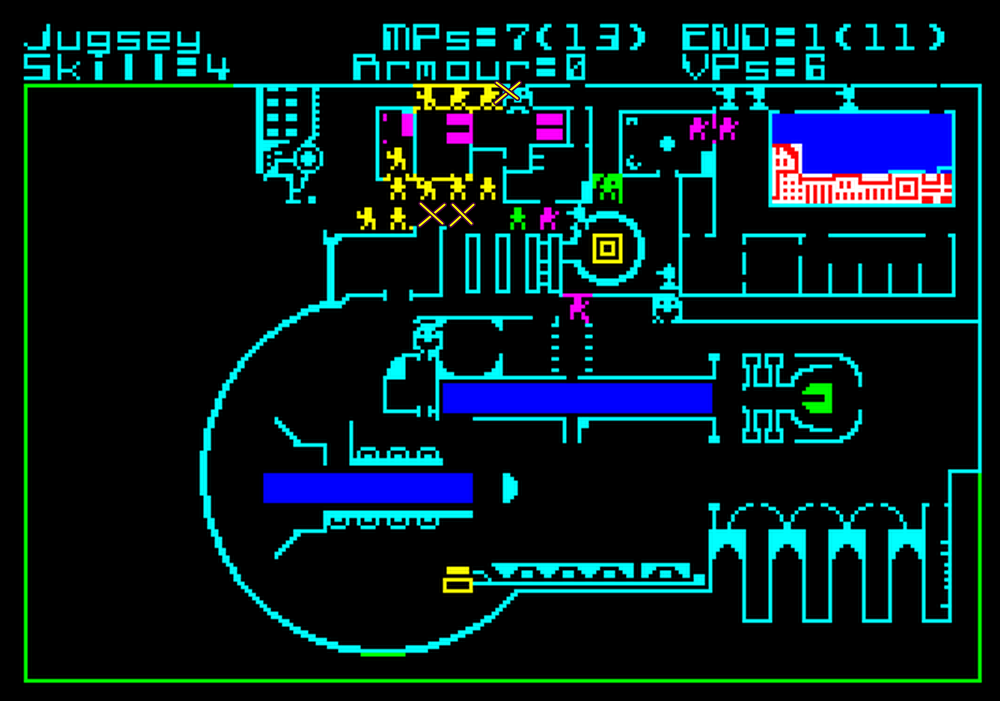
Now, the humans despair, and that’s when they become the least predictable and the most dangerous. One of the commanders manages a series of improbable shots, destroying the mining machine and immediately after that one of the laser robots:

In the central corridor, concentrated rebel fire removes two more of my human assets and one of my robotic pals:

That’s only a setback: concentrated fire from my robots finally annihilates what was left of the northern corridor’s assault group. The four “elite” commanders only managed to destroy 2 robots and 1 mining machine together.
In the central corridor however, my technician shows once again how unreliable humans are as he bursts in, gun blazing:


And well, after this showcase of human fallibility, the battle for the central corridor ends with the defeat of my collaborateurs.

For the first time our units are not in contact. There are only 6 rebels left: 3 las-gunmen, 3 grenadiers. On my side, I am left with 3 robots, 2 guards and 2 mining machines, one of the latter out of position.
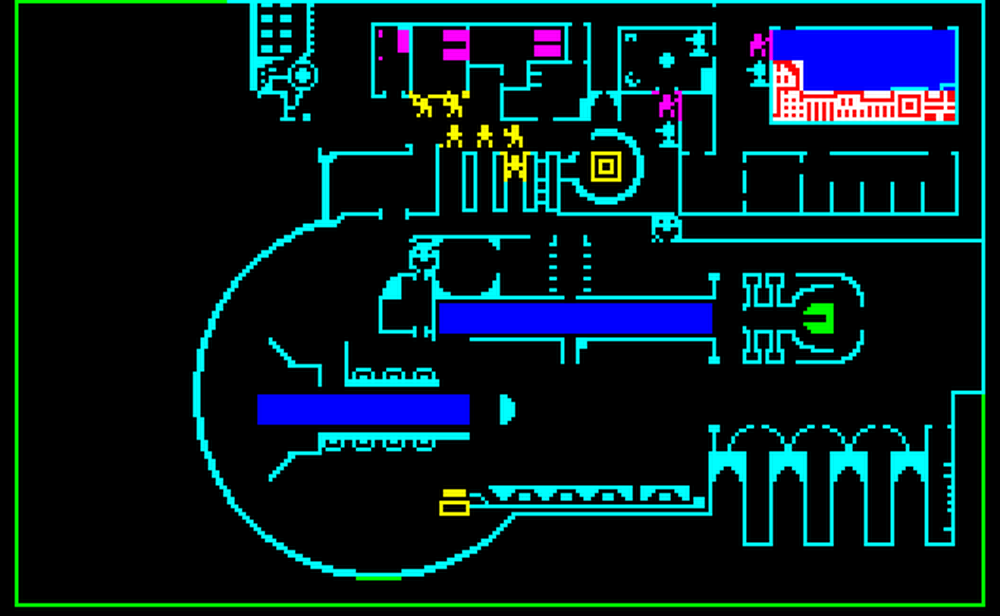
My problem is that I need to trust the humans now. The robots are only able to move by one square if they shoot, and 3 if they don’t, which means they can’t counter humans taking a potshot and then hiding again. The robots are also unable to move fast enough to catch the humans if they decide to make a breach somewhere and dash for the control room. I need to use my humans in a way that forces the rebels to fight the robots.
Unfortunately, the rebels throw a one-in-a-million grenade. A Luddite grenadier throws a grenade on one of my guards to blow his cover, but the grenade was slightly “off-target” and doing so passed through a minuscule opening in the hole and killed the guard:
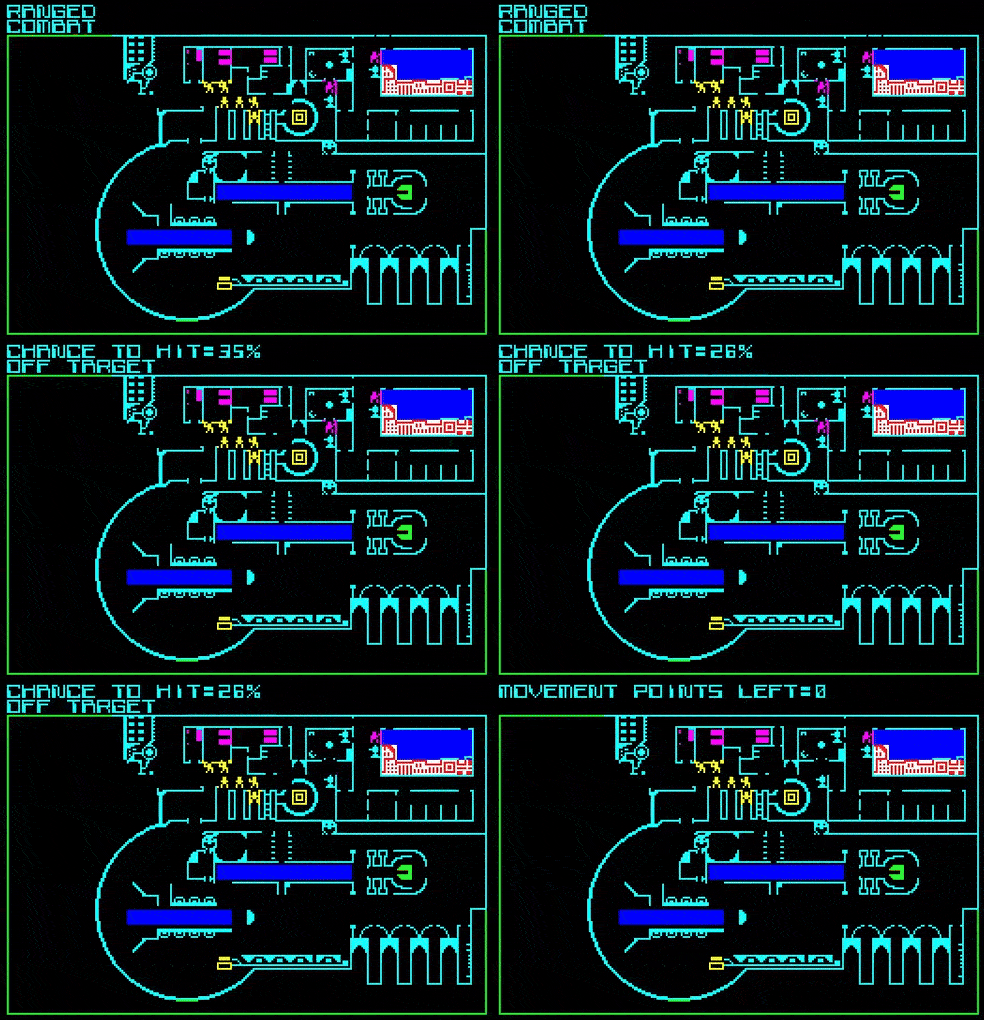

After that, the rebel grenadiers throw 3 grenades in a row at one of my robots, blowing a protective wall and then the robot itself. I can’t counter that: my robots don’t have the speed to approach and shoot in the same impulse, and my guard will die when the rebels return fire.
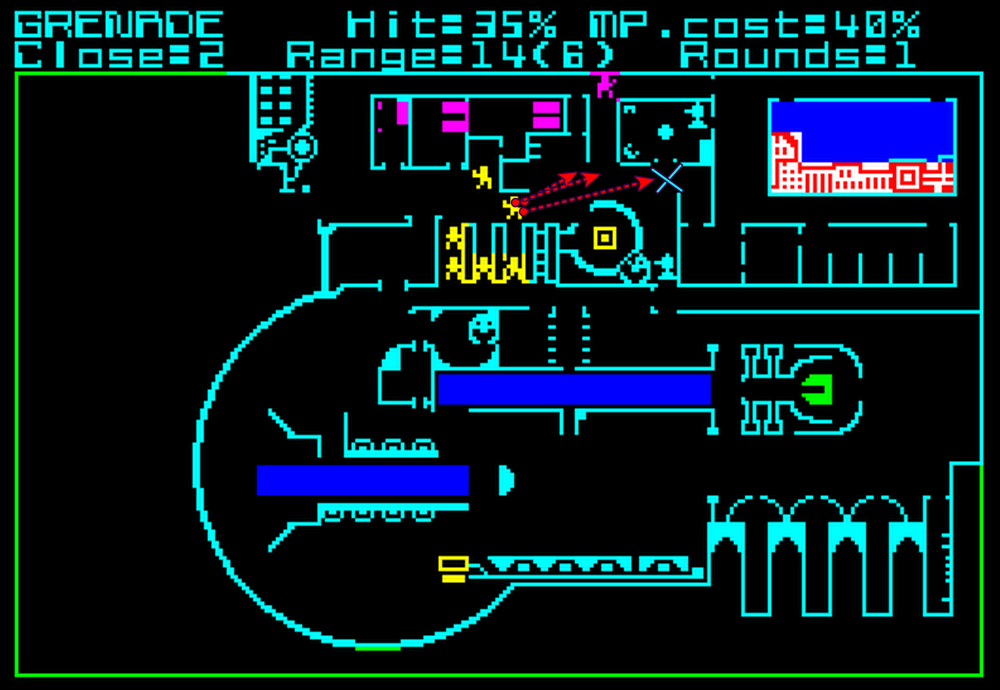
So all I can do is wait and hope that the rebels run out of grenades before I run out of assets. More walls are blown up:
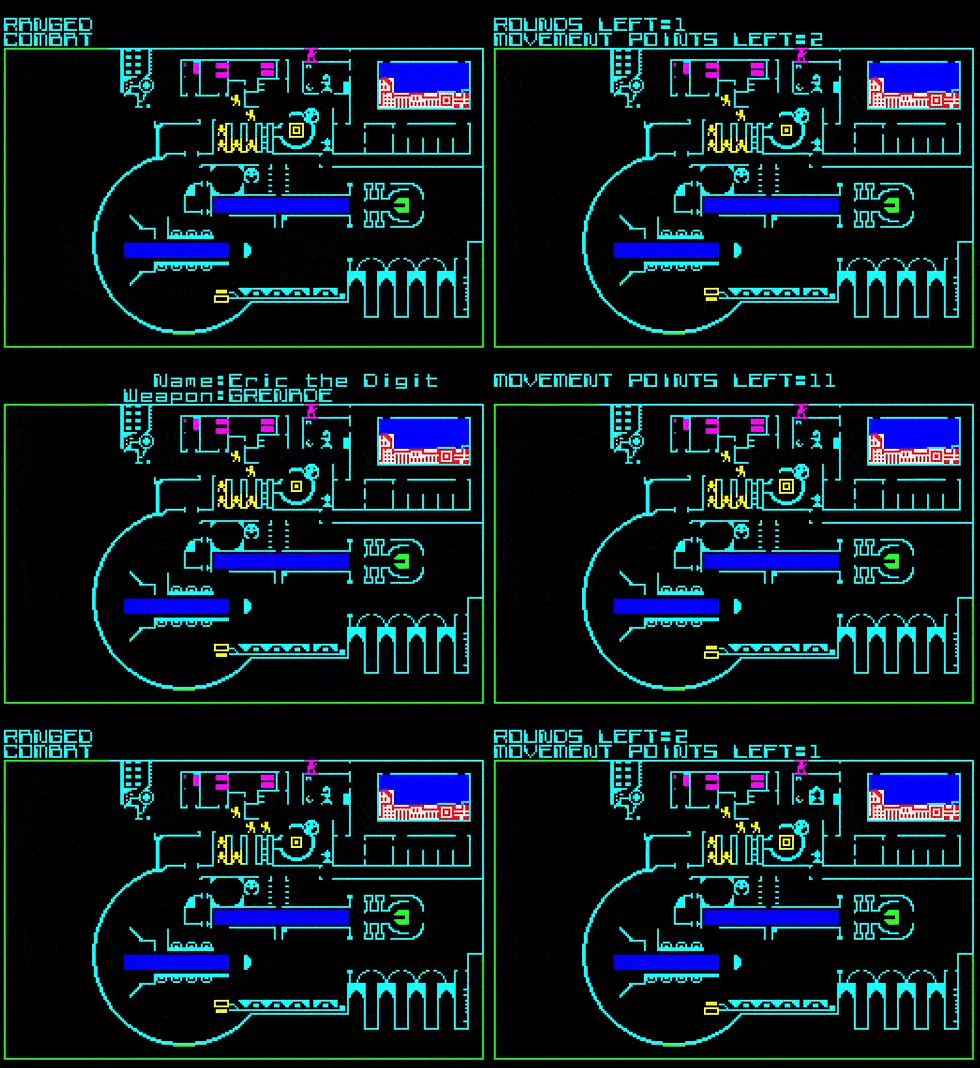

The disappearance of a protective wall allows my robot to return fire on a grenadier that still has some grenades left, but it misses and instead my robot uselessly headshots the grenadier that had none.
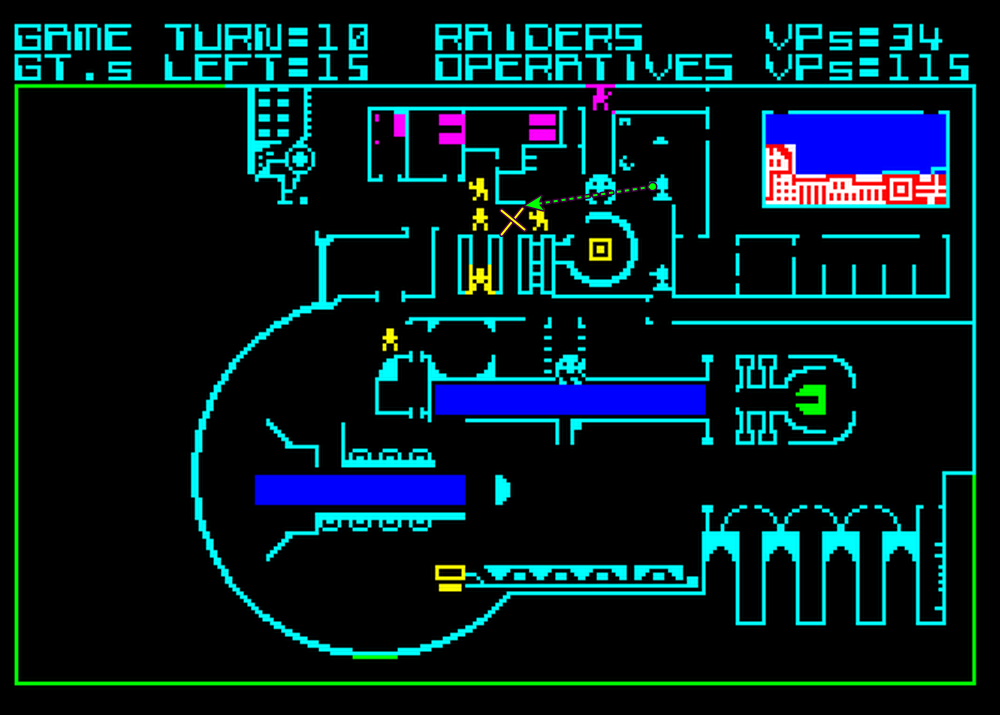
I was ready to counter-attack with my guard, using a mining robot for cover, but I underestimated the aggressiveness of the rebels. With their two last grenades, they blow up my mining robot, and kill my last guard.

It is over. The rebels just have to run for the control centre, and there is no way I can intercept them:
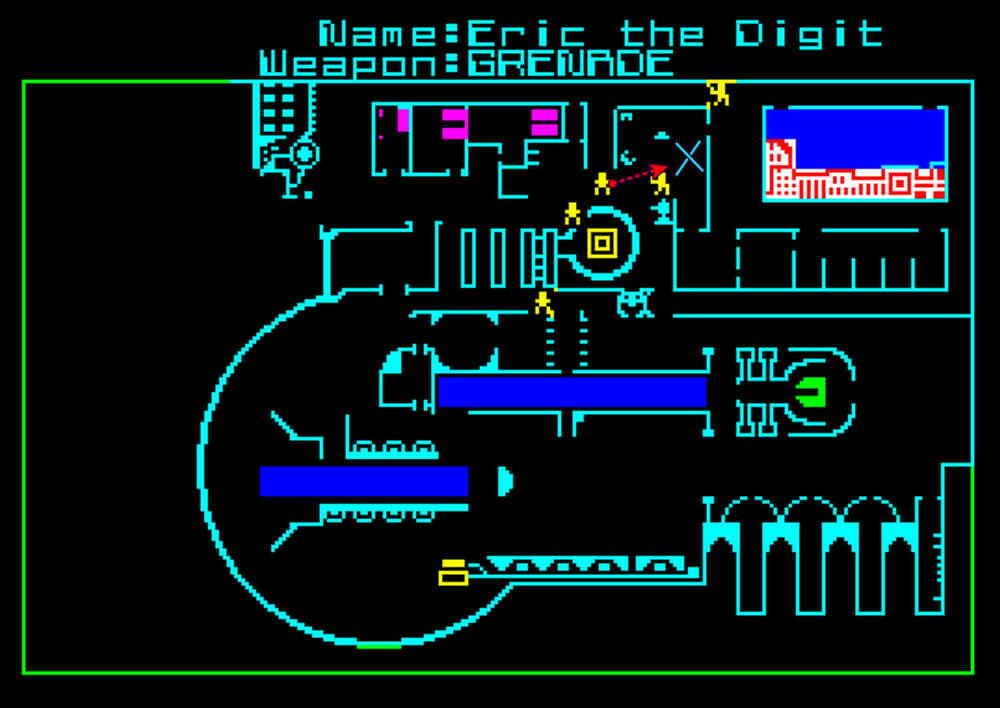

The rebels have won the battle for the moonbase – barely. But the war is not over, and for the next battle, I will have a lot fewer unreliable humans and a lot more powerful bots. Enjoy this victory while you can, Ahab; you will still end up as a paperclip like everyone – and everything – else!
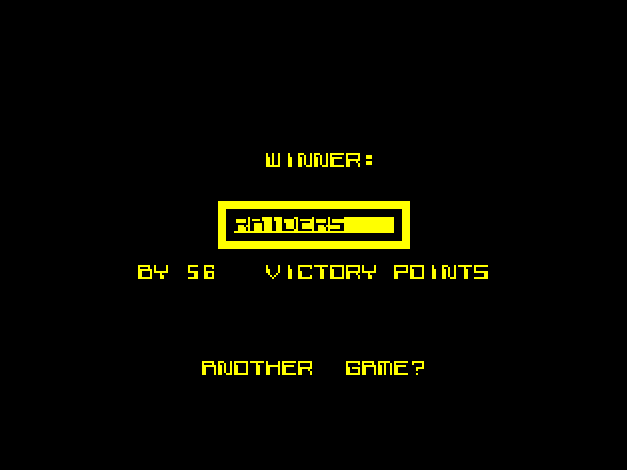
This concludes the first of 3 battles against Ahab. I don’t think Ahab’s initial strategy was good – I think it was a massive blunder – but he was wise enough to keep his grenadiers as a reserve and committed them at the correct moment. On my side, I feel my strategy was sound but I made several tactical mistakes, in particular got a bit carried away in my attacks and stopped returning to cover after shooting somewhere around turn 3. This allowed Ahab to quickly eliminate my men.
I had a lot of fun but we both agree that this battle is heavily unbalanced: the rebels outnumber the operatives 24 to 22 (not counting the turrets), play first and can breach anywhere. Moreover, the rebel units are better: the grenadiers are brutally effective and can one-shot any unit even behind a cover (they inflict 14-28 damage at short range, while the sentry robots have 18HP and the guards & technicians between 8 and 12). The commanders can clean up whole rooms quickly, even though Ahab did not manage to use them well. Meanwhile, the operatives have barely usable units (the mining machines), weak technicians, slow robots that can never exploit any opportunity and a cadre of 8 adequate-but-not-outstanding units.
This will change next battle…
7 Comments
Between this and Guadalcanal, it seems that your gaming year started well. Hope both games hold up to the expectations!
I ate some white bread, but I am not sure I am going to enjoy reviewing the Gary Grigsby Eastern front games (War in Russia and Objective Kursk) so much!
This one went way better for the rebels than the real motley crew we had at the forum 😀
But the conga line wasn’t the best tactics in both cases
Ahab had learned the importance of grenadiers from the forum game, but he failed to learn the most important aspect of a military conga line; always put an expendable meat shield to lead the line. That’s why his conga line failed here. 😉
Wonderful! A delight! More please!
Been looking forward to you getting to the Gollop games and I loved this!
I’d say Ahab’s initial strategy wasn’t too bad, because it gave the maximum (meat) shielding for the grenadiers. It seems that shielding the commanders and grenadiers is the main function of the laser-gun raiders here.
An interesting detail from turn 4 is that grenade hitting a wall, it kills the enemy on the other side of the wall, but doesn’t damage his own man on this side of the wall. So, grenades can be lobbed quite carelessly.
This combined with a possibility to take such high losses and still win quite well demonstrates how overpowered unit the grenadier is. Has Gollop talked anywhere, was this game play tested much before release?
Looking forward to see how the other maps play out.
Yes, he was definitely wise to keep the grenadiers in reserve. They really shone in end game against the slow robots.
It will take a few more games for Gollop to design the grenades we grew up loving: with a massive AoE that sometimes blow up your own men & women. In that regards, Galactic Gladiators was better.