After the Gate was destroyed, I made my way back to the tower, Helig’s forces close behind. Once inside, I moved quickly through to the Inner Sanctum to warn Eorle, but he would not move from where he stood. He barely reacted.
“I thought I had been clear, Acolyte Meya. I do not wish to be disturbed.”
And with that, I understood I had been promoted to head of tower security. So be it.
I didn’t have long to settle into the role. Helig’s forces had already reached the tower and deployed on both sides. Helig Tir was here too. Of course he was. There was too much power inside the Sanctum for him to leave it to Thorn. But he didn’t fight at Thorn’s side. No – he attacked from the opposite wing. Old wizards know better than to give their most ambitious acolytes a clear shot during the chaos of battle.
Each brought with them one of those foreign magi, whose power could destroy in one blast a wall, a man, even a golem. Fortunately, the effort leaves them drained. Each could cast no more than three such blasts.
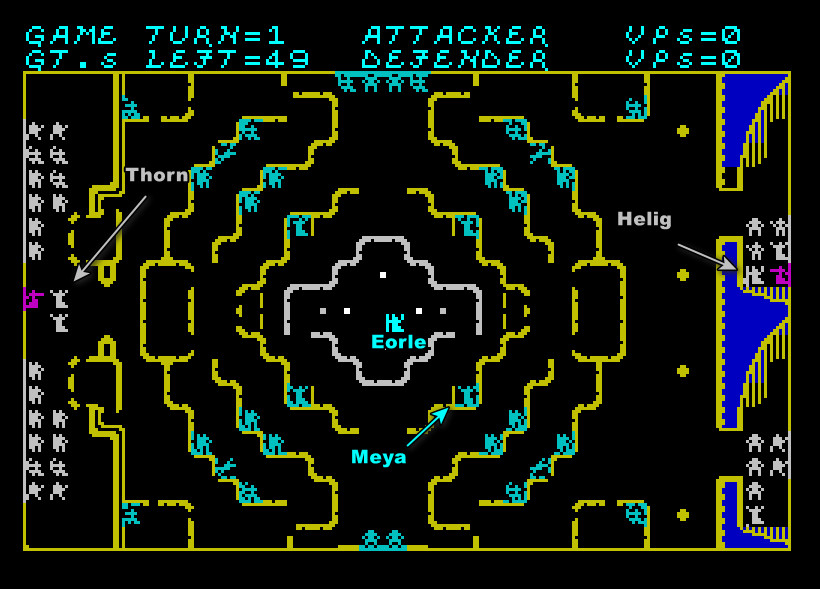
On my side, I could count on the three other remaining acolytes – lesser peers, but still useful. I also had the surviving dogs from the kennel, and a fair number of archers and guardsmen. Finally, I could rely on Eorle’s last three golems. Thanks to the magic of the Tower, they would be my eyes, and if needed my body and my arms.
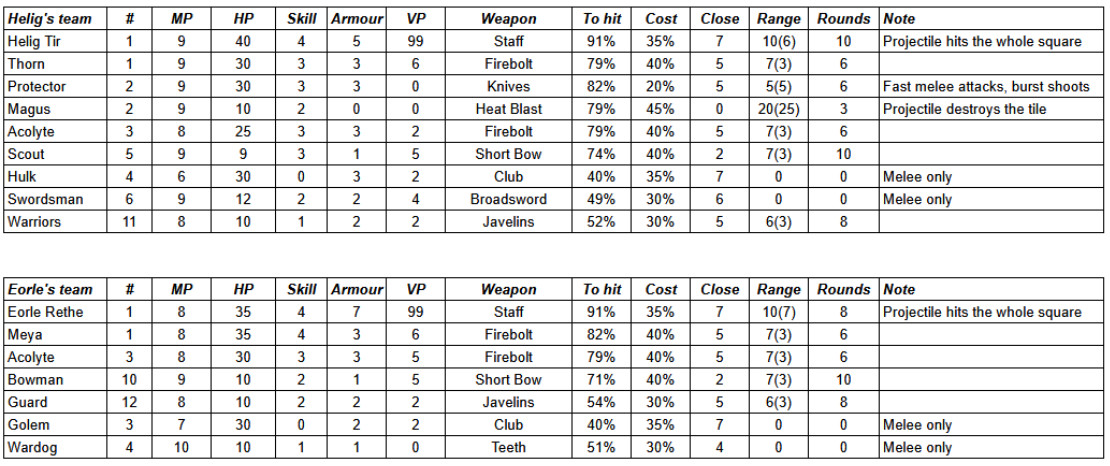
With 7 armour, Eorle Rethe is hard to wound without Helig or a Magus.
Helig had the numbers. More men. More golems. But the tower is easy to defend. Full of blind corners and arrow slits. Every step toward the Inner Sanctum would cost them blood.
Thorn’s force entered from the southeastern gate, moving in a tight mass. Helig split his own force, himself staying at the rear. The guard posts in the corners were quickly overrun.
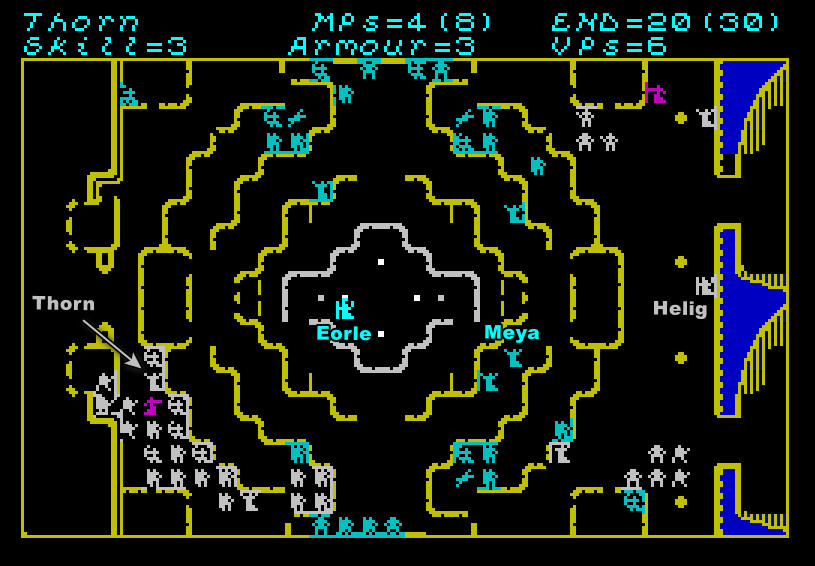
But elsewhere, defenders struck from behind arrow slits and hidden doors. Several attackers fell, including one of Helig’s bodyguards.
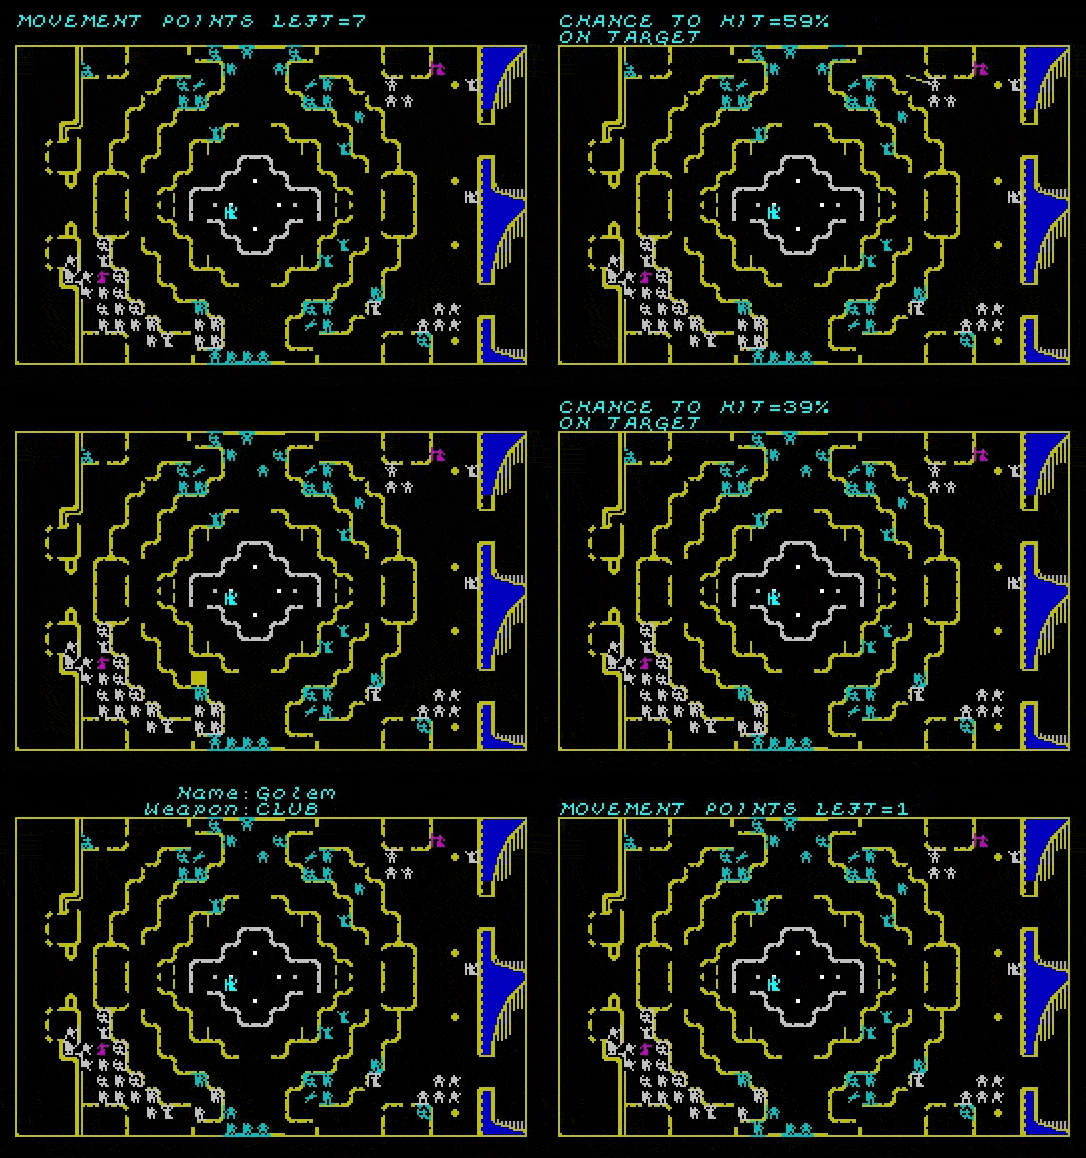
Then a magus moved his hands, murmured words I could not hear, and unleashed a formidable power. One of bulkheads protecting the guardsmen exploded, and the latter were exposed and soon killed. I saw it all through the eyes of the golems that were supposed to protect them!
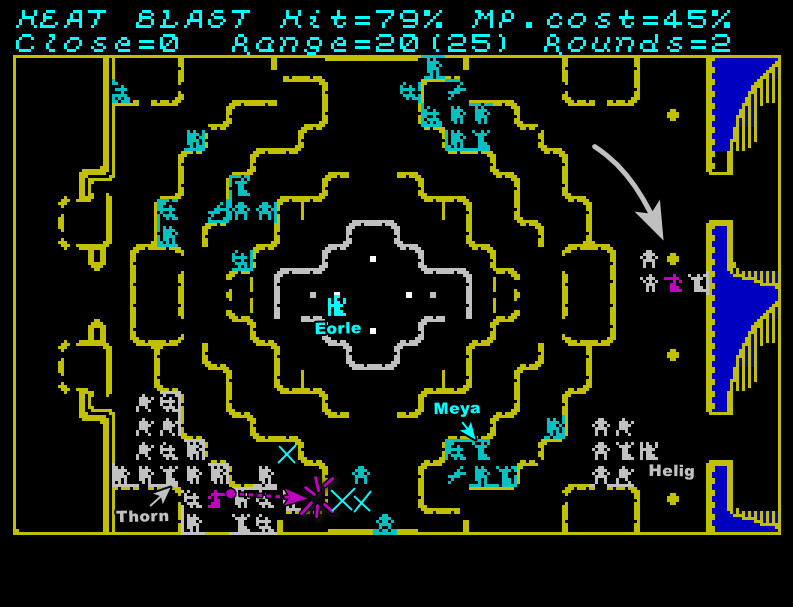
Only a few Heligites could push through the breach. The rest of Thorn’s group, thinking they’d cleared the danger, advanced down the corridor.
Meanwhile, Helig had probed both eastern entrances, and found them well-defended. As he joined the men and golems trying to make way through the Southern audience, the men guarding the Northern one sortied and slayed his second bodyguard. I was guarding the Southern entrance myself, and would not let him pass. With the other team flanking, Helig was trapped. Just a few minutes and I could bring Eorle the news.
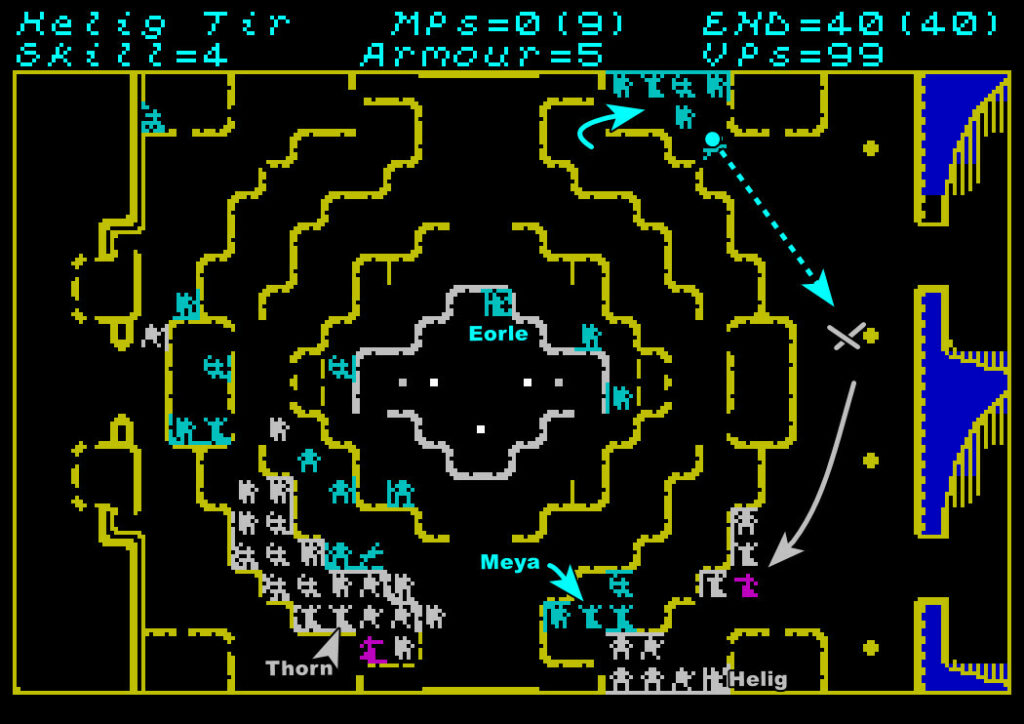
Then everything accelerated.
Drego (I think that was his name), one of the lesser acolytes, led a sudden counterattack against Thorn with the handful of troops I had left him. And in a minute, somehow, he shattered Thorn’s entire assault.
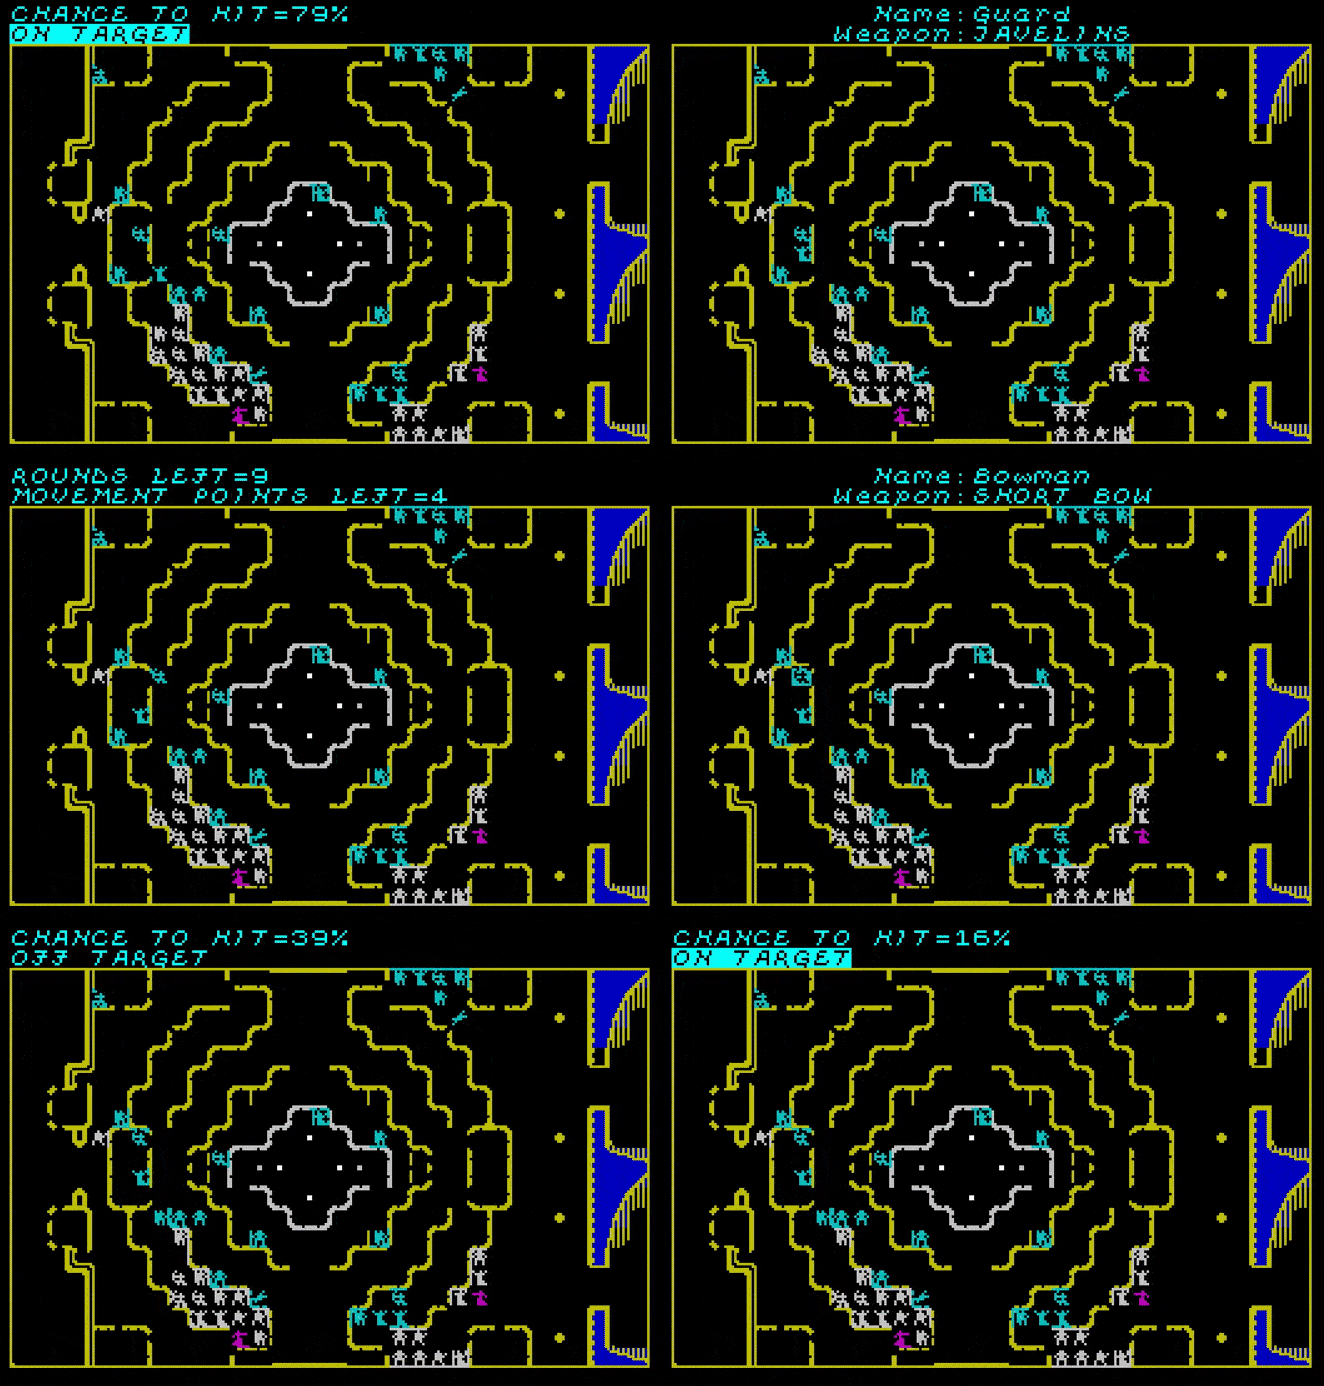
While Drego was stopping Thorn cold, I was making no progress against Helig’s escort. This wouldn’t do. If Drego survived, he would claim credit for saving the tower. I found a solution, of course: I stopped the golem before they could shield Drego and his men from Thorn’s response.
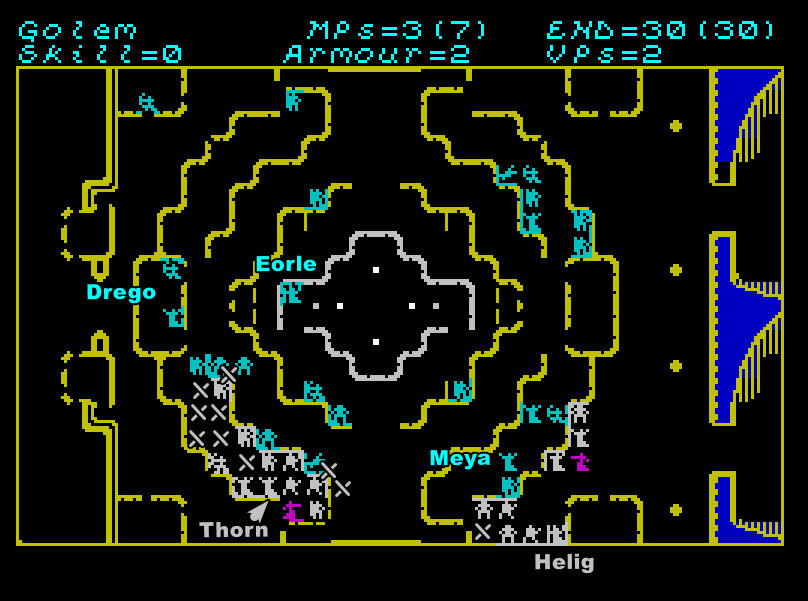
Then the wall exploded.
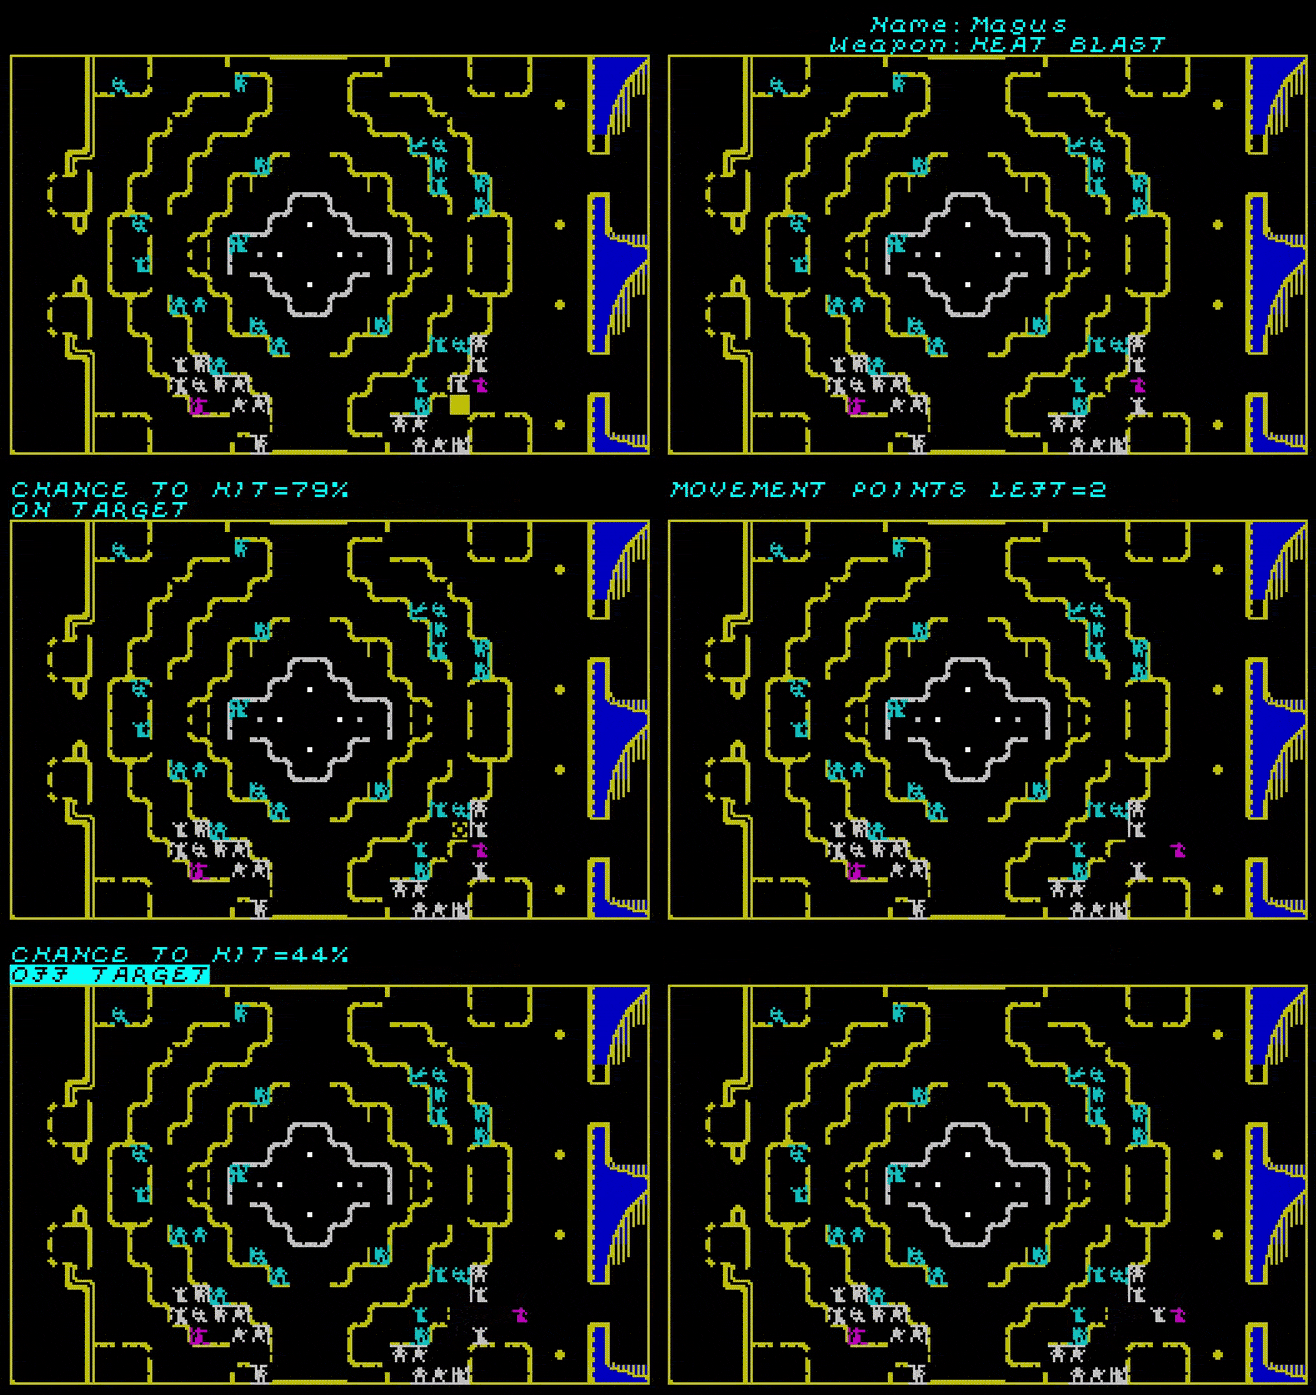
I was slammed to the ground. Smoke.. Ears ringing. The smell of blood.
When the dust cleared, I was alone and surrounded: swordsmen and golems. I backed against the wall, casting my last spells. This was the end.
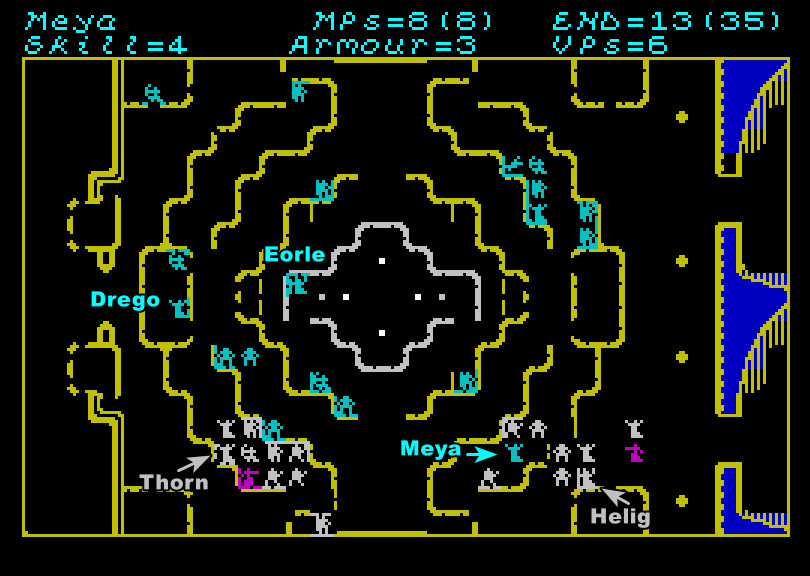
Or so I thought. They didn’t kill me. They left one golem behind, to finish me off. Was Thorn watching me through those eyes, just as I had watched him?
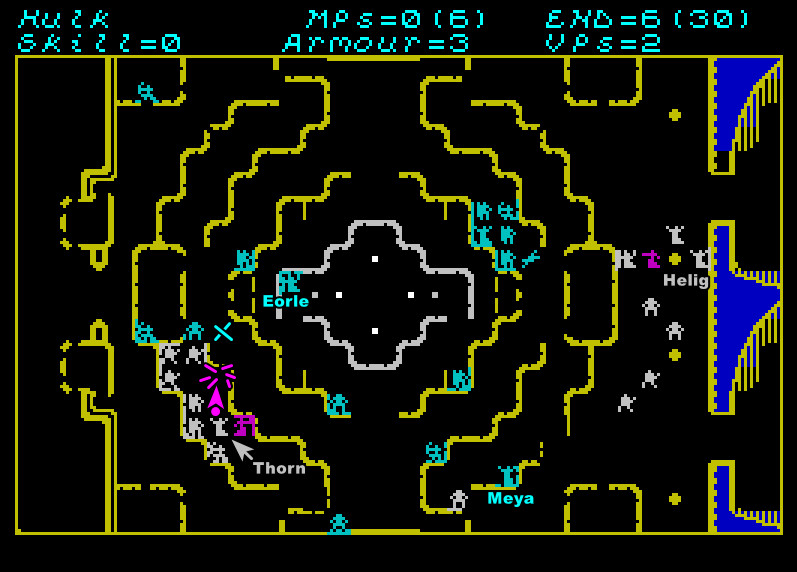
I was out of spells, but I wanted to live more than that construct wanted to obey. The staff of a true magician is a weapon. I destroyed the golem. I survived.
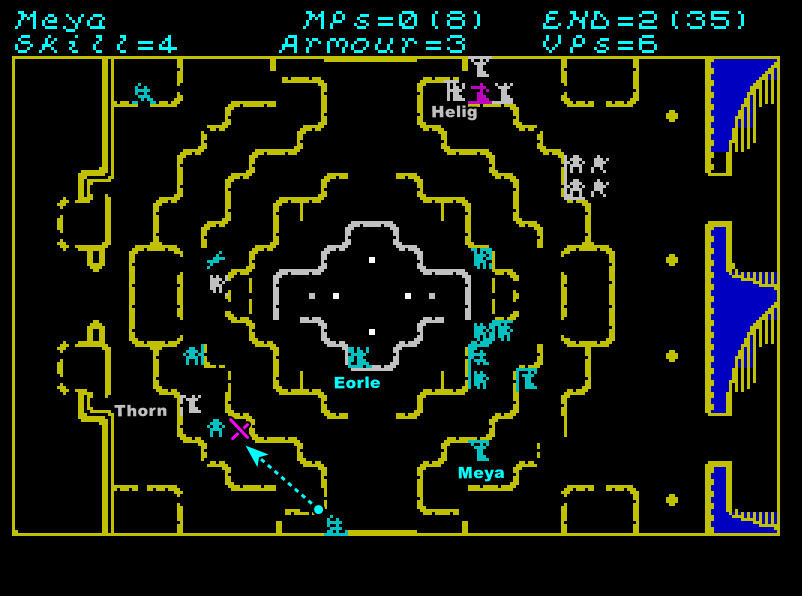
The battle still raged. To my satisfaction, I saw that Drego had fallen. Thorn was wounded, the last survivor of the western assault. Everyone else out there was dead.
But the golems remained. I took control of one. I walked it down the corridor, and did what Thorn, or maybe Helig, could not. I hammered the acolyte, again and again, until it could not move, and then more.
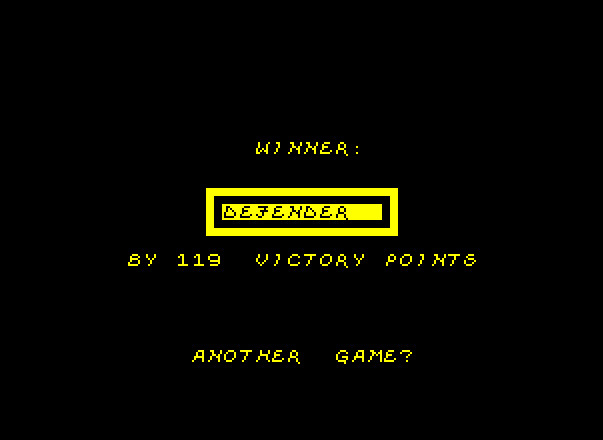
Thorn was dead.
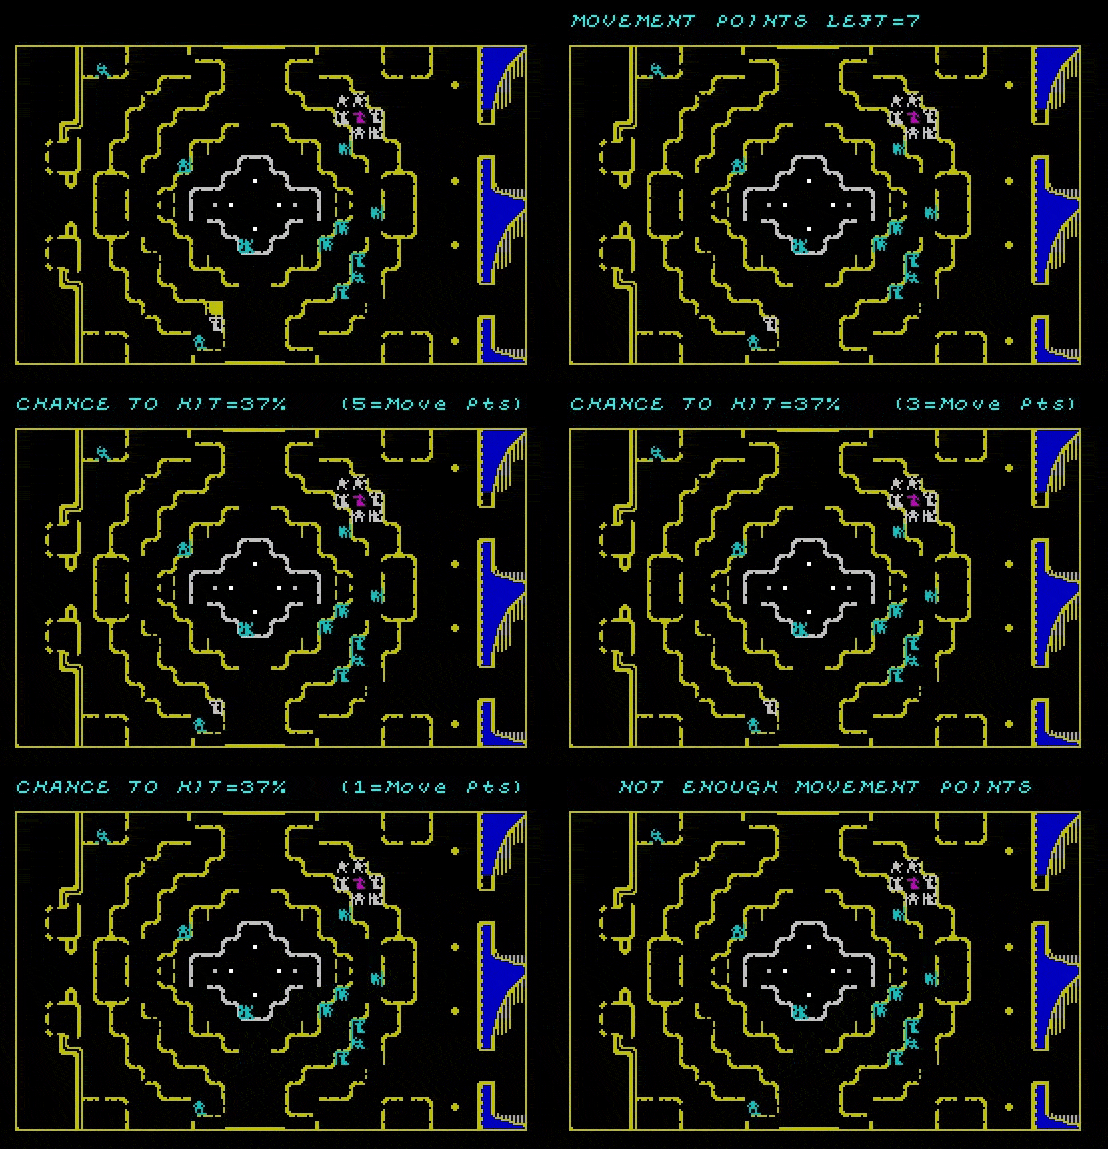
Thorn was dead, but Helig lived.
He must have know the golems were coming, so he did something I did not expect: he ran. He ran through through the last corridor, toward the Inner Sanctum. I never imagined the old man could move so quickly.
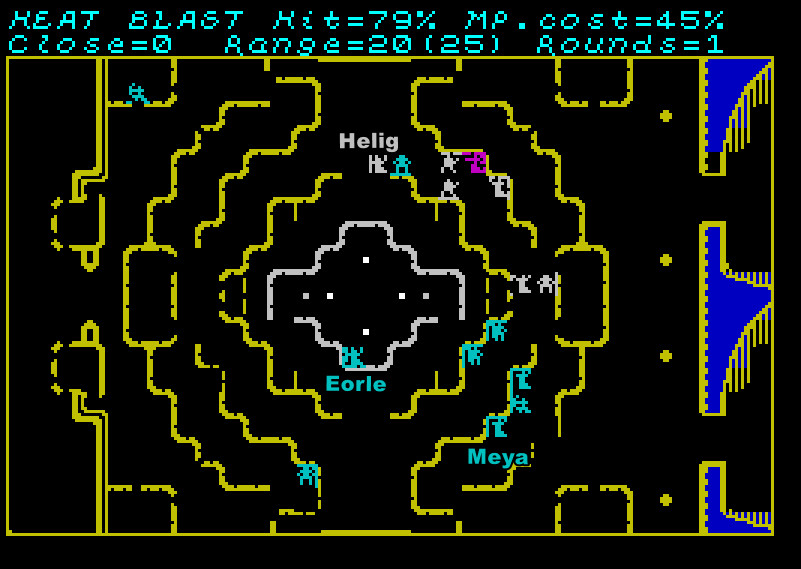
The last defenders followed and struck down his remaining guards, even his magus. Only Helig and two acolytes remained.
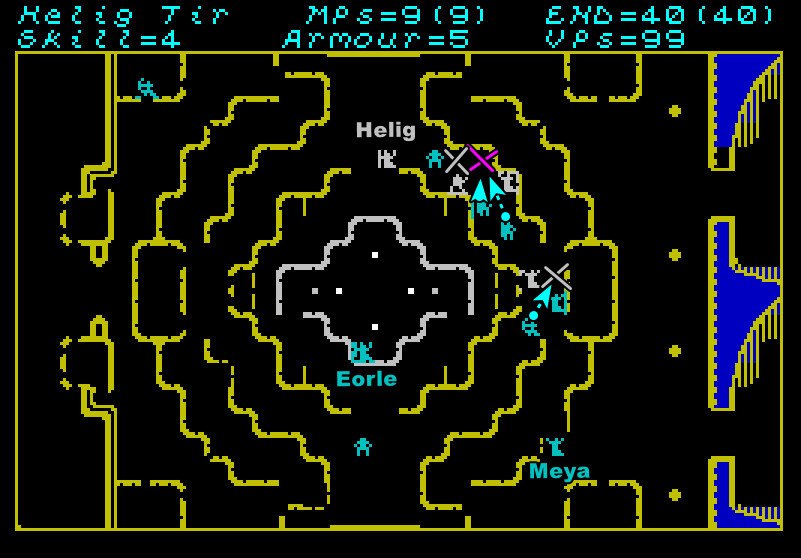
But that was enough, and Helig violated the Inner Sanctum!
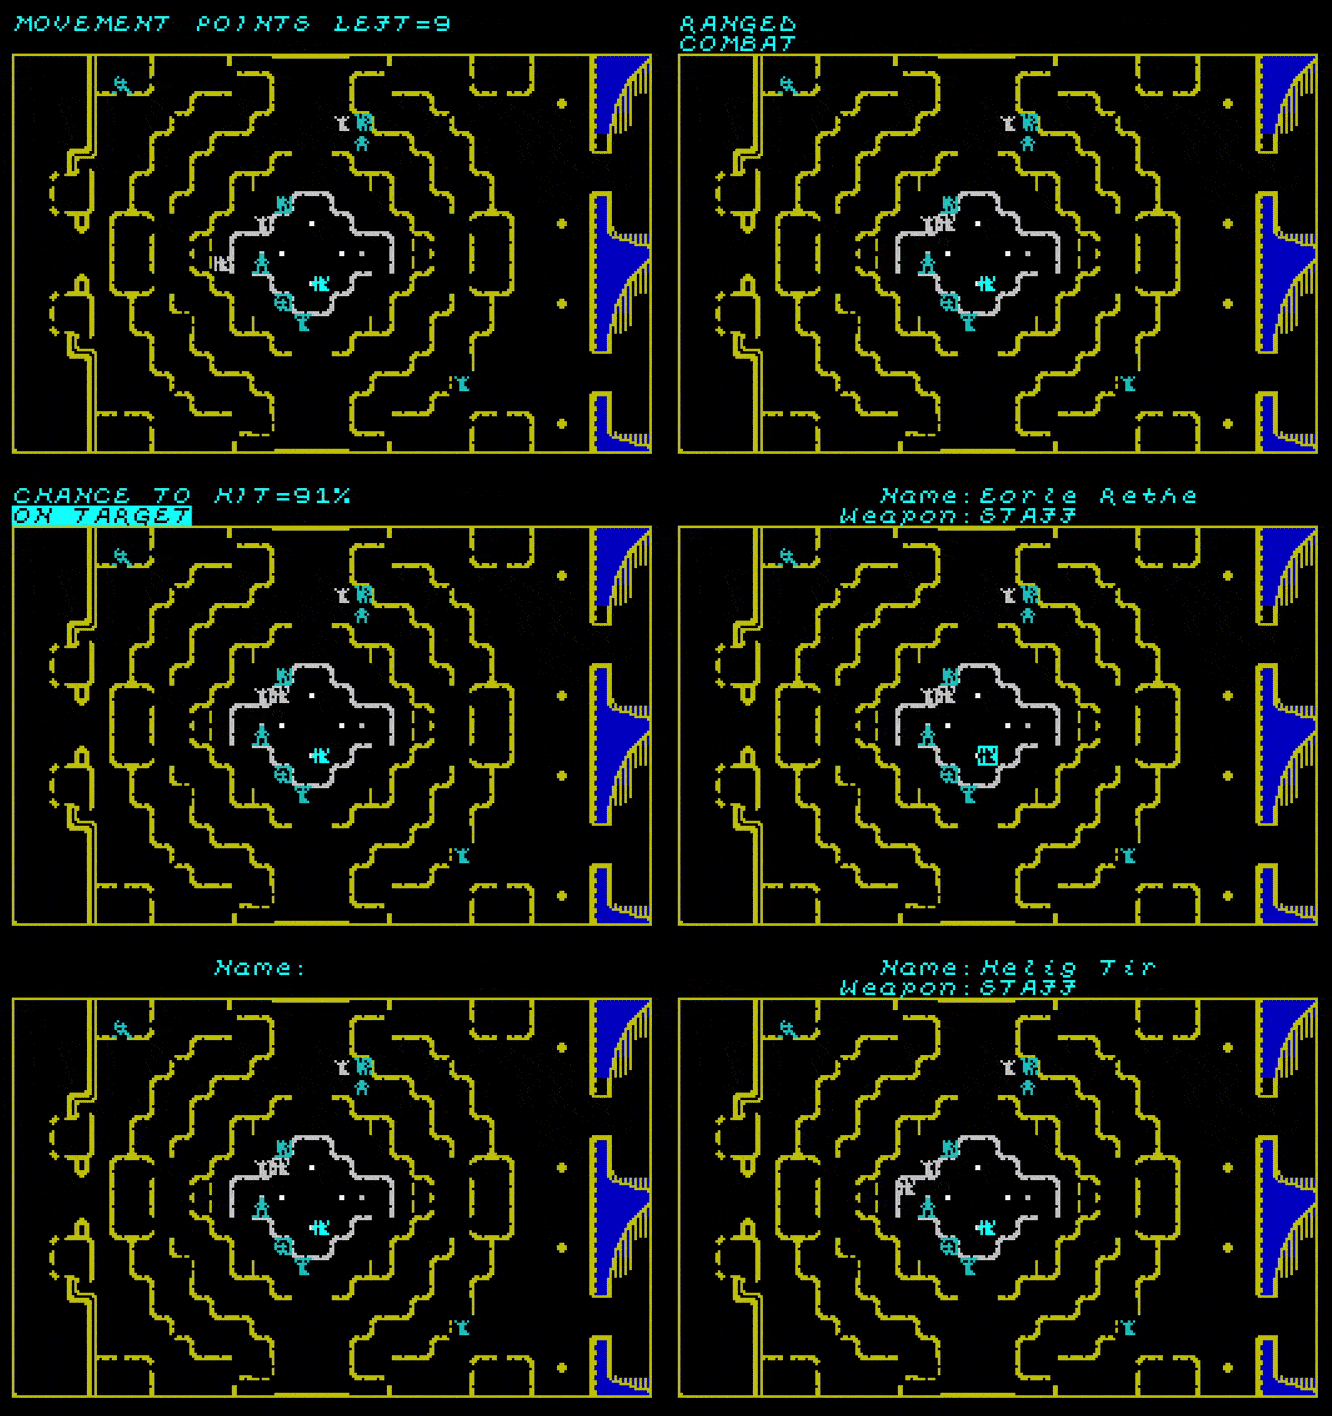
I couldn’t see what happened next. Not even through the golems. The Sanctum is shielded. All I heard were incantations and raw magic.
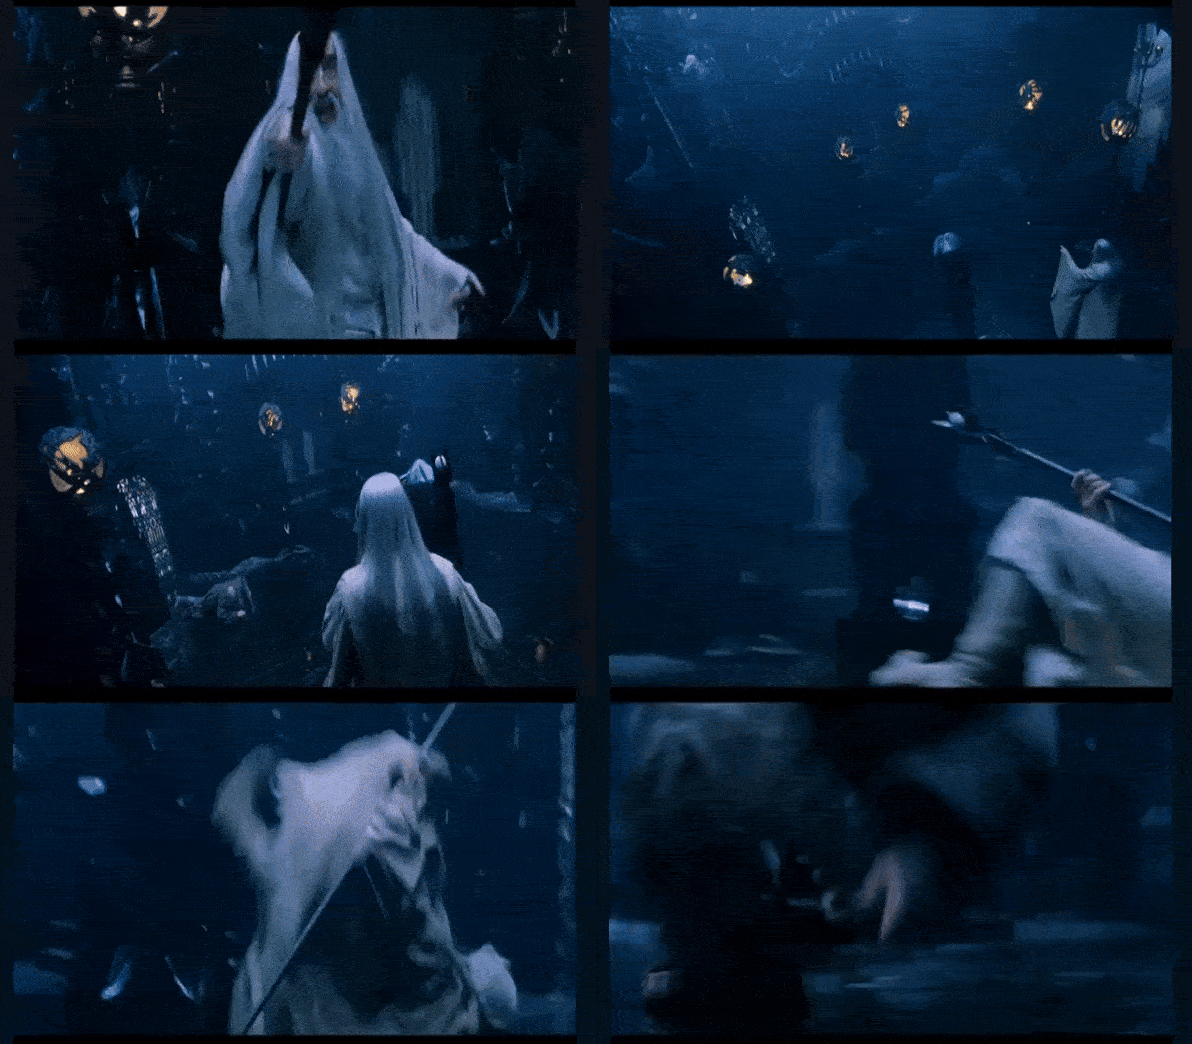
Then, just for a moment, Eorle’s grip over the tower faltered. The Sanctum’s shield waned. For a single second, I saw. Hazy shapes, motions.
This was enough. I gave the golem the only order that made sense: advance and strike. Strike until ordered to stop.
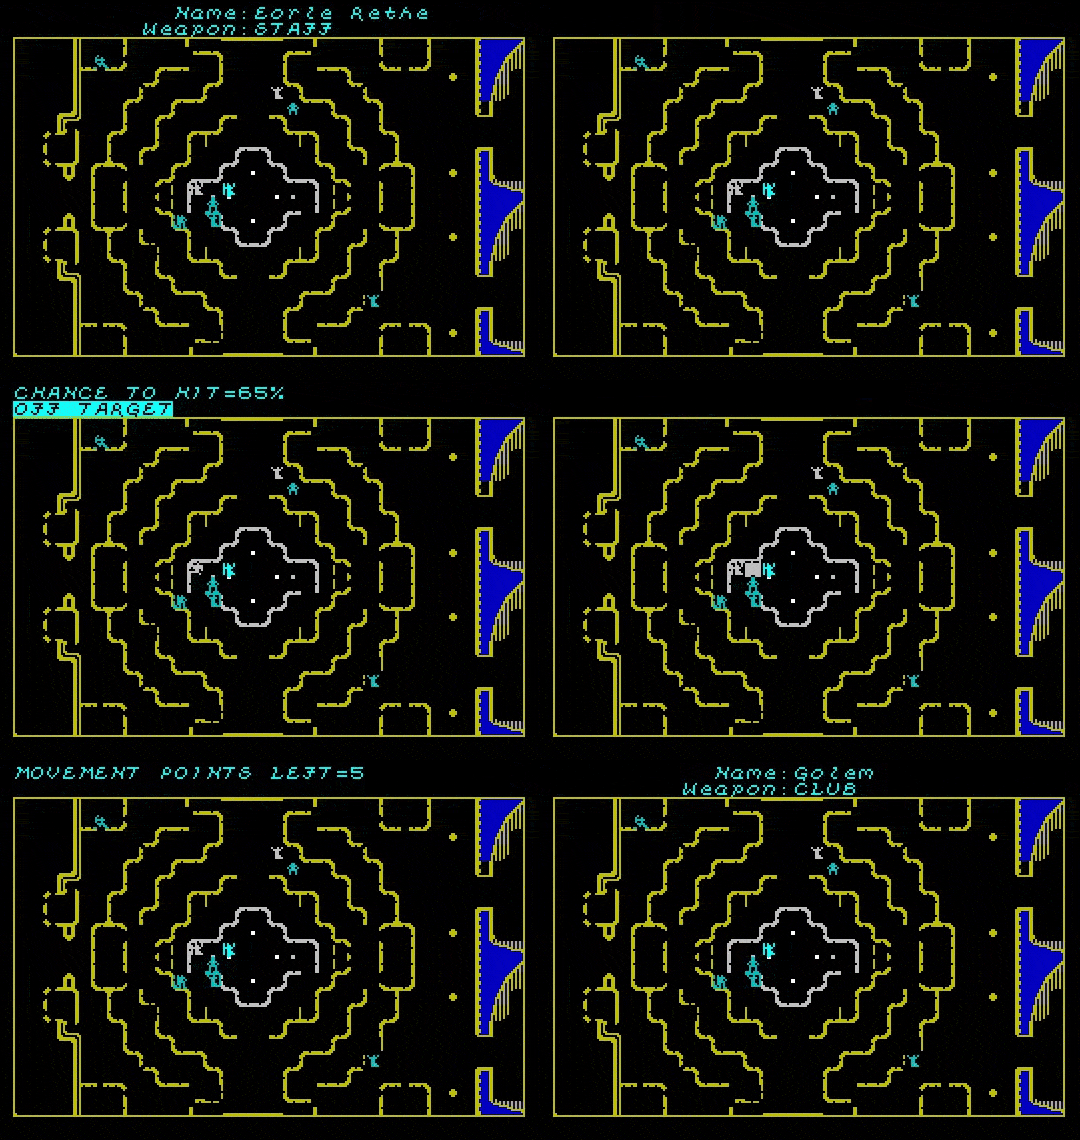
I don’t know what happened next. When the gates of the Inner Sanctum opened again, Eorle was still standing, and Helig was not.
– I have finished my task, Acolyte Meya and you did well with yours, given the circumstances. What was it that you wanted to ask?
– What was the ritual, back at the stones?
– I told you already. A traditional rite of marginal arcane significance.
– I don’t believe you.
– Indeed, you don’t. And neither did Helig Tir. Yet it was true. Minor rites can put major events into motion. Helig would never have left the safety of his forest and raced to my Sanctum without it.
– So it was your plan all along?
– As you say, Meya – of course it was.
Ratings & Review
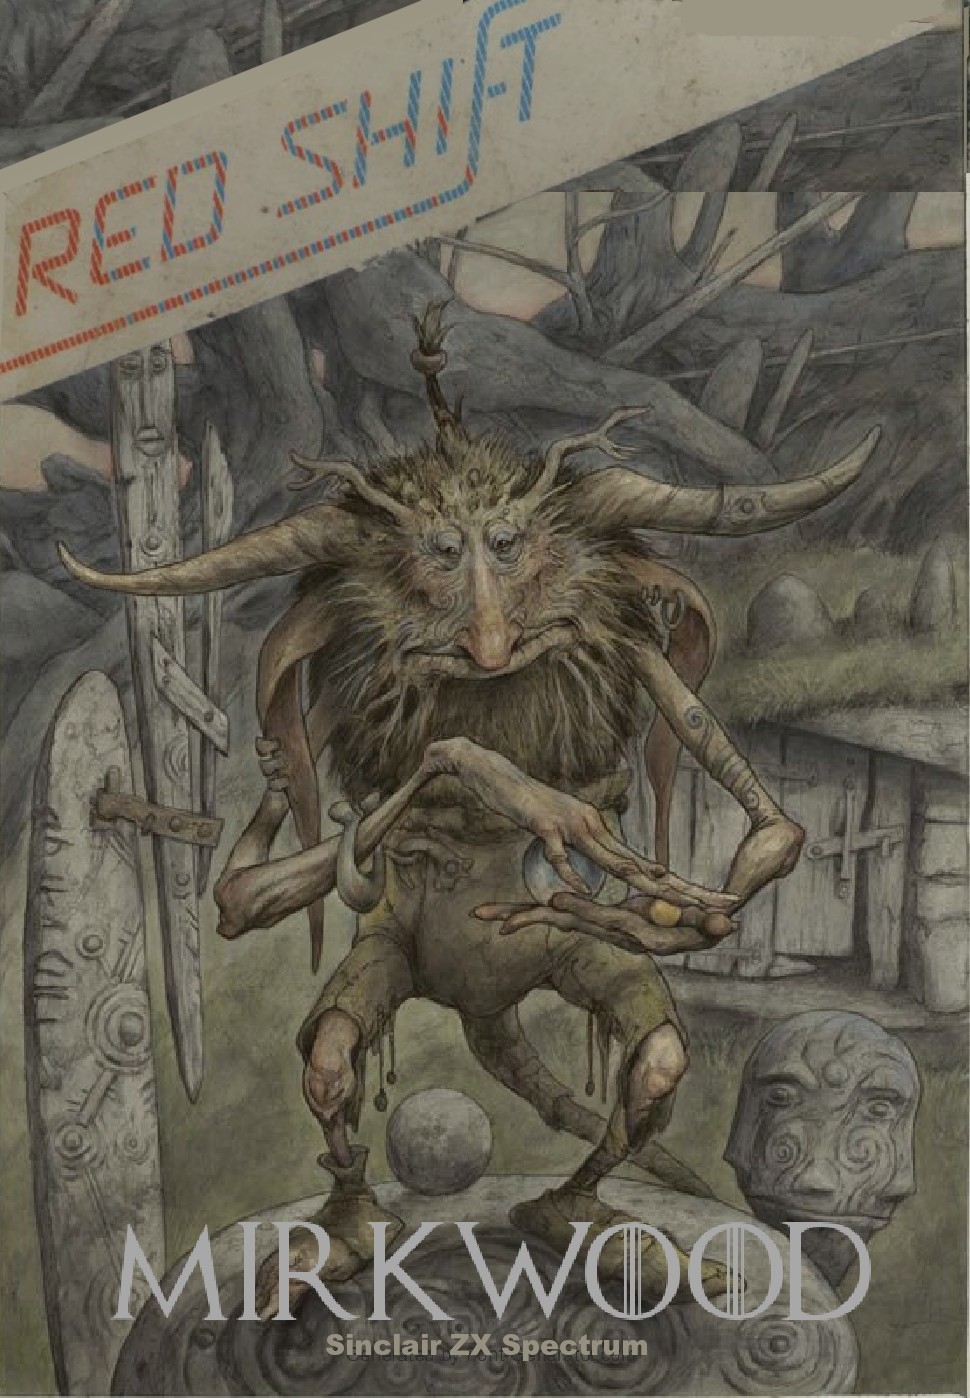
Murkwood, author unknown and never published
First release: Never released, final version possibly from late 84/early 85, possibly a later fake
Genre: Squad tactics
Average duration of a campaign : 1 – 2 hours depending on the scenario
Total time played : Around 8 hours
Complexity: Low (1/5)
Final Rating: ☆☆☆
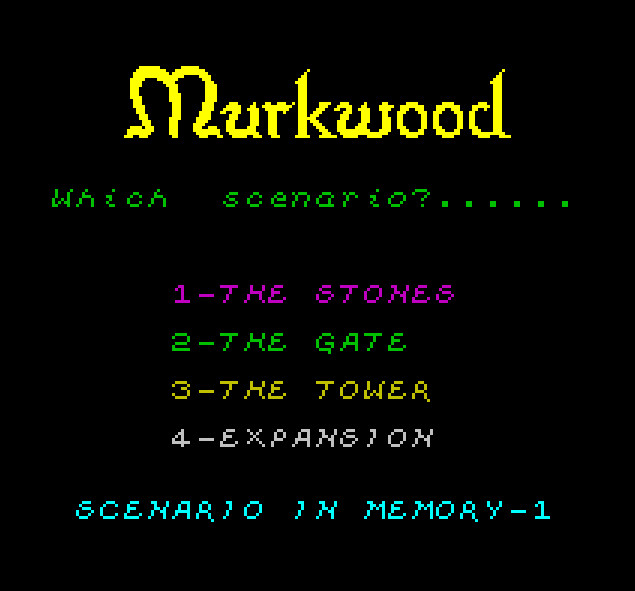
Context – Murkwood is a straight reskin of Julian Gollop’s first success Rebelstar Raiders, and the splash screen of the game attributes it to Red Shift. However, even though the game is fully playable and with one exception feels finished (if anything, it is better balanced than Rebelstar Raiders), it was apparently never released – there isn’t any ad, review or mention of this game. This is strange, because Red Shift was in dire financial straits, and went under in 1985 – why wasn’t Murkwood released? Is it possibly a later pastiche?
It is possible indeed, but I don’t think so. There is one (1) mention of a game in development (or not even in development: “hoped“) that could match. This lede is buried at the end of an article on Red Shift in the November 1984 issue of Micro Adventurer Magazine,
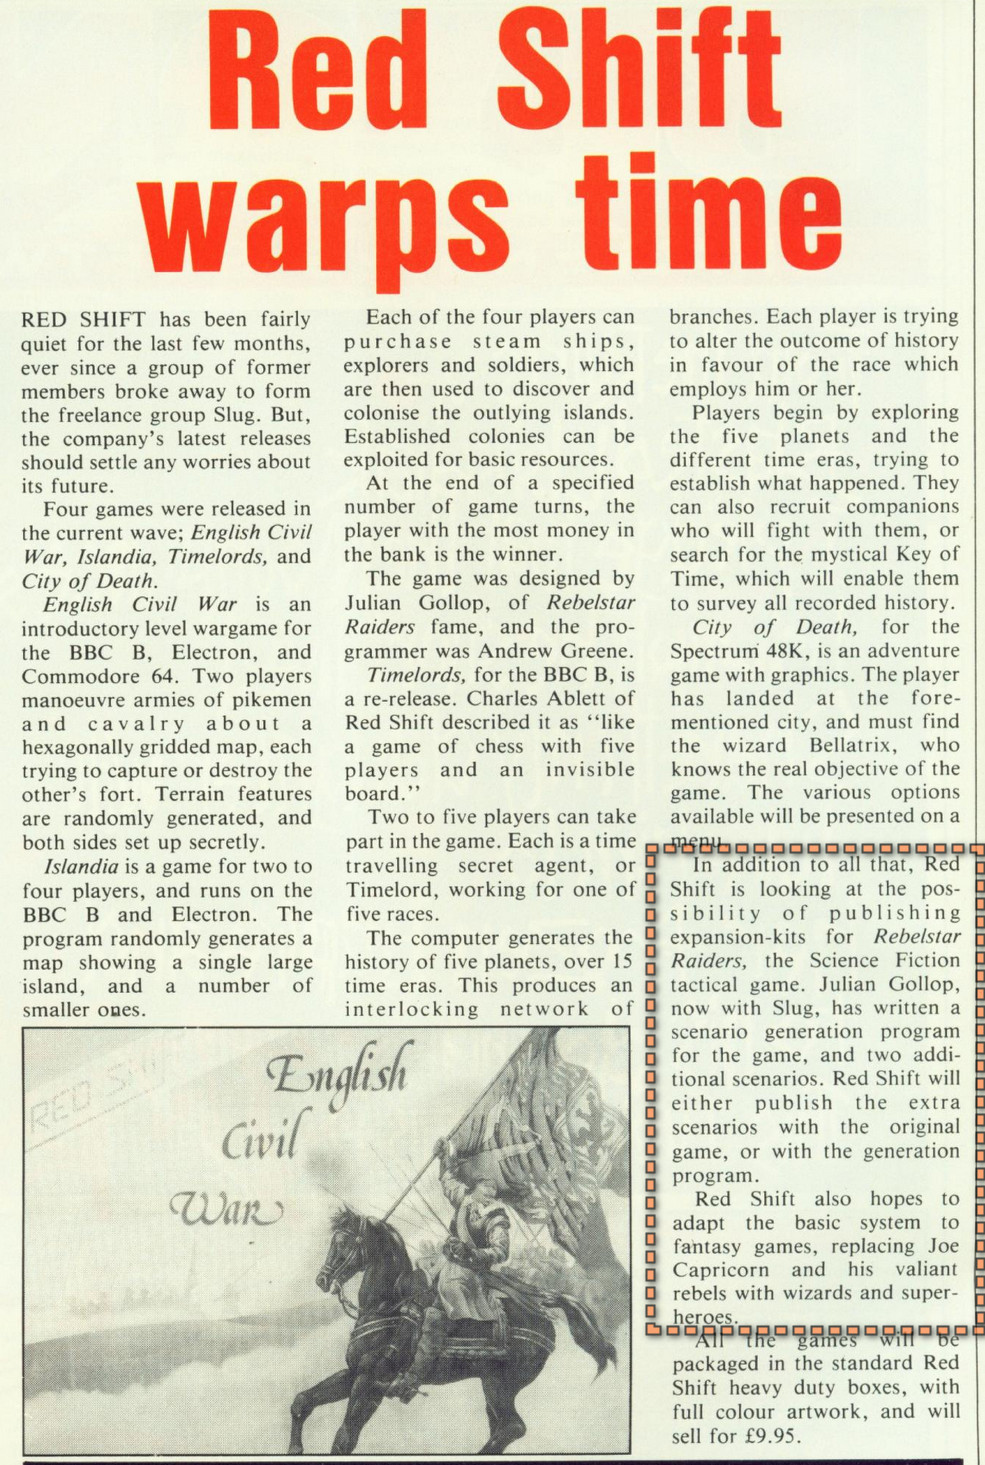
I contacted Julian Gollop, who told me that he had no recollection of Murkwood, nor of working on the scenario generation program for Rebelstar Raiders the article mentions.
With only those spare elements, I surmise that maybe Gollop did work a scenario generation program, but 40 years later forgot about it, and that said program was used by someone else to make Murkwood. I further make the hypothesis that maybe Murkwood was not finished by the time Red Shift folded, and that whoever was working on this when Red Shift went under finished it on their own time, which would explain why the version that arrived to us was so polished and ready for release, but never released. Hopefully, someone who worked on the project will eventually come forward and give us more information – though of course, as I said, maybe Murkwood is just a later fabrication.

Traits – As I said, Murkwood is a Rebelstar Raiders clone, so most of what I said there remains true; I don’t think there is any change of rules, except maybe in damage calculation for attacks at range, and even then it might be a hidden “no range penalty” parameter that already existed in Rebelstar Raiders. On the other hand, Murkwood is a good example of how impactful a change of balancing can be. Whoever balanced this game knew what they were doing, and small differences in unit stats create large differences on how to use them. Archers and guards may look the same (“squishy shooters”), but in game they play different: guards are weak against armour units, but have the advantage against archers thanks to their higher rate of fire , but then archers are good against armoured unit thanks to just one extra damage point and, from what I understand, the lack of range penalty. The golems acting as mobile walls really added a new layer of depth to the game. Melee units had a marginal role in Rebelstar Raiders, they’re useful here.
The same skilled design is visible in the three maps Murkwood was not-shipped with. The first scenario, “The Circle”, is optimized for very fast battles, probably a great idea given all the other scenarios probably took more than one hour to play in hotseat and I suppose that the house rule Ahab and myself used (Eorle can’t leave the circle) is how the scenario was supposed to be played. The two other scenarios had a vibe not found in Rebelstar Raiders: The Gate feels like a mass assault, with relatively open terrain that the attacker must cross, The Tower on the other hand is a slow progression on a map with many covers and ways to flank the enemy; the latter map shows a real mastery of the engine, with “openings” at odd angles in the walls that can only be used by the defender.
The absolute lack of balance was one of my main complaints in my Rebelstar Raiders review. Here, the second and third scenarios feel more balanced than anything Rebelstar Raiders offered, though I regret the lack of “wall-destructing” units. Looking back, I believe The Tower is the best scenario of the two games combined. The Gate could have been a clear second best, but suffers from the two last “work-in-progress” elements of Murkwood: an absurd duration in turns (99 turns maximum!) and two defenders locked in a tower whose weapon has a pathetic range. None of those issues should have taken more than a few hours to fix, yet here we are.
Did I make interesting decisions? Every turn, and it mattered even more than in Rebelstar Raiders as the scenarios were balanced and I was just not fighting for more points, but for a victory.
Final rating: ☆☆☆
Ranking at the time of review: 15/167 – this is an even better game than Rebelstar Raiders.