[ZX Spectrum, Games Computing]
One of the unique challenges of playing wargames in historical order – something that RPG and adventure games projects don’t face – is dealing with the many titles that are multiplayer-only. I usually skip these, but every so often, a game like Rebelstar Raiders comes along that’s too historically significant to ignore. When that happens, I know I can count on Ahab, the Data Driven Gamer, to join me, often resulting in a bonus dual AAR coverage.
Then there are the less historically relevant games that still seem worth checking. If I am unsure of their quality, I turn to the forum for volunteers. I use this opportunity to thank everyone who’s signed up for these experiments, which usually turned out to be terrible experiences, but included occasional moments of grace. When, on the other hand, I anticipate a game to be a miserable experience, I can’t in good conscience call the volunteers; I need someone willing to play the bottom of the gaming barrel, and so far no one has taken more pleasure in that than commenter Dayyalu. And so, when I encountered a two-player only type-in tactical game with only “move” and “attack” as commands, I knew who to call.
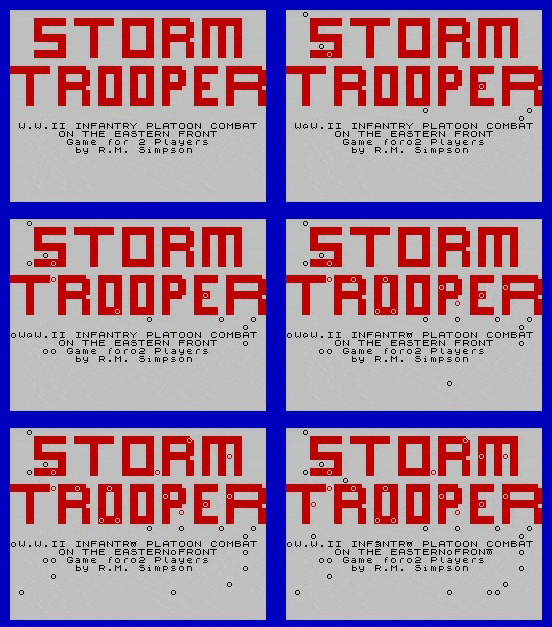
Storm Trooper features Germans and Soviets duking it out in the ruins of a city, with the final objective to control the building in the middle of the map at the end of the 12th turn. Dayyalu let me choose my faction, and following my usual WW2 pecking order (Minors > Poland > Italy > France > Any Commonwealth > UK > Soviet > Germany > US > China > Japan), I selected the Soviets, not knowing that doing so I started the battle at a massive disadvantage.
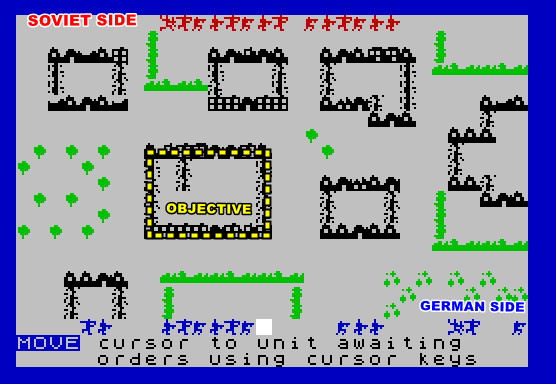
What makes it difficult to climb back is that the Germans, moving first, reach the objective before the Soviets:
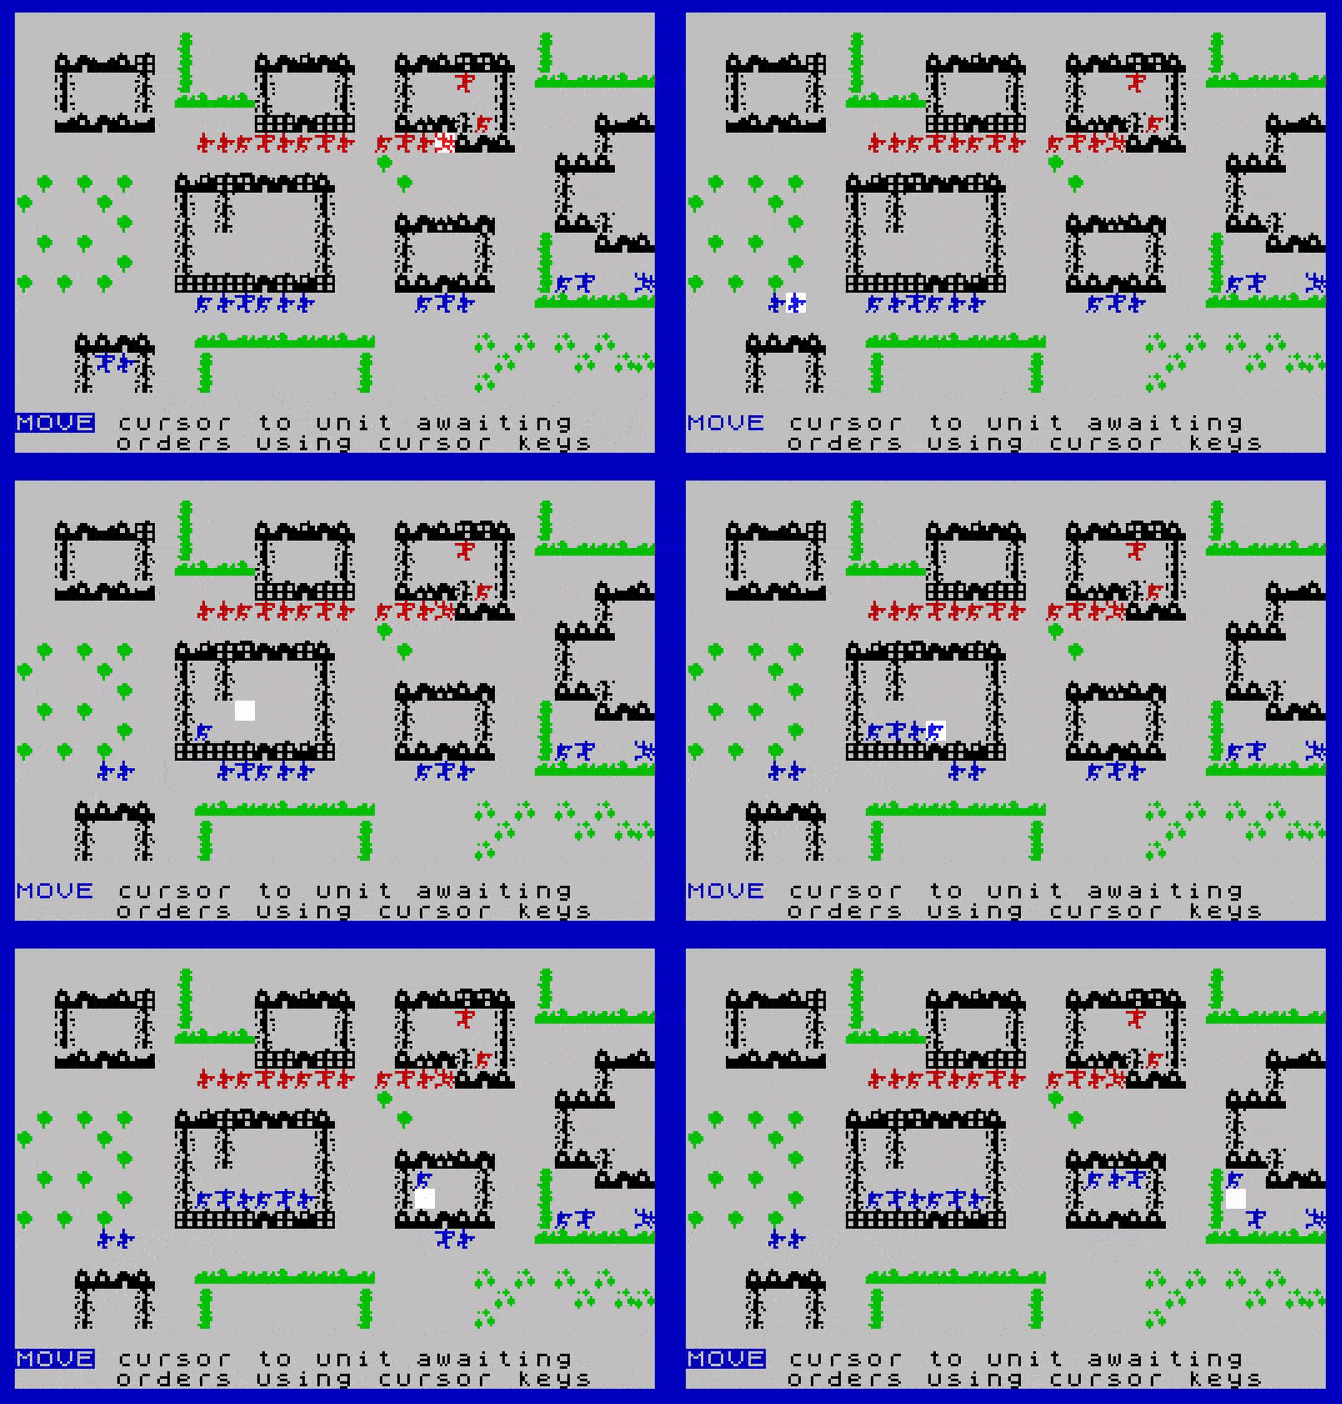
The German units are out of view, so if I want to kill them, I must move. Unfortunately:
- In Storm Trooper, each soldier can either move or shoot in a given turn, so after my movement, Dayyalu will shoot first,
- Covers are bidirectional. Unlike many tactical games (eg Computer Ambush or Galactic Gladiators) which ignore obstacles just in front of you when calculating chance-to-hit, being behind a wall will protect Dayyalu’s soldiers just as much as mine!
The only solution with this ruleset is to overwhelm your opponents, so they can’t kill enough of your men in their turn to avoid being wiped out during your turn. Unfortunately, I did not deploy properly for that, and Dayyalu is competent enough to counter such a tactic anyway.
I fall back on the second-best solution, which I don’t like very much. Full assault, and hope that having two more soldiers than the Germans near the main building makes the difference:
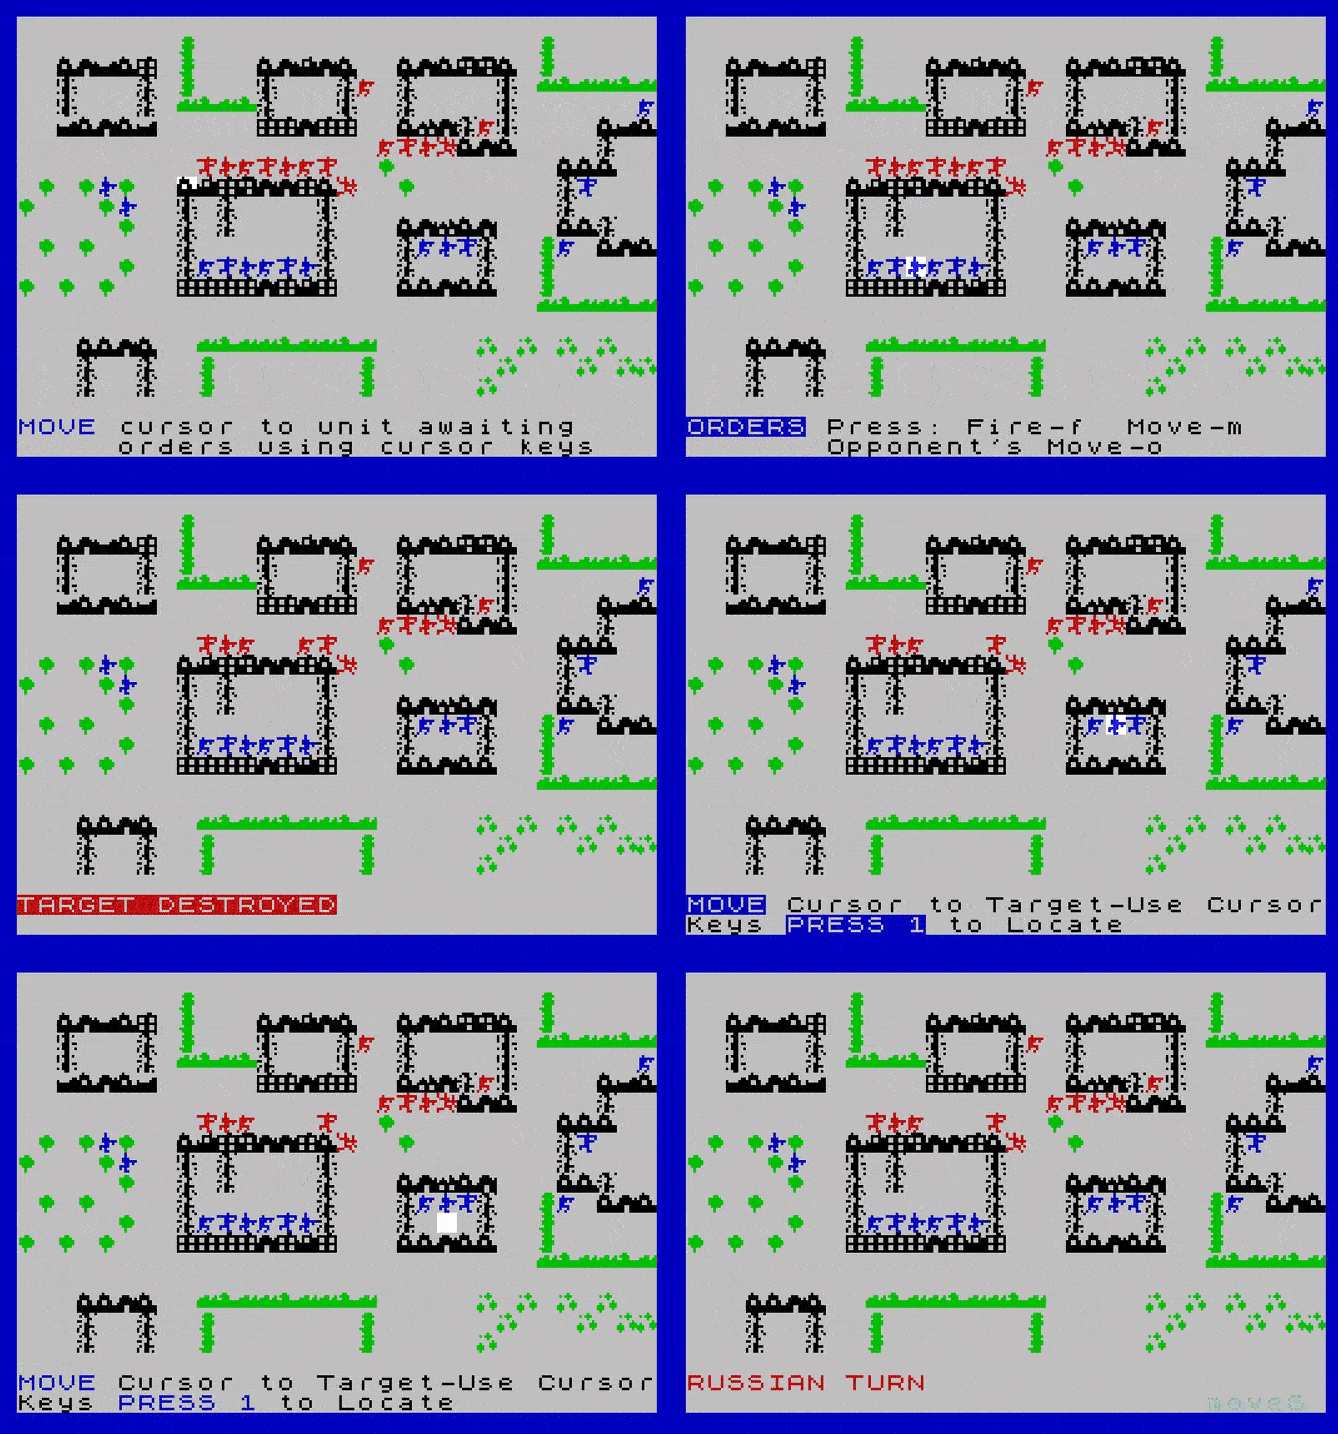
I lose three men, which means that, with some luck, I can maybe have the upper hand. And indeed, at the end of my turn, having killed 3 Germans and brought more soldiers into the central area, I reckon I might, maybe, win this.
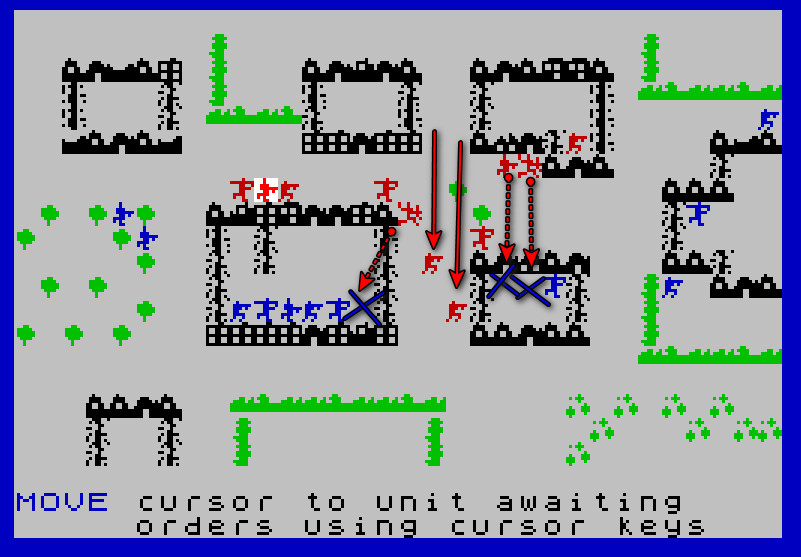
This is short-lived. During his turn, Dayyalu kills 3 more of my men, including two near the objective. At this point, we’re both puzzled by the line of sight rules. Unlike “contact” (=whether a soldier sees his target or not), those are deterministic, but not logical. See for instance two cases below:
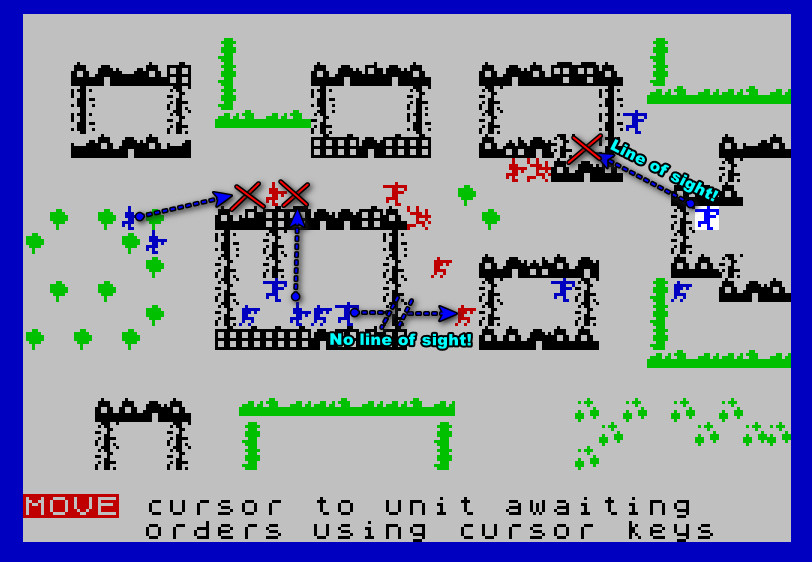
- A feldgrau in the central building had no line of sight on my frontivik despite being distant by only 5 tiles, presumably because the obstacle is in the middle of the two instead of next to my soldier!
- On the other hand, another feldgrau could hit a soldier at range 5.8 despite the presence of two obstacles between the two.
In any case, the battle continues, but it’s pretty clear I am losing this. My survivors gather in the middle of the map. They’re without cover, because who cares in Storm Trooper.
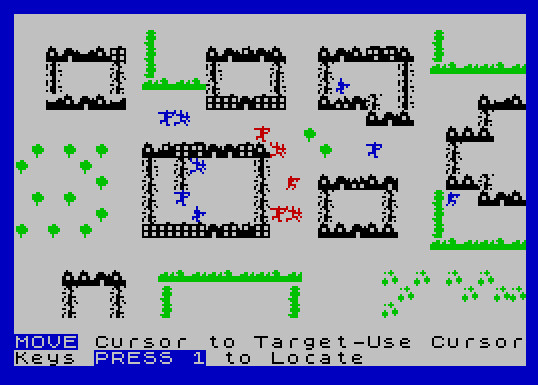
There, they beat the odds for a while, with three of them surviving for several turns, occasionally killing one of Dayyalu’s soldiers. Dayyalu decides to end it decisively by charging, receiving 3 soldiers’ worth of riposte and then finishing me at point-blank range.
On a purely technical level, his plan works and all my men are killed…
… but this triggers the end of the game, and since none of his men are in the building they should be occupying, this is a draw!
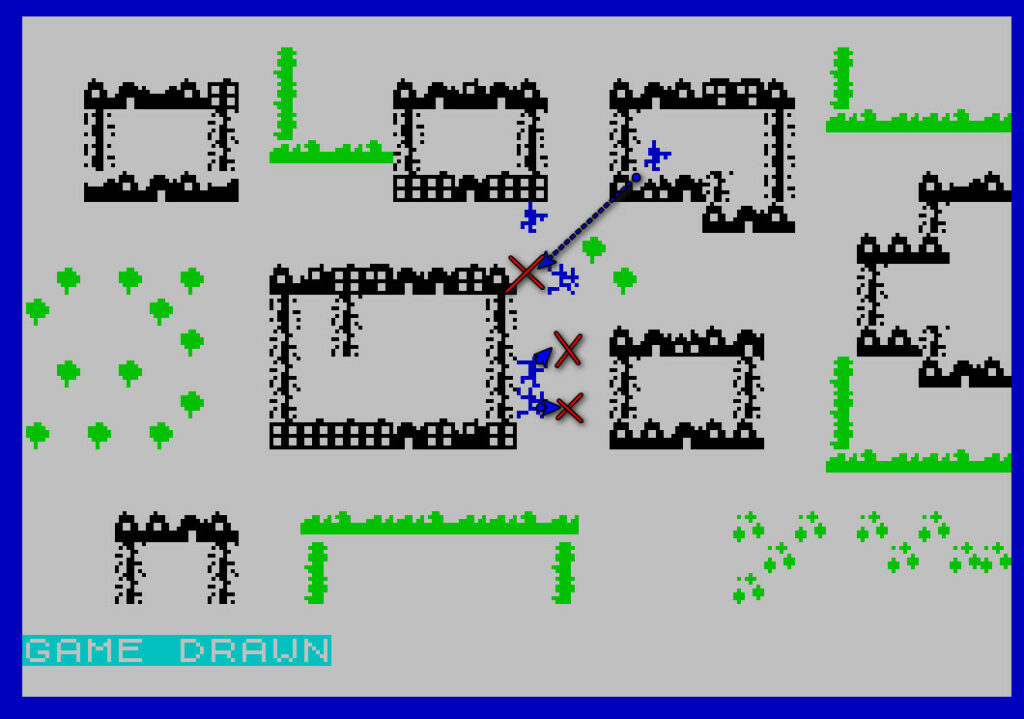
Fair? No. A typical multiplayer experience of the early 80s? Yes! That’s what Dayyalu and I signed up for, after all!
Ratings & Review
Storm Trooper by R.M. Simpson, published by Games Computing, UK
First release: December 1984 (type-in for ZX Spectrum)
Genre: Squad Tactics
Average duration of a battle: 30 minutes in total
Total time played: 45 minutes with my pre-battle tests
Complexity: Low (1/5)
Final Rating: Totally obsolete
Context – Storm Trooper is one of the many type-ins found in Games Computing (tagline: “The magazine for those who take their computer and video games seriously”, which is not a very good tagline). Games Computing was a short-lived (January 1984 – March 1985) video game magazine published by Argus Specialist Publications, which was seamlessly replaced by Computer Gamer in April 1985 – same staff, same publisher, lost the tagline.
I’ve already covered ASP, and I have nothing to add to it. I could not find any information on the author R.M. Simpson either, whose name is only mentioned in the splash.
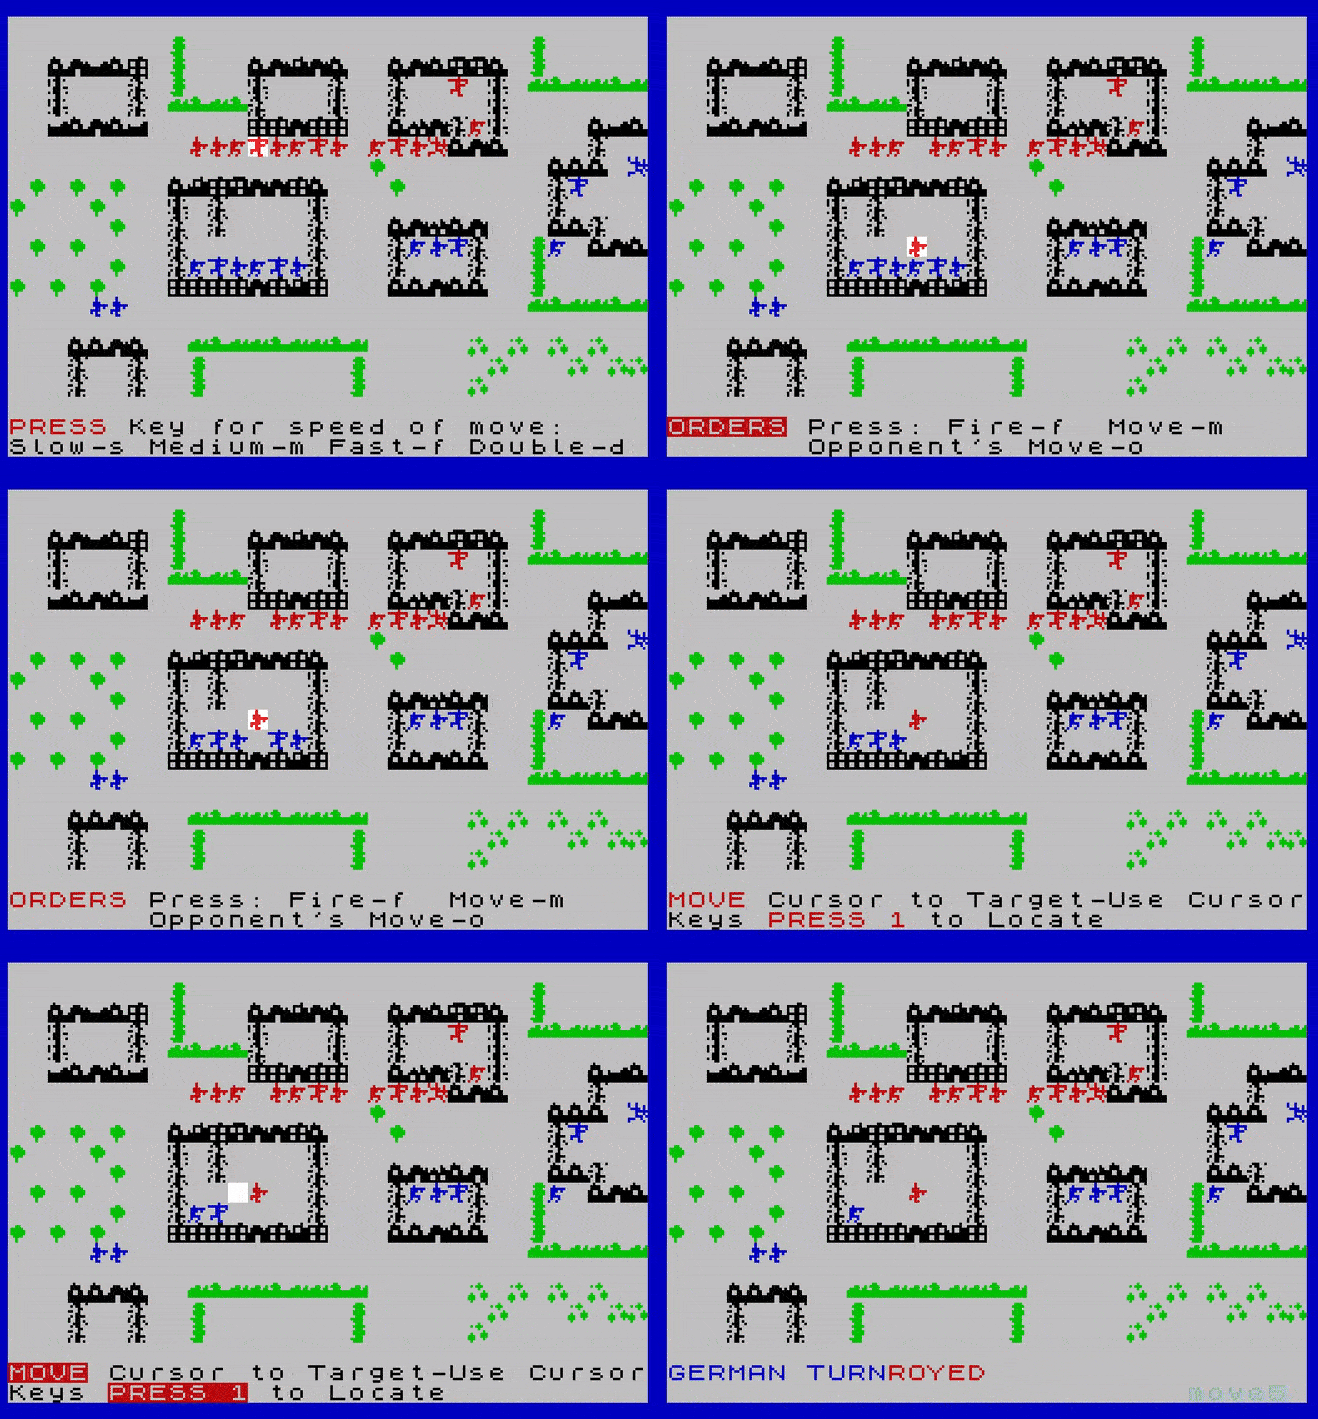
Traits– Storm Trooper‘s main quality is that the code holds in only 3 pages, allowing readers of Games Computing to type it quickly and then improve it as much as they want. And, well, there is a lot to improve indeed between the lack of options (move or attack), all soldiers being the same, the static map, the lack of cover system, the extreme randomness and the weird line-of-sight system. It also has a funny oversight: instead of checking whether a unit has moved during the turn, the game allocates the player one movement per unit he or she has. This allows you to turn one of your units into Max Payne, a feature that, I hope, was not as designed:
Did I make interesting decisions? No.
Final rating: Totally obsolete, but I don’t have any ill feelings toward the game: type-in games were made more to teach than to play.
Ranking at the time of review: 149/164.
If you also want to participate in a similar riveting experience, you can drop an email (or a comment) to add your name to the list of potential players – I try to rotate all the players on the larger games. The games are rarely good, but we make sure the emulation is easy. You can find here a list of some games I want to play eventually, but I plan to add quite a few in the coming days.