Press "Enter" to skip to content

Category: After Action Report

Game #49 : Germany 1985 (1982)

Little known fact : when Stalin said “Quantity has a quality of its own”, what he really meant was “Quantity gives +1 column shift per unit sighting the enemy !

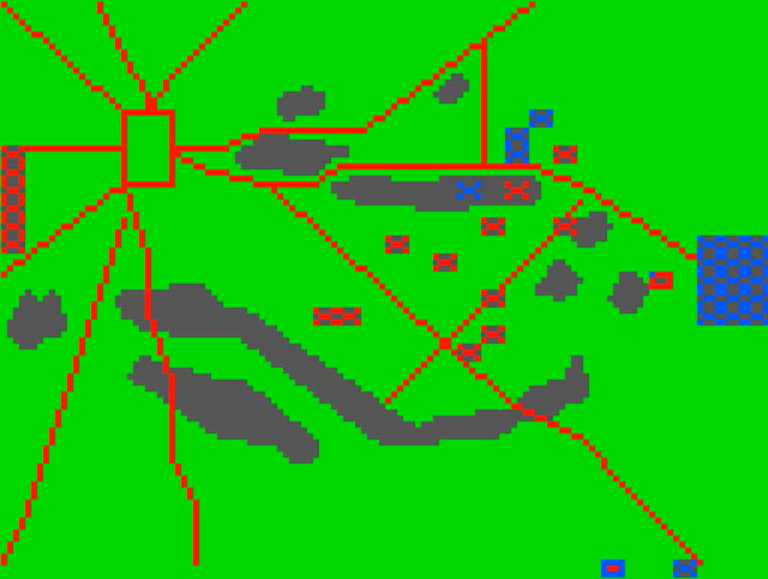
This screen actually displays for half a second and is never 100% clear of static, so I had to GIF it.

Germany 1985 is Roger Keating’s fourth game and the first in his When Superpowers Collide series, and just like Southern Command had built up on Operation Apocalypse, Germany 1985 built upon Southern Command. Playing Germany 1985 like you’d play Southern Command would be a recipe for disaster though – military technology had evolved a lot between the Kippur War and 1982, with most famously a whole new generation of highly-reliable anti-tank guided missiles (ATGM) which were mounted on pretty much every platform one can think of, while protection had not kept up. Said otherwise, the battlefield had become a lot more lethal, and Germany 1985 reflects this.

The scenario of Germany 1985 seems ludicrous today: Russia the Soviet Union attacks its Southern Western neighbour because, er, well that’s what strategists in the West believed the Soviets would do. There is no further information in the manual.

I will be playing the Soviets in the second of two scenarios: the conquest of a strategic bridge and the towns around it. The scenario seems to indicate this operation is part of an initial surprise attack: I will start the battle by landing paratroopers anywhere on the battlefield while NATO forces will start dispersed, and Soviet air supremacy is guaranteed the first two turns – though I am going to be mean and say the latter could also be explained by the Germans still using the Starfighter in 1985.

The settings. Keating kept the frustrating “Hidden units are hidden to YOU as well” feature, so I removed hidden units. NATO will have more troops than the balance should allow.

Before I start the AAR, two notes :

  • If you don’t know what a “column shift” is, I recommend you read my Southern Command review, this game uses a lot of Southern Command mechanics I will not explain again,
  • Here is the list of unit icons in this game. It will come in handy.
The artillery battalion and the Katyusha battalion are exactly the same unit except for the icon from what I can tell. You will see the stack symbol a lot (representing 2 units) so remember that if it is surrounded by a square, it is mine.

The game box provides a map for this scenario :

The airports are hard to see, South and West of the central bridge, next to the 8.

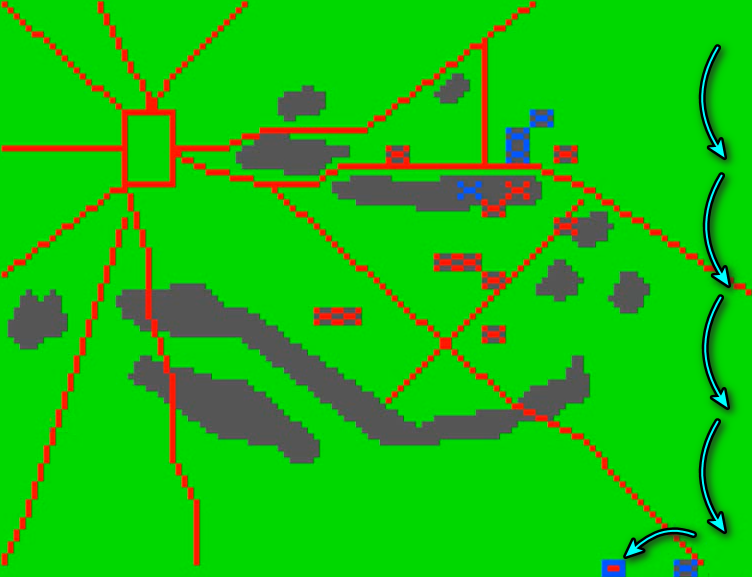
The Soviet reinforcements will arrive from the South and East (initially R3, R4 and R5, later R5 and R6) while the NATO reinforcements will arrive from the West (R1 and R2), then from the North-East (R7 and R8). The objective for both sides is to control as many cities, towns and airport tiles as possible at the end of the battle, which happens randomly between turn 20 and turn 24.

There are only two bridges to cross the central river: one in the middle, one clearly on the NATO side. If I want to transfer troops from one side of the river to the other, I need to control that bridge and the cities around it.

If this was Southern Command, I would drop my paras in the city in the middle, hold position and wait for reinforcements. But this is not Southern Command and this is where I must introduce the key innovation in Germany 1985 : the importance of sighting the enemy and not being sighted.

Here, the fastest movement mode is transport mode, and a typical combat unit in transport mode has 25 movement points, each tile of road/clear terrain costing 1 to enter. If the unit’s faction has lost air superiority, add 1 to the movement cost to each tile. And for each enemy unit with a “sight” on that unit, add 2 to the movement cost for each tile. In other words, reinforcements moving along a road in sight of 3 or 4 paratrooper units are going to move at max 3 or 4 tiles per turn. But there is more. Changing mode (say from “transport” to “normal”, or from “normal” to “fire”) also costs 1 more movement point for each sighting unit. Finally, in case of close combat, the attacker has +1 column shift in its favour by allied unit sighting its target (called SFU : Sighting Friendly Unit)… and -1 column shift by hostile unit sighting the attacker (SEU : Sighting Enemy Unit).

Sighting is asymmetric : for instance a unit in clear terrain can be seen from 5 tiles away, whereas a unit in a forest or a city can only be seen from 2 tiles away. To be clear, “sighting” is different from being displayed on my monitor – in the settings I chose all units are displayed at all time, but some of those units are not considered sighted.

Due to the sighting rules, I drop my paratroopers on the patches of forests with a good view on the enemy probable axis of progression. They will slow down enemy reinforcements tremendously while being extremely difficult to root out : attackers will be sighted by all the paratroopers (high SEU for the attackers), but only a handful of attackers will see any given target (low SFU for the attackers).

My two landing zones should block the reinforcement movements and keep them divided.

Turn 1 – 4 : Air assault

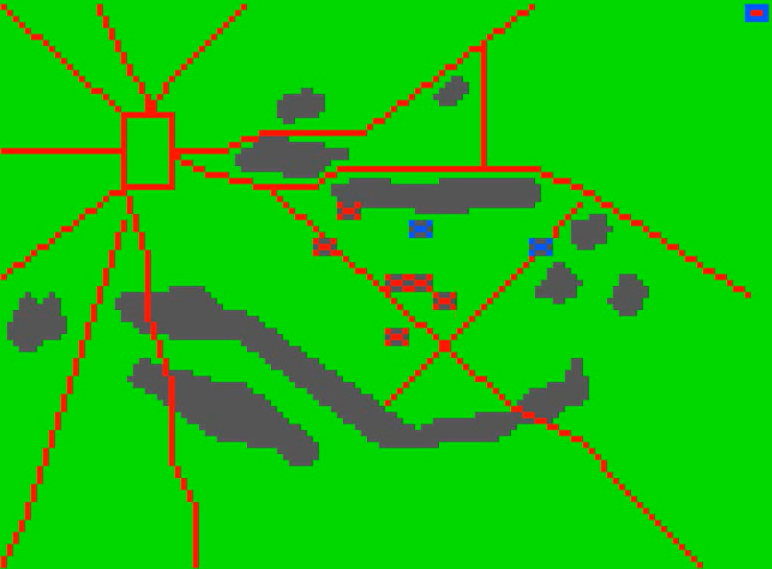
The paratroopers from the Second Division, jumping first, are targeting Landing Zone One. They start a bit more scattered than expected, but there is barely any local defence anyway :

The soldiers and the gun are mine, the tank and the APC are all NATO

The assault troops immediately gather in the forest, and by the end of turn 1 their position is almost unassailable :

Some units are divisional HQs, but regretfully they share the same icon as normal units.
  • The patch of forest is surrounded by clear terrain, so any attacker would be sighted by all 6 defending units (+5 column shifts due to SEU).
  • One of the units is a HQ, a weaker unit that gives +4 column shifts to all units from its division at a distance of 4 tiles or less,
Comparing the HQ unit leading the second division (top) to a normal unit from the same division. Less strength (HP), no ranged attack, but critical nonetheless due to its bonus column shifts
  • Two infantry units are in support mode (+3 column shifts each if they are 3 tiles away or less from their buddies),
  • The forest itself gives +2 column shifts

That’s up to +17 column shifts. There is no good way to attack that group without massive artillery support (and even then, artillery preparation gives at best +8 column shifts in favour of the attacker), and NATO has no way to regroup its limited local forces due to the movement penalty the 6 SEU impose on them.

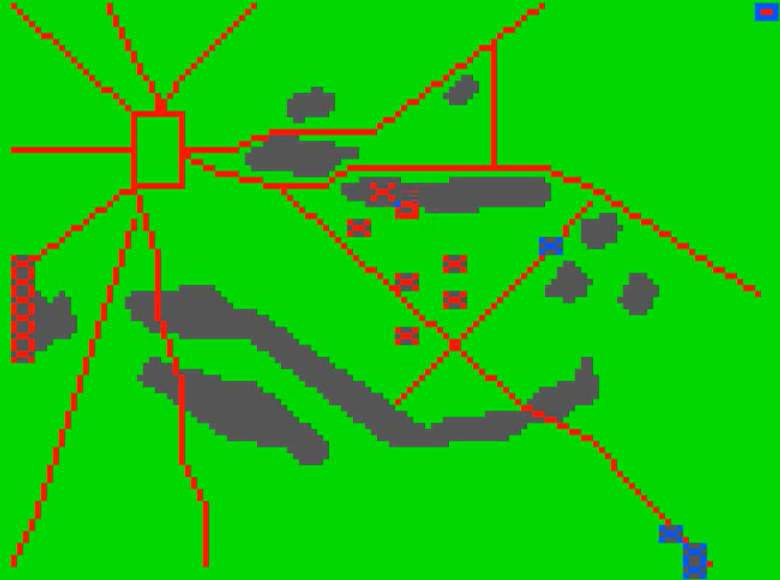
On the other hand, the paratroopers from the 1st division targetting Landing Zone Two are in a more dicey situation :

Again, my units are the infantry icons and the gun facing left. The rest is NATO. The M is the icon for (NATO) engineers.

There is a strong NATO force in the area, and they don’t need to go through clear terrain to attack me. On the other hand, some of those NATO units are artillery, and I have a unique opportunity to destroy them early on – a tempting proposition as artillery and in general ranged attacks in Germany 1985 are more devastating than in Southern Command. Let’s try it !

My push North toward the NATO artillery is successful, and by the end of turn 3 I chase the tank divisions, corner one of the NATO artillery units and destroy it !

Turn 3 : Lots of short range forest combat but I have the upper hand and that artillery is a goner
Turn 4 : One of NATO’s artillery battalions has been destroyed.

The first reinforcements start to pour in turns 3 and 4. My reinforcements appearing on the East side of the river are slowed down a bit by enemy air superiority, but can otherwise reach the central city unopposed thanks to the work of the paratroopers.

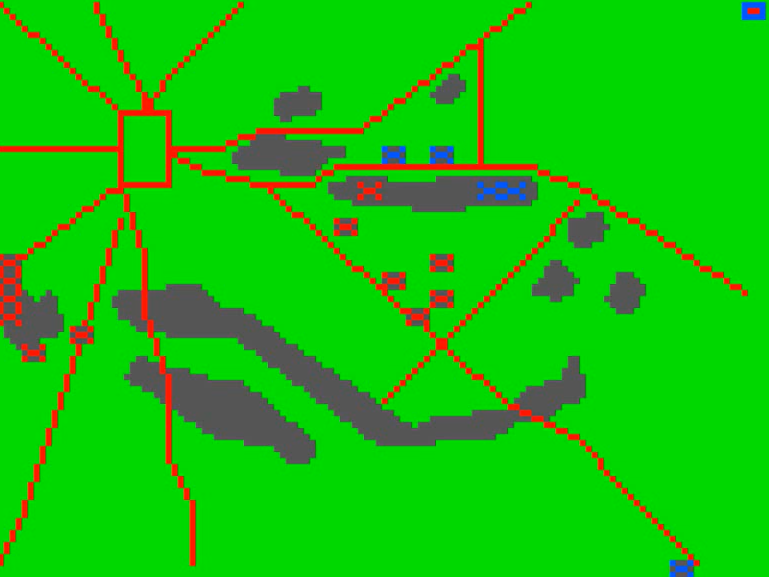
As for the NATO reinforcements, it is clear that my paratroopers from Landing Zone One did their job. The NATO reinforcements coming from the North-West are stopped dead (they are sighted by all 6 of the airborne units) and unable to join with the South-West reinforcements. The latter also blundered by splitting up in two groups of two. My own reinforcements are pouring in, and the only NATO wildcards are the NATO starting units still between the paratroopers and the bridge :

Situation at the beginning of turn 4. Only one of my paratrooper units is sighted by 2 NATO units, but each of those paratroopers sights between 2 and 7 NATO units

Still, the paratroopers are not in a position to attack anyone. Similarly, South of the paratroopers, my reinforcements are at 4 units against 2 – a decisive advantage, but not enough to prevent a retreating move upon attack, and the NATO units will retreat West toward their buddies. On the other hand, I can probably eliminate the isolated NATO units between the paratroopers and the bridge, the problem is reaching them : there is open terrain between them and my vanguard, so I will be sighted and slowed down.

The solution? Smoke, lots of smoke, from my artillery. Units in smoke can only be seen from 2 tiles away, as if they were in a forest. It reduces SEU and allows me to move more freely.

It is not enough to destroy the isolated units this turn, but as of turn 5 it should be easily destroyed.

Turn 5 – 6 : The first night

Turn 5 is a first turning point, with two pieces of good news for NATO : night turns (maximum sighting distance : 2), and an air superiority so complete they receive a large number of airstrikes.

Their airstrikes are allocated against my paratroopers in the North, and after that opening NATO goes all-in with its local forces. Each ranged attack or airstrike inflicts -4 column shifts for future combats (up to -8) in addition to direct damage, and my units had already been weakened by their relentless assault. Four of my infantry units are destroyed in 2 turns !

Turn 5 after NATO moved
Turn 6 after NATO moved. One of my units was finished off by artillery

But in a last-ditch effort and with the support from my first tank battalion to arrive in the central city, I manage to extract my artillery and destroy the NATO last SPG in the area. The last heroic paratrooper unit is then annihilated turn 7. Overall, not a good trade.

My tank chased the enemy APC, allowing my artillery to move away with its full movement. My tanks then had enough MP left to move and fire at the NATO artillery. Hero of the Soviet Union!

A Soviet artillery unit is the last survivor of the 1st division. The problem is that Soviet artillery, unlike NATO artillery, can only fire attack units sighted by units from its division (including itself but you don’t want artillery to be that close), so it is now stuck in a long-range “support” role, giving +2 column shifts to all Soviet units in its range.

As for the West part of the battlefield, NATO fails at leveraging the night turns to do something decisive like merging all their forces or trying a dash for the central city. Instead, they do a bit of everything, some units dashing, some units merging, and some units staying put. This lets me mop-up the last units between the city and the paratroopers.

NATO spread out its forces in groups of 3-4 at best. A fatal mistake in this game.

Turn 7 – 10 : The pivot

I have freedom of movement between the two sides of the rivers, in a context where NATO will not be receiving more reinforcements to its divided forces in the West. This is a golden opportunity, and I transfer several units to the left side of the map to gain a decisive advantage. I make sure all the paratroopers face whatever small group I want to attack (so +6 SEU column shifts), use artillery preparation (+8 column shifts for artillery, + 2 for the SEU) and then attack with a minimum of 4 units.

Moving clockwise around Landing Zone One, I quickly mop up almost all the NATO forces West of the river, even though I take some losses in the process – even with massive odds attacking is costly.

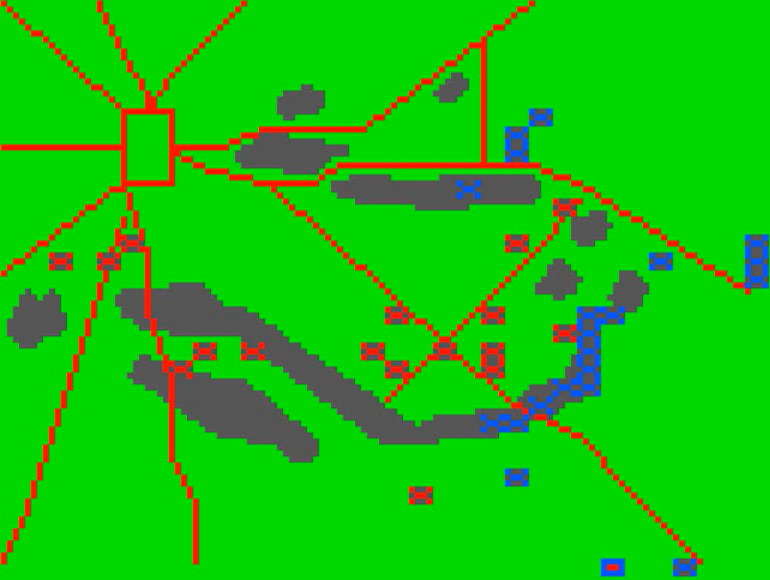
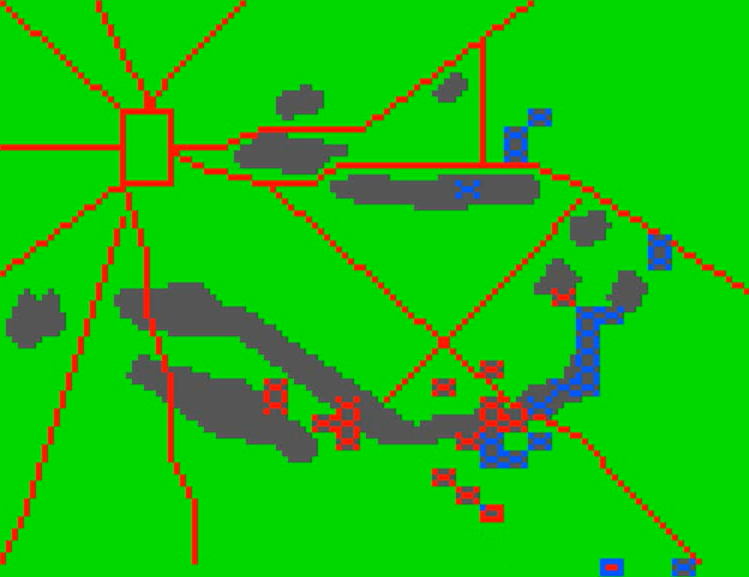
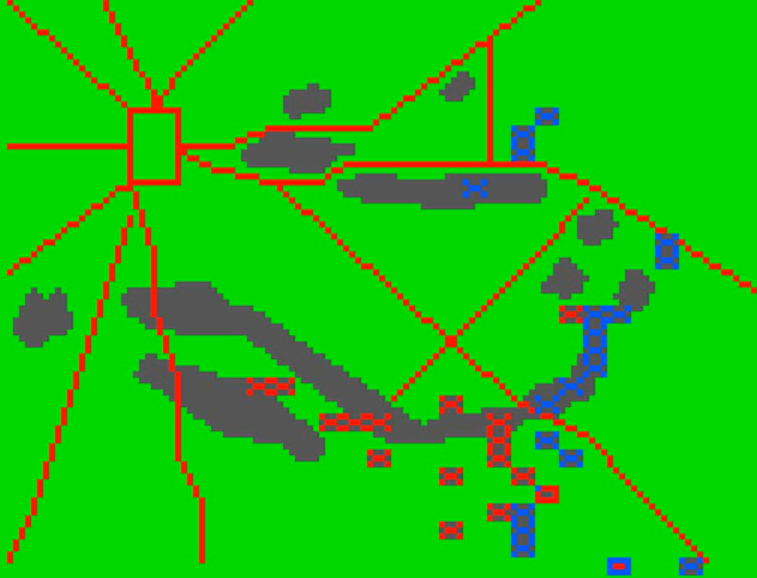
But as my paratroopers are not facing the road to the central bridge anymore, several NATO units manage to approach the latter from the West, while a large NATO force is moving from the North. The village is now surrounded :

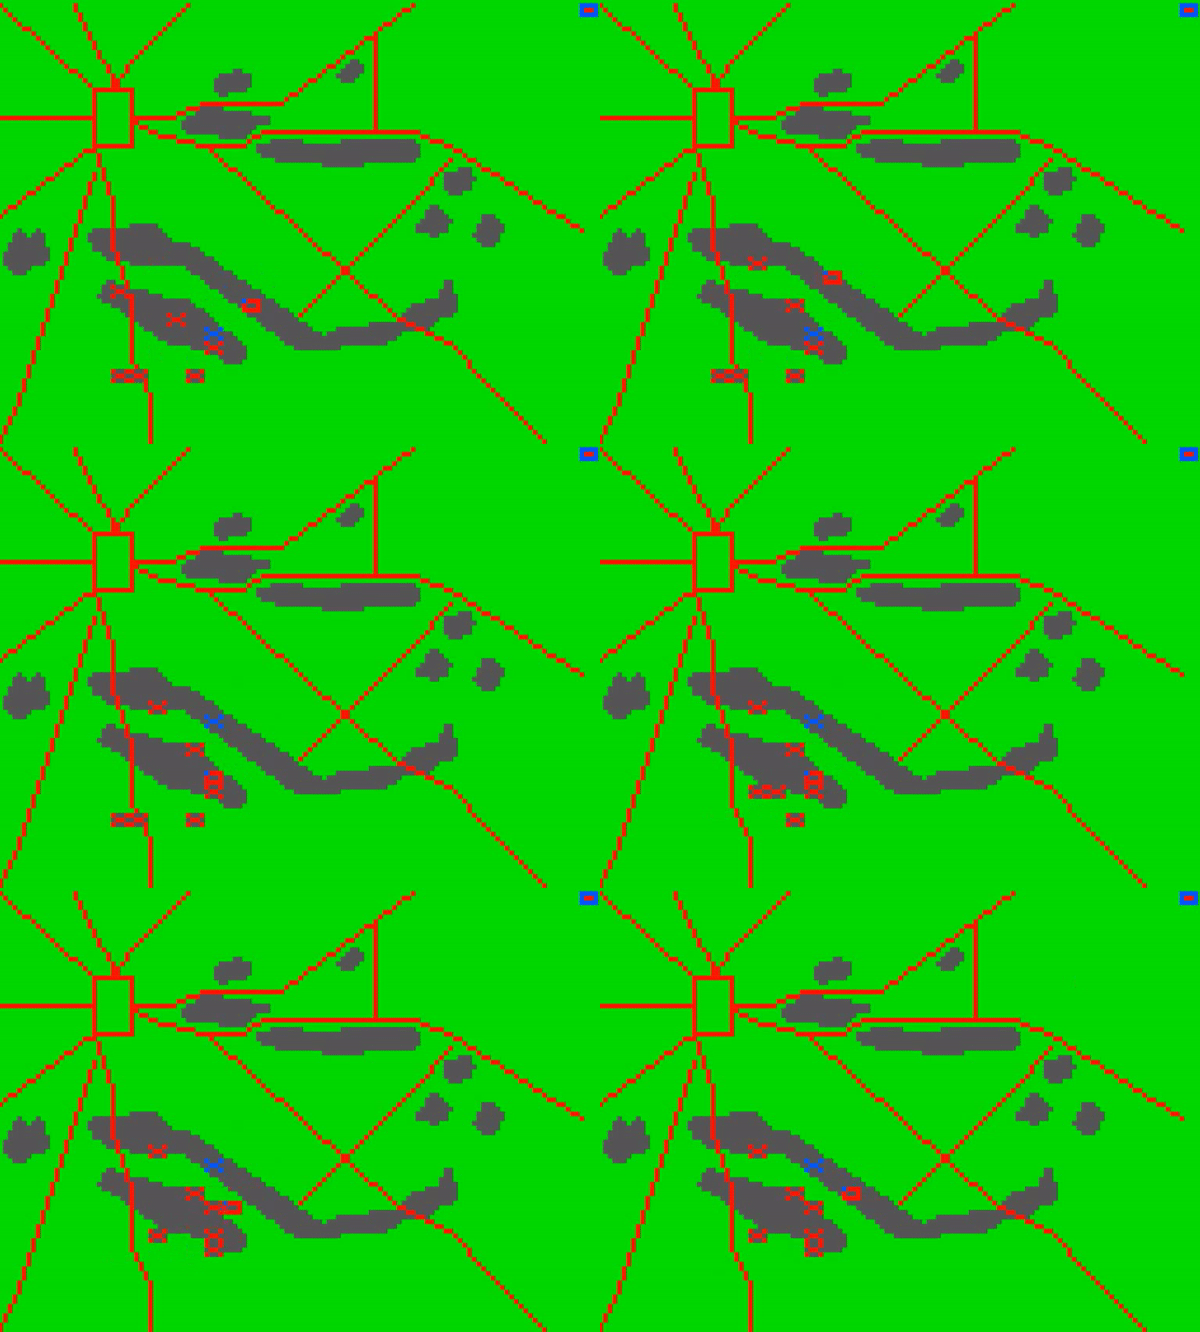
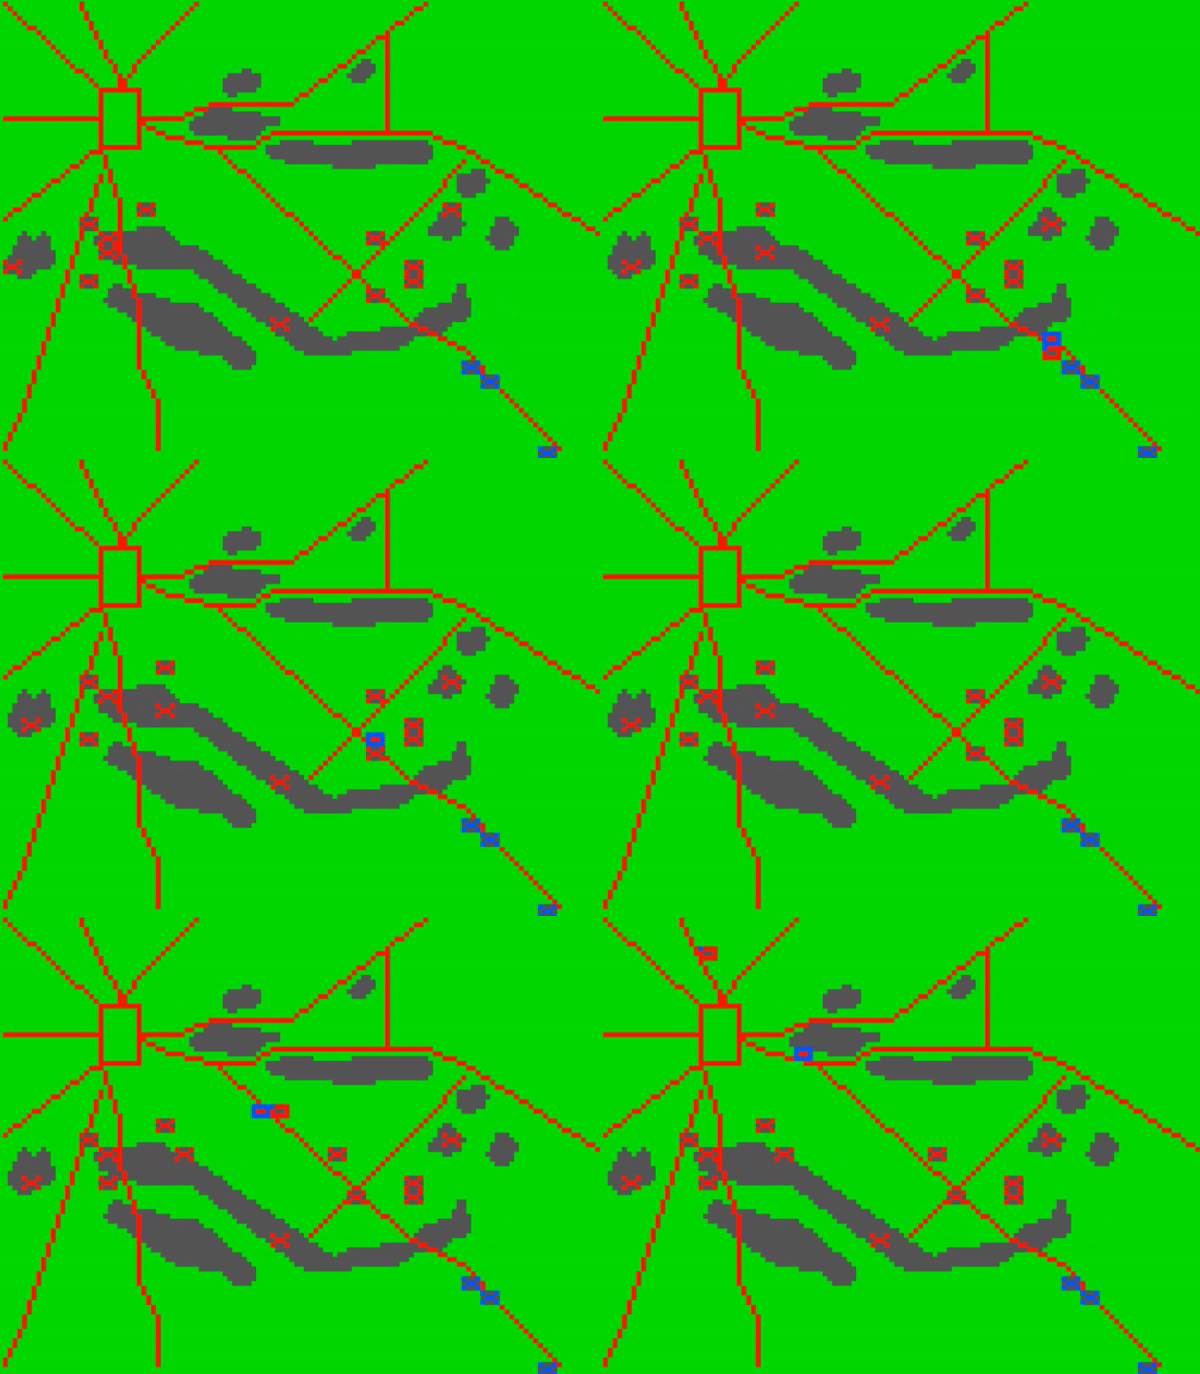
Still, I manage to bring reinforcements to defend the central city faster than the USA and its puppets can bring their own units, especially since I capture the village overlooking one of the NATO reinforcement routes in the East. This is the general situation by the end of turn 9 :

It takes ages to collate roughly 20 screenshots to create this image, so enjoy it

Turn 10, after having removed those two units on the left of the bridge, I push North for the decisive knock-out : I am 20 against 10, so +10 SEU/SFU column shifts just by the number of eyes on the enemy !

Meanwhile, I start to detach two units (one on each side of the river) to systematically occupy the many villages and airports I left behind.

Soviet-occupied hexagons have a square, NATO a cross. Here, the airport is a mix of hexagons occupied by one side or the other due to the earlier combat. The only gameplay effect beyond points is that helicopters and units in transport mode cannot enter a hexagon owned by the other side.

Turn 11 – 16 : Counter-attack !

Sadly for my plans, turn 11 is a night turn, which totally cancels my number advantage and stops my offensive dead in its tracks. The NATO generals also use the night to bring their troops in the North-West to the center through the forest, and turn 11 also happens to be the turn where the last batch of NATO reinforcement arrives – my own last reinforcements were turn 9. Long story short, I am pushed back with significant losses.

Turn 12

The only silver lining is that I use the troops that were holding the now-useless crossroad to destroy one NATO artillery that remained behind, and I am going to easily destroy two more APC (presumably HQ units) in the North-Eastern corner: these had lagged behind the rest of the force, and when isolated by my attack they fled in the corner.

In the centre, my situation is going from bad to worse, with the day coming up turn 13 at the worst possible moment: NATO has the edge of the forest, so they see me, and I don’t see them.

My only solution is to abandon the Northern half of the town, but some units cannot retreat – or must hold the tide for the others – and are destroyed. I am only holding because I transfer troops from the West, because all my artillery units are in “support” mode and because there are so many units around that NATO can only move one hexagon by turn, allowing me to rest and repair somehow.

Note the “divisional view”, with all units belonging to the same division in purple and the HQ in blue.

My only hope : those units that destroyed the artillery and enemy APC in the top-right corner are now crossing the forest to destroy the enemy support units. If NATO allocates some force to deal with them, the pressure on the central city will decrease, I may even use the night to push them back !

Turn 17- 20 : The Miracle on the Whatever This River Is !

Day 17 is a night turn, and NATO slips: it sends a significant chunk of its force North to placate my small task force.

This means I can easily surround and destroy those units that remained engaged in the city. In one turn, I remove 2 units and can easily rotate my forces between reorganized units that were in the back and the depleted units on the frontline.

But this first AI mistake is nothing compared to the turn 18 blunder. Just like it did in Southern Command, the AI seems to consider that turn 18 is the moment to go all in, and it decides to send everything against my lines without caring about technicalities like artillery preparation or SEU/SFU.

Note the paratroopers in the North. They just finished the Great Mop-Up and City Occupation of the West.

I punish them immediately, and during my turn I destroy 6 units in the village and 1 in the North, plus an APC in the middle with a ranged attack. Only now do I realize how depleted the NATO units were – it looks like they never reorganized, possibly because I destroyed their divisional HQs earlier on.

When the sun sets turn 19, I outnumber NATO so much I can probably count on +20 SEU/SFU column shifts by default. At the end of turn 19, only one NATO APC survived :

And so, turn 20, NATO is fully destroyed in the area, and all the objective hexagons are occupied.

Weirdly, the “eliminated units” include the 7 units of reinforcements I decided not to have. I still lost quite a lot of units compared to Southern Command – this game is bloody!

This concludes my AAR of Germany 1985. As weak as the AI turned out to be, it really caught me flat-footed turn 11 and kept me under massive pressure until turn 16.

The SEU/SFU system is unique and adds a strong layer of gameplay, but it takes hours to get used to it and to “read the map” with its effect, and this may explain why I did not enjoy Germany 1985 as much as I enjoyed Southern Command – I was burnt out with the game learning to play it. Happily enough, SSI released 3 more games in the When Superpowers Collide series, using the same ruleset or almost the same ruleset. This will give me the opportunity to test the design without all the baggage of a very difficult onboarding, and then summarize all 4 games in my Rating & Review article.

6 Comments