We’re back for the 5th time on Field of Fire, for a scenario that I expect to be more straightforward: no mountain path, no landing, no night – just the traditional town to clear, in this case Balleroy. Historically, Balleroy was liberated by the first division between the 11th and the 12th of June, so once again this is a historical battle, at least in terms of context.
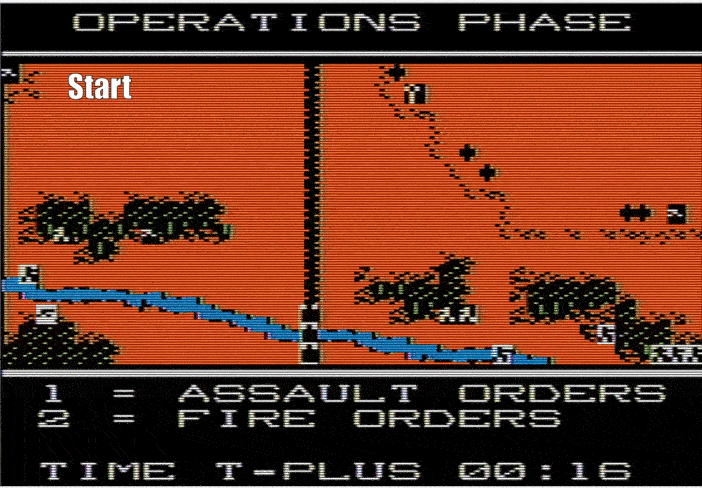
The map is divided in two parts. First, I must first pass through a funnel of trenches and high points, the latter represented by those crosses on the map. After that, I will have to clear the town itself. I have 2 hours for this mission, which seems short. I will have to move fast and break things – ideally mostly German things.
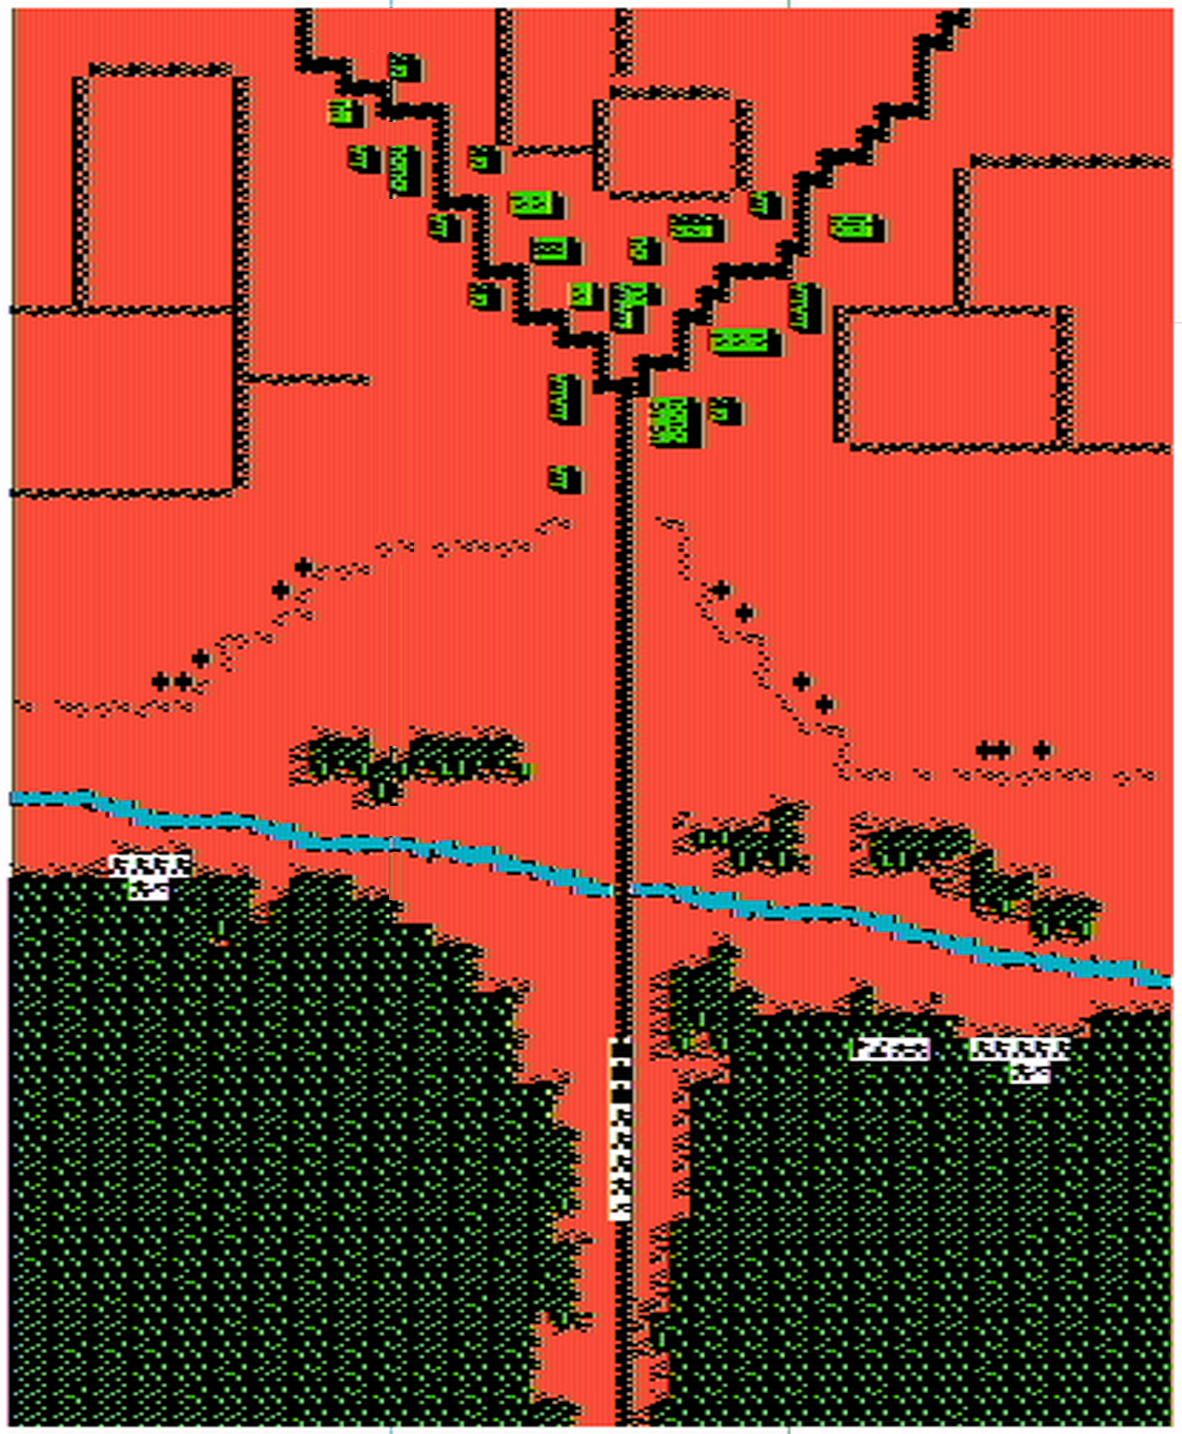
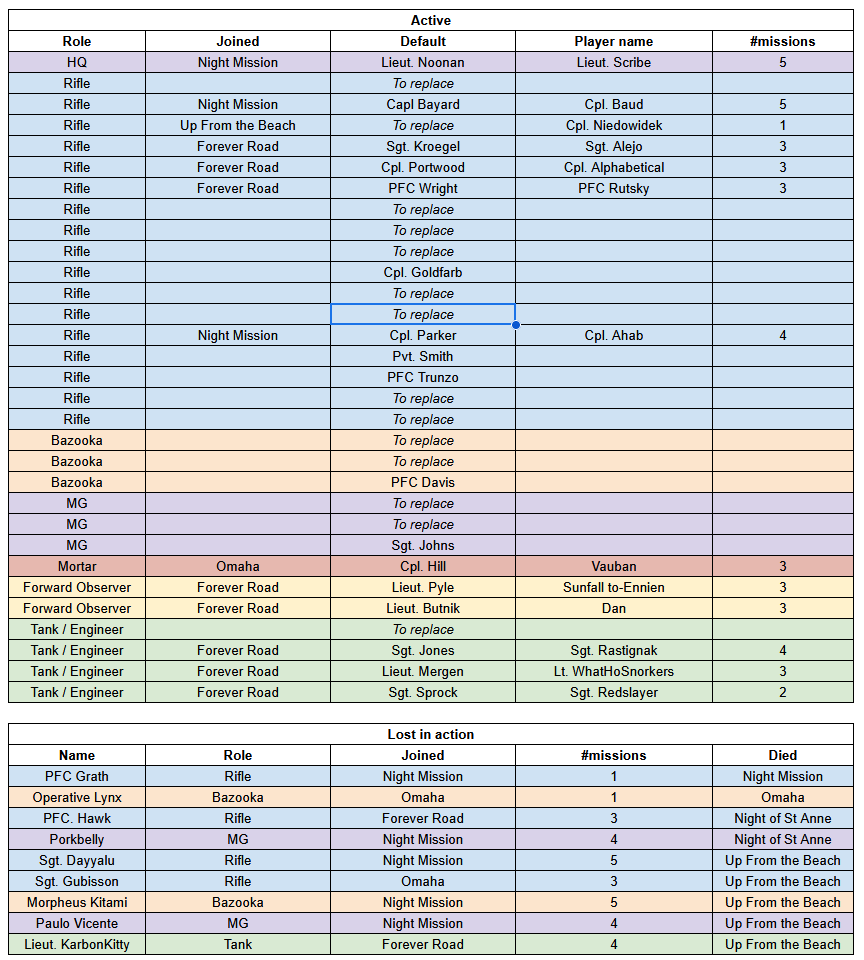
My forces are divided into 4 groups:
- On the left, a group with 4 rifle squads (including Gubisson), 1 MG squad (Paulo Vincente’s) and one bazooka squad
- On the right, with the same composition, with Ahab at the head of the only named squad,
- In the centre, the main force with 3 tanks, 3 more rifle squads (Dayyalu’s, Baud’s and our newcomer Niedowidek), 1 bazooka squad (Morpheus Kitami) and one MG squad,
- Finally, there is an HQ group with my HQ squad, Vauban’s mortars and our artillery spotters (Sunfall and Dan). You won’t see a lot of Vauban, who will hold his starting position and pummel whatever needs pummeling until the end of the battle.
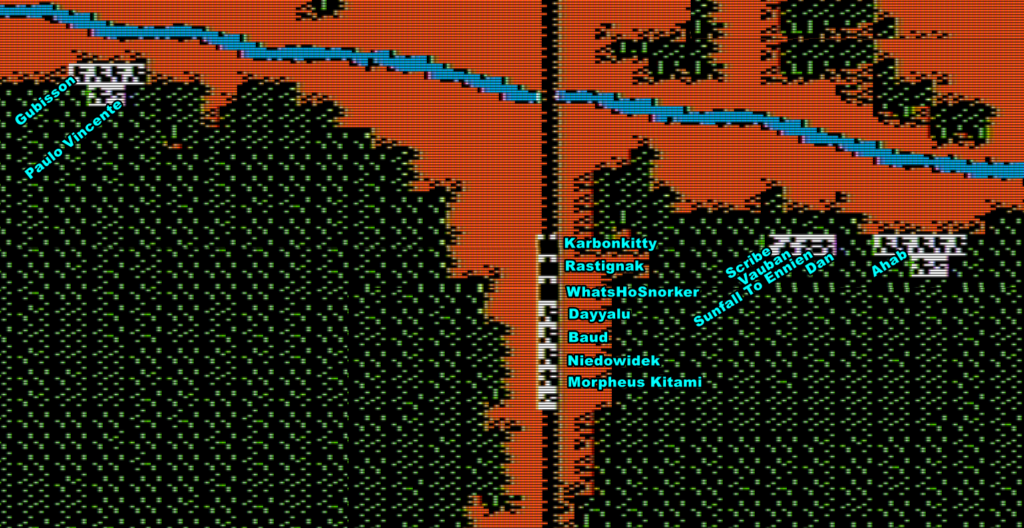
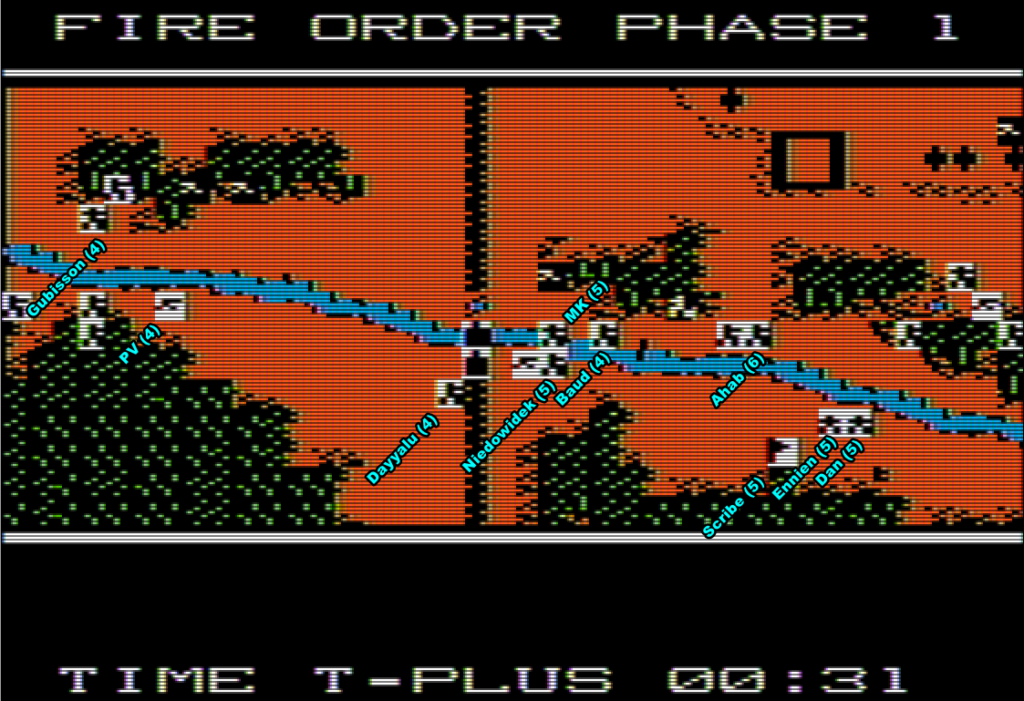
I don’t like having the Gubisson/Paulo Vincente group so much to the left, both because it is unsupported and because I don’t want to scroll to see what’s happening to it, so I order it to move laterally toward the main road. However, they’re engaged by Germans hidden in the trees on the other side of the stream, in addition to a machine gun firing from the fortifications far behind.
My tanks are moving forward in support, while my right flank (Ahab’s group) crosses the stream and enters the small woods on the other side almost unopposed. Suddenly, German infantry starts shooting from the woods in the centre, and an AT gun reveals itself and shoots at KarbonKitty!

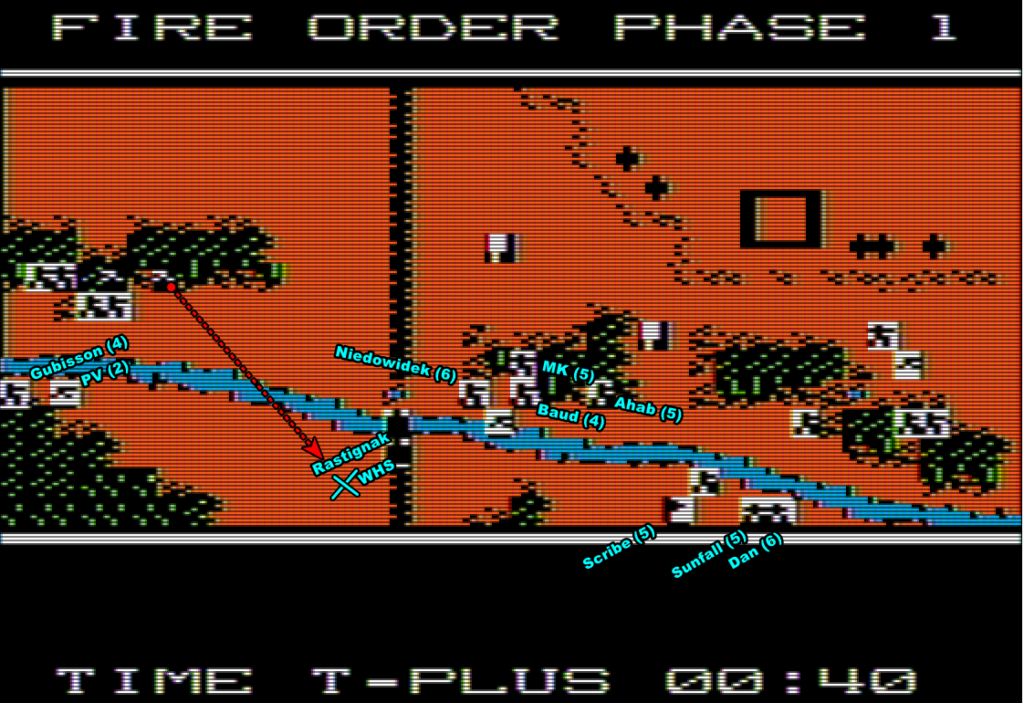
… and alas, before I can fall back and despite all my indirect weapons focusing on the enemy gun, the latter strikes true and destroys one of my tanks!
On the right, I progress quickly, but on the left and centre, there are a lot of machine guns, alternatively pinning and suppressing my men. My support units being focused on the enemy AT gun, I decide to advance my infantry for a close assault!
The assault works as planned in the centre, but the Germans on my left are supported by their buddies behind the woods, so it’s slow. I fail to properly suppress one of the German machine guns, and Dayyalu, in open terrain, is killed with his men. When I finally stabilise the situation, German Panzers join the fray and engage my centre.
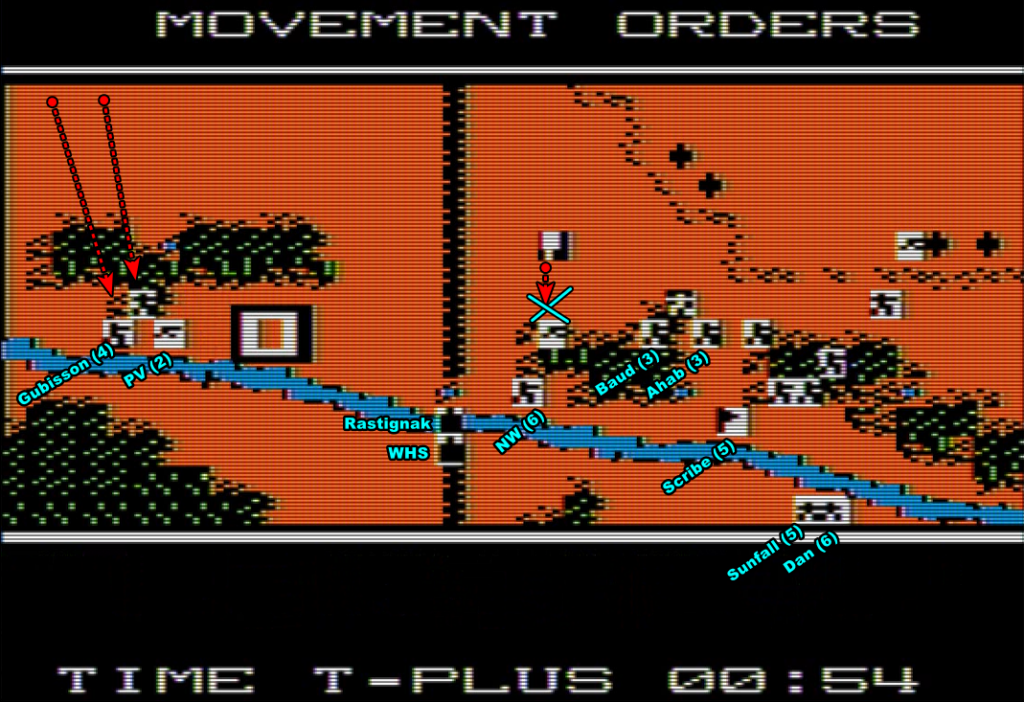
I am pretty confident the tanks are not going to be much of a problem. I destroyed them easily in the earlier battles, and here I have two tanks, two bazooka teams and my support artillery, so really it should be fine…
… except it is not. Morpheus Kitami, who had performed so well in the earlier battles, misses his shot and is then suppressed by one of the Panzers. Meanwhile, my squads on the left are mowed down and destroyed by the enemy MGs in the back.
To salvage the situation, I order Ahab to assault the right Panzer, because nothing counters the steel of a tank better than the steel of a bayonet!

Ahab’s sheer grit succeeds where HEAT shells and APCBC rounds failed, and one of the enemy tanks is removed from my list of problems – immediately replaced on it by yet another German squad that was hiding behind. Meanwhile, the remaining Panzer finishes Morpheus Kitami’s squad.
Worse! On the left, I had forgotten I gave Gubisson and Paulo Vincente, some 15 in-game minutes ago, the order to move into the woods. Thus far, the order had been postponed by a fire order: units having both a fire and a movement order shoot for two impulses before moving, with the impulses reset every time I interrupt the game. In the past 15 in-game minutes, I kept interrupting the game, so Gubisson and Paulo Vincente had not moved. Now that things are getting better on my left and the interruptions less frequent, they imperceptibly move toward the death zone in front of them.
Paulo Vincente is quickly killed, and Gubisson dies just as I destroy the second Panzer.
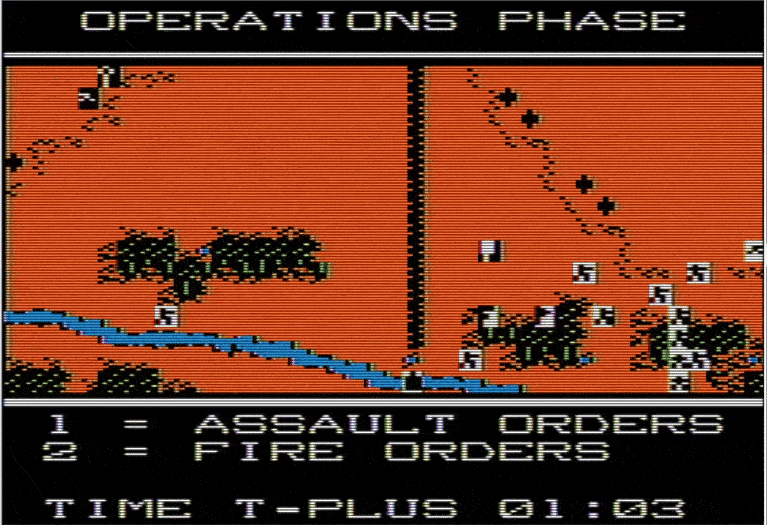
This is the effective end of the battle. I destroyed the remaining anti-gun with artillery, allowing my tanks to take out the machine gun. The town, which I approached carefully, was only defended by two squads of infantry that I easily destroyed, ending the battle after one hour and forty minutes of combat.
This battle has been a disaster, with 10 units destroyed, including 5 named ones. I basked in a false sense of confidence after Omaha, as I did not expect such a density of enemies so close from my starting position. I also moved faster than I should have, as I wanted to save time to clear the town. Finally, sending 6 squads into the left death zone was demonstrably unwise.
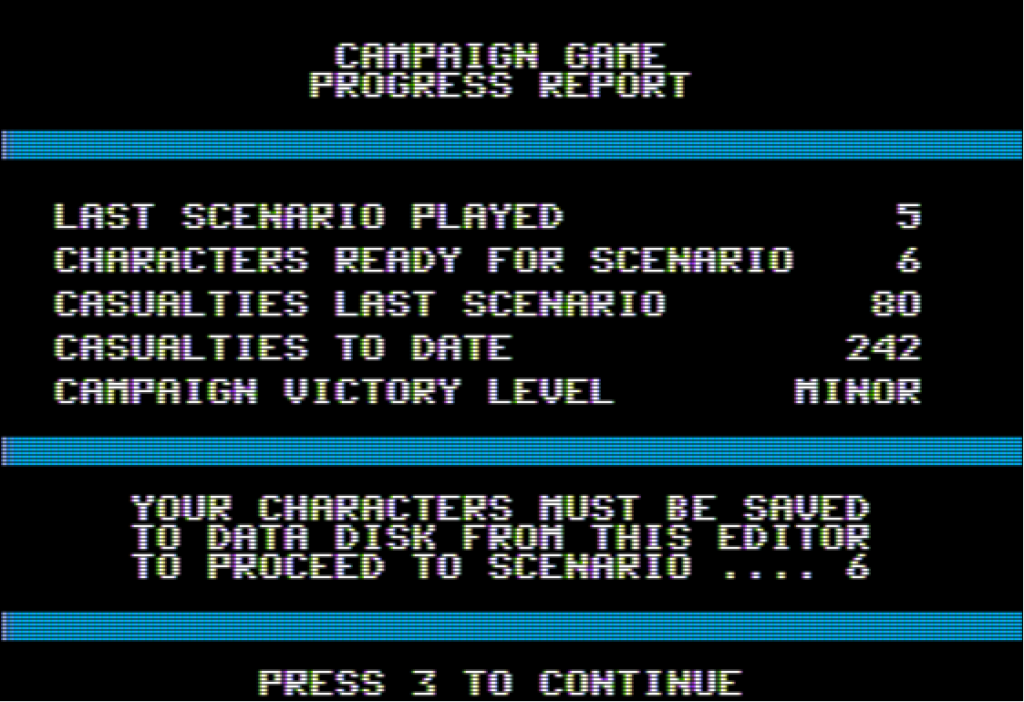
This disaster moved the needle of my campaign victory level from medium to low, and this time I can only blame myself. Oh, well.
On my side, I am also a bit tired with the Field of Fire AARs, so while I will play the remaining scenarii, I will probably wrap it up in a final update. I’ll make sure to report on the final fate of our survivors.
13 Comments
Found Balleroy 🙂
These AARs are very nice to read but I understand that they take a ton of time and each one subtracts time from other games (to say nothing of other, more important, life tasks). I’ll be happy to wait for the end report. Apologies to the fallen for my insufficient precision with the mortars.
At the beginning I was disappointed to have been left out of the fun… I and my squad certainly felt differently once the dust had settled!
I think you’ve given us a pretty good overview of what the game has to offer. A wrap up would be fine
This one was a nail biter!
Oh dear, what can we say, the war situation has developed not necessarily to our advantage, ooops.
The bocage country is not a good place to be. Excellent read, and a wrapup (with a “Where Are They Now” ending!) would be a lovely way to finish the review.
Hi guys, what did I mi- GOOD LORD!
I’ve enjoyed this AAR, but it’s understandable that it’s giving you fatigue. I hope you can at least reach a satisfying score by the end of the campaign, best of luck!
For some reason I replied to you instead of posting a new comment, oh well…
Like in War Thunder, World of Tanks and other games of this kind, here it seems I’m more of an artilleryman than a tanker. Gimme a 150mm, keep the armor. 😉
You sure this mission wasn’t on the eastern front? Seems like this one turned into a meat grinder.
“Nothing counters the steel of a tank better than the steel of a bayonet” – it was glorious! 😀
I’m happy I survived my first mission.
These AARs are great.
I’m pretty sure I played this game on C64 when I was a kid but I didn’t understand much then.
Fascinating read as ever, thank you. Nothing else to say other than scenarii is my new word for the day.
You made me double-check, and it’s “scenarios” in English and either “scenarios” or scenari” in French. “Scenarii” is a hypercorrection in French and a spawn of Satan in English.
I’ll keep it as is in the AAR so the comment makes sense.
1: Sid Meier’s Civilization always taught us that under the right circumstances, spear beats tank.
2: I approve of creatively idiomatic grammar abuse.