Part of my series on national beginnings: Spain – Argentina – Uruguay – France
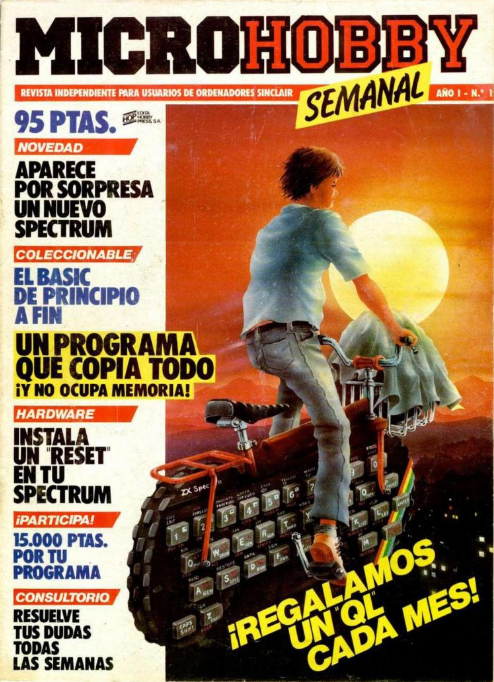
My next article is going to focus on Mapsnatch (1984), the first Spanish game to be covered on this blog, but certainly not the last. It seems hard to believe today, but in the mid-80s Spain was one of the leading European producers of software, with some sources claiming that during this edad de oro del software español it was second only to the United Kingdom. It’s a bold claim, but a quick check on the existing game databases makes it at least possible: checking the language of the games published in the 80s for their main platforms, I can confirm that Spain played in the same category as France, so the claim cannot be discarded. Alas, to say anything more, more research is needed.

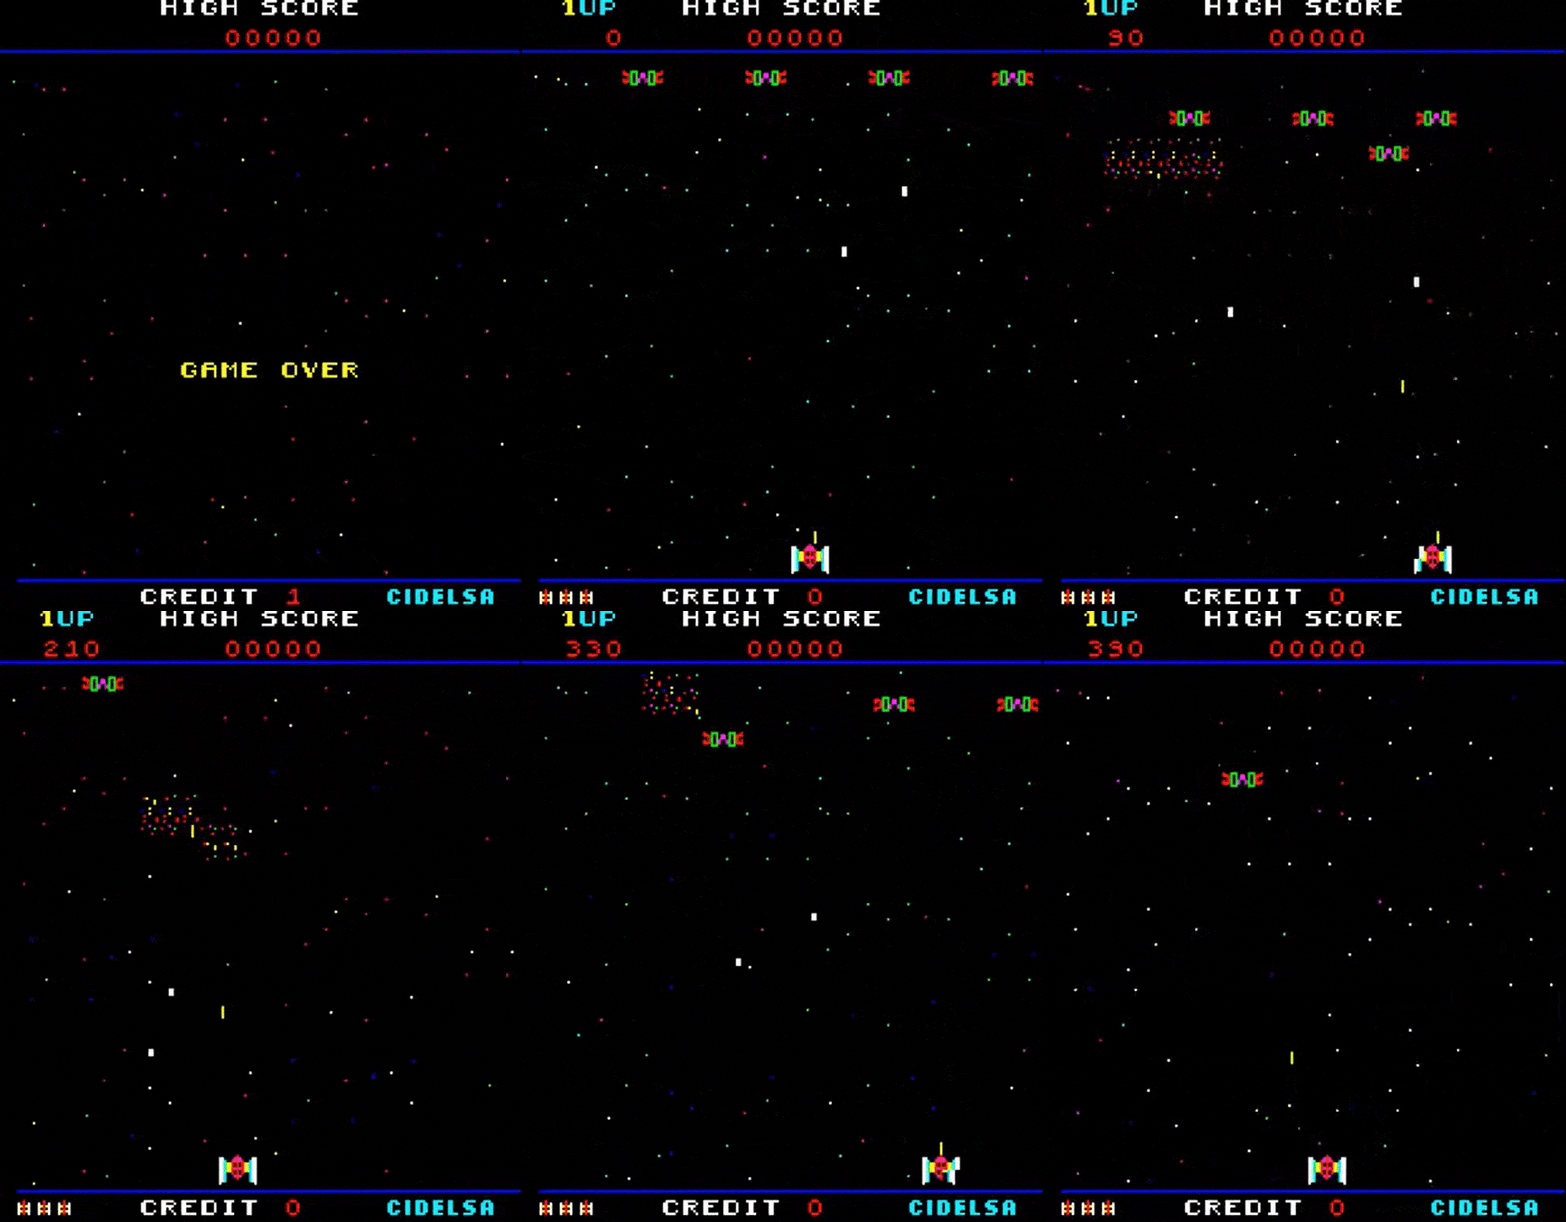
Those results are all the most surprising that, in 1981 and 1982, Spain was nowhere in terms of personal computers. There were, as everywhere, isolated initiatives to import machines and cater to a diminutive hobbyist demand, but prices were prohibitive, particularly as typically “importing” meant personally travelling to the UK, buying the computers (sometimes in retail), somehow transporting the products back to Spain and then selling them with a mark-up. Those initiatives did not scale, and could not scale really, as strict Spanish regulations around importation meant one had to be either too small to be noticed, or big enough to manage the red tape. As for gaming, it was limited to console gaming, with the initial Spanish-made devices like the Palson CX-302 swept away starting in 1981 by the arrival of the Atari VCS. In any case, and if we exclude a handful of arcade cabinet games made by Cidelsa (1980), all the commercially available games in Spain until 1982 were, according to all the sources I read, foreign imports.
In an unexpected twist, the boom of Spanish computing would come from something as mundane as textiles. In 1980, El Corte Inglès, a Spanish department store group, created Investrónica (from industria, vestidos [clothes] and electrónica) to support the modernisation of its clothing branch Induyco (from industrias y confecciones) with computer-aided design and manufacturing. For this purpose, Investrónica had developed highly specialized and expensive machine tools, but for less specialized tasks it had also learned to use a more generalist computer: the ZX-81, which had the right combination of availability and simplicity.
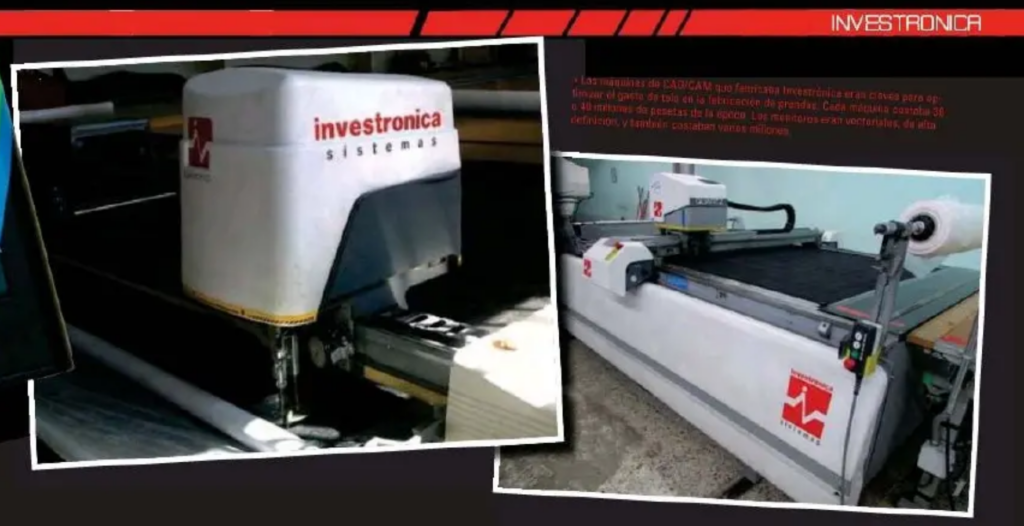
El Corte Inglès had the practice of letting its subsidiaries act independently, and so Investrónica was allowed to find external customers. It was, in this, successful beyond anyone’s expectations, not only for the specialized machines but also for the personal computers. In 1980, computers were difficult to import officially for companies, and even when they could, few would know what to do with them as computer studies were still gated in Spain, with only a handful of universities offering to teach computer sciences. Yet Investrónica could address both those problems by selling computers that had already gone through the import red-tape and teach people how to use them, including with fully translated manuals.
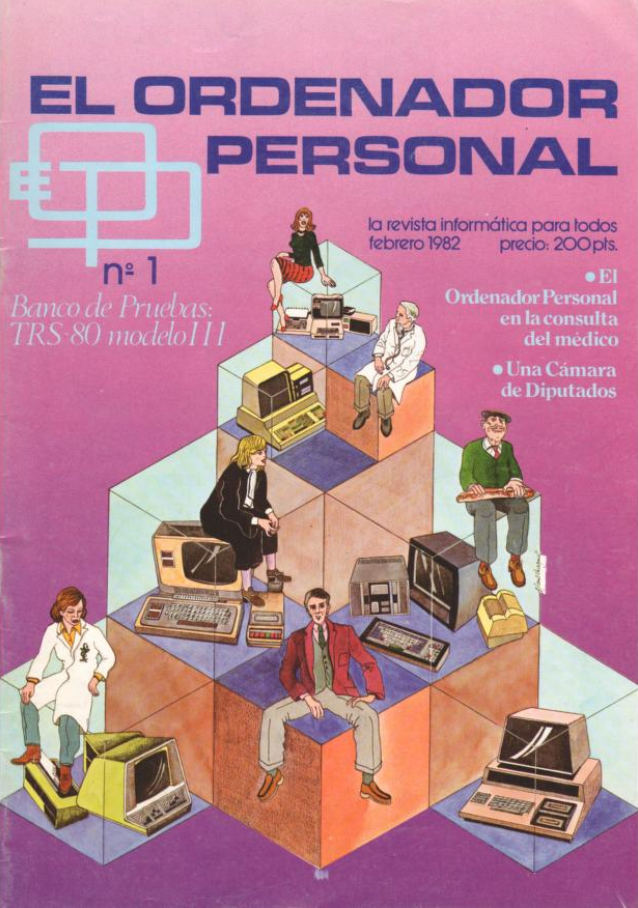
Investrónica did not miss the unique position it was in, nor did it miss the success of the ZX81 with the general British public, and so it chose an opportunistic move toward personal computing. After securing from Sinclair a distribution exclusivity for Spain, Investrónica approached El Corte Inglès to use its distribution network to sell the ZX-81 (late 1981). El Corte Inglès did not know what to expect, but accepted anyway. And just like that, one could find cheap personal computers in Spanish department stores. The operation was a massive success, with tens of thousands of ZX-81 sold. While this volume was not era-defining yet, it was enough to move computers out of the hobbyist niche and make them a retail item – after all you could buy those things while you were shopping for a new tie! Soon, the ZX-81 was distributed not only in the 16 El Corte Inglès but in roughly 200 electronics and computing stores, which all had to order their ZX-81 from Investrónica. At the same time, the first specialized books and magazines appeared, for instance El Ordenador Personal (January 1982) or El Mundo Del ZX81 (May 1982)
When the ZX Spectrum finally arrived in Spain in April 1983, the Spanish market was ready, and Investrónica knew it. Investrónica (now standing for Investment en Electrónica whenever their British partners asked) secured another exclusivity agreement for the Spectrum, and then went all-in. In addition to the expected magazine ads, Investrónica spent 14 million pesetas (roughly €600 000 contemporary euros) for two 20 second ad spots during the most popular Spanish show of the era: Un, Dos, Tres. The success was tremendous and this time era-defining: everyone wanted a Spectrum, and they were available everywhere – but almost always sourced from Investrónica, though some unofficial channels existed. A RetroGamer article even mentions that banks started to offer specific loans to buy a Spectrum, and in some case directly gave you one if you opened an account and immobilized enough cash on it! By the second half of 1983, there was just not enough production capacity in UK to cater for the Spanish market on top of the domestic demand. The situation allowed Investrónica to convince Timex (which produced the Sinclair computer in Scotland) to open a new production line in Portugal. It would remain busy for many years.
Now, let’s move back to gaming. As we know, there is a lot of subjectivity in determining “firsts”, both because people prefer the first of anything to be impressive, and because people prefer quoting one another instead of doing original research so whoever called “shotgun” on finding a first is usually confirmed by articles using him or her as a source. In the case of Spain, the consensus eschews the disappointing Destroyer and focuses exclusively on La Pulga (“the Flea”), which is narratively speaking an excellent choice for a first game, as its history showcases what went right for Spanish gaming.
La Pulga was the brainchild of two men from Extremadura: Paco Suarez and Paco Portalo. In 1982, Suarez, a former student in physics, had become an illustrator, while Portalo, still a student in physics, was struggling with his end-of-studies project. Frustrated by their lack of access to the university mainframe, both Pacos acquired a ZX-81 and decided to learn machine language together. While Portalo was finishing his end-of-studies project (a computer-controlled telescope), Suarez was having fun coding simple games (Hangman, Mastermind) and some other cool programs to show his brother. One of those cool programs was about calculating parabolas. This turned out to be more fun than expected (I suppose you had to be there) and soon Suarez and Portalo turned the software into a game by adding an objective (climbing!) and advanced controls (the longer the player holds a key, the further the asterisk/flea would jump). By spring 1983, they had a complete game. Now there was the question of distributing it. Who could do that?
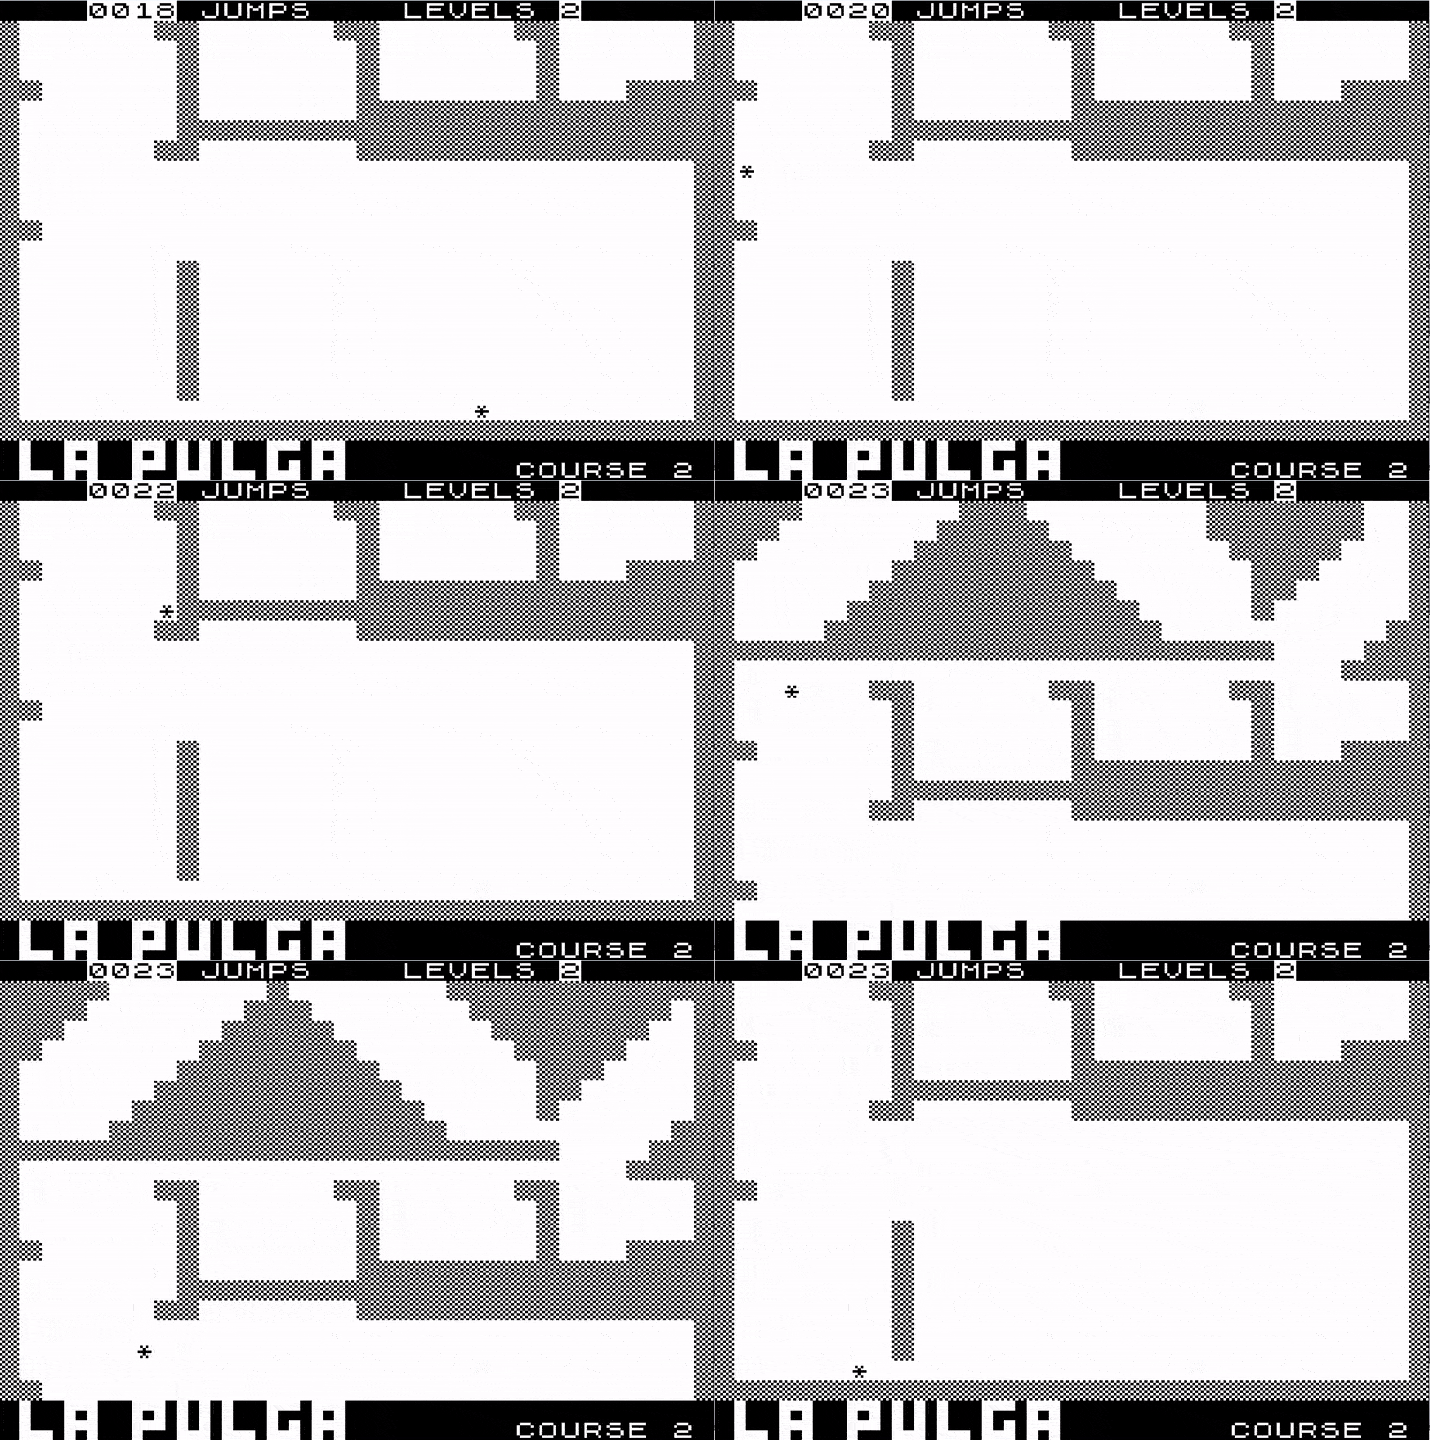
The game is Flappy Bird-level of frustrating.
While the two Pacos were having nerdy fun with parabolas, José Luis Domínguez, who was already at 26 head of sales at Nationale-Nederlanden, was having a revelation. He had sold everything from books to life insurance in his short but meteoritic career that started as a door-to-door salesman, but what sold best, he noticed, were English lessons. Digging into the concept, Domínguez wondered whether it would be possible, maybe, to plug a TV to, well, something, and then words would appear on the TV and help you learn English. He had no idea how that would be possible, but running the idea through engineers he learned that there were “personal computers” in United Kingdom that could do this sort of thing, and much more. Discovering a world he had been thus far been unaware of, he privately travelled to the United Kingdom, failed to meet with anyone from Sinclair which had just secured its exclusivity agreement with Investrónica, and so met with Acorn, who sold him 50 computers. After moonlighting to sell them door-to-door in Spain, Domínguez realized he could not scale in this niche due to Investrónica’s unbridgeable competitive advantage. Eager to create his own company, he pivoted to software. The plan was simple: what Investrónica had done for hardware, his new society Indescomp (from investigación y desarrollo de computadoras) would do for software. Returning to the UK, Domínguez signed distribution rights in Spain with British companies like Bug Byte or Quicksilva, opened two physical stores in Spain and started advertising.
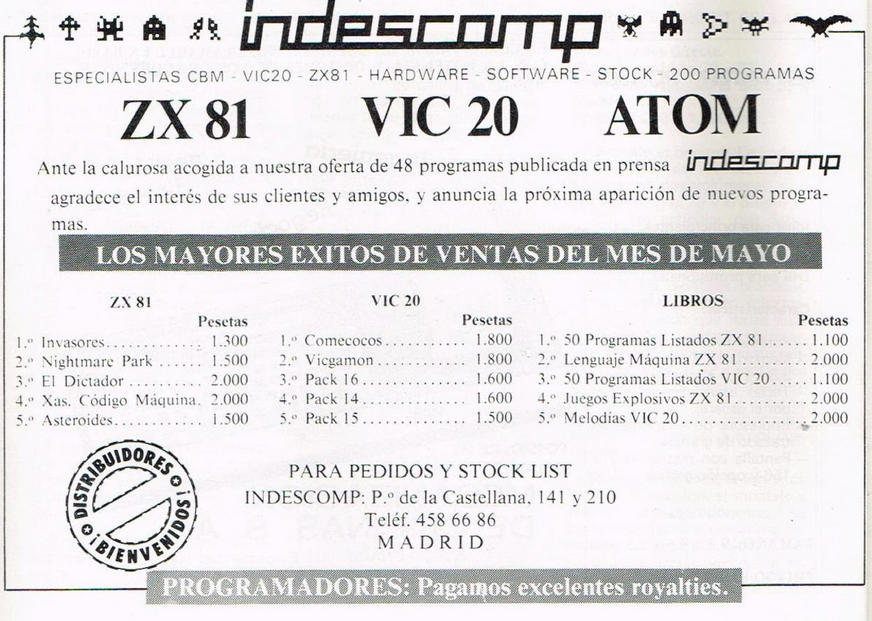
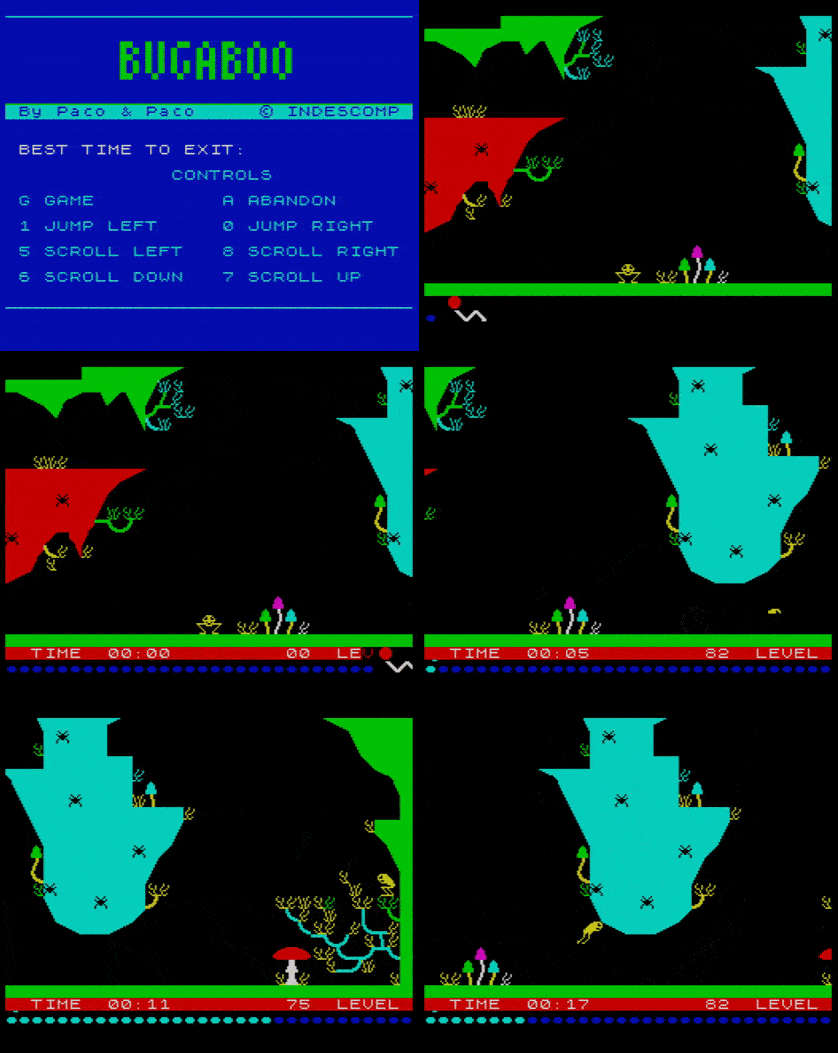
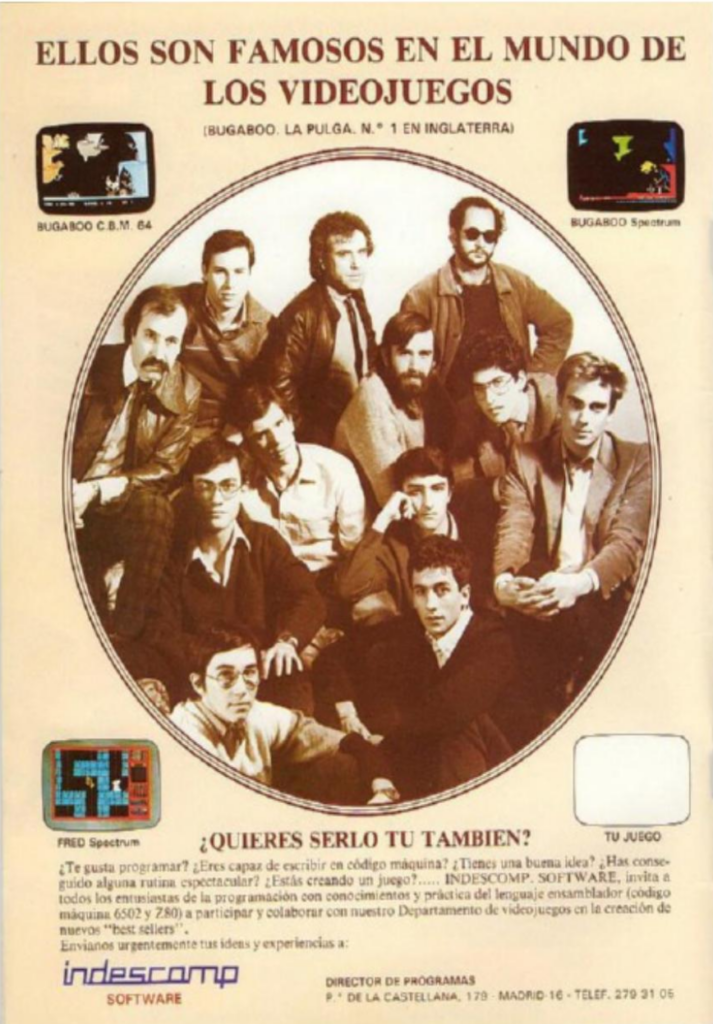
Paco Suarez found the ad, in particular the “Programadores: Pagamos excelentes royalties” part at the bottom, and sent La Pulga (and another astrology software, just in case) to Indescomp. Indescomp returned the call and requested to meet him. In Madrid, Suarez met Domínguez who promised to publish La Pulga, but also tasked him with creating a version for the newly released ZX Spectrum. Suarez set up in Madrid where he was later joined by Portalo, and both learned the new machine. The result, while still called La Pulga, shared very little with its ZX81 brother beyond the core mechanics of jumping: it had a few lines of story, an animated intro, a colourful environment and a dragon ready to ruin your efforts and send you back to the main menu. It was a great product for its time, as good or better than anything that came from UK, and so Indescomp turned to its British partners and asked whether for once they could be the one doing the exporting. Quicksilva accepted to publish La Pulga in UK under the name Bugaboo in November 1983. Bugaboo received critical acclaim and massive sales – as the story goes, enough for Paco Portalo to buy a new house. Paco & Paco, as they were known at this point, would later port the game on Amstrad CPC and Commodore 64, and receive yet more royalties.
I don’t believe La Pulga was really the first non-arcade Spanish commercial game; Spring 1983 seems awfully late given the ZX81 had been widely available for all of 1982, and the first issue of El Mundo del ZX (May 1982) was already selling through mail-order, in the middle of various English-named imports, a game called “Mision Suicida“, now lost media. However, La Pulga kicked off what was retroactively called the Golden Era of Spanish Software, an era where creative 8-bit games coded by creative locals could sell plenty not only in Spain but oftentimes even more in UK. In truth, the British market became the ultimate target for many ambitious Spanish developers and publishers, as its royalties, meagre as they were for a British person, could get you a long way in Spain. This made the threshold for success relatively low, just at a time when the Spanish unemployment rate (oscillating between 15% and 21% in the decade) was soaring. As for the British companies, they were all-too-happy to publish games that had been battle-tested in another country – nowadays we would call that a soft launch.
Investrónica would continue to define the Spanish market and beyond (we owe them the ZX Spectrum 128, and they also created their own brand of computers), but I don’t think I will cover them any further. Indescomp, on the other hand, will most certainly return, but in my next article, I will cover the disappointing Mapsnatch and the beginnings of one of the most important Spanish companies: Dinamic Software.
Sources
- Ocho Quilates, una historia de la edad de oro del Software español, Jaume Esteve Gutiérrez. It covers a lot of ground, but also includes many obvious mistakes.
- Investrónica, el pulso español del Spectrum, initially published in RetroGamer [Spanish] #27
- El constructor (1984): Un LEGO español para el ZX Spectrum, El Pixel Blog de Pedja, in Spanish. It includes a short description of Ventamatic, a pre-Investronica “non-official” ZX-81 channel of distribution
- Video Games around the World [Spain], Manual Garin and Victor Manuel Martinez
- La Pulga, RetroGamer [English, Buenos Aires], #91
- Bugaboo, un hito en la Historia del Software Español, Francisco Portalo Calero – includes a lot of documents on La Pulga, including design documents, if you’re really into parabolas.