[Color Computer, Ark Royal Games]
One of the surprises of my paleo-wargaming journey so far is the dearth of games belonging to the tactical genre . While computer wargames on PC started with Tanktics, there have been relatively few games of what I call small-scale tactics (base unit: infantry squad or individual vehicles) after that. To take only non-Sci-Fi games featuring infantry units, we only had:
- Panzer-Jagd, which was terrible,
- TAC Tactical Armor Command, which was not terrible but was sluggish and featured an insane UI,
- Close Assault, which was good but required a board and counters.
If you extend the definition of “small-scale tactics” to games whose base unit is the individual soldier (what I call “squad tactics”), you could add one game in the “terrible” category (Paras) and another in the “sluggish and insane UI” category (Computer Ambush), and that’s it for the subgenre.
In November 1984, Phil Keller and Ark Royal Games pretended none of those precursors existed and announced in an advertisement in the Color Computer magazine Rainbow “They said it couldn’t be done — a SQUAD LEVEL wargame on a computer — but we’ve done it.” Let’s check whether they were right.
Company Commander shipped with 12 scenarios, and for the purpose of this AAR I chose the first battle of Tobruk in January 1941, during which the Allies (in particular Australians) seized the fortified city and captured more than 20 000 Italians.
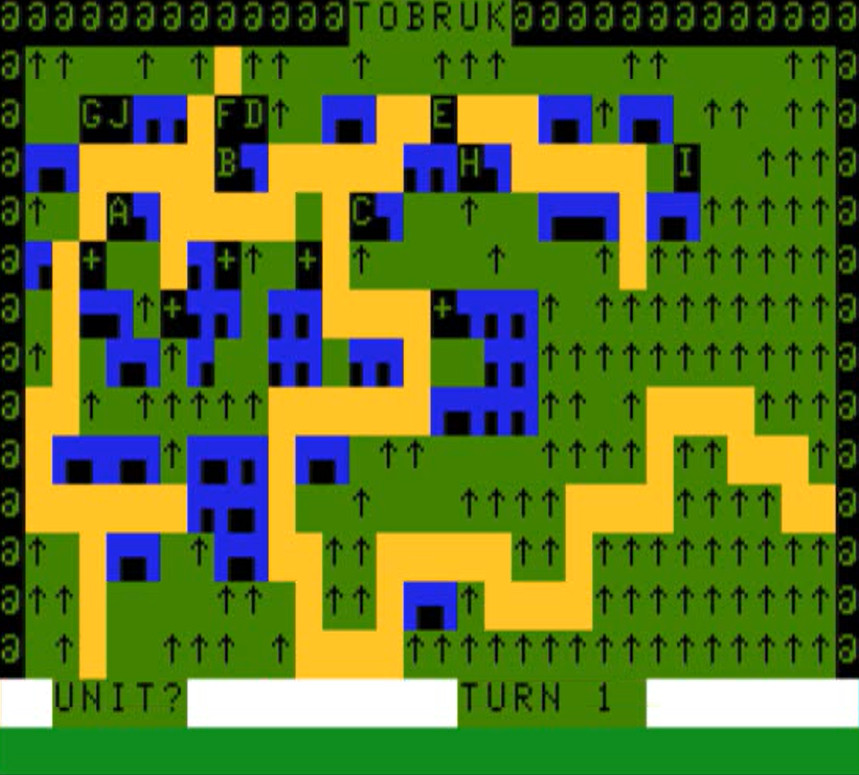
As you can see, Company Commander is the least visually satisfying tactical game I have played since Computer Ambush, as each of your units are represented by a letter. I can call a menu to have more information:
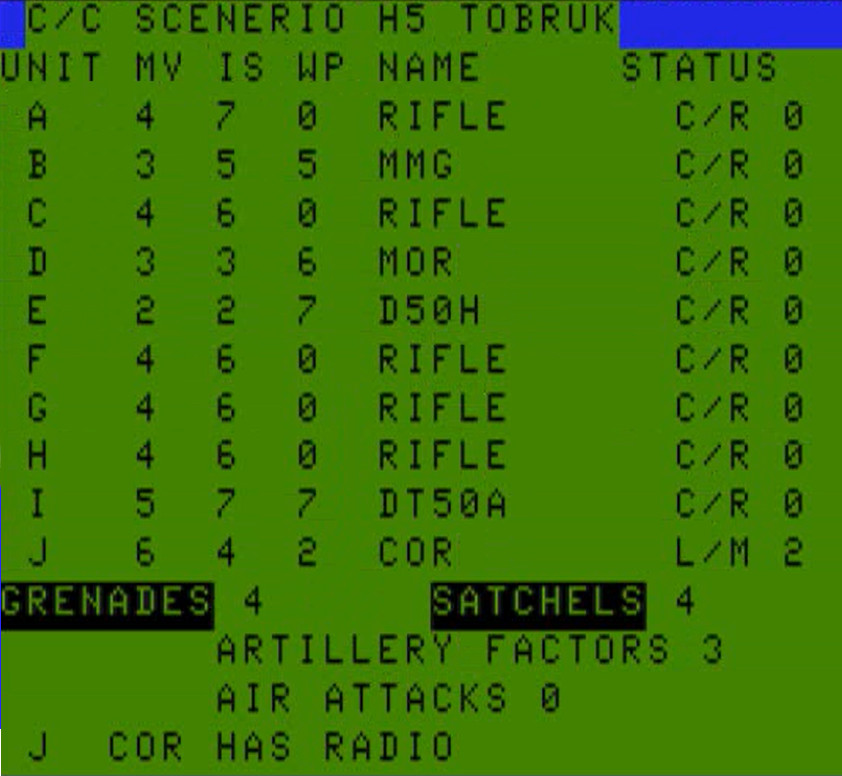
This screen requires some explanation. “Rifle” is self-explanatory. MMG is for “medium machine gun”, MOR for Mortar and COR for Corporal – myself, Scribe. DT50A is described in the manual as a “50 mm tank”. Assuming this is the size of the gun and not of the tank itself, I have no idea what it could be in the British arsenal, given that in 1941 the largest British tank guns were 40 mm, and later they directly jumped to 75 and 76 mm. As for D50H, the manual does not mention it. I initially supposed it was also a slow tank, but writing this AAR I just realized it probably represented a British towed 2-pounder. That’s why I wrote “Tank [fast]” in the screenshots – I initially believed I had one slow and one fast tank.
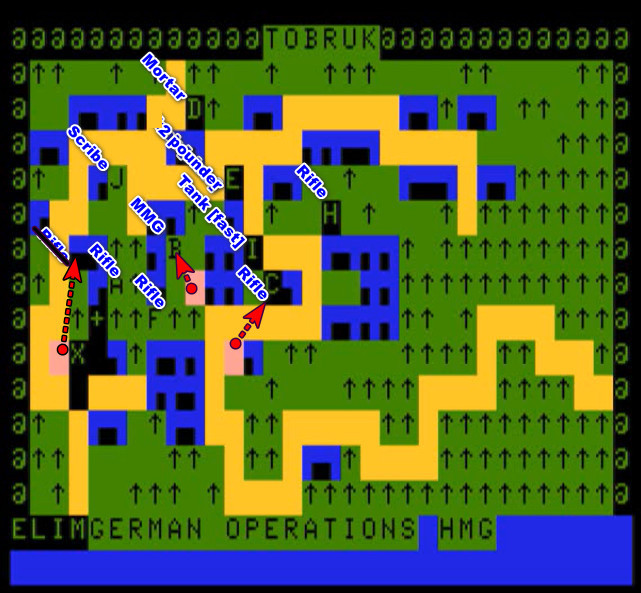
Returning to the tactical map, with a legend added. I have 7 turns to take and hold the target square while losing fewer than 1/3 of my IS points.
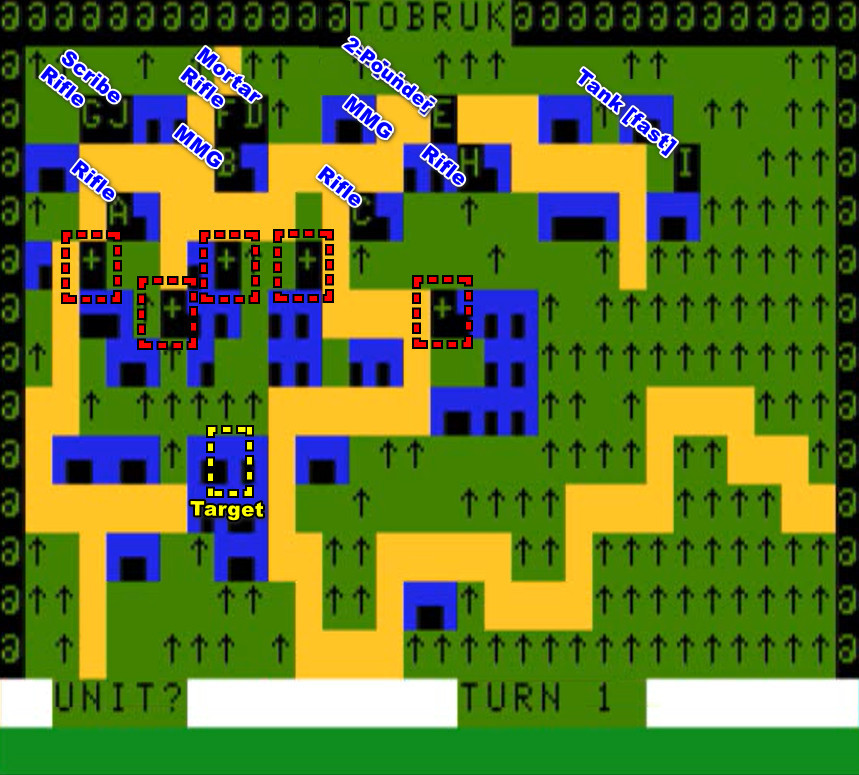
There are 5 Axis units with a direct view on my men, and my first priority is of course to eliminate them. The one on the left is easily eliminated by a combination of grenades (range: 1, the 4 I have are shared by all my soldiers so someone in HQ was stingy) and rifle fire. I eliminate a second one with indirect mortar fire.
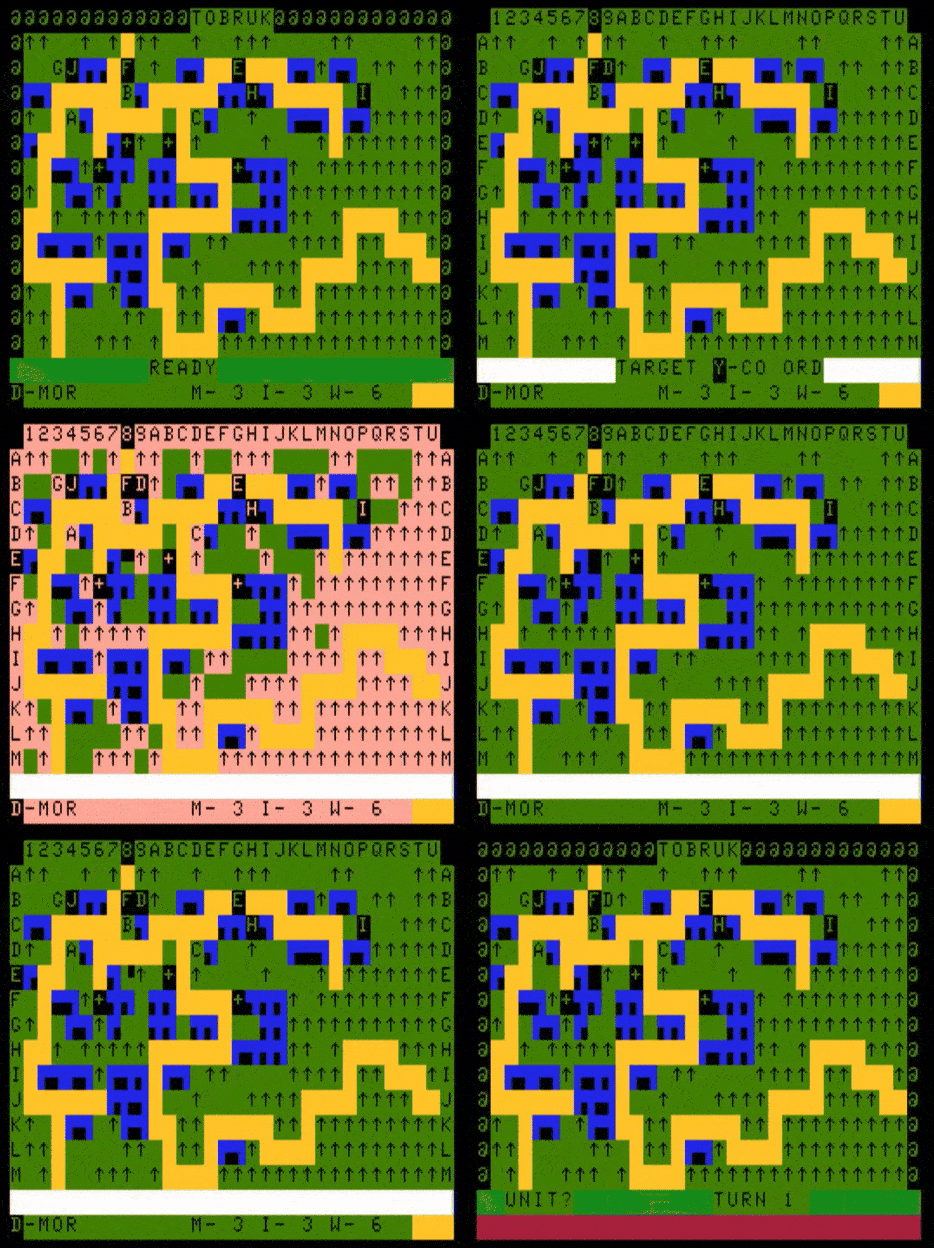
Meanwhile, the Italians gets to shoot at my units automatically every time the latter move within their field of view.
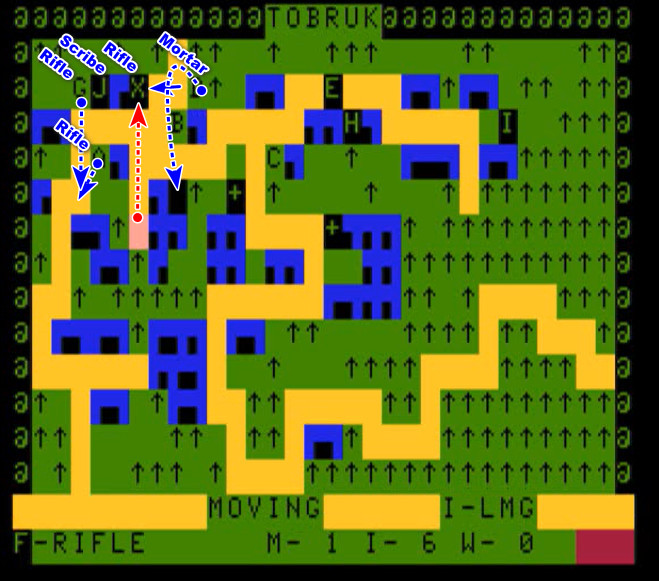
Additionnally, the Axis often interrupts my turn to play. Sometimes, they don’t do anything I can see, sometimes they move one unit, and sometimes all their guns fire!
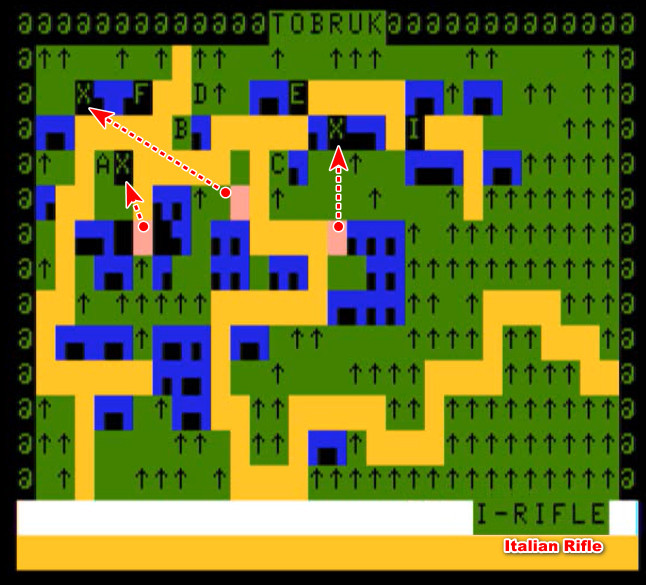
As I said, the game is really not visual: when you shoot at a target, the game does not tell you whether you hit or missed – it just acknowledges you shot at a target. Given I don’t have much to show, let’s make it short: using my centrally located machine-gun, mortar fire and my 3 available artillery strikes (which can only be ordered by my “personal” unit), I remove the initial Axis units by turn 3.
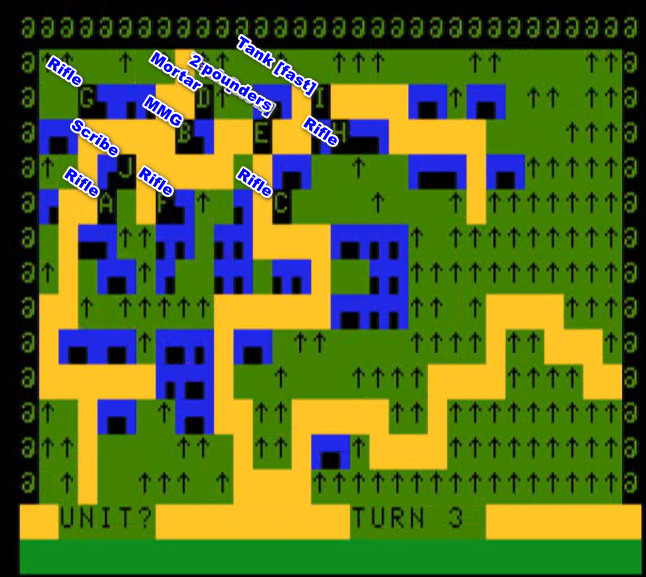
It’s a good start – I barely lost anything and I have removed roughly 40% of the enemy force.
Progress toward the center of the city is more difficult however. I find out that, unlike what you read in history books, the Germans committed troops in the defence of the city – one month before the arrival of the Afrika Korps. My first unit is eliminated by a German heavy machine-gun.
Worse! After some riflemen reached the target square, I commit my tank to mop up the survivors, but it is ambushed and destroyed at close range by a Panzer II!
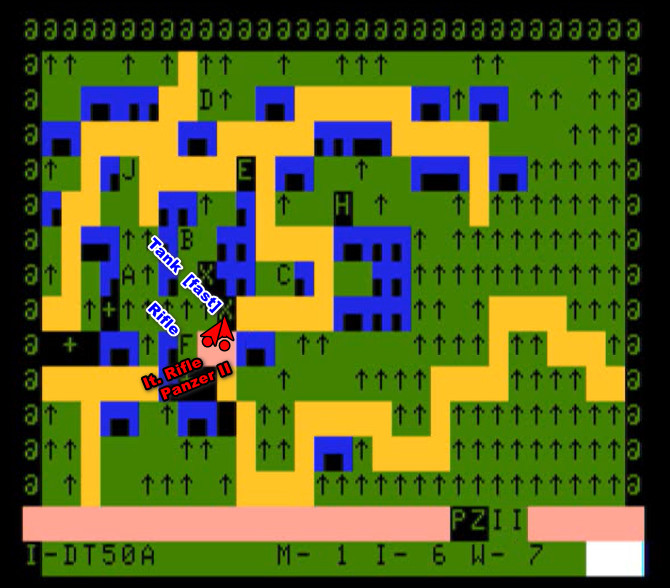
The Panzer II then attacks, easily destroying my gun and then stopping in front of my machine-gun, which it does not manage to destroy. I spend some time shooting at it with everything I have until a mortar shell destroys it turn 5.
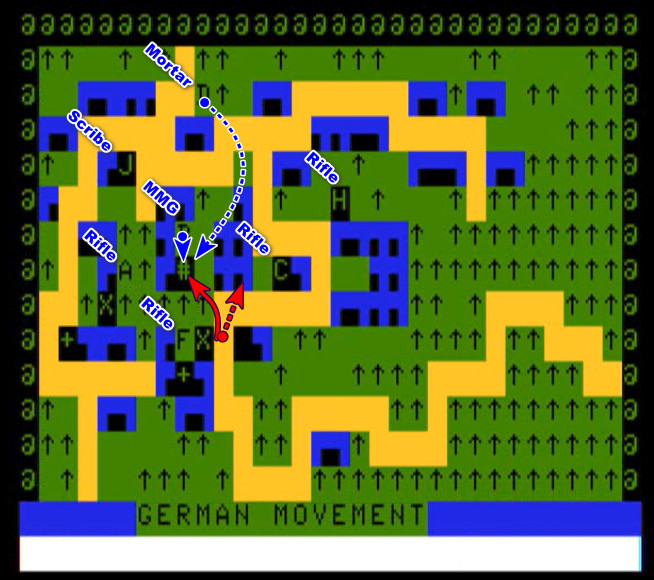
Unfortunately, the Panzer II, in addition to occasional shellings from an Axis mortar, destroyed a good number of my IS, and victory is now out of reach:
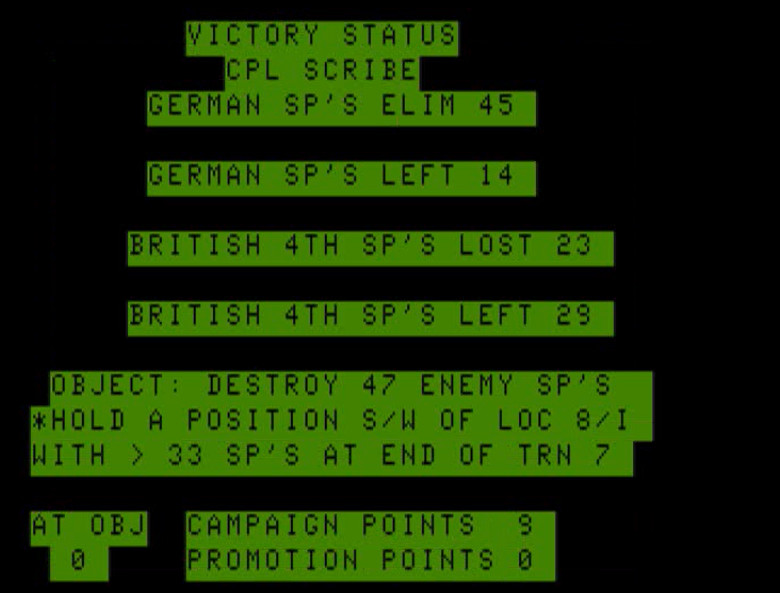
The last two turns are spent shooting a German rifle squad next to the objective but I never manage to eliminate it.
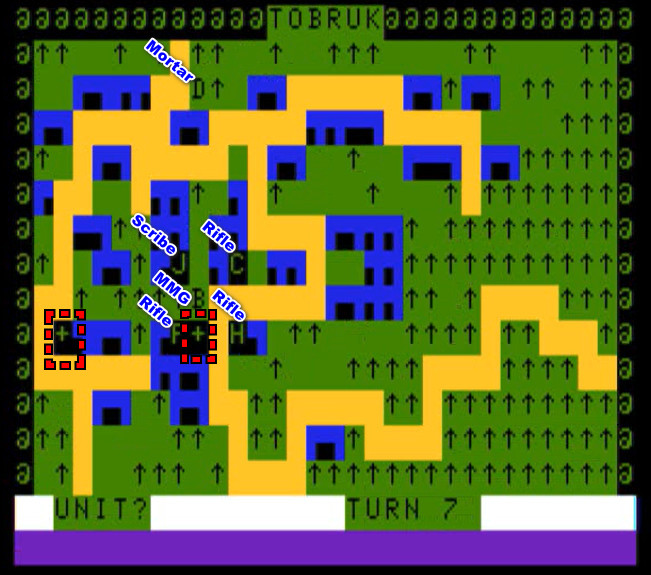
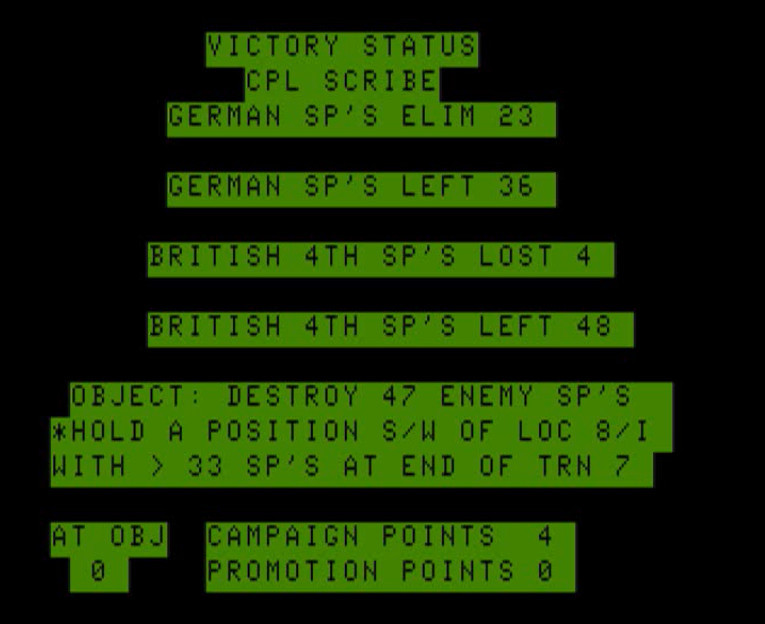
It is a defeat:
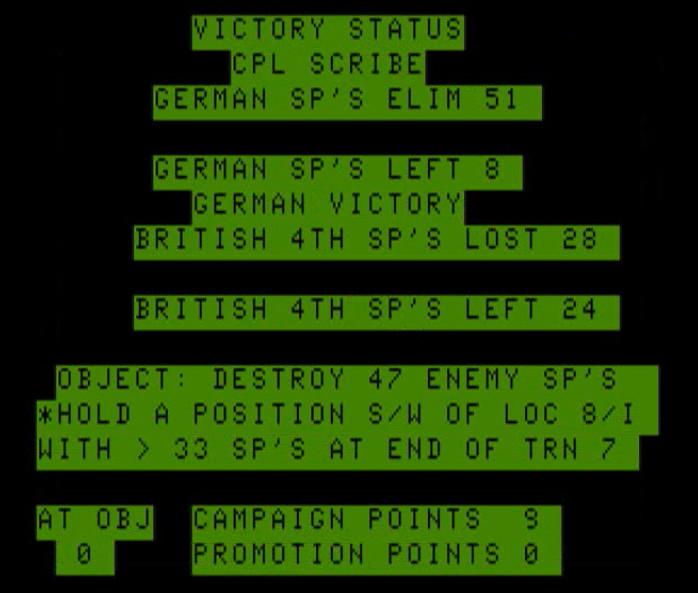
This was pretty close. I feel I was correct in spending all my artillery strikes to quickly clean up the initial defenders, but my advantage made me overconfident and even cocky. I did not expect to meet a German tank either, and I lost my best asset stupidly. Apart from that, I should probably have kept my forces more grouped (flanking on the West was useless, given the ruleset, and I just fed the German killcount), but really it’s losing the tank that moved the needle in points from “victory” to “defeat”.
I know the game does not look impressive in the way I describe it, but my AAR does not give Company Commander justice: it is way worse than that, and the battle of Tobruk was, by far, the most interesting session out of 6 battles.
Ratings and review
Company Commander by Philip Keller, published by Ark Royal Games, USA
First release: November 1984 on Color Computer
Genre: Small-scale tactics
Average duration of a battle: 1 hour or more
Total time played: 5 hours
Complexity: Average (2/5)
Rating: Totally obsolete
Ranking at the time of review: 104/154
Context – As with all the other Ark Royal Games and its founder and main designer Philip Keller, I have so little to say about the context in which this game was released. However, the manual of Company Commander gives some information on Keller’s ambitions for the game. After incorrectly asserting that “Company Commander the first of its kind, a true tactical level wargame on any computer system”, Keller explains that “its unique design allows for expansion modules unlimited in scope. Eventually, we hope to provide a game system that will incorporate into one game, at the player’s option, every facet of tactical infantry combat in WWII.”
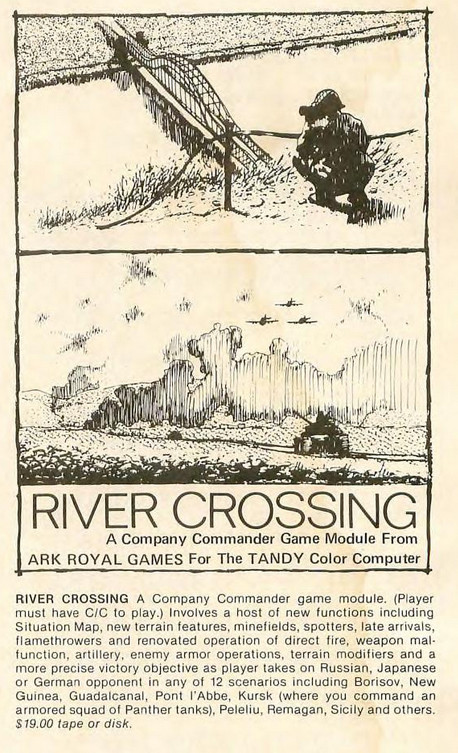
I have often read similar ambitions of continuing the game through expansions, but Keller did deliver: Company Commander would eventually go through 3 versions (1.1, 2.0 and 3.0) and feature 5 modules: House to House (the default one I played), River Crossing (July 1985), Gemini, Cauldron and Beach Head (all 3 in July 1986), in addition to a scenario designer (November 1988!). Alas, the 3 latter modules are now lost, as is the v3.0 version of the game and the scenario designer. The AAR is based on the 1.1 ruleset, but the manual of the 2.0 version has been preserved and I tested a full battle. There are many small differences, but only one (explained below) really changes the flow of the game, so I won’t cover them at length.
Traits – All games involve some balance of “realism” and “design”, but Company Commander managed to keep realism where it is the most frustrating, and to overdesign where it adds little to the game.
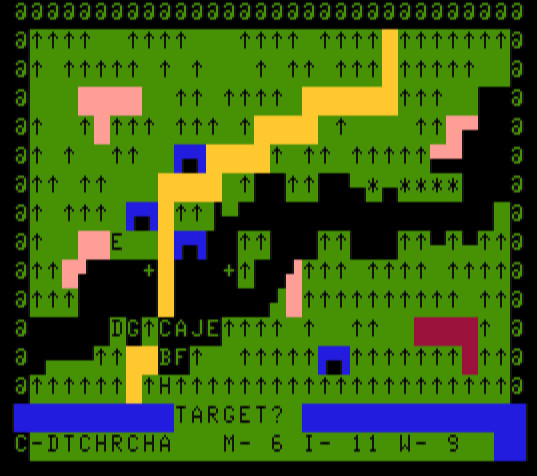
Company Commander is a two-impulse game: in the first phase of every turn, units can either move or shoot at full capacity, while in the second phase (called “Advance”) units can either move one square or shoot. While the player moves, they can be interrupted by opportunity fire by the computer or “German operation”: the move (or attack) or one or several German units, a feature already present in Keller’s Guadalcanal. Frustratingly, in Company Commander, German operations can follow a check of the situation map (only in v2) or a cancelled order: for instance after trying to shoot a target without line-of-sight. Worse: there is no limit on how many times a given unit can be activated by “German operations”, and as the enemy accrues losses it will fall more and more on the same units, allowing stuff like a Panzer II joy-ride in the middle of your lines. Can it get more frustrating? Actually, yes! German operations can end your turn altogether, which in one case happened to me after I selected a unit and then cancelled the selection! Thankfully, this dubious “feature” was mitigated in v2 where it can only happen during the advance phase.
We are already in pretty frustrating territory, but wait until you hear about the shooting. Company Commander features four different kinds of shooting:
- “Coordinate fire” is the default attack mode. It requires a line-of-sight (LOS), but can be used against an “empty” cell just in case, and slowly grinds down the enemy – or sometimes does not do anything at all.
- Direct fire is only available to tanks and guns, and not in advance phase. It requires a LOS and a visual on the target, and has a chance to destroy the target immediately, but does not grind it if it misses. I never destroyed anything with Direct Fire.
- Combined fire is an order that can only be given by a NCO or CO (the only one was myself in the AAR). It makes all the available units adjacent vertically and horizontally to the leader shoot at a target he can see, using both “Intrinsic Value” and “Weapon Strength” (instead of just either IS or WS). The manual tells you it is devastating, but in practice I did not find it that useful: the Weapon Strength of most units is 0 and it is tricky to position your leader in a way where he can combine the force of 2 or more units. And just to be sure you don’t try too hard, “combined fire” is not available during the Advance Phase,
- Finally, pinning attacks don’t do any damage but remove some of the 7 (in max difficulty) “opportunity fires” every enemy unit has. This sounds useful, except that German operations are not affected, and if you move carefully that’s how you will receive most of your damage.
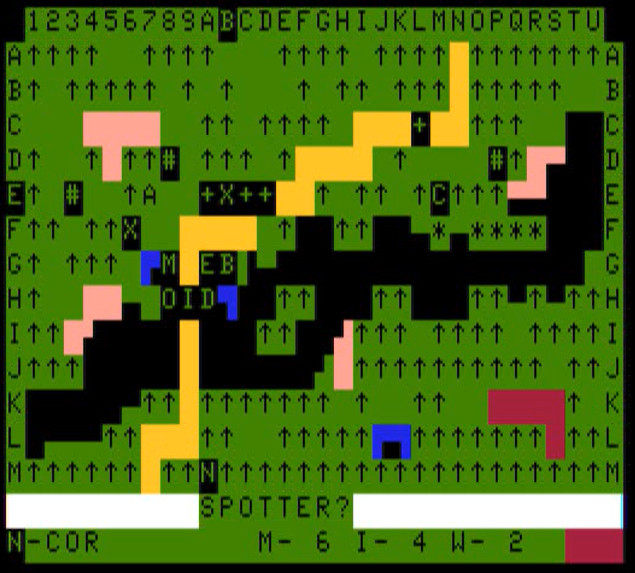
Given the ruleset, most of your time will be spent using coordinate fires, which means inputting coordinates every time. This effort will go unrewarded as you will never receive feedback on the results of your attack and whether you hit or damaged an opponent – not that you often do, as they have a supernatural resistance to bullets and explosive ordonnance even at medium difficulty. For an additional, innovative, layer of frustration, the game will oftentimes put a “X” marker on the location you are shooting. This marker will be randomly removed later, but meanwhile you don’t know whether you destroyed your target, and even if the unit has disappeared after the marker is removed, for all you know it may have just moved away during a German operation. This may be realistic, but it’s frustrating, and I am salty about frustrating “realistic” features when the game also includes features like a centralized grenade stockpile and the capacity for units firing under “combined fire” to shoot at targets behind a wall, provided the leader has a LOS.
Finally, I should add Company Commander includes a “Campaign Mode”: your character starts as a Corporal and can gain experience, stats and ranks battle after battle. That could have been a great feature if the game did not feature only one map by module, with the scenarios happening on this map covering battlefield going from North Africa to the Pacific. I suppose one can build something cool if you have the 5 modules and thematically cherry-pick the scenarios, but else you are stuck fighting for the same village that moves from Bastogne to Berlin to Tobruk, one time as an American Corporal, the next one as a Soviet Sergeant, the third one as an Australian Lieutenant,… I was not interested.
Did I make interesting decisions? Yes, particularly on how I moved my units and on where to allocate my limited grenades and offmap assets (artillery, air strikes).
Final rating: Totally obsolete. Company Commander has very high ambitions and a lot of scenarios, and I wanted to like the game – I played 6 different battles at several levels of difficulty – but it is just too frustrating and unrewarding to play. I am sure I could learn to play it better, but I don’t believe it could ever peak very high even after I spent tens of hours on the two maps that are available today.
Company Commander received the usual Rainbow review in January 1986. For once, H. Larry Elman, who had praised the mediocre Battle for Tunis and the terrible CINCPAC, seems definitely miffed: “The instructions supplied are so disorganized and jargon-filled that I almost quit before I even started playing“. I’ll argue that the instructions would not have been such a sore point if the game had been more playable. Looking for something nice to say about the game, he writes the faintest praise I have seen in a long time: “There are, however, some nice touches. For example, diagonal movement is allowed to both sides” […] The game plays faster than most of its [peers]; there are no “game save” features needed or supplied.“
Maybe they were right after all.