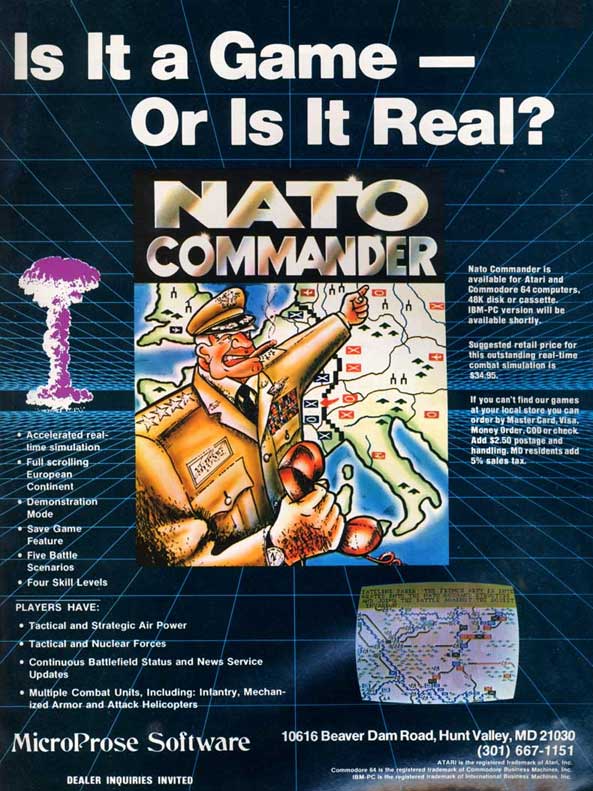
NATO Commander by Sid Meier for MicroProse, USA
First release : November 1983 on Atari
Total time tested : 8 hours
AAR : Here
Average duration of a campaign: 20-30 minutes if you win, up to 2 hours if you lose
Complexity: Average (2/5)
Would recommend to a modern player : No
Would recommend to a designer : No
Final Rating: Flawed and obsolete
Ranking at the time of review : 56/98
Summary :
Sid Meier’s first strategy game, NATO Commander, is also the first real-time wargame at the theater level. Alas, it is slow, unintuitive, unbalanced and buggy, and its main contribution to the history of gaming is teaching Sid Meier that “fun” should trump “realism“.
“I’m often asked in interviews when I got interested in games, usually with the implied hope that I’ll identify a prodigiously early moment in my childhood when I suddenly knew I was a game designer. […] But from my perspective, there was no turning point. I never made the conscious decision to embrace gaming, because as far as I can tell gaming already is the default, straightforward path.“
Sid Meier
If Chris Crawford was the star game designer of the first half of the ’80s, Sid Meier was about to become his successor for the latter half, and then for all of the 90s, too. While both were constantly striving to create the games they envisioned, the “market” be damned, the opinionated Crawford and the soft-tempered Meier had little in common. Crawford’s career was meteoritic ; every one of his early games, including his first “amateur” productions like Tanktics (1978) and Legionnaire (1979), was unlike anything seen before. Conversely, Sid Meier started slowly, with mostly clones or iterations of the games he appreciated, whether his own or others’ – and NATO Commander may have been the first important exception to that rule.
According to his memoir, Meier learned to code on an IBM 360 mainframe while a student at the University of Michigan. He had enrolled in 1971 as a physics and maths major but he liked coding so much that he switched to computer sciences before the end of the year. While gifted as a programmer, Sid Meier wasn’t particularly driven to create games at the time, and the University of Michigan had cracked down on game programming anyway ; it wasn’t until 1975 that he programmed his first game, a simple Tic-Tac-Toe. After graduating, Meier joined General Instruments, a firm specializing in various electronic appliances for casinos. That’s where he would code his second game, and in a fashion that would become typical of Sid Meier, he took an existing design – no other than Mayfield’s Star Trek – and added real-time and sound effects. “The company network began to drag, and small beeps ricocheted through the halls as a sort of work-abandonment klaxon of shame”. Sid Meier was forced to delete his creation.
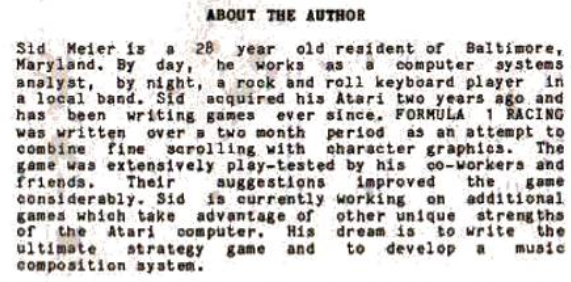
In 1979 or 1980, Sid Meier finally acquired his own computer, the newly released Atari 800, and programmed his third game : Hostage Rescue, a distant and unpublished ancestor of his later game Chopper Rescue, if Chopper Rescue had been about the situation in Iran. That was his only mildly original creation for a while, as soon thereafter he produced four clones (of Avalanche, Frogger, Space Invader and Pac–Man, all lost), two as part of a gig for a bank and two for the Sid Meier User Group, a “game research” (understand : piracy with deniability) group he had founded. Finally, he coded his first real commercial product : Formula 1 Racing, published by Acorn. The theme was classic, but at least this time it was not a clone. Its manual included a prophetic “about the author” section :
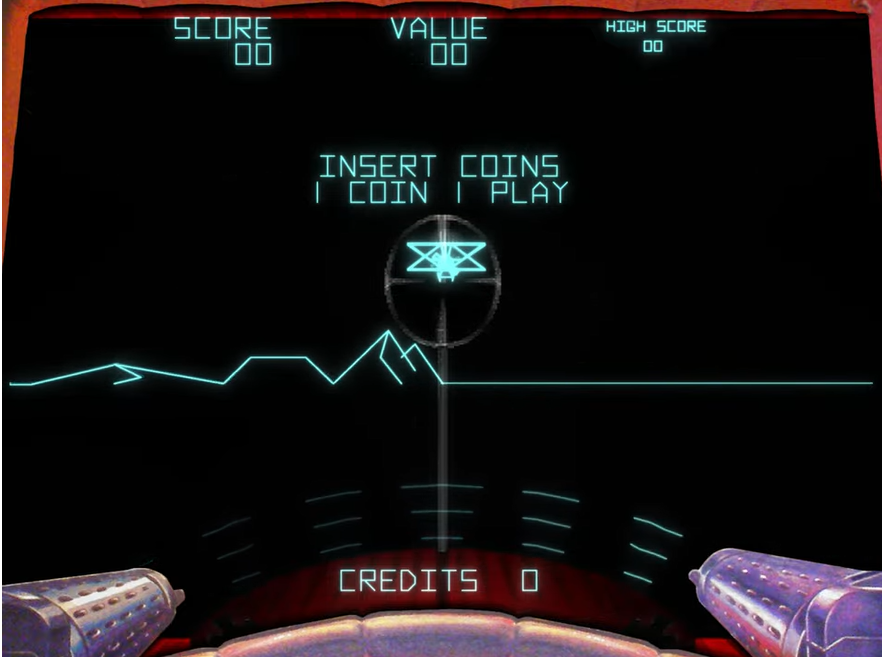
What happened next is again best told by the Digital Antiquarian. While at a General Instruments convention in Las Vegas, Meier started a conversation with a colleague who was at that time little more than a casual acquaintance : Bill Stealy. They discovered they shared a common interest in video games, and the discussion became a series of successive competitions on the many arcade machines of Las Vegas, a competition that Meier dominated. To save honour, Stealy – a reservist Air Force pilot – finally challenged Meier at a game called Red Baron. Stealy scored high, Meier scored higher despite his lack of flying experience. Stealy requested an explanation, and Meier explained that as a programmer he understood how the game worked. adding “I could design a better game in two weeks !” Stealy, who had earlier confided to Meier his project to sell video games, answered “Then do it ! If you can do it, I can sell it”.
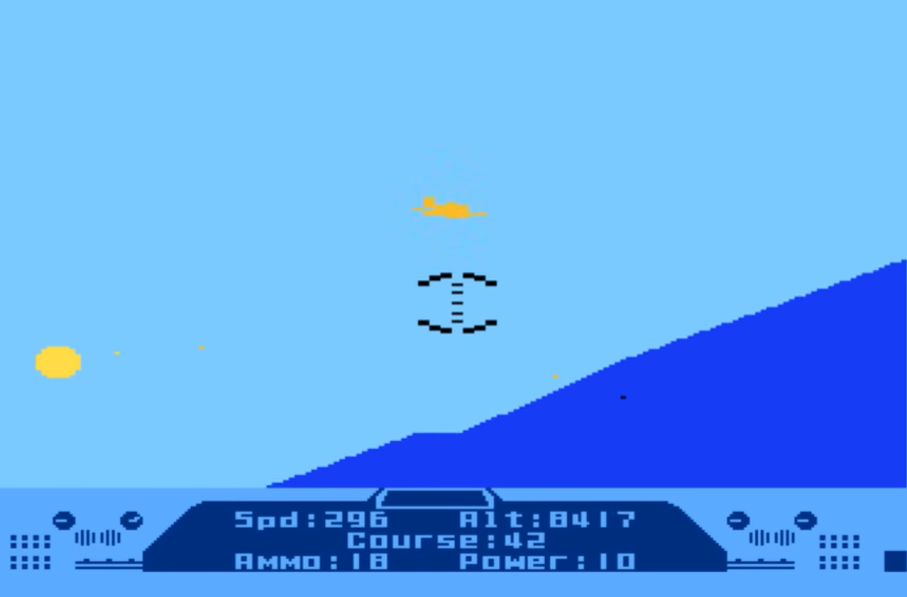
Sid Meier got to work on what would become Hellcat Ace, and showed Stealy a first version in the promised two weeks. In his Memoirs, he notes “At the time it felt like a fun project, but not any sort of life-changing decision. The big moments rarely do, I think“, and I am reminded of another famous designer whose career started with a routine support call. After some back-and-forth between Stealy and Sid Meier, brainstorming improvements to Hellcat Ace as well as the name of their future company, their first game was out in 1982. The game was good, but the extra sauce was Stealy’s indomitable energy and boundless commercial gumption which made it a dashing success.
Meanwhile, Meier and Stealy’s company, MicroProse, released games at a rapid pace as the former completed two prototypes he had started before meeting Stealy :
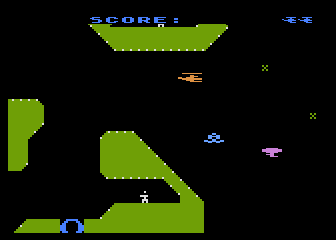
- Chopper Rescue, a classic side-scrolling helicopter game where the extra Sid Meier feature was that it could be played multiplayer (one player controlling the chopper, the other manning the guns),
- Floyd of the Jungle, a Donkey Kong clone where the extra Sid Meier feature was that four players could race at the same time to reach the top of the screen,
Chopper Rescue sold, though nothing like Hellcat Ace, Floyd of the Jungle did not sell at all, though Stealy quipped that at least it was great fun to play with his 3 kids. Still, by Christmas 1982, MicroProse was selling 500 games a month – all of them on Atari. Selling the games was now a full-time job, and Stealy soon left General Instruments to work full-time for MicroProse. He also hired two developers, General Instruments-alumni Andy Hollis and Grant Irani, initially to port the growing portfolio on new computers.
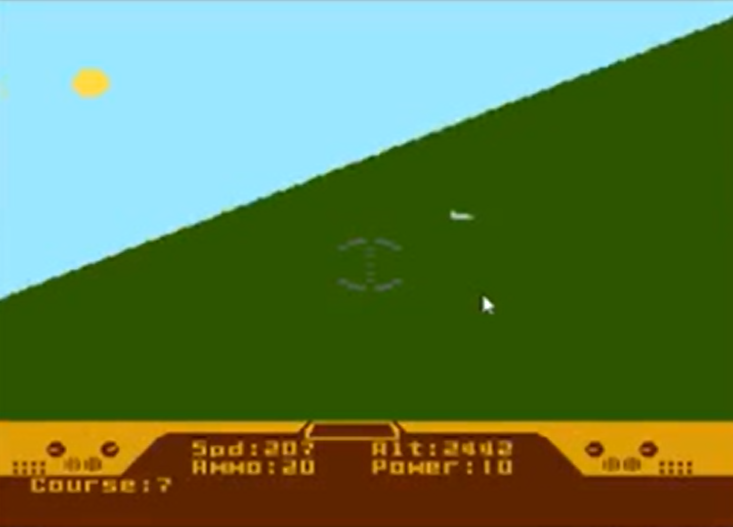
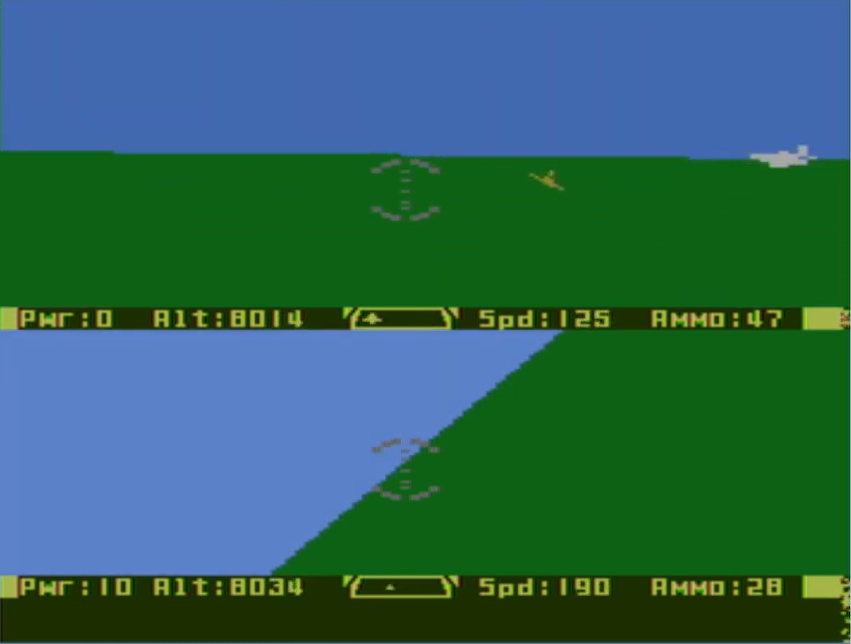
The relatively mediocre sales of Chopper Rescue and of Floyd of the Jungle convinced Stealy and Meier that MicroProse was all about flight simulations after all, and they specialized in this genre further. Already in late 1982, Meier had returned to air combat with Spitfire Ace, a palette swap of Hellcat Ace. Even Wingman, a Defender-clone, replaced the iconic UFOs by planes and, extra Meier’s touch, could be played multiplayer with a split-screen. That cool feature was immediately implemented in Hollis’s MIG Ace Alley – the first MicroProse game not developed by Meier.
At this point, Meier wanted to work on another kind of simulation : wargames. Meier liked tabletop wargames, but he also found them hopelessly flawed. They take hours to play, half of the gameplay is convincing your sparring partner that your interpretation of the rules is correct and it was impossible to emulate the fog of war. Just like Chris Crawford and, well, pretty much everyone at SSI, he recognized that a computer could address these issues, and he developed his first wargame : NATO Commander. Although Meier never specifically explained his choice of theme, it isn’t difficult to speculate. The détente had ended in 1979 with the invasion of Afghanistan and subsequent boycott of the 1980 Olympic Games and the idea of a land war in Europe seemed plausible again, and indeed both tabletop wargame designers and video game designers capitalized on this idea.
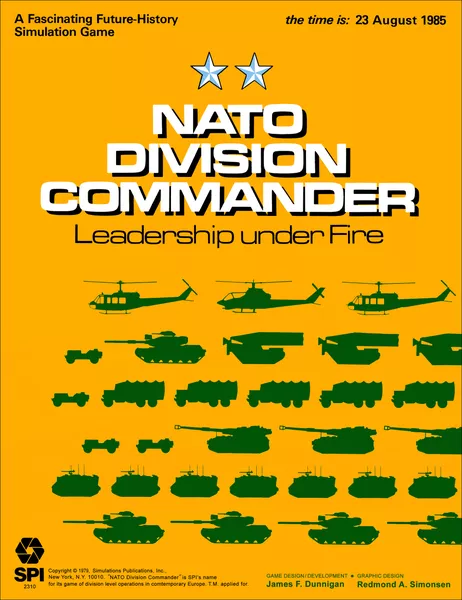
Meier acknowledged that NATO Commander was influenced by board games, though he didn’t specify which ones. I checked several theatre-level wargames of the late 70s and early 80s, and found two which could have served as the main source for NATO Commander :
- SPI’s NATO Operational Combat in Europe in the 1970s (1973), which matches NATO Commander in relative simplicity (no stacking !) and for the types of units available
- Victory Games’s NATO : the Next War in Europe (1983). The Next War in Europe shares NATO Commander‘s scale of map (a map that spans from the border of Poland to the border of France, though it includes Denmark ), scale of units (a mix of divisions and brigades) and inclusion of chemical and tactical nukes.
Whatever its inspiration, NATO Commander became its own thing, as Sid Meier tweaked whatever source he had to fit both the capabilities of computers (real-time !) and the limitations of the Atari. Did it work ?
A. Immersion
Poor. I expected much from the first theatre-level real-time strategy game, and was disappointed. I was initially excited to see the game had Dutch and Belgian units, but ultimately I never managed to get into the game. I barely recognized Germany to start with, and generally speaking the ebb and flow does not feel realistic : roads were almost inconsequential, cities harder to defend than rivers and hills, and helicopters, planes, and AA sites are immobile.
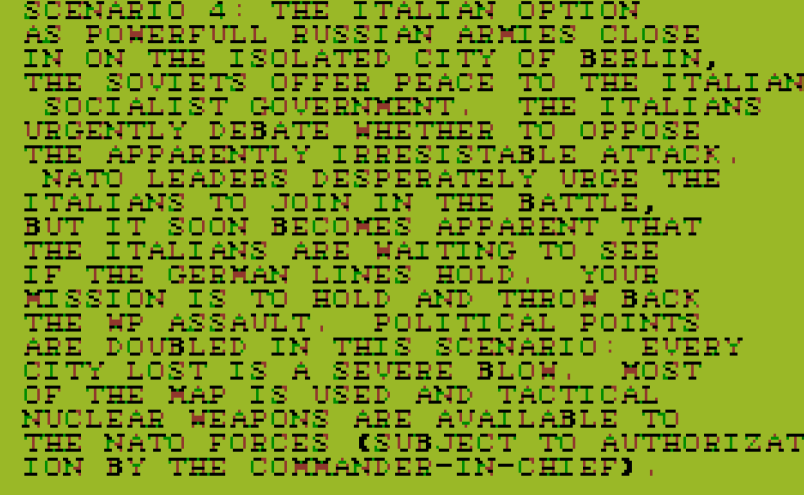
I am not sold on the “story” of the game either : the game claims that the Warsaw Pact would end the war if they received catastrophic losses, with the Eastern European states progressively bailing out ; I don’t see that happening. Similarly, Meier is pretty dismissive of Italy, with one of the 5 scenarios being about the Italians discussing a separate peace as the war begins !
And then of course, even if you get into the game, the campaign will veer into la-la-land if the Soviets break through, with game-breaking bugs. Surprisingly, at least some of those bugs (for instance “endless May”) are also reported on later ports of the game !
B. UI, Clarity of rules and outcomes
Very poor. My main complaint about the game is how little information you have about anything, whether in-game or in the manual. You have no information about the strength of the units you are fighting, almost no information on the air war, no information on the time it will take to move from one place to another. Worse, the game appears to have a supply system (when you inspect a unit, the game tells you its “supply level” … but there is no mention at all of supplies in the manual ! Is it supplied by cities ? From the left of the map like in Eastern Front ? By roads ? Out of thin air ? I have no idea! Is it a problem for Soviet units as well ? Well, I have no idea either.
Even basic controls are not ideal : the pathfinding is terrible (units will beeline to where you tell them to go, even if there is a static unit blocking their path on the way) and the game forces you to attack tiles rather than units, so when the enemy moves your helicopters or even armies are displayed as attacking an empty location and you need to update their order – not great for a real-time game.
C. Systems
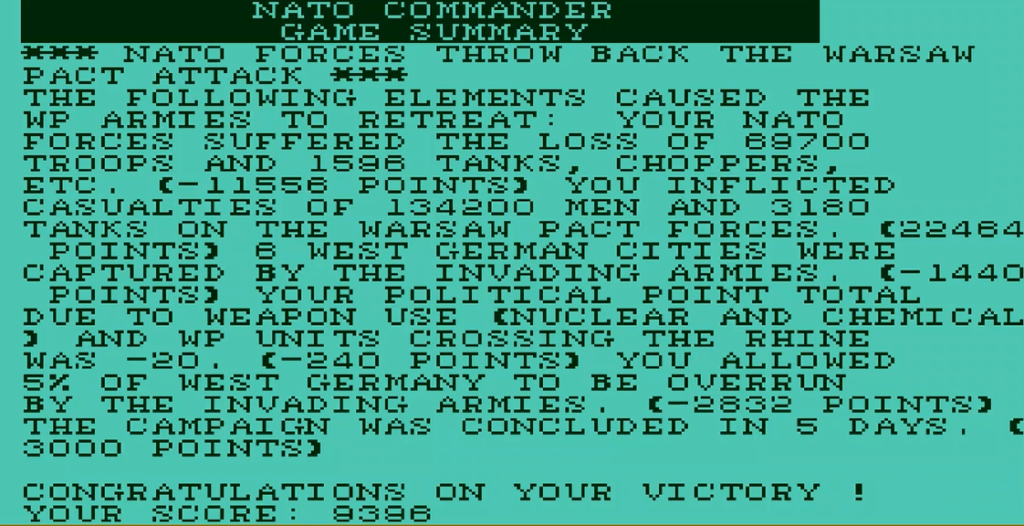
Very poor. NATO Commander gives me the same vibes as the less ambitious Dnieper River Line : given the discrepancy between the forces of the player and the ones of the computer, Sid Meier felt compelled to give a massive bonus to defence. It makes counter-attack almost impossible : at best you are going to trade 1 unit you can’t replace for 1 unit that will be replaced. Even worse, such a trade will move the needle away from the ratio of losses that triggers a Soviet surrender. Granted, nukes allow you to attack, but they arrive too late in the game and the cost in victory points is usually not worth it. This limits tactical options, and while I have not won the main campaign fair and square, I won the smaller scenarios, and what worked for me was not being smarter than the computer but iterating on defensive positions until I found one that worked.
D. Scenario design & balancing
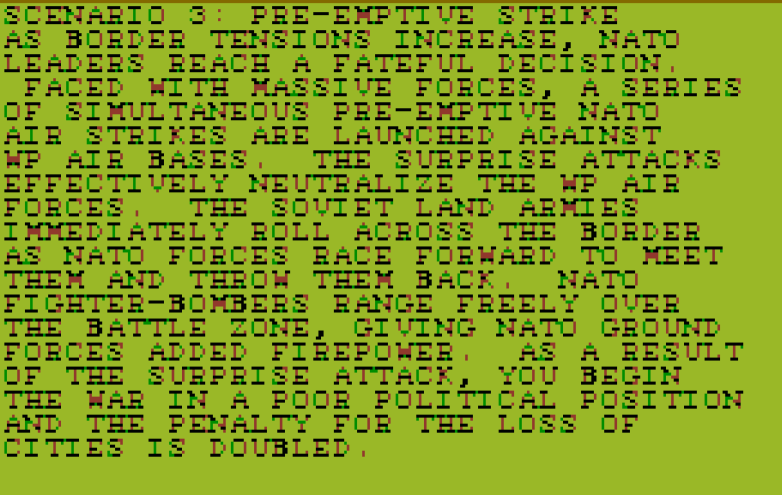
Poor. NATO Commander has 5 scenarios of 4 possible levels of difficulty. All scenarios use exactly the same starting deployment but change which part of the map is used and how VPs are counted – for instance the first “tutorial scenario” uses the top half of the map and has no penalty for using chemical weapons.
The game has the option to play with either “divisions” or “brigades”. I chose the former because I didn’t want to manage more than one hundred units in my real-time games, but if you choose the latter – which I have not tested much – most (but not all) of your divisions will be broken up in small brigades for added flexibility. The Warsaw Pact will still use divisions, and since you cannot stack units in one square it means that you will fight each individual battle at a disadvantage, though at least you should be able to create a frontline covering the map from the top to the bottom.
E. Did I make interesting decisions ?
Not really. The most interesting decision is the initial deployment and as Sid Meier famously said, a good game is about making a series of interesting choices. There are some decisions after that, but they feel pointless : if you have not won by the end of week 1, I don’t think you can win without the help of the bug.
F. Final rating :
Flawed and obsolete. There is little to commend in NATO Commander.
Contemporary Reviews
NATO Commander received surprisingly few reviews for a game of its scope. The most complete review comes from Marc Bausman in Computer Gaming World (January 1984). While he complains about the AI having too many units, Bausman welcomes the arrival of the first real-time simulations which can finally solve “the age-old question of realism” in wargames. Bausman concludes by saying that “NATO Commander combines the map, scrolling, and unit symbols of Eastern Front with the realistic game system of Combat Leader to obtain a superb strategic simulation.”
Abroad, NATO Commander also received short and cautiously positive reviews from the British publications “Your 64 Magazine” (March 1985) and Home Computing Weekly (19-25 March 1985) – three stars out of five in both cases – and a 14/20 from the French Tilt in November 1988 – 5 years after the initial release of the game.
The toughest critic, however, may have been Sid Meier himself. In his memoirs, Meier disparages only one of his early creations, and it is NATO Commander. He explains : “Before Solo Flight, I had made a brief foray into new territory with a game called NATO Commander, and it was, to put it politely, not my best work. Or, as I described it to one journalist many years later, “It was not even fun to play. It was just bad.” […] Nato Commander was boring.
Meier then explains what were the two flaws of the game. First, “scrolling slowly back and forth across multiple screens sucked the energy right out of that experience”. The other flaw was more decisive ; with NATO Commander, Meier had tried to recreate the tabletop experience. Yet, he had failed to replicate the most important part of that experience : “the camaraderie of friends around a table, egging each other on and learning from each other’s strategies.“, concluding “Perhaps Turing had been right after all, with his belief that good AI had to involve social skills.” But that’s the Sid Meier of 2020 talking. The Sid Meier of 1983 had not realized the issue. “Instead, after wrapping up Silent Service, I went back to the wargame genre, and persisted in banging my head against it for the next three projects in a row.” I don’t quite agree that wargames cannot be enjoyed alone, and hopefully you will have the pleasure in the distant future to read on this blog about Sid Meier’s Crusade in Europe (1985), Decision in the Desert (1985) and Conflict in Vietnam (1986).