[ZX Spectrum, CCS]
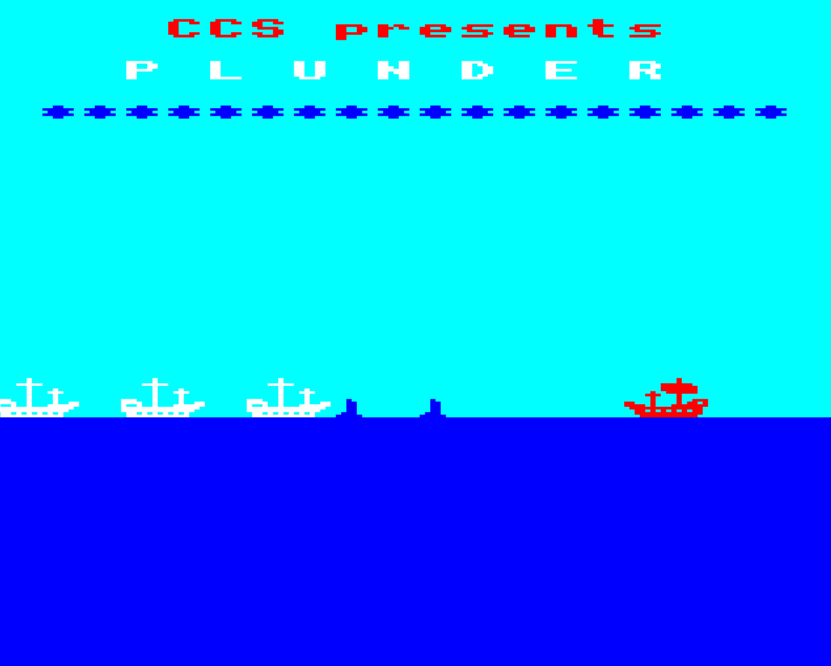
– Lieutenant Narwhal! We shall bequeath thee a Frigate and but one command : plunder yonder Spanish galleons!
– Aye Aye Sir ! You shan’t find me lacking !
– Pray, what shall be thy first action, Lieutenant?
– ‘Twill be trade, sir !
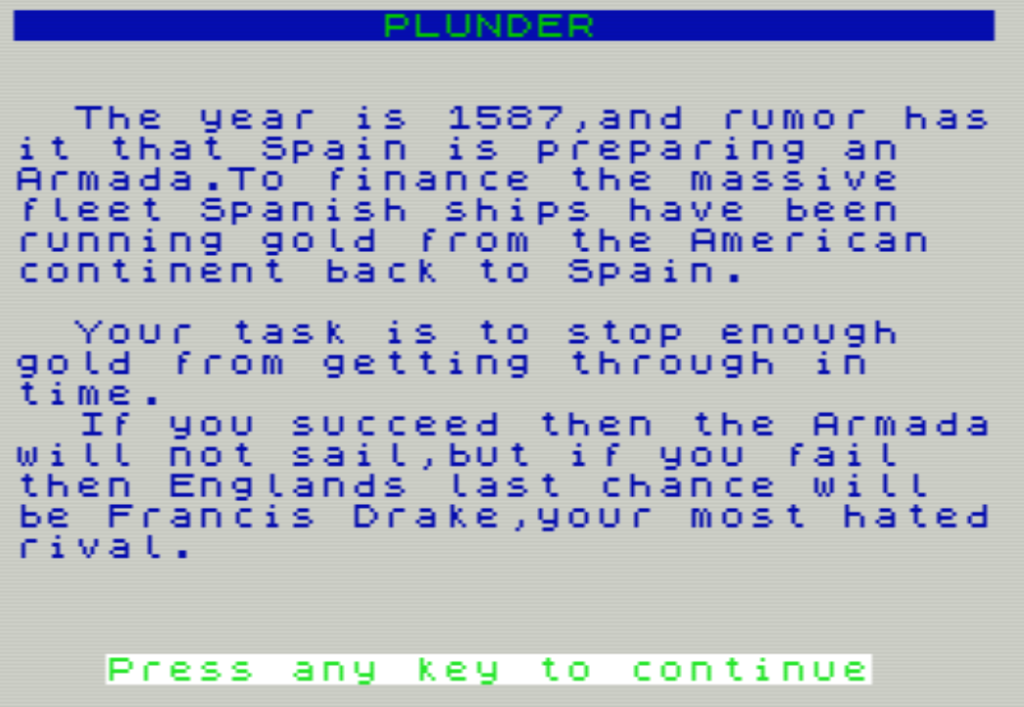
In this year of our Lord, 1587, by the Queen’s mandate, have I now received my instructions from yonder Admiralty. Tis rumoured that the Spanish and Portuguese, yoked under a twofold crown, are shaping a mighty fleet, as vast as the sea itself, for to invade our English shores and set the beheaded Mary, erstwhile Queen of Scots, upon our Island throne. Despite her losing her head by the decree of our fair Queen Elizabeth, the Spanish do still marshal their Navy, and heaven only knows what sorcerous arts the Iberian Papists might have gleaned from their feitorias in the African lands, for to return Queen Mary unto a semblance of life!
My commission, thus, stands clear : to disrupt the stream of gold that flows from the New World unto Spain and Portugal. If I fall short, the Queen’s favour may shift, peradventure, to some jesting rogue known as Francis Drake. Woe betide such a day!
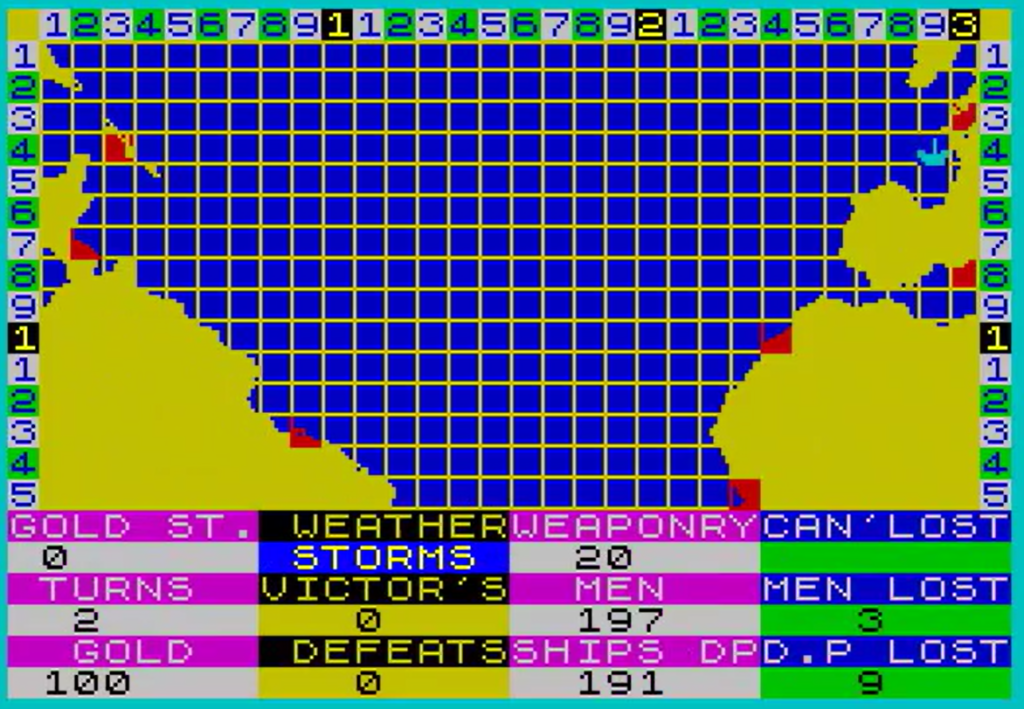
Following a brief patrol in the Bay of Biscay, I chance upon a Spanish merchant vessel. ‘Tis mine to engage in cannon’s duel or to board, yet either path promises an effortless victory. I opt for the cannonade and, thus, earn mine first shining coins of gold.
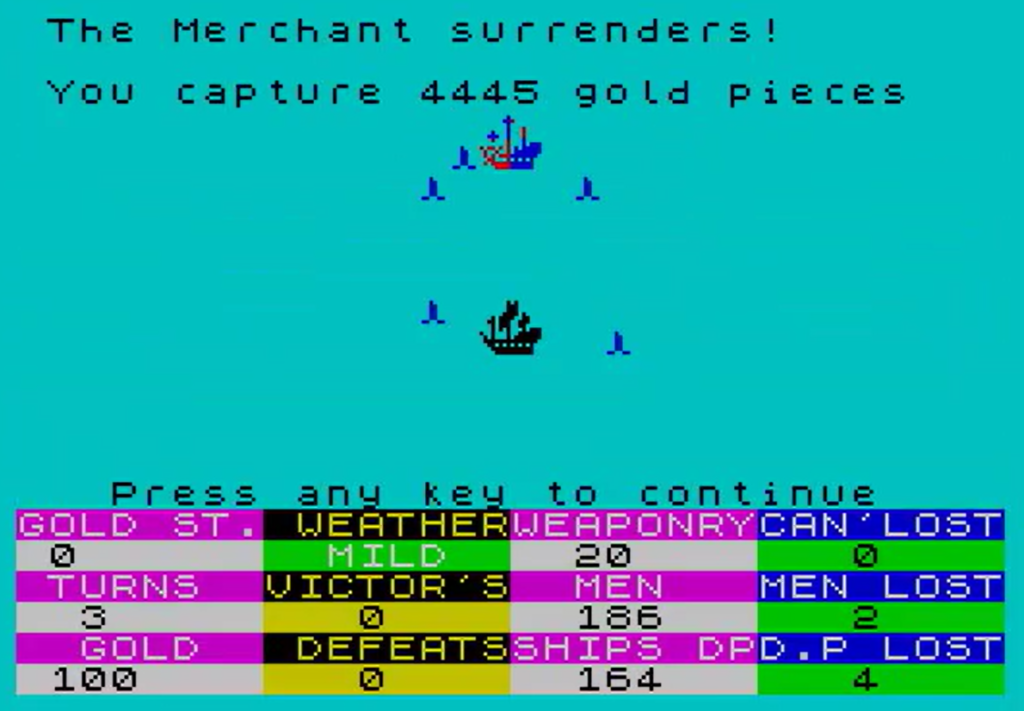
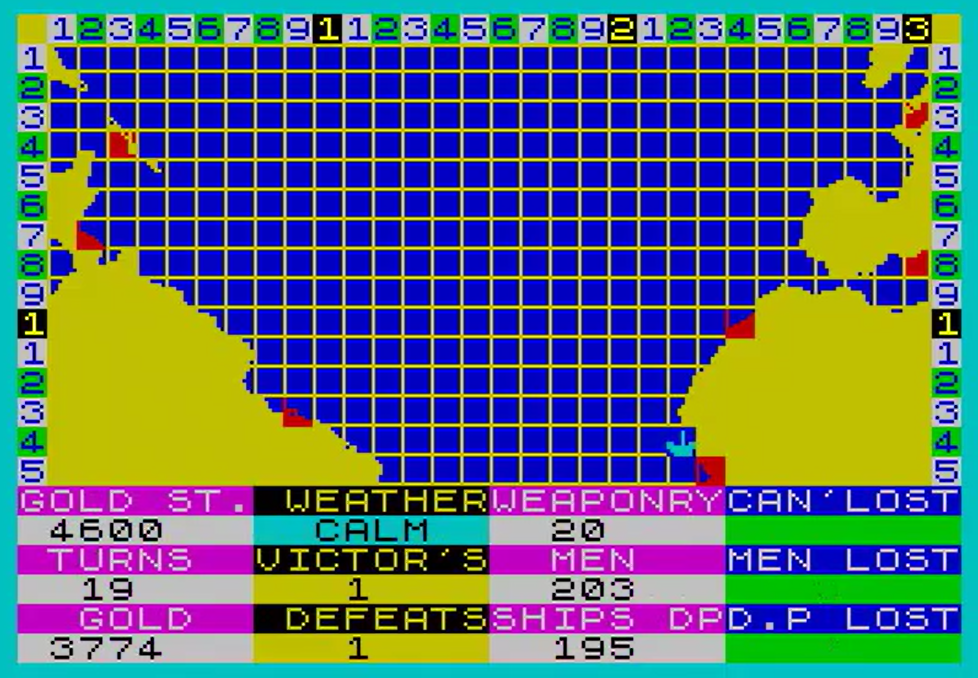
The value at the bottom-left in green is what I lost in the last round, I started with 200 men and 200 DP [ship health]
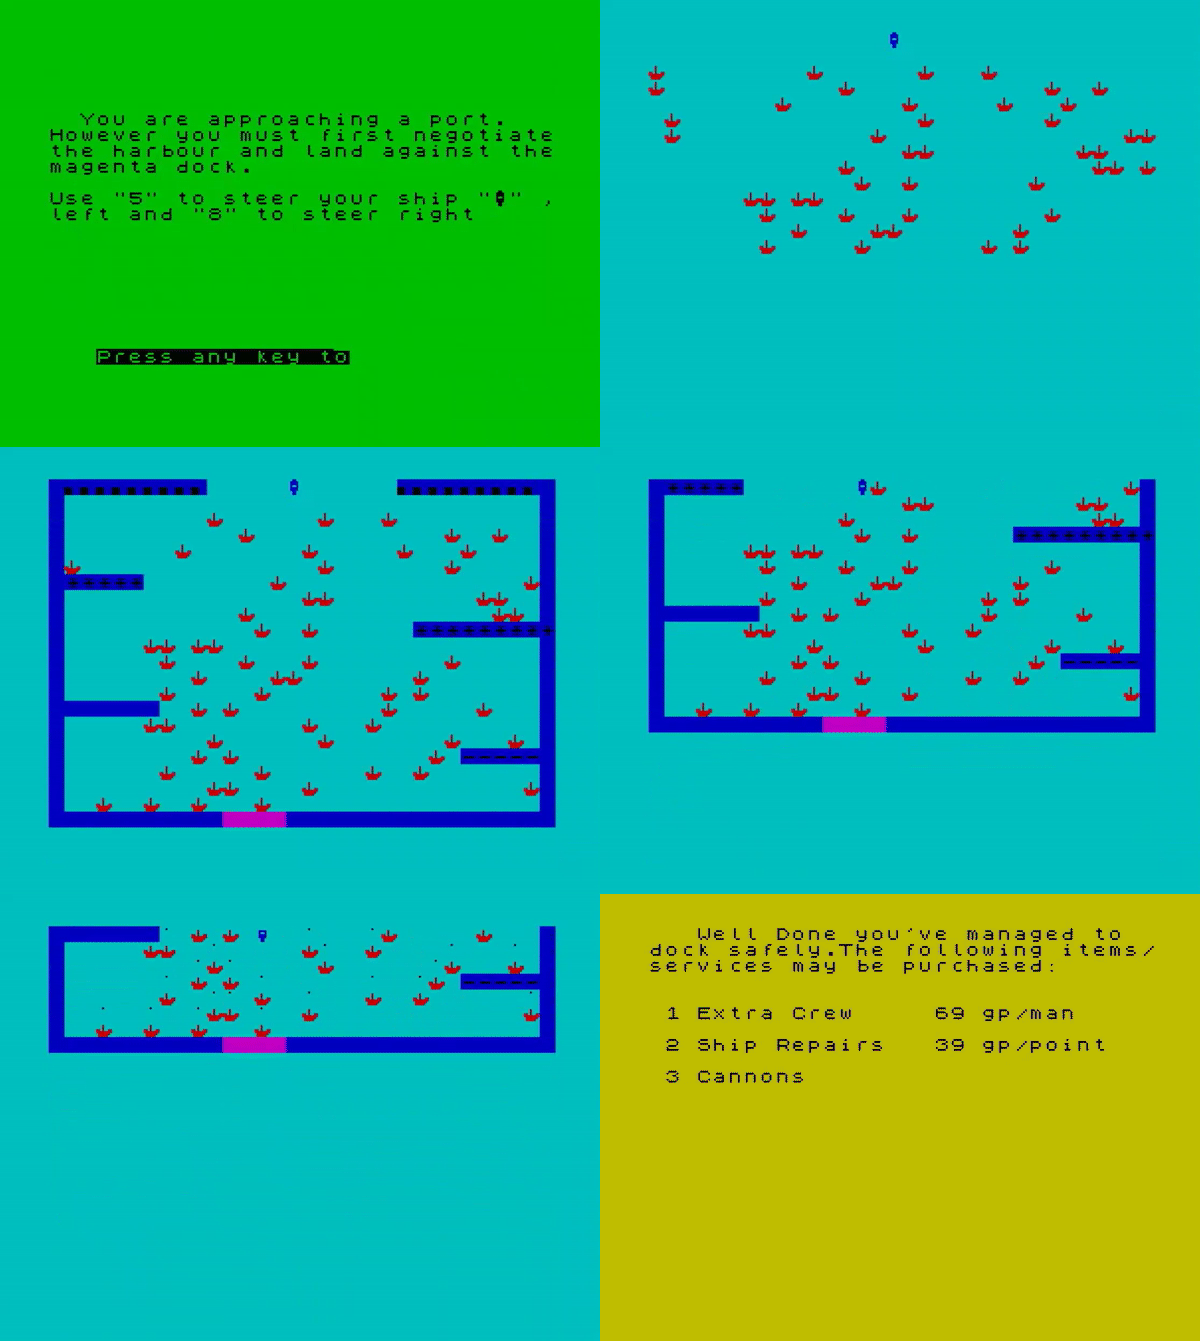
Straightaway do I return to Plymouth to disperse my newly gained wealth, but lo! What vexation awaits me there! A multitude of vessels hath docked and encroached upon the port, and I find I cannot curb the speed of my own ship before reaching yonder dock! Left and right must I manoeuvre my ship, navigating ’round all the nautical nincompoops.
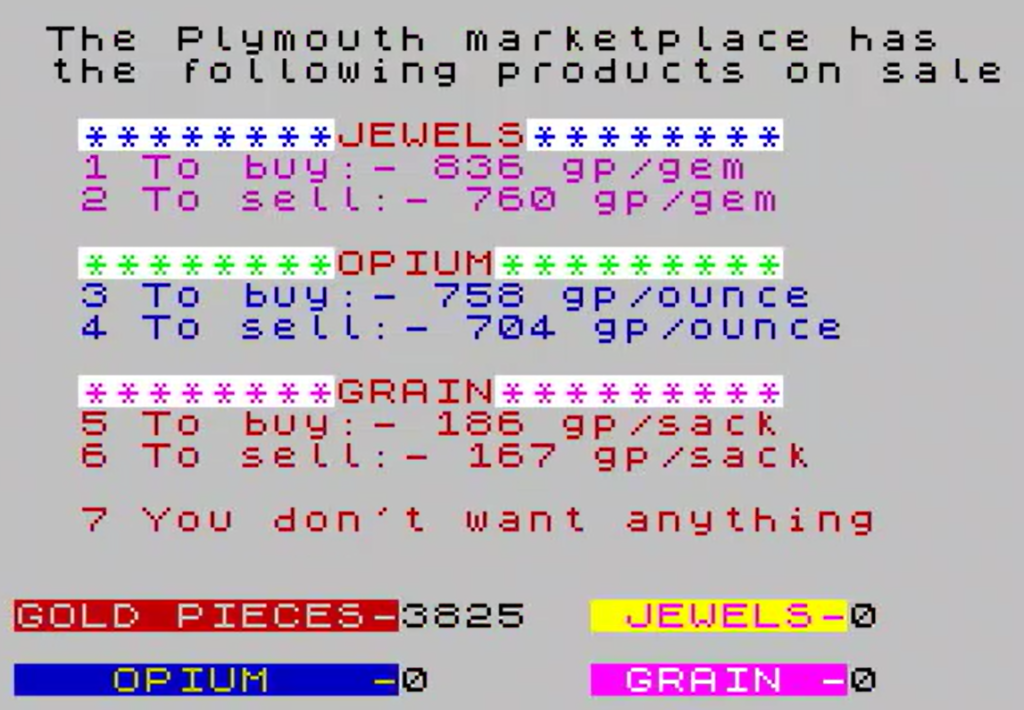
Once my ship hath been mended and crew replenished, I survey the value of trade goods. Alas, no bargain presents itself. I elect to hoard most of my capital and set my course for Spain.
En route, just to the North of Spain, I discover an unmarked volcanic isle! Such a find brings great astonishment! Upon exploration, I encounter twenty seafarers who eagerly enlist in my crew. Methinks the isle sinks back into the sea’s embrace soon thereafter, for I never heard tell of it again.

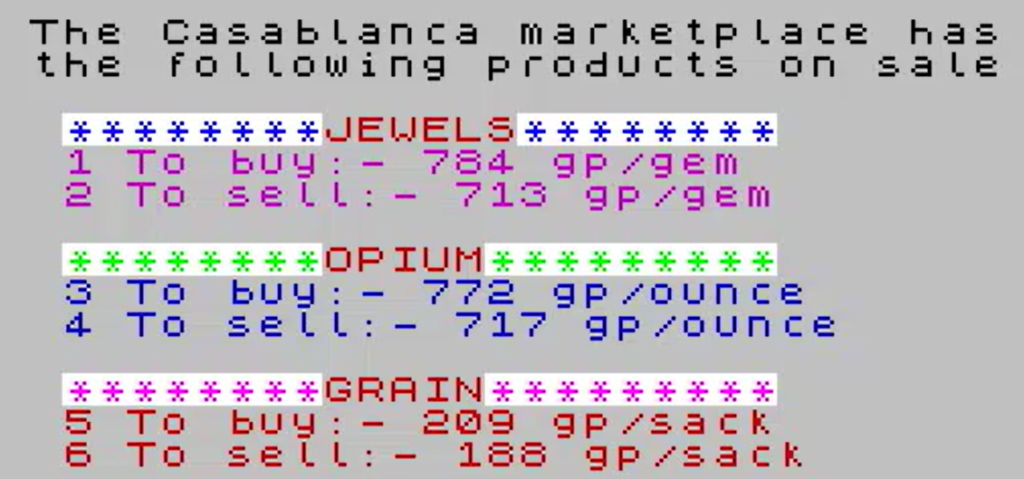
At length, I find myself in the port of Casablanca (having deftly avoided those pesky docked vessels). Though the port is under Portuguese dominion, it seems my arrival goes unnoticed, perhaps due to the throng of vessels huddled in the harbour. My sole task is to assess the prices of the trade goods.
From Casablanca, I voyage further South toward Arguin. Upon my journey, I deftly steer clear of a Spanish warship. ‘Tis a simple feat, but it seems my men now hold me in slightly lesser regard.

Ere long, I make port at Arguin:
Good tidings abound! In Arguin, I discover that jewels are of modest cost, and opium fetches a handsome price!
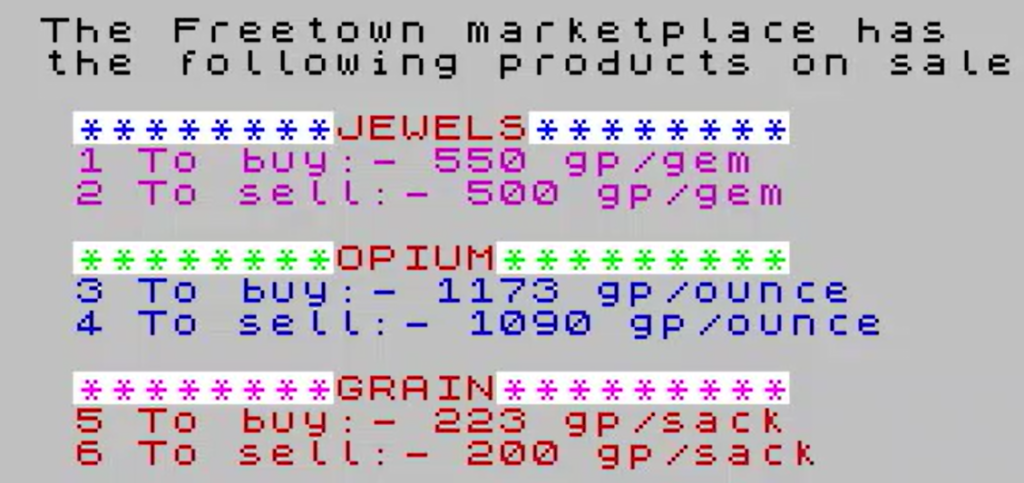
A pox on privateering! The truest profit lies in the trade betwixt Arguin and Casablanca. I acquire jewels in the former and sell them in the latter, where I purchase opium to transport southward.
Merely three or four such transactions and I am awash in riches! The Spanish fleet may bide their time, for all I encounter is an easily captured Spanish merchant ship.
I invest my wealth in additional cannons, replenishing my crew, and refurbishing my vessel until it doth shine brighter than when I first embarked. During my final trading voyage, I encounter and, after a fierce and lengthy battle, capture my first galleon!
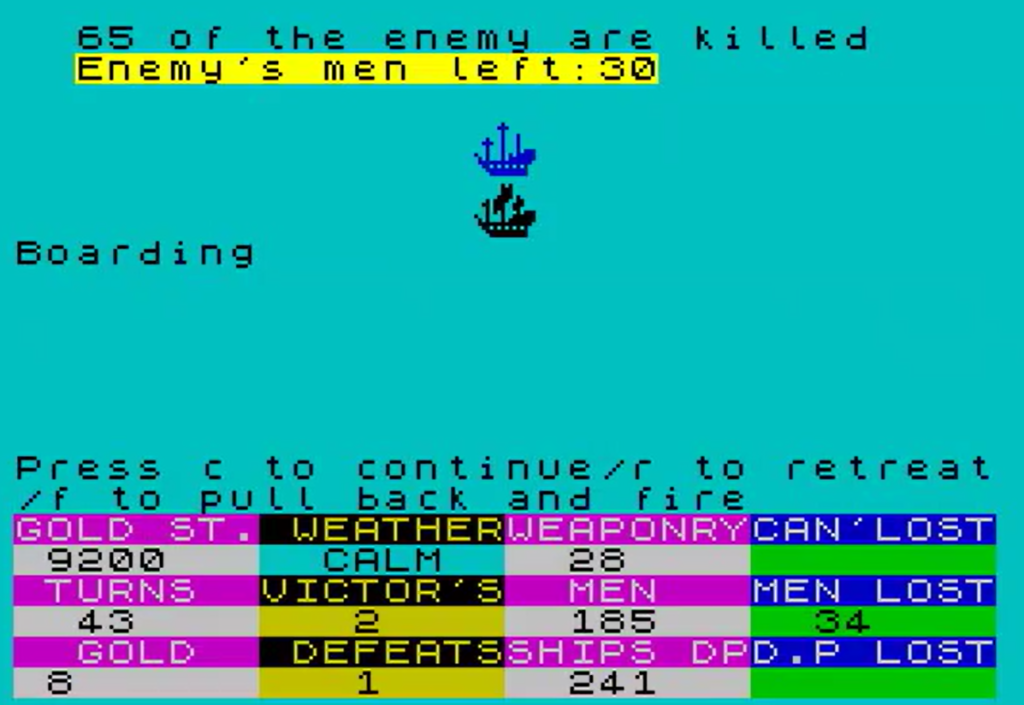
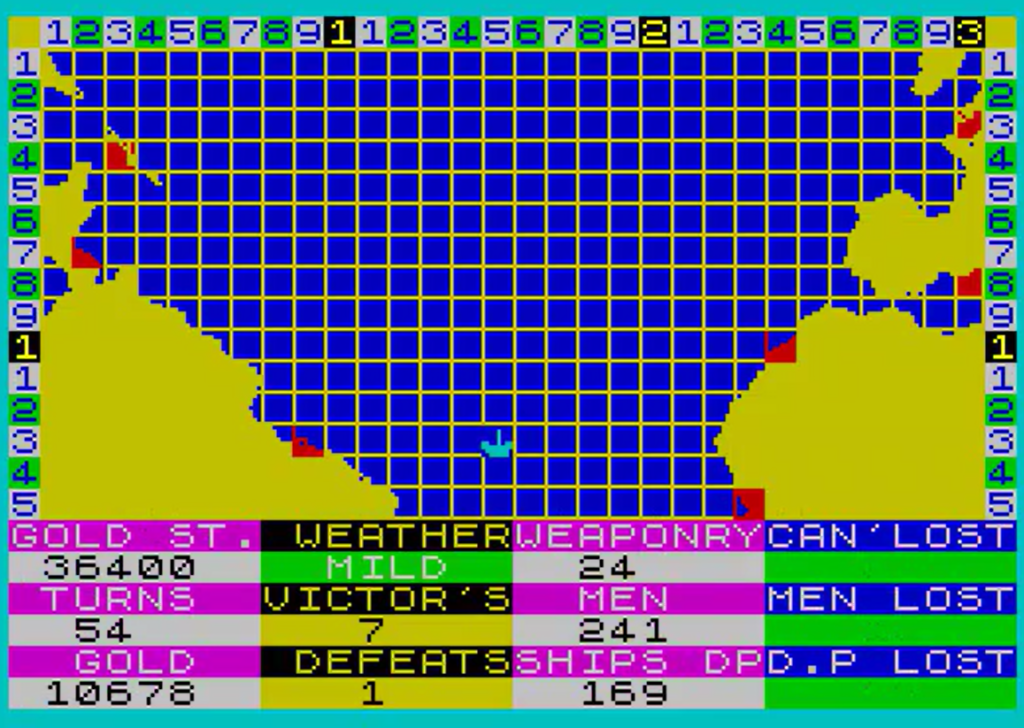
I then chart my course for the Americas, encountering and seizing four vessels in quick succession: merchant ships and troop transports. To board the latter would be to court death itself (500 men onboard), yet they possess but scant artillery for their defense!
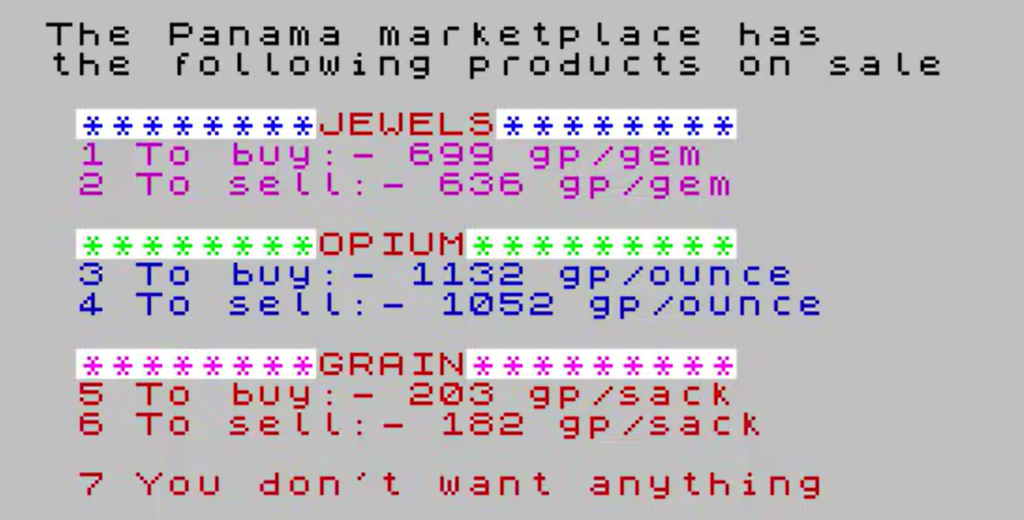
Upon reaching the shores of the New World, I discover that the markets are fairly efficient, and there’s no profit o be plucked in the trade across the great Atlantic, be it in Belem, Panama, or Havana.
I find scant time left for trading, and thus I take to aggressive patrolling to meet my goal in intercepted gold.
Oft times, my fervour leads me to attack with excessive might, causing my adversary’s vessel to sink before I can claim their spoils :
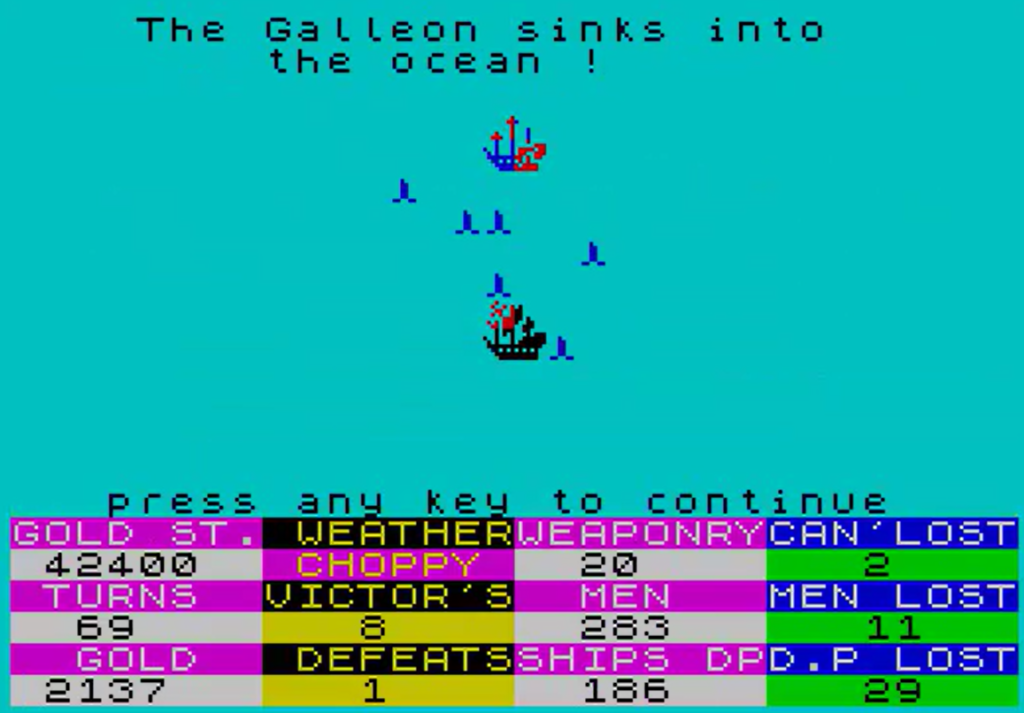
Late in this campaign, I chance upon another warship. I first unleash my guns upon it to soften its resolve, then make an attempt to board – only to be struck with dread as I realise it carries far more men than my own ship!
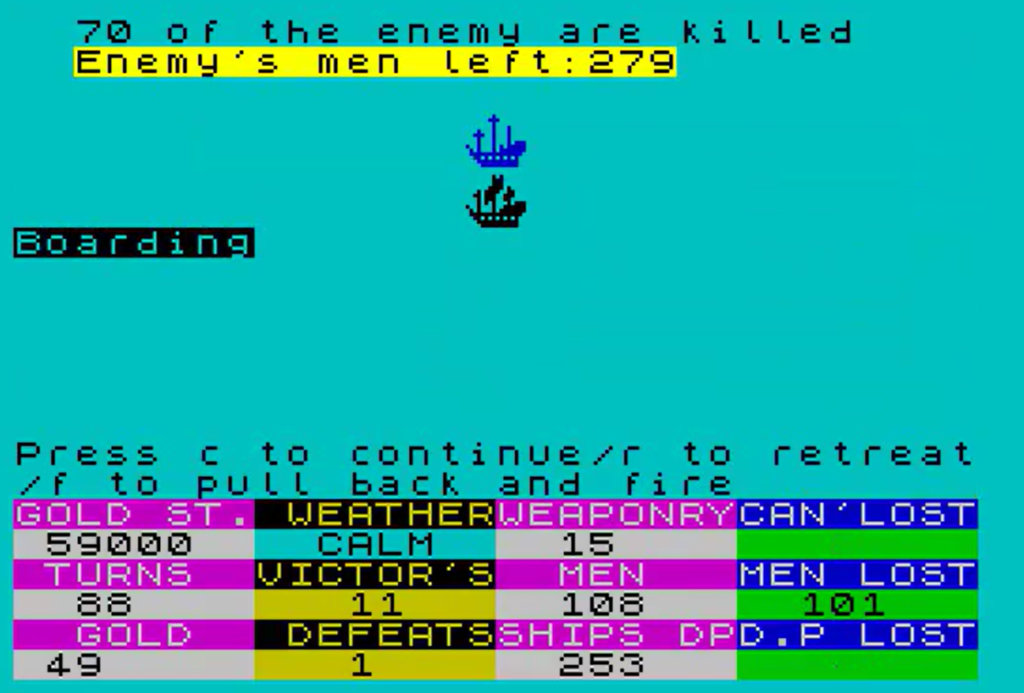
I promptly abort my boarding attempt and unleash my guns once more. I emerge victorious, and the warship descends into the sea’s depths!
This marks my final triumph. The campaign comes to a close and, alas, my Objectives and Key Results remain unmet.

True, I have dealt a significant blow to the Spanish Navy, yet it proves insufficient, and I am destined to be but an overlooked footnote in the annals of history. The name on every tongue will be Francis Drake, not mine!
Rating & Review
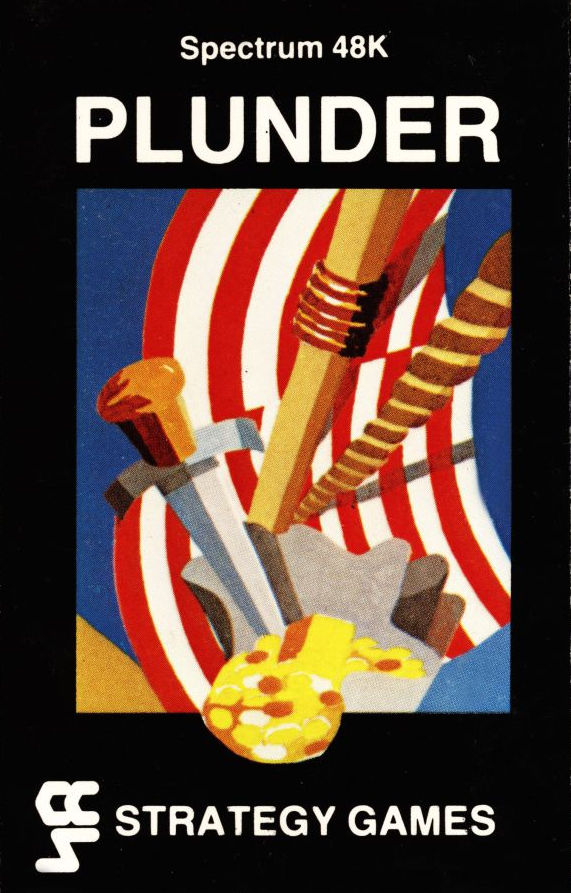
Plunder, by Duncan G Evans, published by Cases Computer Simulations, UK
First release : November 1983 on ZX Spectrum according to ads
Total time tested : One hour and half
Average duration of a game : 20 minutes for 100 turns
Complexity: Trivial (0/5)
Would recommend to a modern player : No
Would recommend to a designer : Yes
Final Rating : Totally obsolete
Ranking at the time of review : 70/100
Plunder is the first game allowing players to control one ship in a long naval campaign with both combat and trade, anticipating Sid Meier’s Pirates! by 4 years. Alas, its luck-based gameplay and many questionable design decisions make it more frustrating than fun to play.
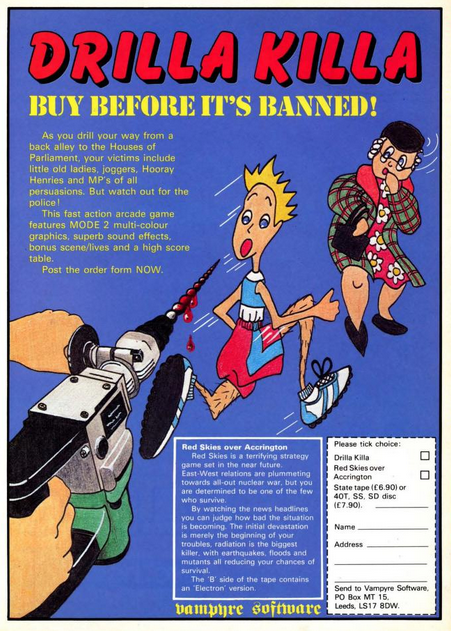
Plunder is the brainchild of Duncan Evans (credited as D.G. Evans), the founder of a small video game boutique called Vampyre Software. While Plunder was initially released on ZX Spectrum in 1983 and only then ported to BBC Micro in 1984, Evans’s two other games , Red Skies over Accrington and Drilla Killa were BBC Micro exclusive. Both are lost, but 40 years later their ads survived and still entertained me – I felt I had to share them :

That’s all I can say about the author. On the other hand, I have a lot to say on Cases Computer Simulations (CCS), a mastodon of British video game edition in the mid-80s… but I am leaving that for a future article – trust me there will be a lot of opportunities. This will allow me to jump directly to the review itself !
A. Immersion : Very Poor. Whatever immersion the game could achieve is ruined by the “avoid obstacle” mini-game every time you return to port. Imagine you had to play Frogger every time you founded a city in Civilization – that’s how it feels.
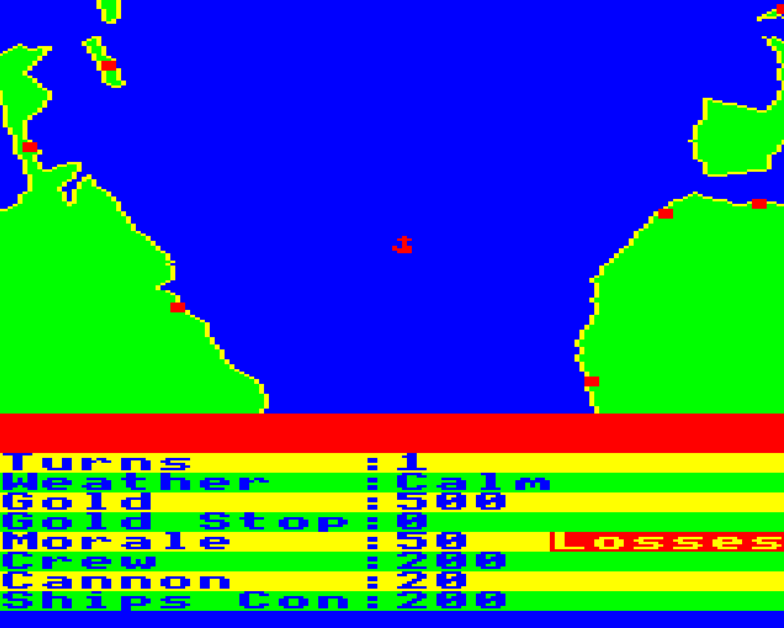
B. UI, Clarity of rules and outcome : Adequate. Simple game, simple controls.
C. Systems : Very poor. I have already said a lot about the docking mini-game, but it is puzzling that in a game where you can attack other ships, the designer decided to automate combat and put their efforts into an interactive docking experience.
Little is well-designed in the game. Trading with the New World is pointless since the price of trade goods is totally randomized, finding Spanish ships is only a matter of chance with a random roll every time you enter a new cell, and once you know the 4 possible Spanish ships (troop transport, merchant, galleon and warship) how to approach combat is obvious, given the only choices are “attack with canons”, “board” and “retreat”.
D. Scenario design & balancing : Terrible. There is no AI, and the sea and ports are the same from England to Brazil.
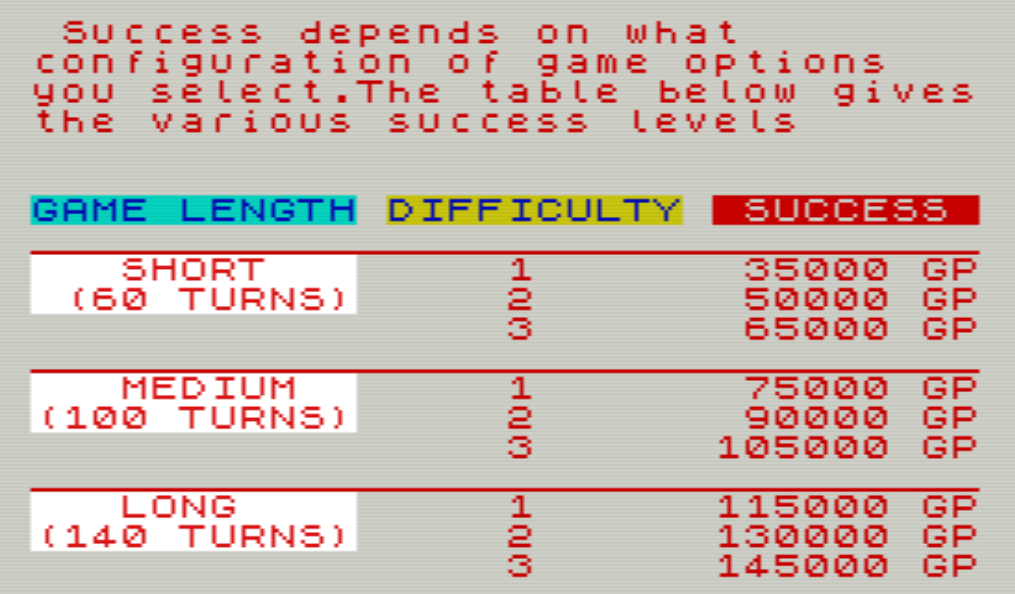
E. Did I make interesting decisions : Very few. Weirdly for a game about plundering stuff, the real decisions are about trading vs improving the ship, plus a few during the high-risk high-reward random events. That’s not enough to carry the game.

F. Final rating : Totally obsolete. That’s no Pirates!, not even a Pirates! precursor – though it still manages to be in the top-half of the British games I have reviewed so far.
Contemporary Reviews
Plunder received more reviews than the average ZX Spectrum game. Personal Computer Games (December 1983) rated the game “Great Fun”, explaining “This is the sort of game for which a computer is ideal, and this particular simulation gave me hours of enjoyment. It’s sufficiently difficult to hold one’s interest for a long time, and the concept behind it is novel, and well thought out.” Personal Computer News (March 1983) and Computer Choice (March 1984) shared the same general opinion, with the latter even writing a short AAR as part of an article on Pirates & Privateers games.
Meanwhile, both Sinclair User (February 1984) and Crash (March 1984) agree that the concept is novel and has a unique scope, but they are less convinced by the execution, both calling it repetitive (Crash : “All in all, an entertaining game, but one that can become repetitive with playing“). I can agree with that, though of course in 2023 it is not even entertaining any more.
Worry not, we should see some more meaty ZX Spectrum games very soon, with the famous Stonkers and the less famous Pacific War coming soon.