[TO7, Free Game Blot]
– Lieutenant Narwhal. The moment we have been waiting for has arrived. It’s World War 3!
– I am ready to take command of our armies, Sir!
– Our arMIES? Not so fast, Lieutenant! Best I can give you is some 15 soldiers and a few tanks! You’re a Lieutenant, after all.
– Can you at least tell me who we are fighting?
– I am afraid it’s above your clearance level, Lieutenant!
We made it! We finally reached our first French wargame, and with it we’re back to clumsy early wargame design, a period now behind us in the USA and fading away in UK. In France however, the 1984 and 1985 games would not have been out of place in 1980 in USA, except for one oddity I will mention below.
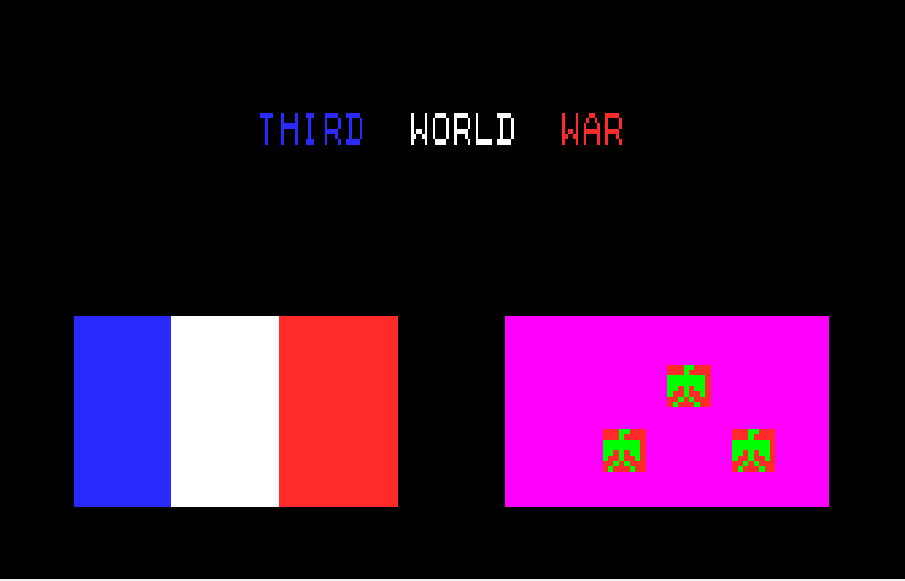
World War 3 (called Third World War in the splash) has none of the epicness of a World War, given all of it happens on a 5×9 grid, in which each side has a combination of infantry and tanks, 1 to 4 on each tile. The objective is to eliminate all the enemy units, which are at the moment invisible.
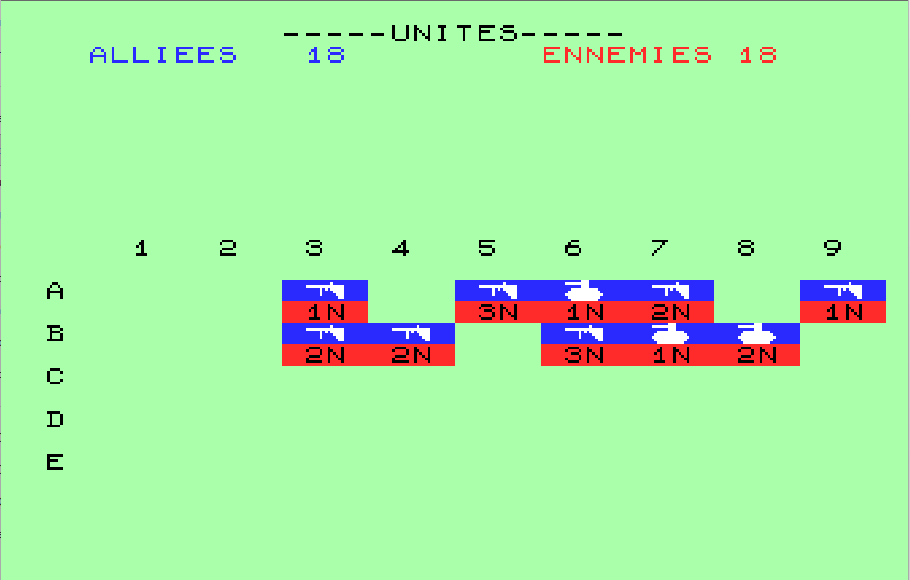
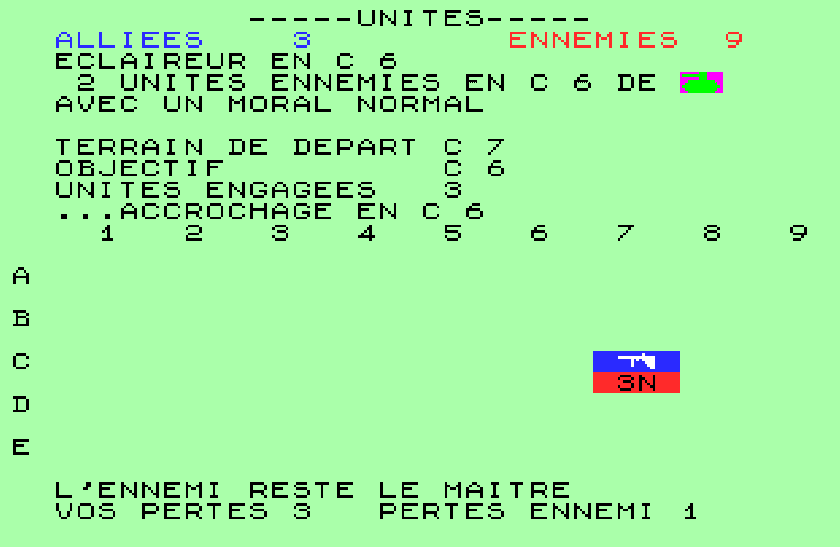
A turn has two phases. In the first one, the player inspects [narratively “send a scout“] a tile of his choice to check whether it is occupied – for instance I find out in the next screenshot that there is one enemy infantry in C7.
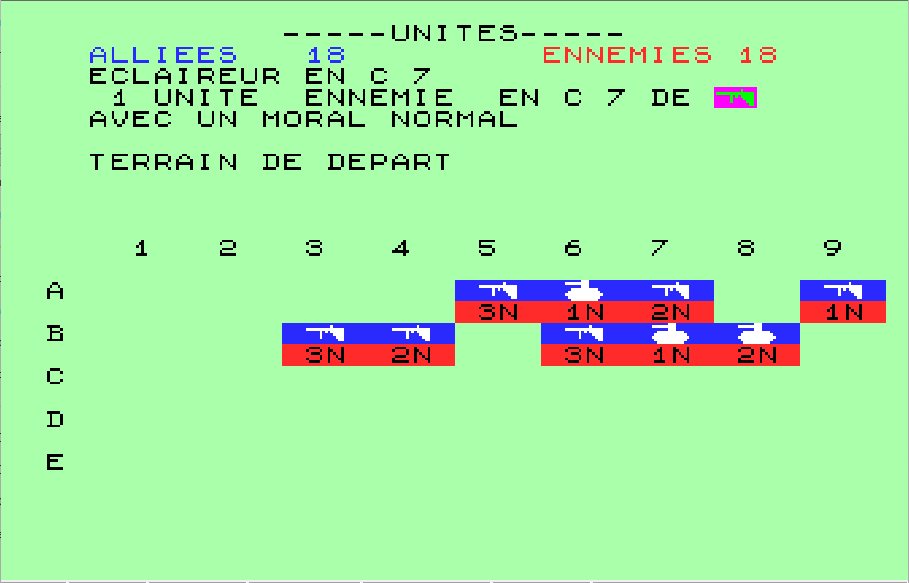
1 enemy unit in C7 of infantry with normal morale”
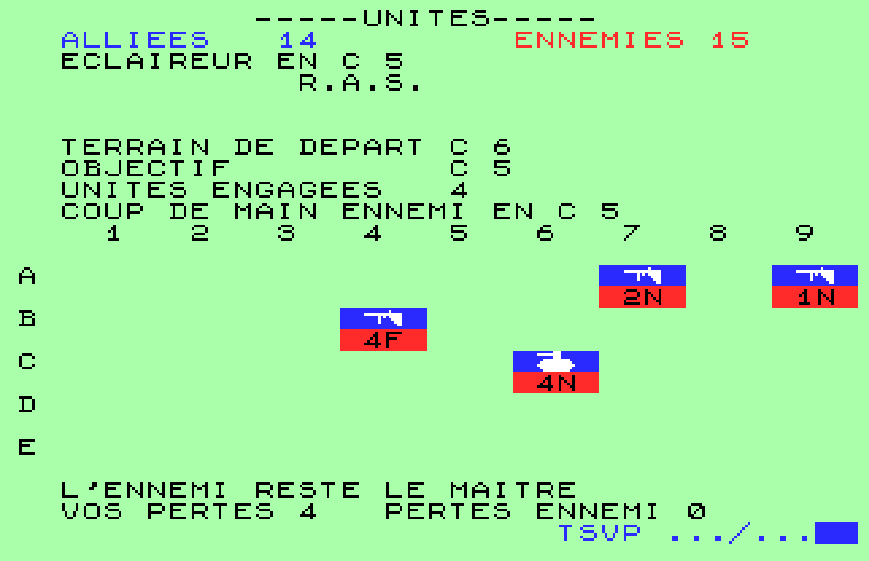
The second part of the turn is movement – only one unit by turn by player. The movements are resolved simultaneously, and in the first turn the enemy attacks my 3 soldiers in B6 while I merge my 2 tanks in B8 with the one tank in B7. I fend off the attacker, and both sides lose one man.
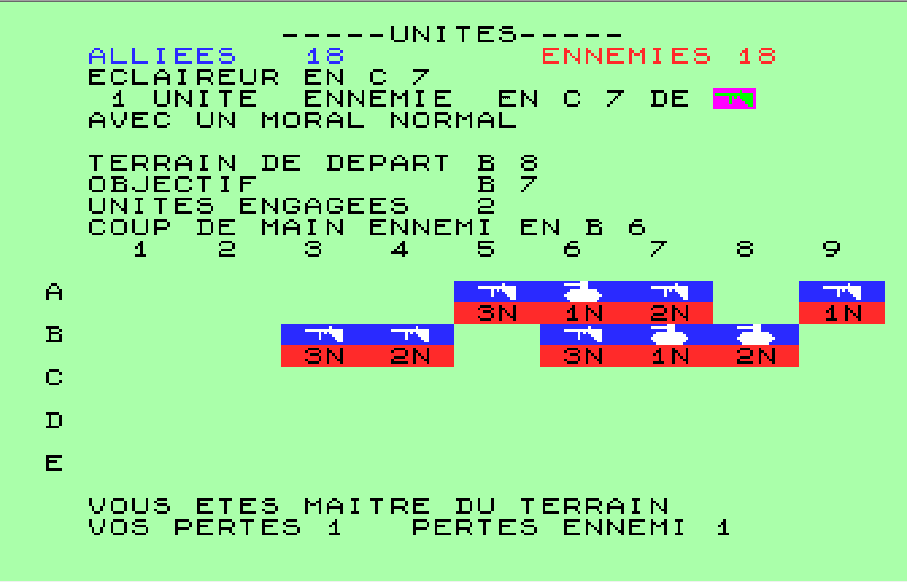
You are master of the battlefield. Your losses: 1 Enemy losses: 1″
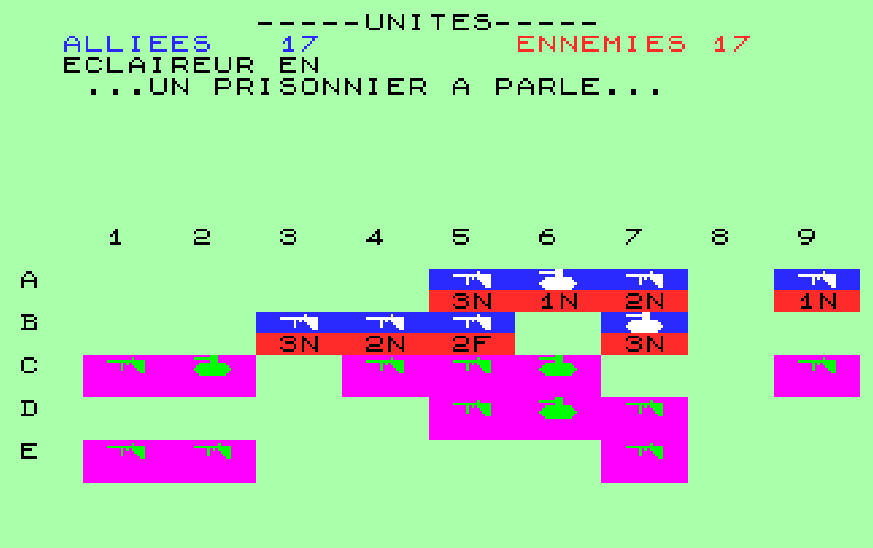
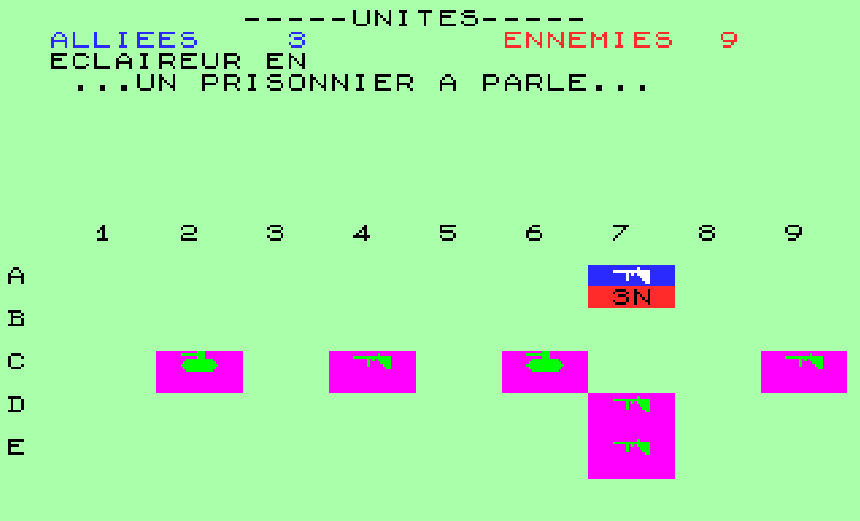
I am lucky the following turn with a random event: a prisoner reveals the enemy deployment:
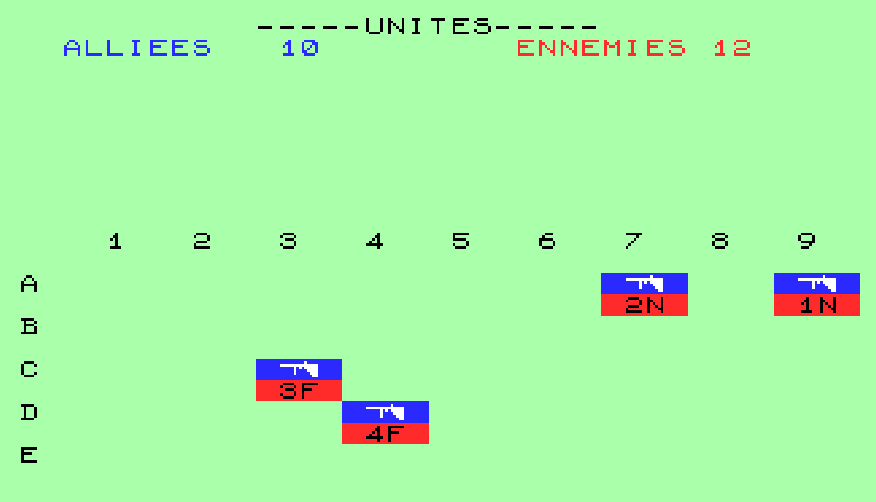
And well, that’s all there is to the game. According to the manual, combat results depend on the size of your unit, on its morale (which increases after a victory) and on how long the game has lasted (the longer it lasted, the stronger the enemy is); the game is therefore about regrouping the scattered forces in large stacks of 4 as soon as possible and using victorious units as much as possible before their morale returns to normal.
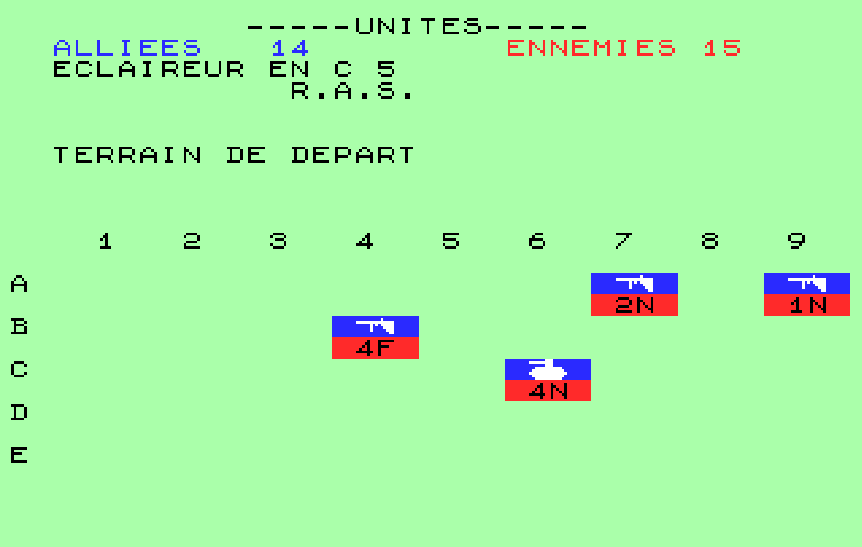
After some combats, another random event happens: one of my units loses communication, and so disappears from view. It still exists, and it can even be selected, it is just not displayed on the screen. Honestly, it may very well be an ascended bug:
After having regrouped my tanks, I attack the enemy aggressively; it does not pay off and I lose all my tanks against what turns out to be two infantry:
I have to rely exclusively on my infantry, but honestly I am not even sure tanks are better than infantry in this gam… Hey! Look! I found my soldiers back!
Unfortunately, the lost & found infantry does not last very long before being lost again. I may have used up too much time already, and the enemy destroys both my stack of 4 and my retrieved stack shortly thereafter.

I regroup what I have left, but the odds are now slim:
And just a few turns later, I lose my last stack.
Unfortunately, I did not capture the end screen, but really it was just the flag of Caernarfonshire, the sentence “You’ve lost a battle, but you’ve not lost the war” and a prompt asking me whether I want to play again.
Thanks, I’m good.
Review & Ratings

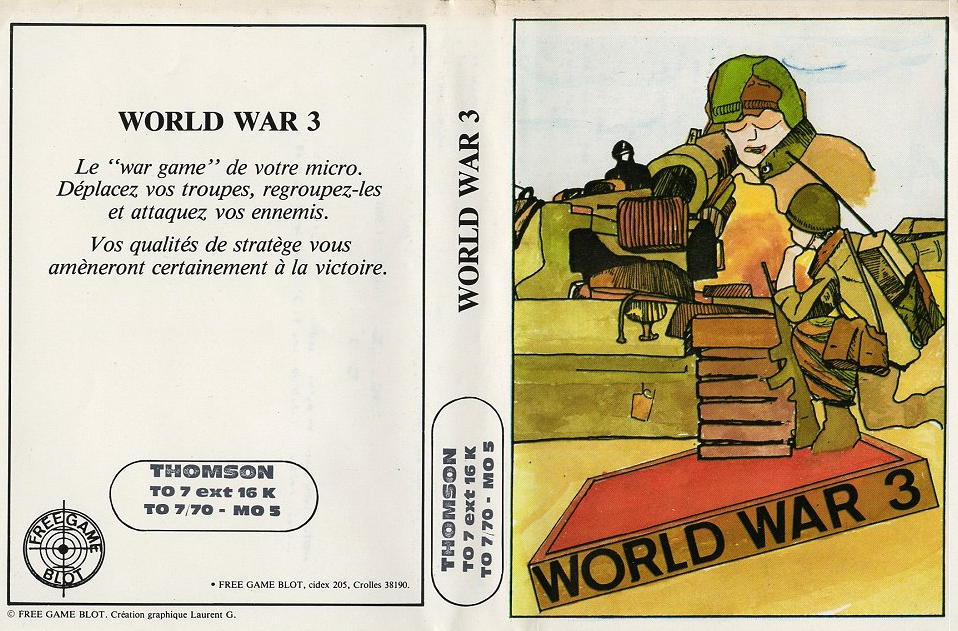
World War 3, author unknown (probably Francis Blot), published by Free Game Blot, France
First release: October 1984 on Oric-1, Atmos and MOTO computers
Genre: Small scale tactics, by lack of a better category. It is really primitive for the genre.
Average duration of a session: Around 30 minutes
Total time played : One hour.
Complexity: Easy (1/5)
Final Rating: Totally obsolete
Context – World War 3 is one of the first games published by Free Game Blot, a French company founded by Francis Blot (a former nuclear safety engineer) in the small town of Crolles (5000 inhabitants) in the South of France. The first appearance of Free Game Blot is a review of the game Une Affaire en Or (a apple marmelade producer management game!) in the July 1984 issue of Sciences & Vie Micro. There is another isolated mention of the obviously unofficial Monopolix in August, and then Free Game Blot suddenly occupied the coveted last page of the magazine Theoric with 7 software in September 1984, including World War 3. along with its emblematic logo that will give Free Game Blot the nickname “La firme au crocodile“.
Free Game Blot had a weird positioning. According to the rare interviews given by Francis Blot, his company only accepted to publish local [French] creations and even then only games with either pedagogical value or “proven” family gameplay (eg Monopolix). However, while the “French creation” part is true, Free Game Blot happily published wargames – World War 3 being the worst of them – and its more successful game may be the submarine simulation Blue War, which received two sequels. Those may have been opportunistic releases independent to the general strategy, but my hypothesis is that Francis Blot really wanted to sell all sorts of games, but was constrained in what he could say by his distributor: France Image Logiciel (FIL). FIL was set up by Thomson in 1985 and managed the software logistics of the Plan Informatique pour Tous, a massive program to equip all high schools with computers and the reason the Thomson was an important platform in France. This captive market immediately made FIL huge for France (500 000 software in its first year of operation) and reputation-sensitive, and so Francis Blot made Free Game Blot’s catalogue sound as tame and boring as possible.
Free Game Blot was never huge, but it still managed to export in the rest to Europe in 1986 and 1987, before suddenly disappearing from the radar in late 1988 – possibly following the bankruptcy of FIL in 1988.
World War 3 was coded in BASIC and has no author credited, but I reckon it was coded by Francis Blot himself, given his company was only registered in October 1984 so he was probably flying solo before that. Because it was in BASIC, it was easy to port and so after the initial release on Oric and MOTO computers, it was ported on the Alice, on a small French computer called the Excelvision EXL100 (which apparently sold 9000 units to schools and possibly a few more to families), and finally on the Amstrad CPC. Despite this broad coverage, I could not find any real review of the game.
Traits – There aren’t a lot of good things to say about the design of the game: the player is blind, combats are random and barely explained and there are no visual effects. There isn’t anything satisfying about destroying units you could not see in the first place, and I am sure that if you are winning, the end-game would be frustrating as you try to kill the last moving and invisible enemy unit.
One thing saved the game from being an absolute disaster: the Thomson version that I played supports the optical pen, which is emulated by the mouse. Apparently, using the pen was generally impractical and tiring, but nowadays World War 3 is quite natural to play: to move a unit, I click on it and then on its destination, and finally on the number of units I want to send. Unfortunately, while natural, it’s still not seamless due to significant loading time after each action.
Did I make interesting decisions? Not really. There are some decisions, but randomness rules the game.
Final rating: Totally obsolete. It may the first French wargame, but it’s terrible.
Ranking at the time of review: 161/176