I am back with Carriers at War (Coral Sea, Midway), and while I did not love everything about the game, I reckon it is going to be seminal in the subgenre and I like it enough to want to play all its scenarios, so let’s get to the three final scenarios!
Battle of the Eastern Solomons (24-25 August 1942)
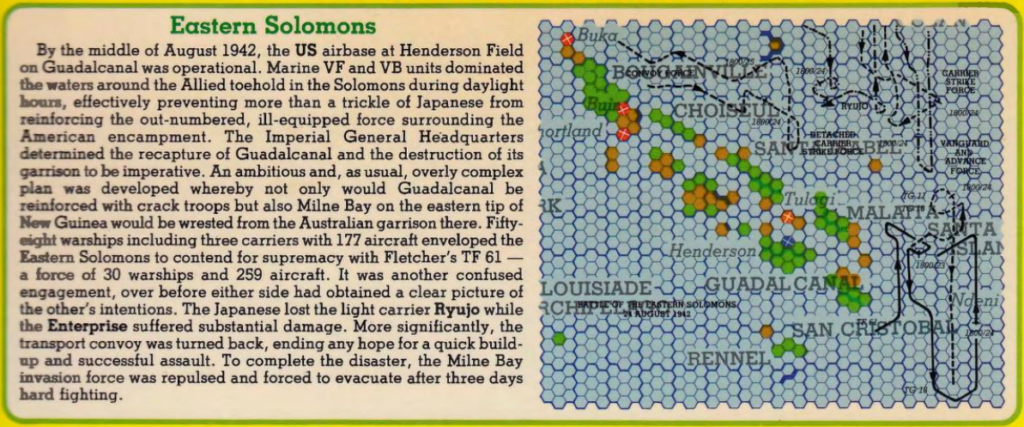
The battle of the Eastern Solomons is part of the broader Guadalcanal Campaign and is the first attempt by the Japanese to expel the Americans who had landed on Guadalcanal and seized Henderson Field earlier in the month. Still reeling after losing the battle of Midway, the Japanese regrouped whatever carriers they still had available and quickly mounted an operation to land troops on the island and destroy the US Marines.
I have under my command:
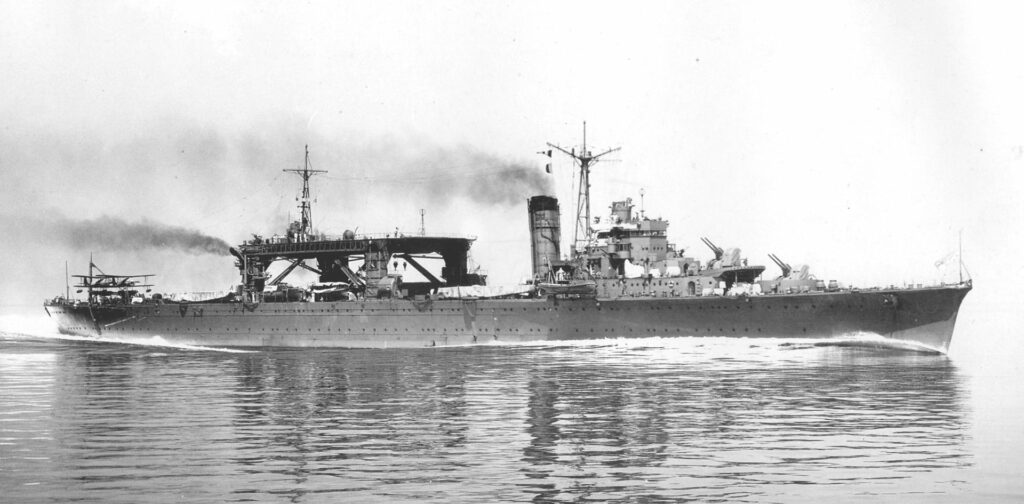
- A significant strike fleet of carriers under the control of Admiral Nagumo: two fleet carriers (the Shōkaku and the Zuikaku), a light carrier (the Ryūjō) and a seaplane tender (the Chitose),
- A main transport fleet under the control of Admiral Mikawa,
- Another transport fleet under the control of Admiral Shima. Its mission is to land troops on Gili-Gili, an operation unrelated to Guadalcanal that just happened to be ongoing at roughly the same time; if I had known I would have left the control of that fleet to the computer.
All those ships are supported by various groups of cruisers and destroyers which I will occasionally move independently. Finally, I also manage the airbases and all their planes – another thing I wish I had delegated.
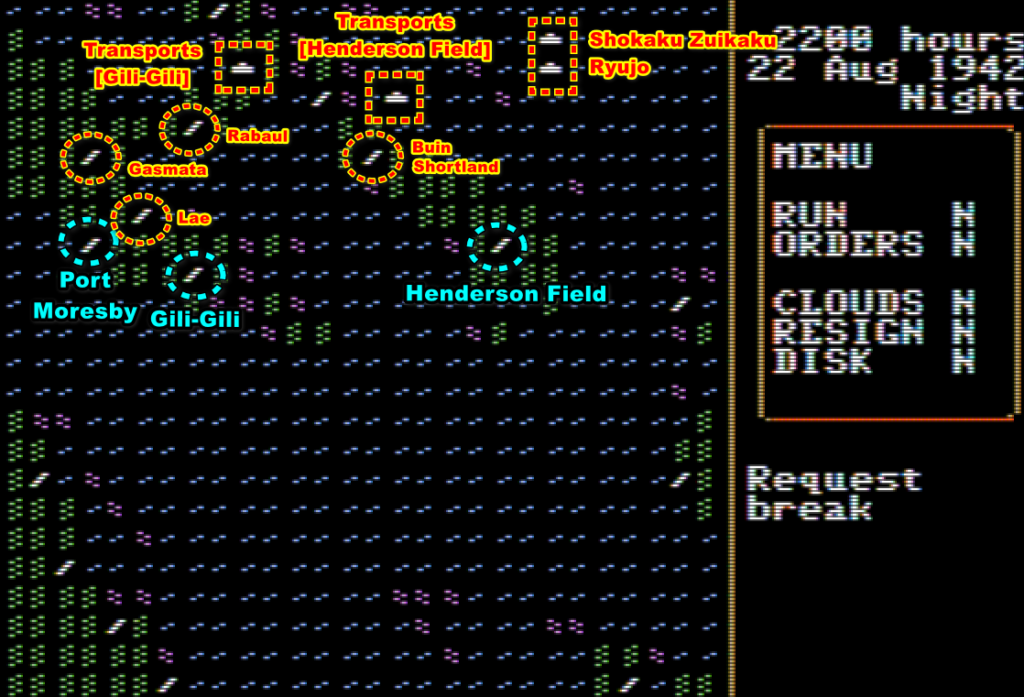
The battle gets off to a flying start: I am worried about the American planes operating from Henderson Field, so before the sun even rises I send heavy bombers (Betty and Nell) from my base in Rabaul to neutralize the airfield. However, at around 8 AM and as they are on their way I detect an American fleet next to it:
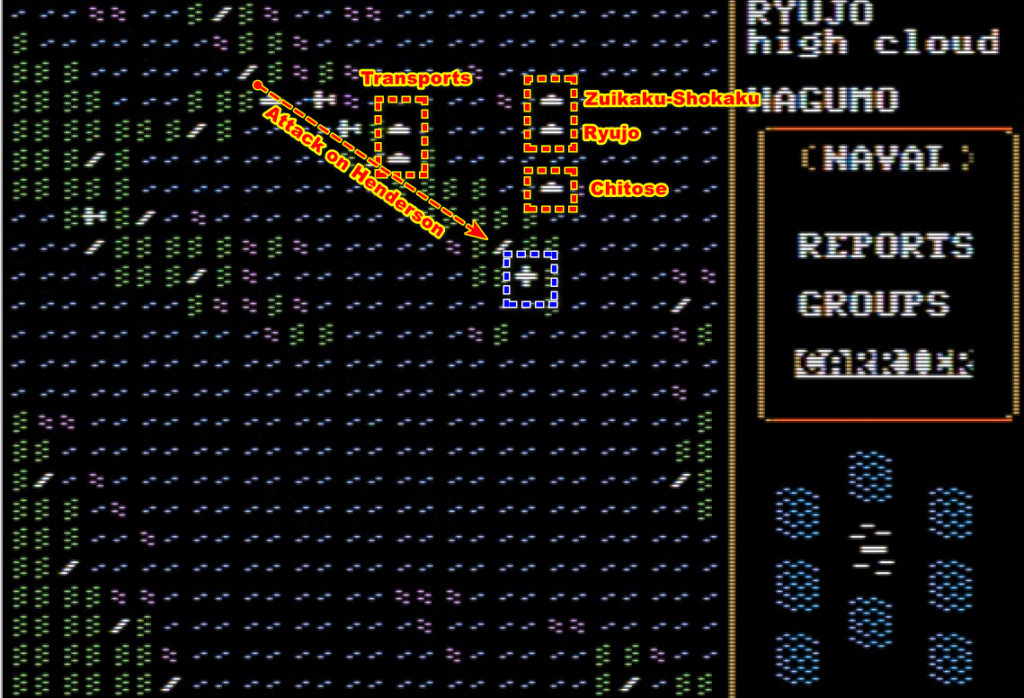
Once again, I am in this enviable situation where the enemy fleet is at the limit of the range of my planes. I immediately scramble bombers (and escorts) from my carriers. At 9:00, the first group reaches the target. The enemy will be attacked continuously until 10:30.
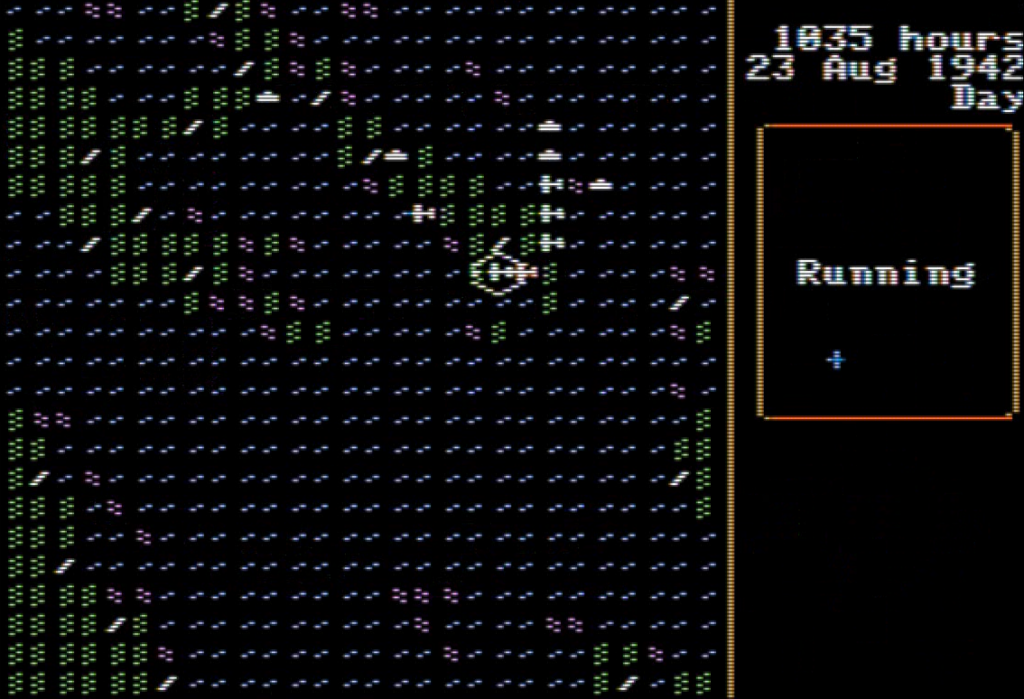
I don’t know it at the time (I checked the savestates after the battle), but the advantage has decisively shifted in my favour: the Enterprise has been sunk, and the Americans have no idea where I have hit them from – all they manage to do was sink the Chitose which was trying to reach her anchor point South-East of Guadalcanal.
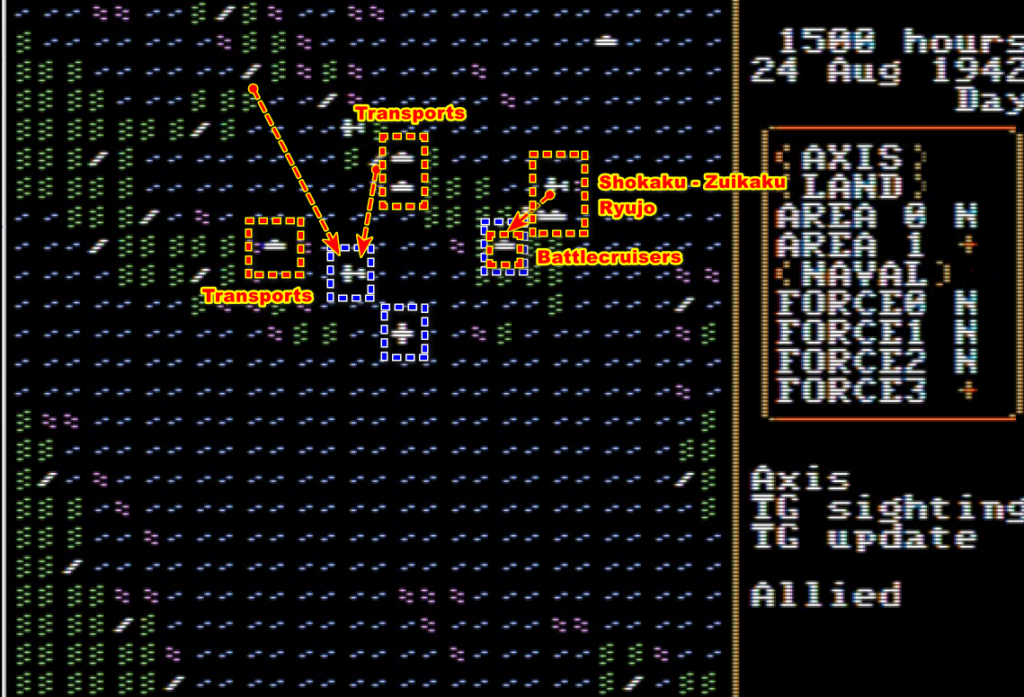
That’s the only carrier-on-carrier action of the battle. The American fleet moves West and never returns to Guadalcanal, instead focusing on the doomed Gili-Gili expedition which they will tear apart. I am fine with that, however, because doing so they move within range of all my land bombers, and eventually one of them – or maybe a submarine – manages to sink the Wasp. As for my own carrier fleet, it can safely focus on the Henderson Field, which is fully neutralized on the 25th.
The only other event of note was during the night of the 25th when an enemy cruiser fleet was detected by my coastwatchers just off Shortlands and only a few nautical miles from my transport fleet!
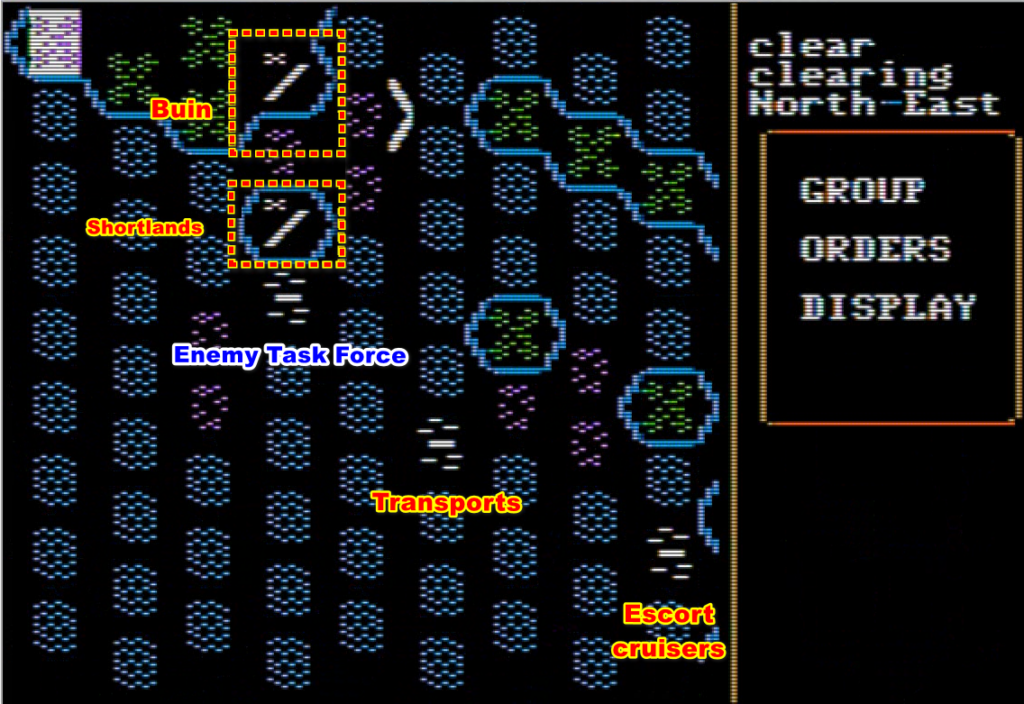
Happily enough, the enemy task force never engaged my transports (possibly due to the night). My escort cruisers double-back and put themselves between the enemy and my invasion force, though they never engaged the enemy either. It did not matter: my transports snuck away and when the morning arrives my planes made the little irritating cross disappear from my map.
Ultimately, the transports reached Guadalcanal without further issue and the battle ended on the 27th with a total Japanese victory.
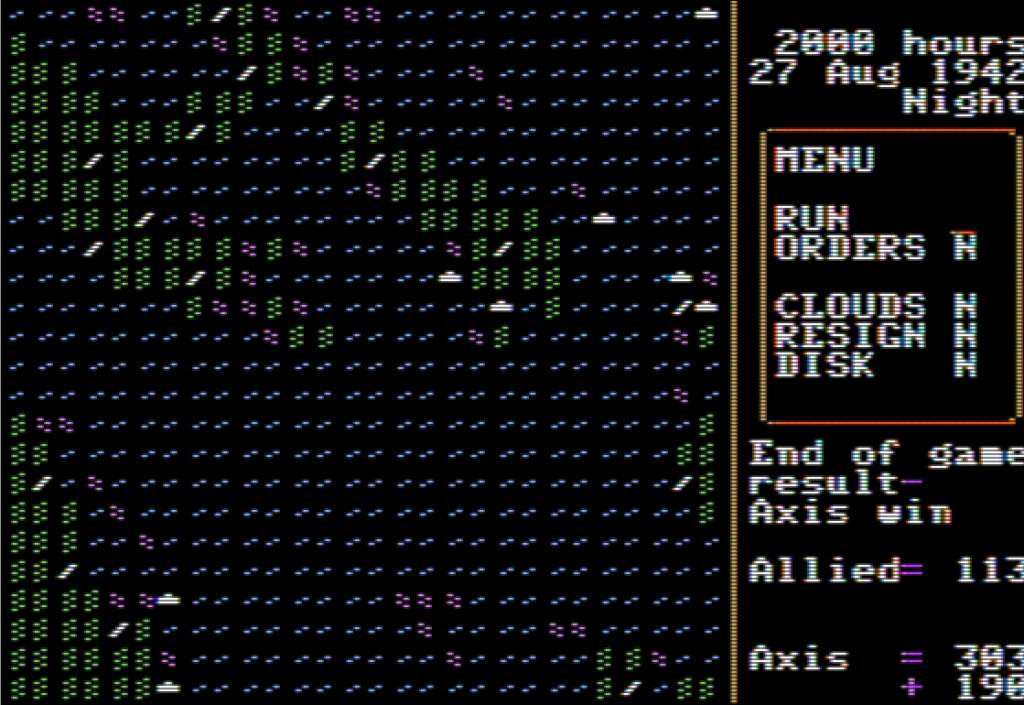
I have sunk two aircraft carriers and landed all my infantry on Guadalcanal, at the cost of the Chitose and of the unrelated and ill-prepared Gili-Gili expedition. The only way it could have been better was if I had also sunk the Saratoga, but she withdrew after the destruction of the Wasp.
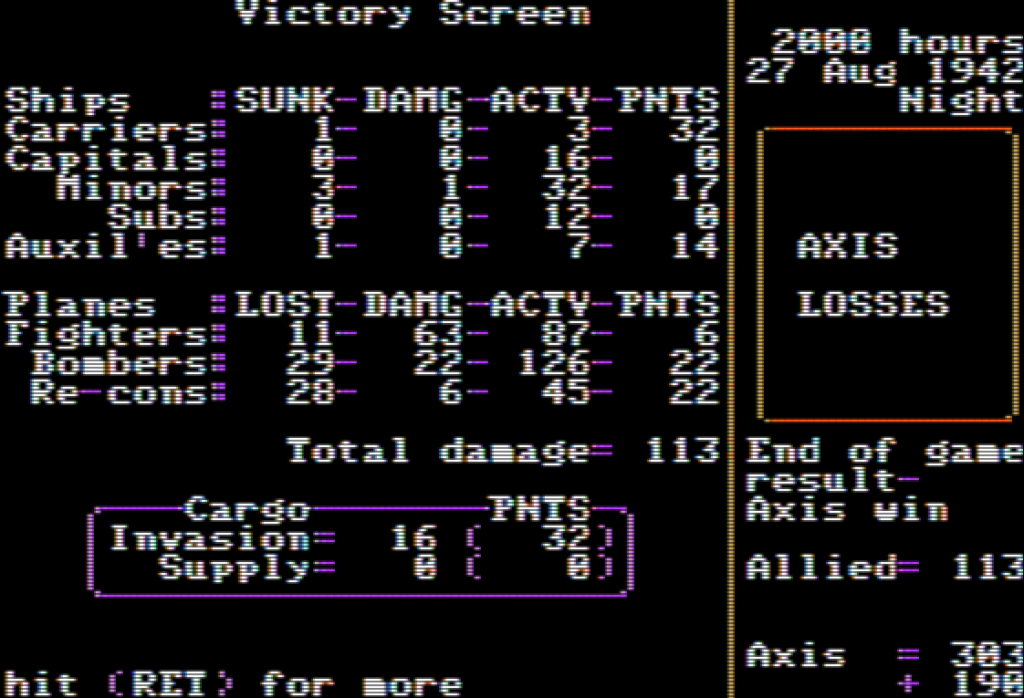
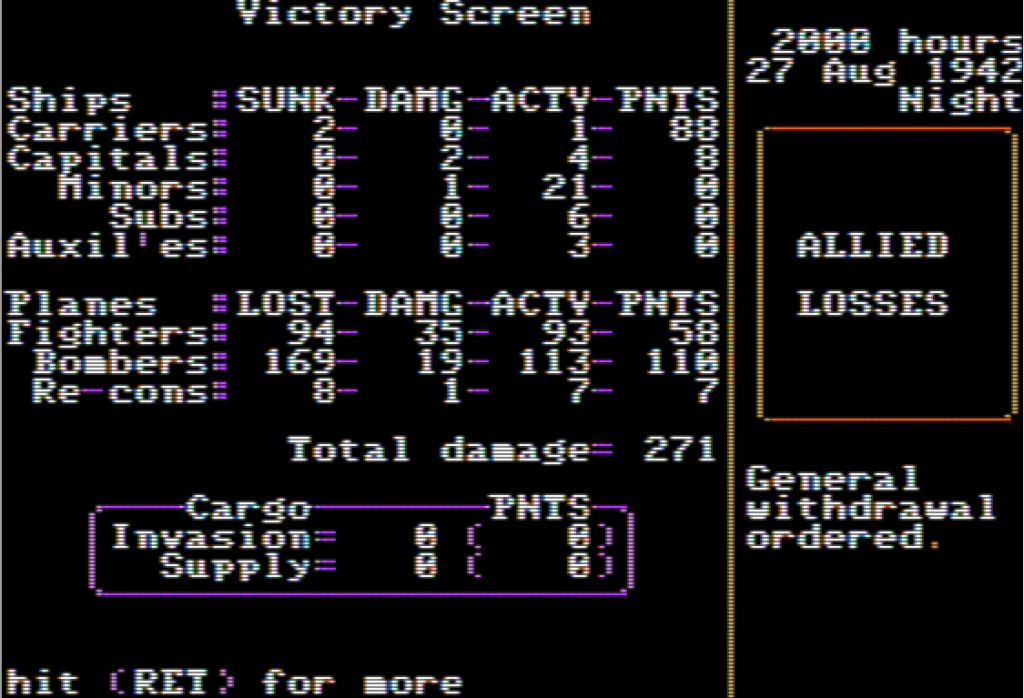
I have won every battle as the Japanese, so it is time to switch sides and see if I can reproduce the same performance with American carriers and shorter-range planes!
Battle of Santa Cruz
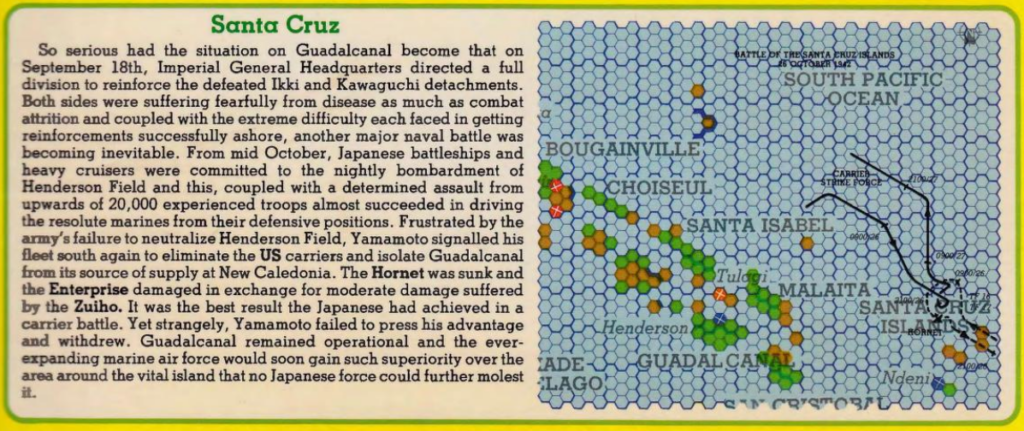
The battle of Santa Cruz is another event of the broader Guadalcanal campaign. Interestingly, the reason for the battle to happen had ceased to exist by the time it happened: both factions had brought their aircraft carriers to support their side during a Japanese ground offensive on the 20th of October, but the offensive quickly stalled. Neither side wanted that minor detail to prevent them from sinking the other fleet, and the battle of Santa Cruz started on the 26th of October.
I start with only 2 Fleet Carriers (the Hornet and the slightly damaged Enterprise) and will face the cream of the Japanese Navy: the Shōkaku, the Zuikaku, the Jun’yō, and the Zuihō. This may be an opportunity to sink my cross-game nemesis the Zuikaku!
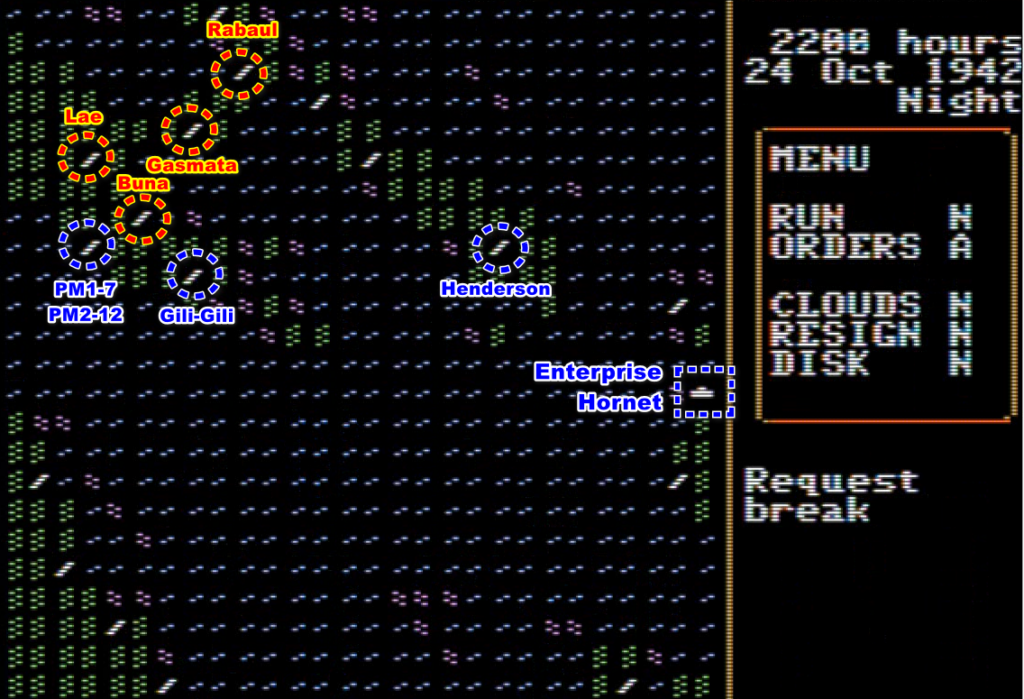
On the morning of the 25th, a Japanese cruiser fleet sails in front of Henderson and starts bombarding it. It’s within range of the Dauntless dive-bombers on my carriers, so I send a couple of wings – unescorted but the enemy carriers are not around anyway. The mission itself is eventless, but then I realize my Dauntless transit through Henderson Field before returning to their carriers.
“Hey, I can do that?“
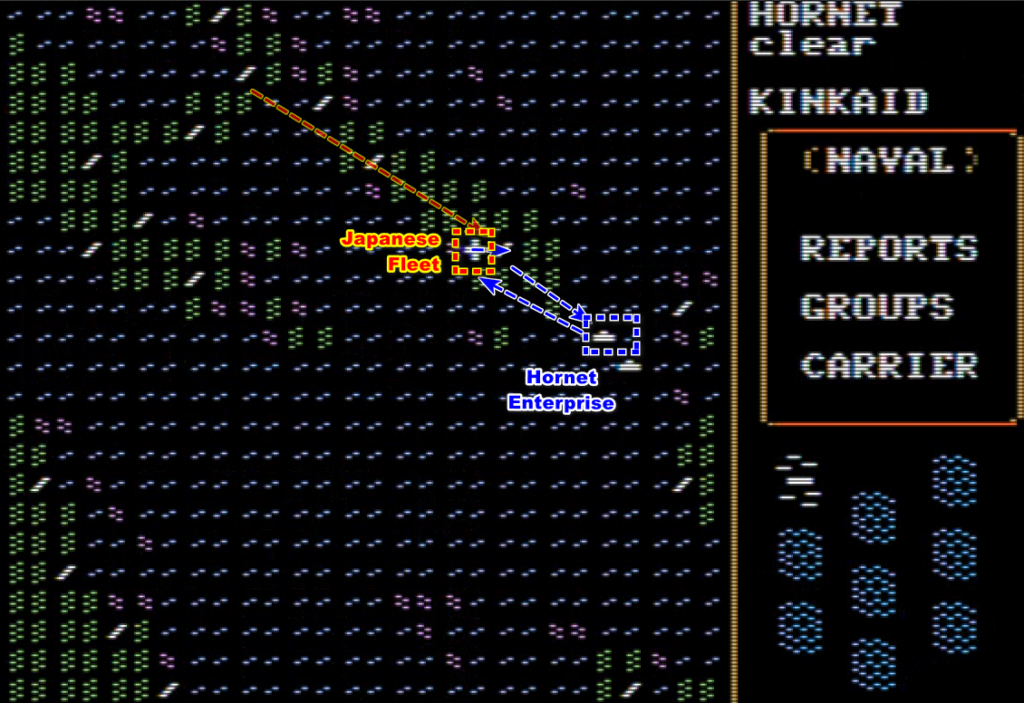
My easy victories as the Japanese in the previous scenarios had been earned by leveraging the higher range of the Japanese planes. I reckon that with this “transit” feature, I can extend the range of my planes well beyond the range of the Japanese planes. I position my fleets South of Henderson Field and wait for the enemy to come to me.
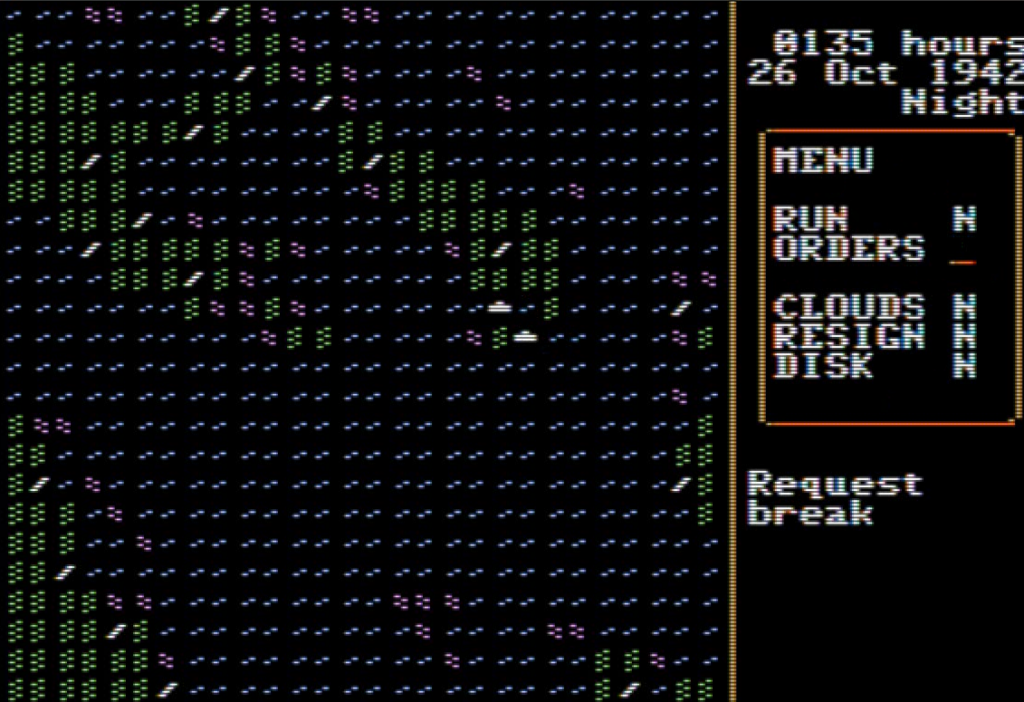
Nothing worth mentioning happens until the 27th at 9:00, when the enemy carrier fleet is detected:
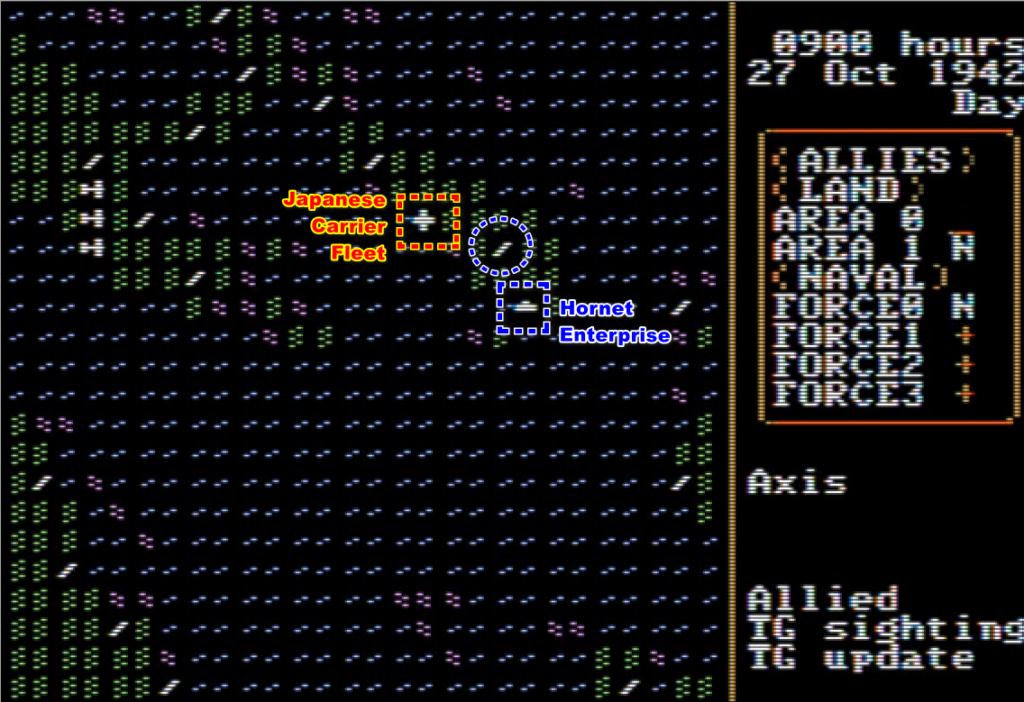
My plan had looked great on paper, but now that the Japanese are there it puts me in the throes of indecision. The Japanese fleet is in range of my dive bombers and torpedo bombers, provided they stop at Henderson Field, but not of my fighters. If I attack, I must attack without escort!
After giving it some thought, I realize that I can’t wait – if the Japanese fleet detects me, I will be within their range for sure, and I am not winning a battle of 4 carriers against 2. My planes are sent on a suicide mission!
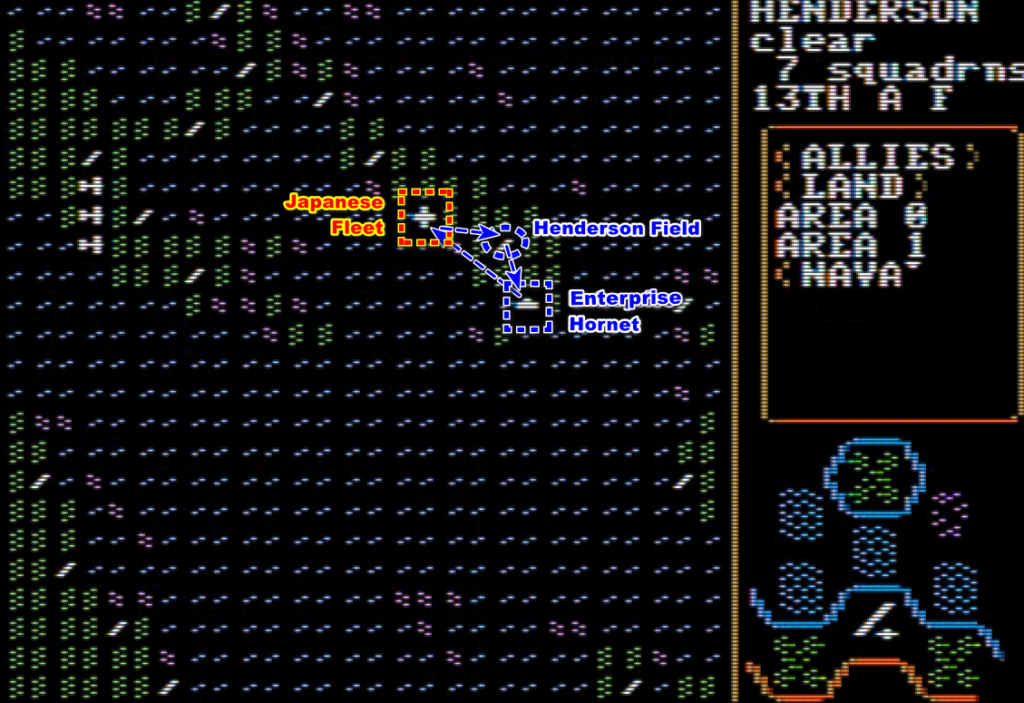
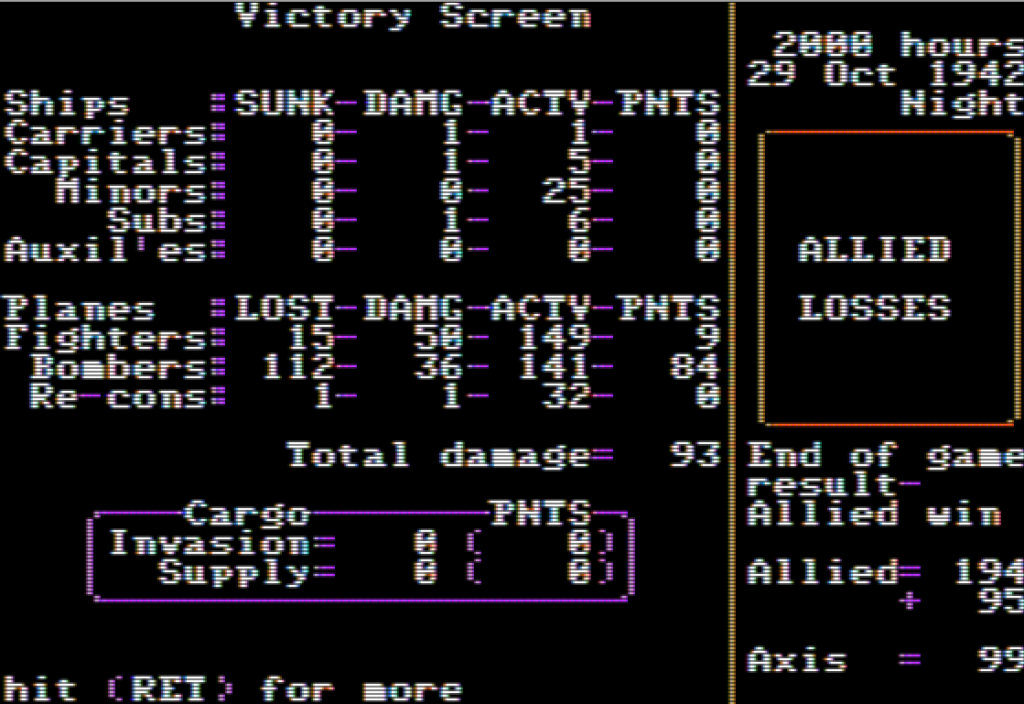
And well, a suicide it is. I expect significant losses, but not so much losses that for all intents and purposes I sacrificed all my bomber wings:
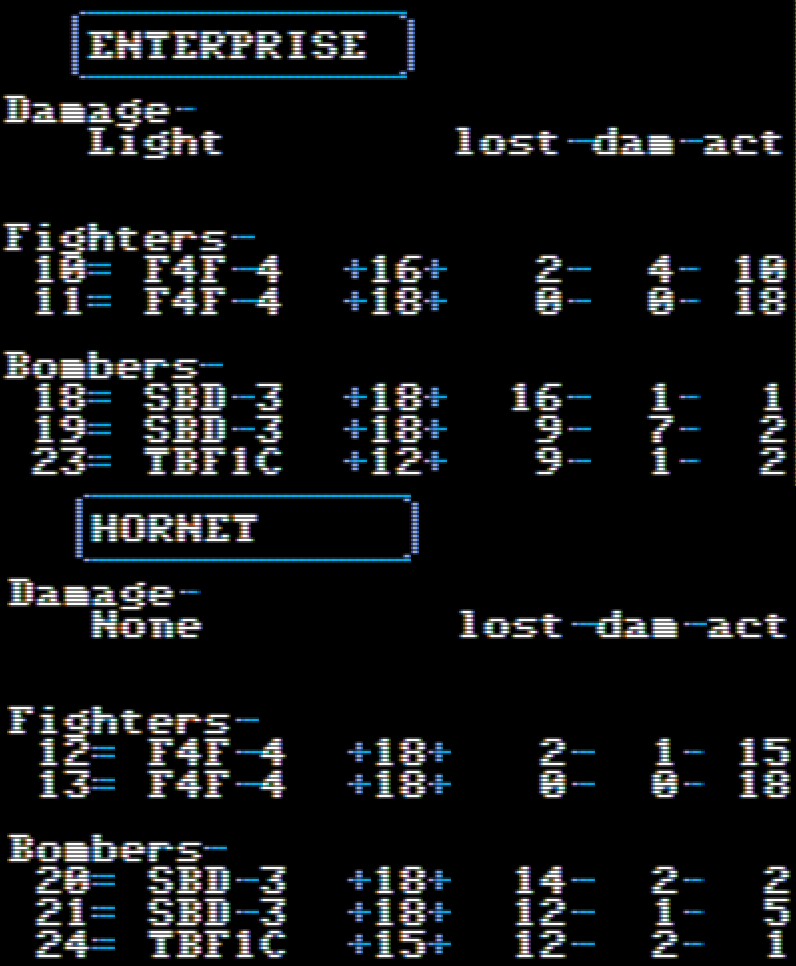
I don’t have any strike capacity anymore, and I am further informed that the Hornet has been sighted. The only thing I can do is retreat, with the carriers each going their own way.
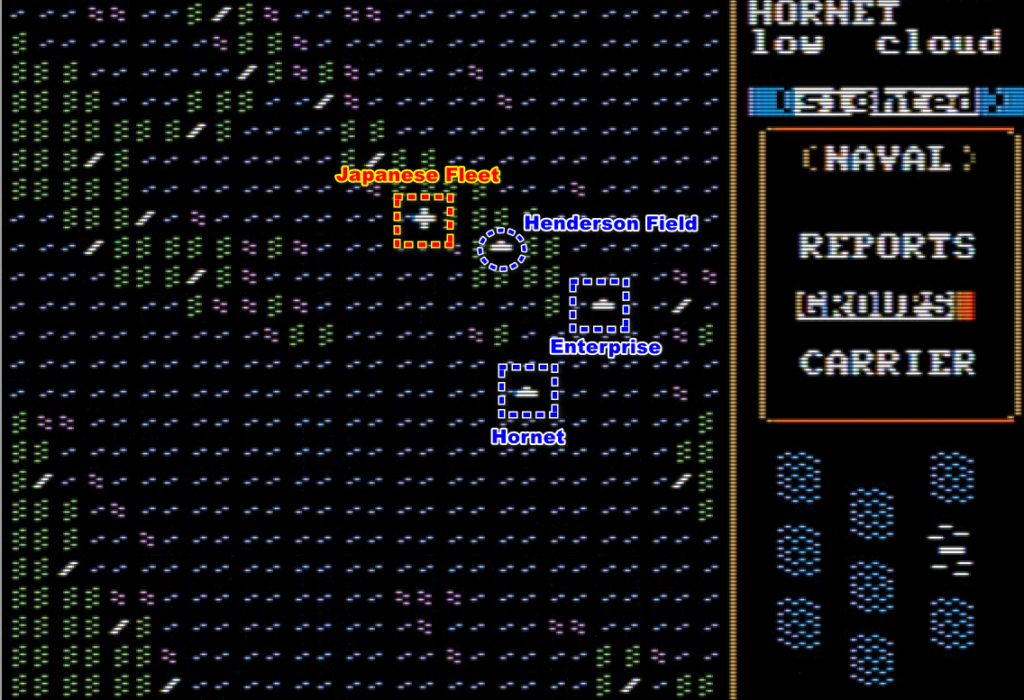
There is, however, no further action from the Japanese the 28th and the 29th, and much to my surprise I won the battle!
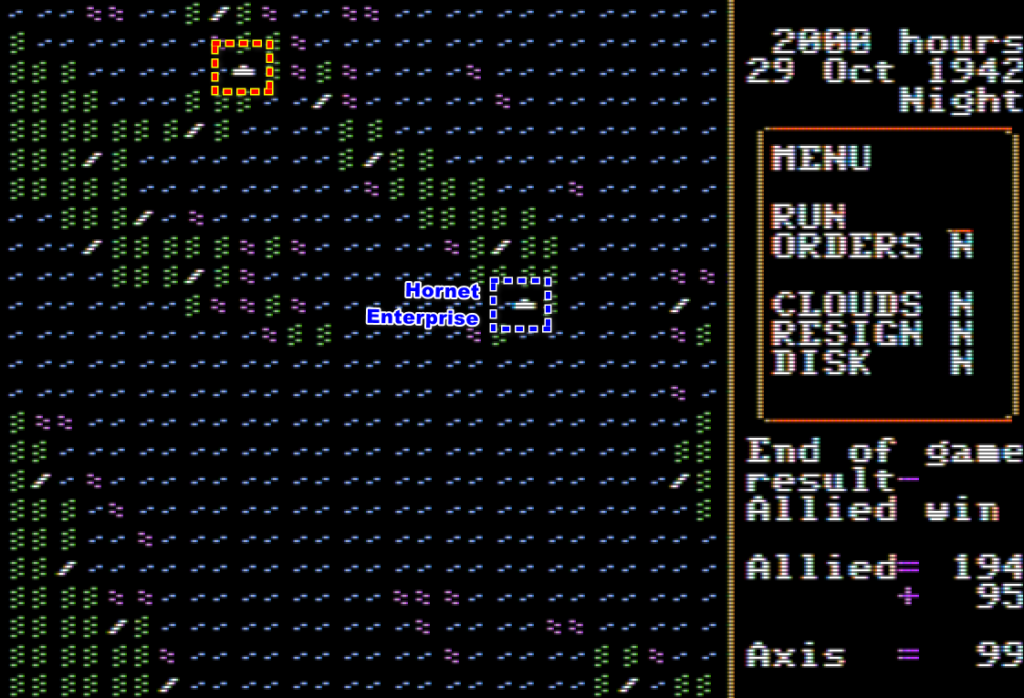
It turns out my “suicide mission” had neutralized three of the Japanese carriers, with only the Jun’yō still able to send planes unaware that all my bomber wings had been neutralized, the Japanese had withdrawn!
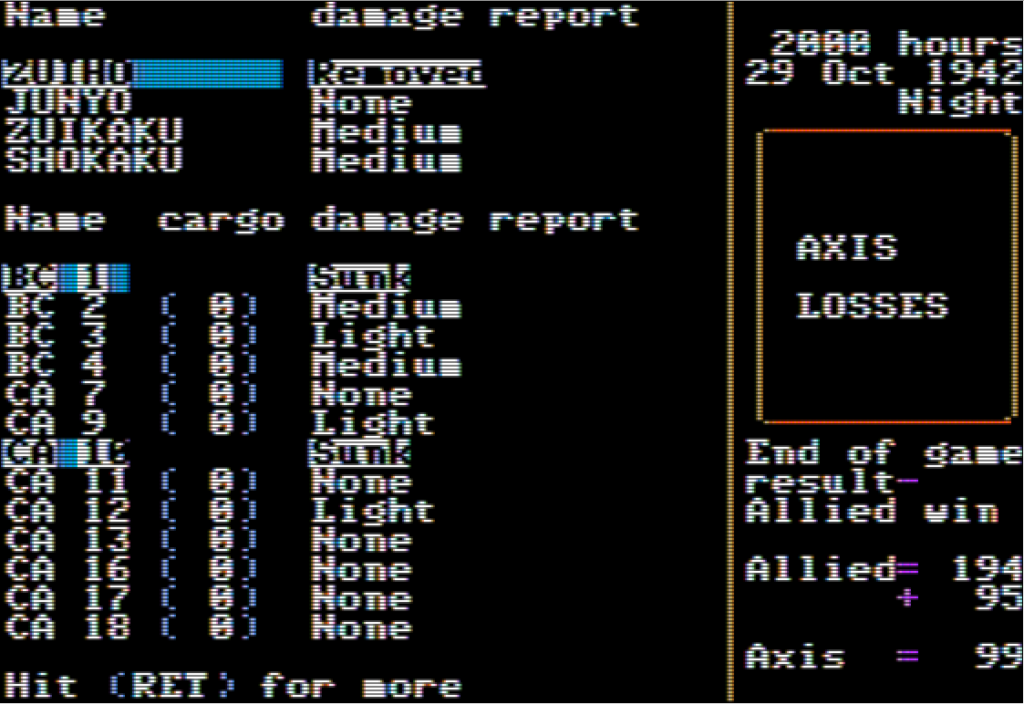
Of course, I failed to sink the Zuikaku again- but eh, that’s still a victory.
Can the computer ever win at Carriers at War? Well, I am going to stake all odds against me by playing the Japanese in the final battle of the base game: the Battle of the Phillippines Sea.
Battle of the Phillippines Sea (19-20 June 1944)
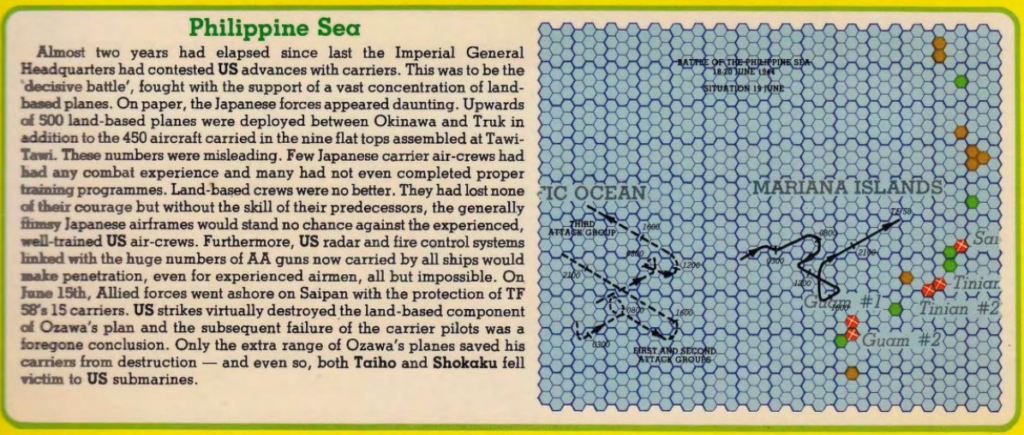
The Battle of the Phillippines Sea is the last carrier vs carrier battle in history, if one disregards the battle of Leyte Gulf in which almost empty Japanese carriers were used as a decoy. The time of isolated heroics of the Enterprise, Hornet, Wasp, Lexington and Saratoga is behind us, and the Americans have massified their naval warfare with 22 carriers, whether fleet, light or escort. Their planes were better than anything the Japanese had, their pilots were veterans and their technology and their tactics battle tested. Finally, if push came to shove, their AA guns were now routinely using the ultra-secret proximity fuzes.
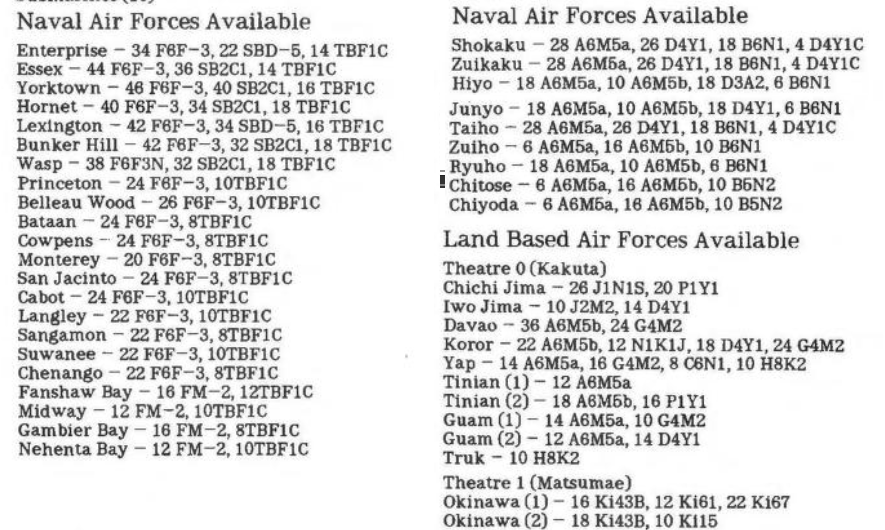
As for the Japanese, they sent their remaining 9 carriers, of all possible sizes but generally smaller than their American counterparts. Their planes were either slow and obsolete or, like the D4Y1 Suisei, quick but fragile, their pilots were untrained, their anti-air guns inaccurate and their damage control procedure inadequate. There is a reason why this battle was nicknamed the Great Marianas Turkey Shoot; and the scenario realizes it by stating that if the Americans lose one (1) fleet carrier, then the battle is at best a draw for them.
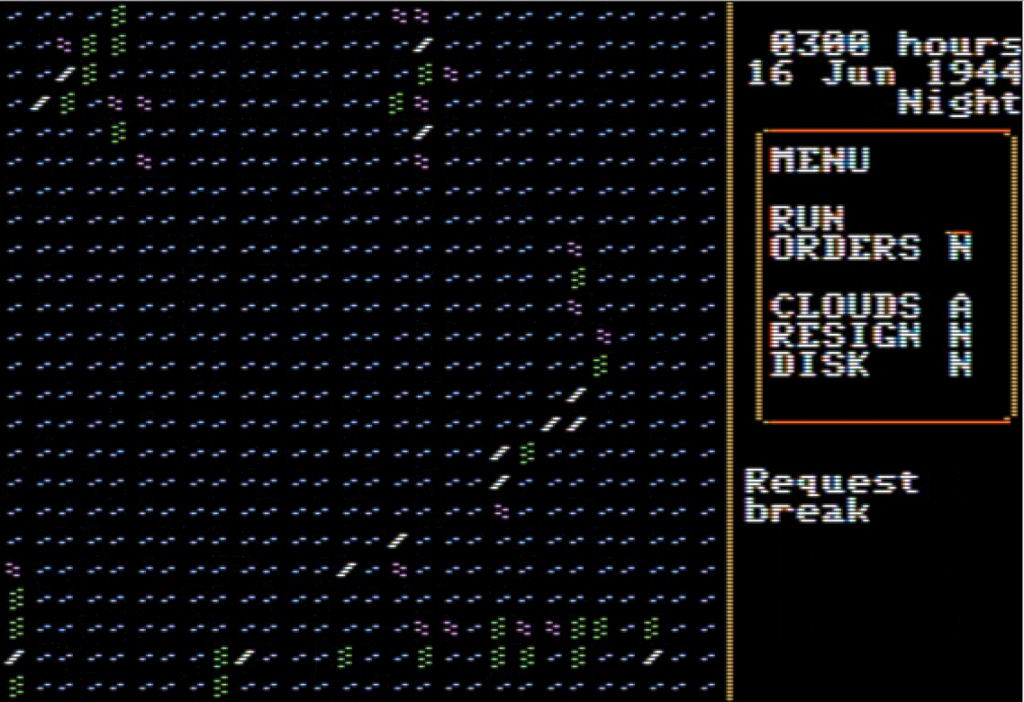
The battle opens the 16th of June, 1944. The Americans must land their invasion force on Saipan, which they do immediately without opposition: my fleet has not arrived yet, and the land-based planes, which I left under AI control, are ineffective. The Japanese bombers that are not destroyed on the ground are easily shot down by the American fighters.
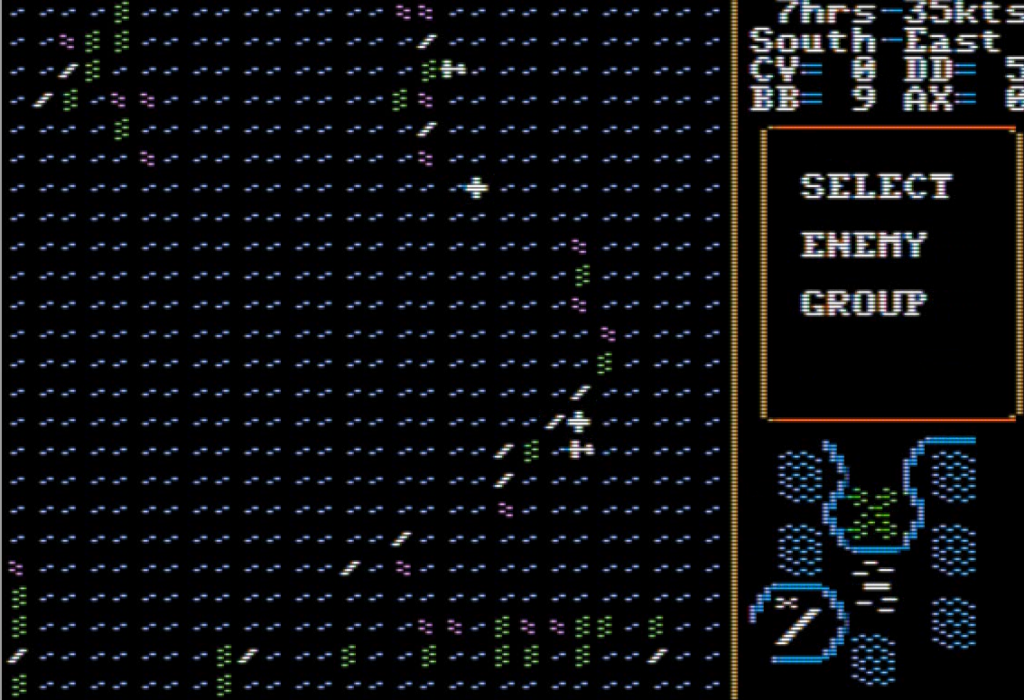
My carriers arrive on the 18th of June. The American carriers have already been spotted by land-based scouts, so I know where to find them. My only advantage are my new Suisei bombers, which outrange anything the Americans have. At around 12:00, while still well out of range of the Americans, I send the 80+ Suisei I have. After the attack, they will land on an island in the South (Yap, famous for its money stones) and return to their carriers either late afternoon or the following day.
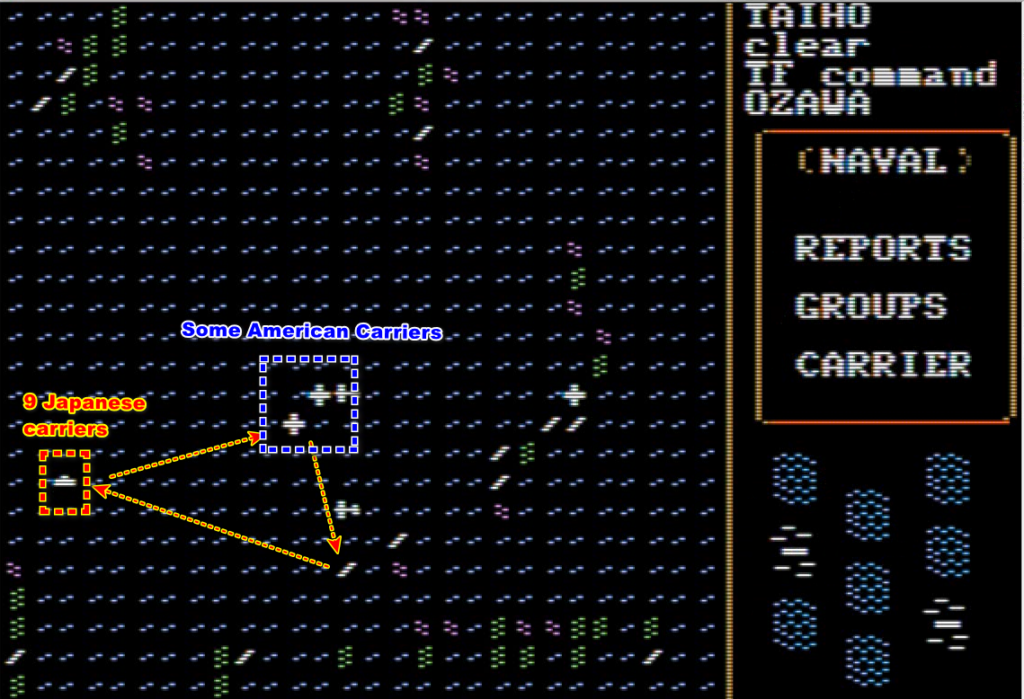
The plan works perfectly at the technical level. At the practical level, despite dozens of targets, my planes don’t hit anything. I count myself lucky with losing only one quarter of my bombers.
During the night, I relocate my fleet to be closer to Yap, positioning myself South of the suspected American position. At 9:00, I detect a part of the American massive fleet and send all my planes, several hundred in total!
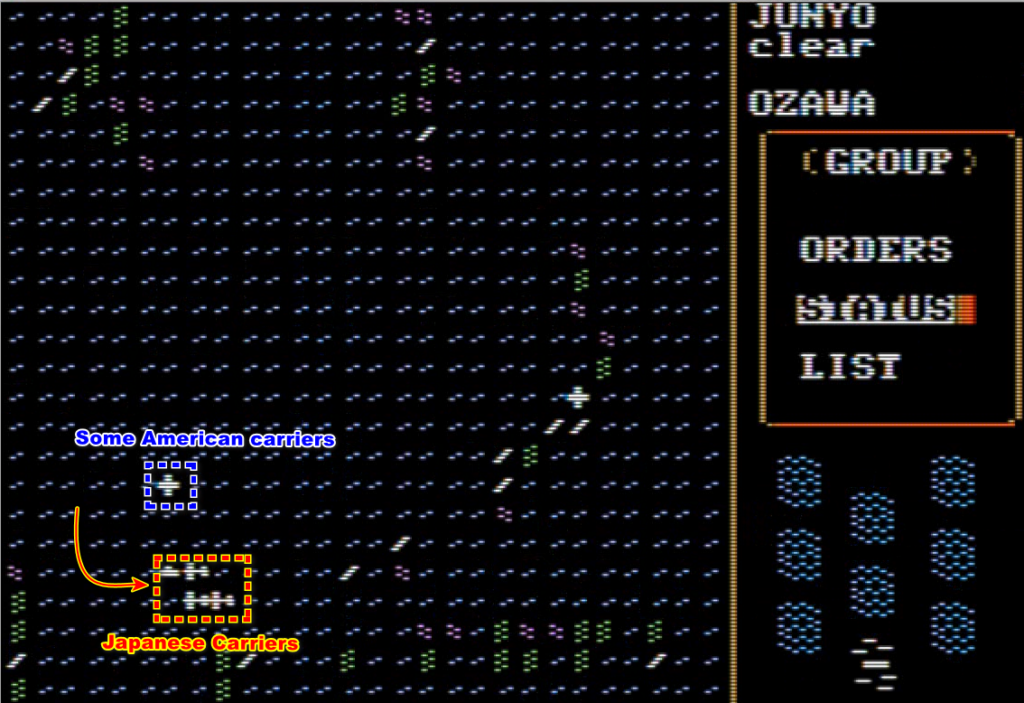
Meanwhile the Americans also detect me and send their planes. My planes find their targets and deal… no damage. The American planes find their targets, sink the Jun’yō and damage 3 other carriers.
I am defeated, and the game orders a general withdrawal. Unfortunately, I can’t leave the map, and the Americans are ruthless. By the time the battle ends, I have lost all my carriers except the Taihō which is simply disabled.
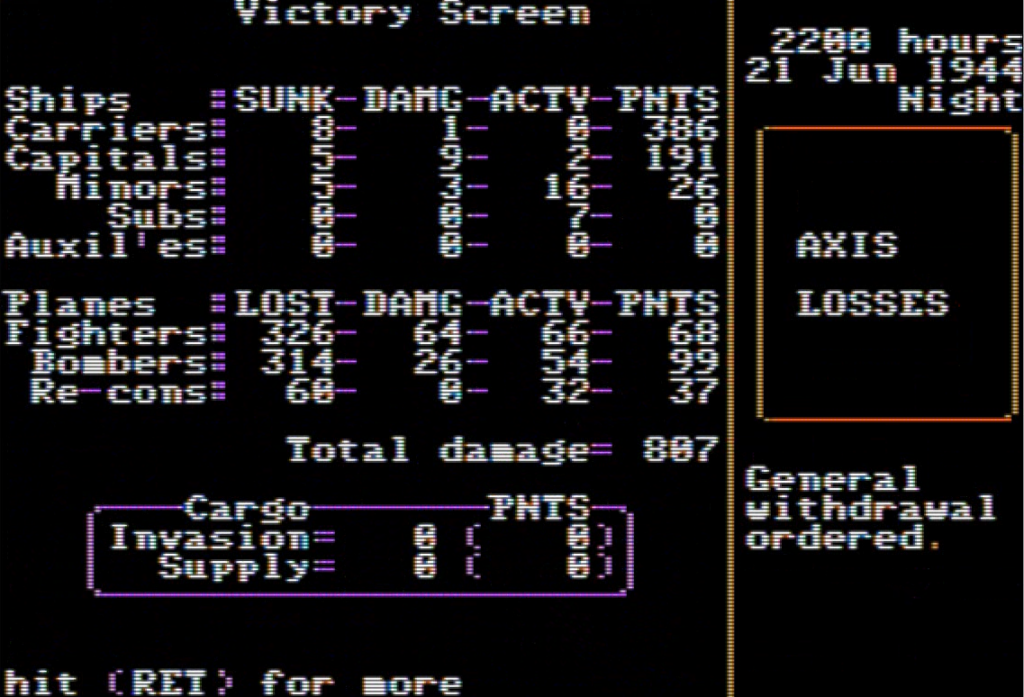
As for the Americans, I damaged a few of their cruisers:
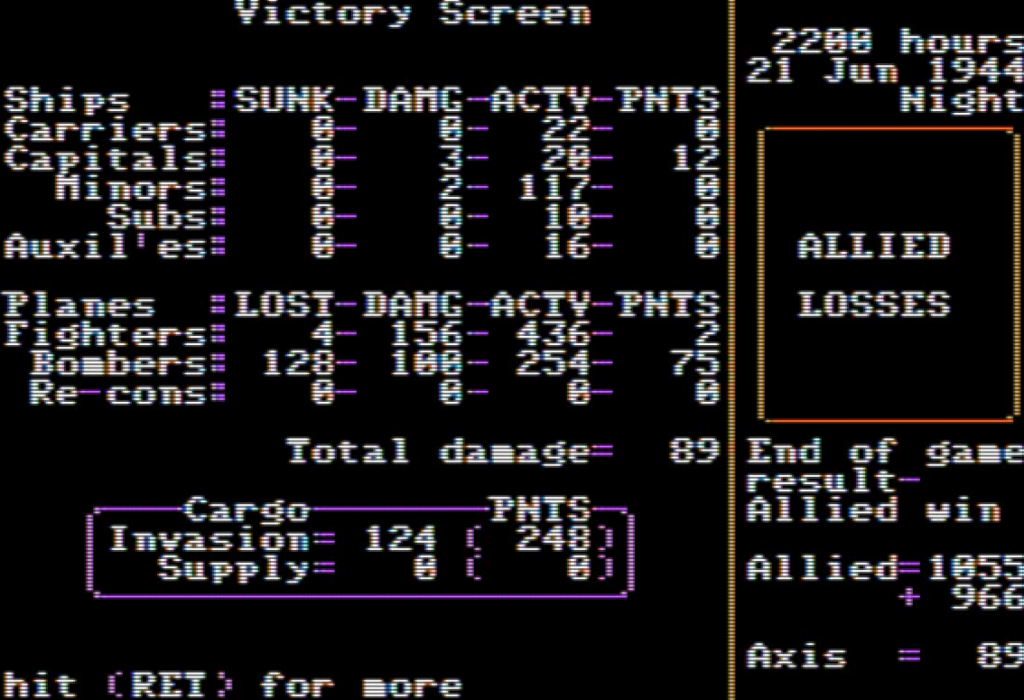
Carriers at War takes into account pilot experience but also defensive doctrine and radar usage – late in the war most American ships have radars and if they detect an incoming air attack the carriers immediately scramble all its fighters. Given this, it is not surprising that I have been so thoroughfully thrashed – I am not sure the battle can be won as the Japanese, and Roger Keating and Ian Trout did not let a contingency like “balance” ruin the nature of that battle.
I am done with the scenarios of the base game. I am pondering doing “Japan Sweeps South” series of 3 scenarios published in April 1986 in Strategic Studies Group’s magazine Run5 – they are fairly unique as they cover the carrier battles between the British and the Japanese at the onset of the war (December 1941-March 1942); but then maybe I have spent enough time AARing about Carriers at War already.
On a totally unrelated topic, some of you may know I work in video games myself. My team is about to release a game on Steam that has nothing to do with wargames. B.E.A.S.T. is a hero shooter whose focus is on being ultra-accessible so you can pick up the controller, choose any character and immediately “get it”. I would mean a lot to me if you could wishlist it – it helps with visibility which is, alas, the rule of the game. Obviously you don’t need to ever buy it!