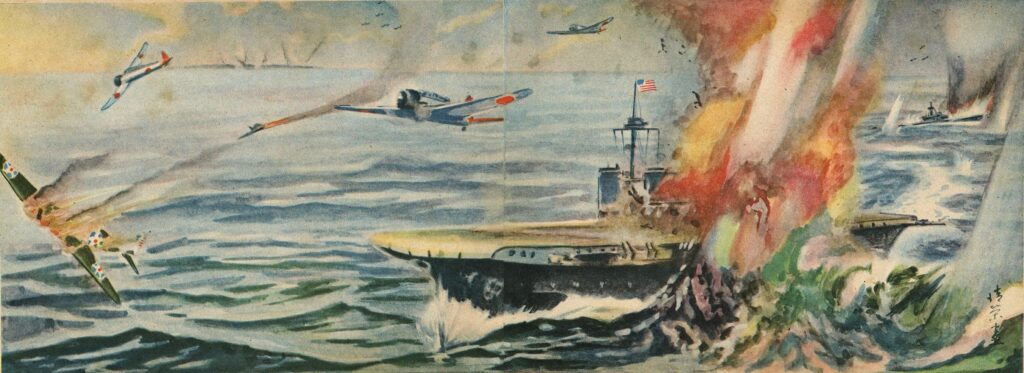
After our long detour on the SOL-20, it is time to return to 1983 and to Gary Grigbsy’s Carrier Force. Our first episode covered the Battle of the Coral Sea. If you remember, I found the game hard to enjoy with its focus on plane micromanagement, and even worse on seaplane micromanagement. Still, it included 3 more scenarios, including the battle of Midway. I have only unsatisfyingly simulated this battle once since I started this blog and the scenario is shorter than the gruelling Coral Sea, so I decided to give it a try. If you have not already, you should read the first episode as this time I will keep it as snappy as possible for a Grigsby game and will not explain the game’s rules.
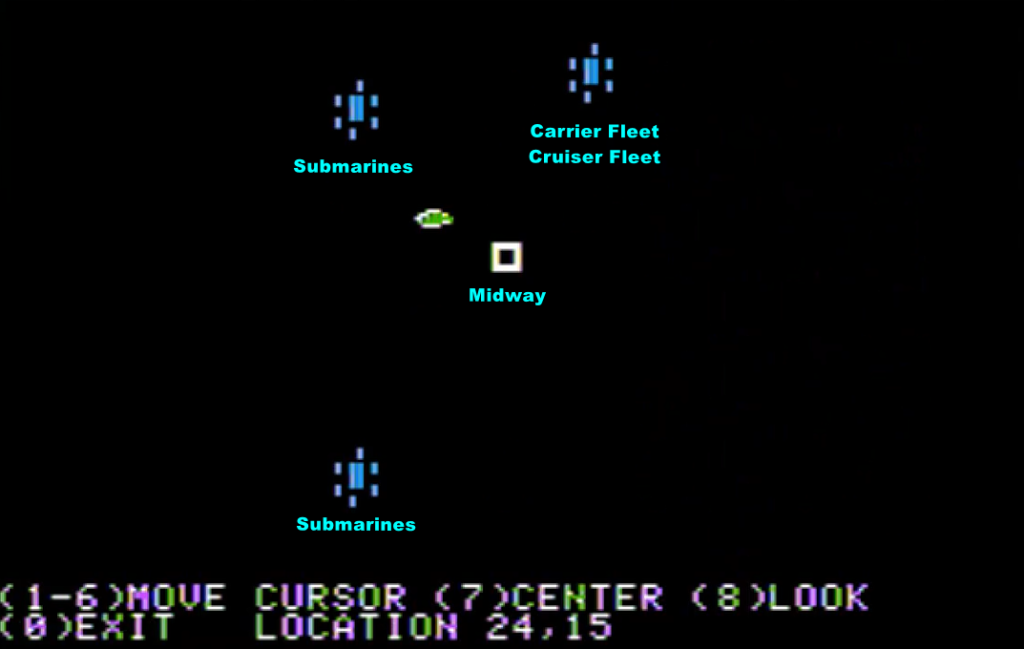
The theatre of operation is simpler than the one in the Coral Sea scenario, with only one point of interest on the map : the Midway base. The island next to it (presumably representing Sand Island, the Western part of the atoll) is considered open sea in game terms.
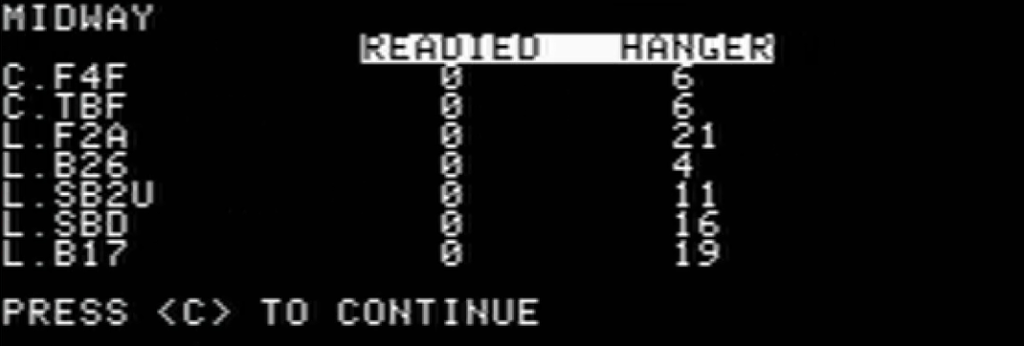
Midway is home to an airbase with all sorts of planes ready to spring into action.
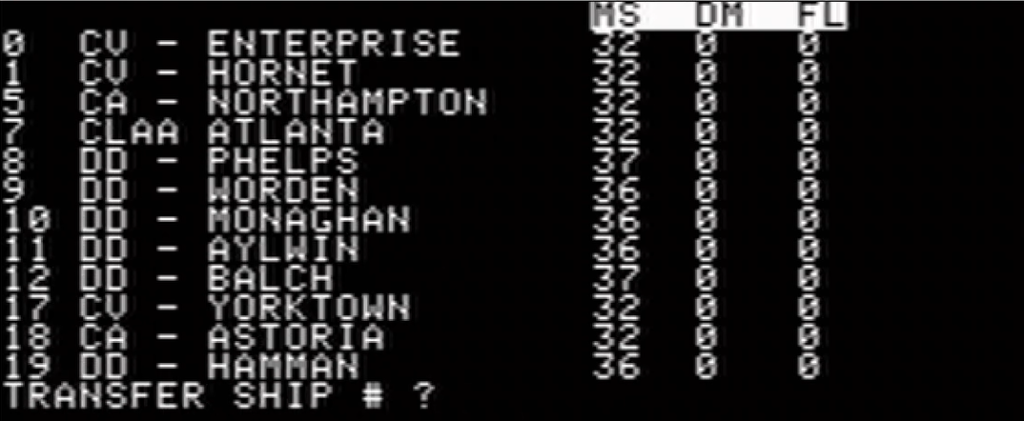
I start the campaign with two task forces : one with the USS Enterprise and the USS Hornet and one with the USS Yorktown. I group those three carriers into one task force, and carve out most of the cruisers and some destroyers to create another task force which will actively hunt the Japanese.
The game starts at 5 in the morning. I immediately send a number of recon seaplanes radially outward from Midway, and only one hour later I find the first Japanese fleet : one carrier (CV), two battleships (BB) and several cruisers (CA and CL)
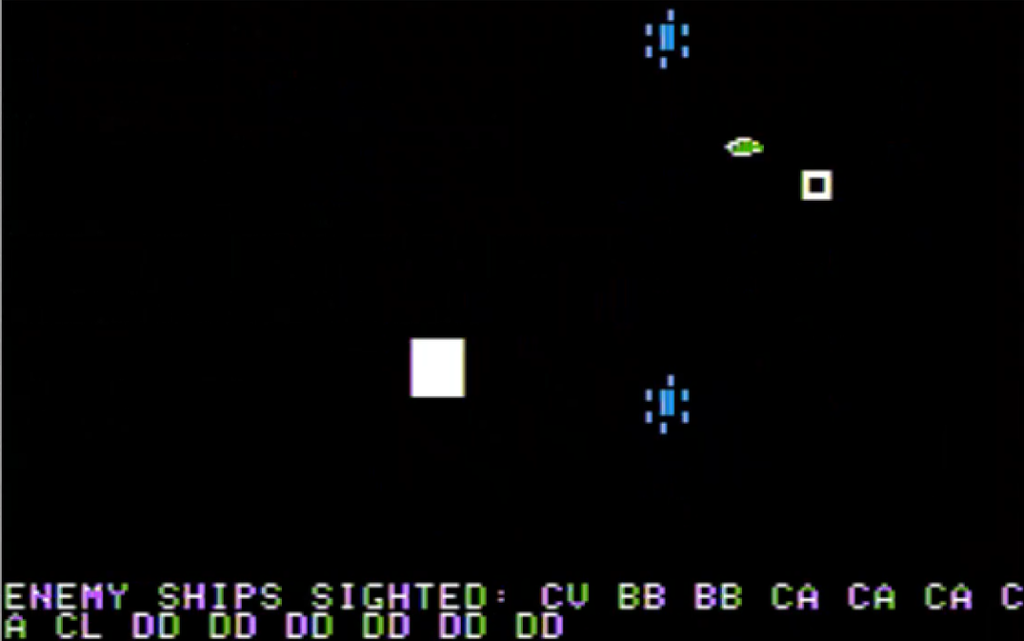
My bombers were ready and immediately take off from Midway and from my carriers :

Meanwhile, my seaplanes locate more targets : another battleship fleet (with one light carrier), a transport fleet and, critically, a massive carrier fleet (4 carriers) just west of my own carriers.
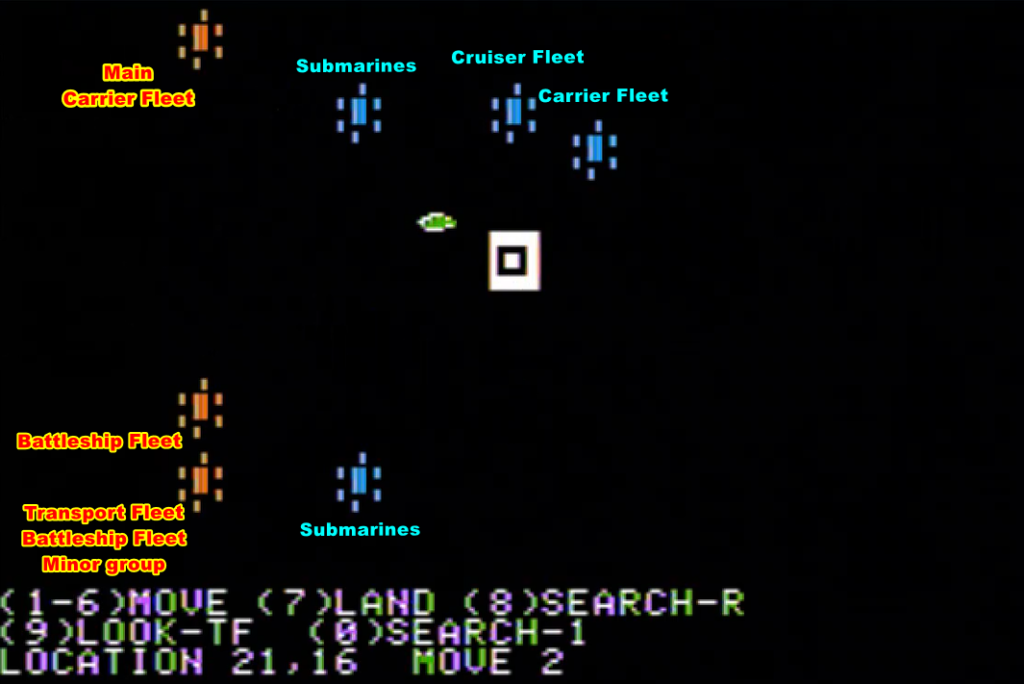
That Japanese carrier fleet is my new target. I am a bit worried because it is currently at the extreme limit of the operational range of my planes, but I need to strike first. The weather is perfectly clear (0% cloud) so there is no way for them to elude my bombers.
While my planes are en route, the Midway airfield is attacked by dozens of bombers, most certainly coming from the Japanese carrier fleet. The airfield is disabled for now, but the silver lining is that I may be able to strike the carriers before their planes can refuel and attack my carrier.
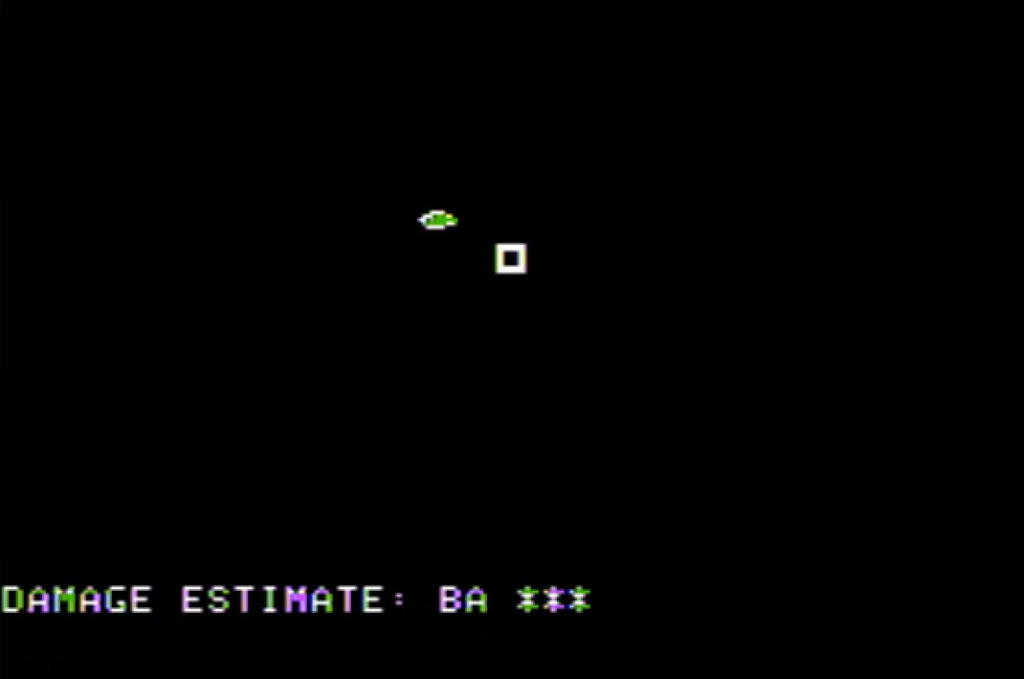
At 9 AM my bombers reach the enemy carrier fleet. I have more than 100 Dauntless from my carriers, plus bombers of various types from Midway. I also have absolutely no escort ; all my fighters are circling above my carrier fleet which has been detected by a Japanese seaplane. The first wave of 36 bombers has a horrible day against the enemy Zeros, but the rest passes through, and hit the Japanese carriers a number of times :
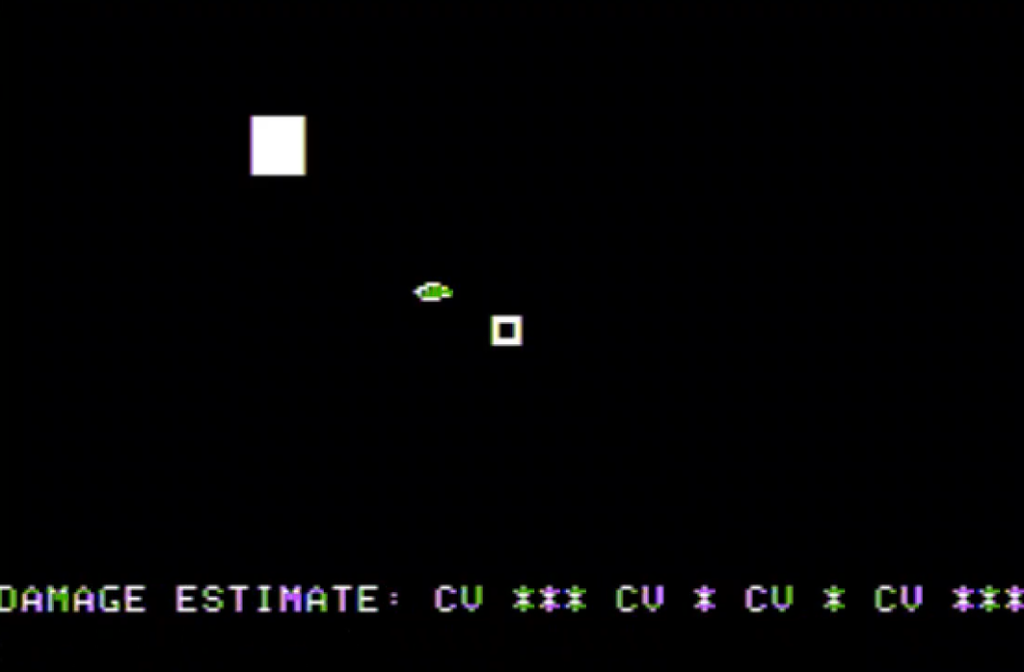
I believe I disabled at least one and probably two Japanese carriers ! Not bad.
Unfortunately at 10 AM some Japanese bombers and torpedo-bombers attack my own fleet – whatever attacked Midway was just a fraction of what the Japanese had. My fighters, including some from Midway, defend my ships fiercely, but a few Japanese torpedo bombers break through and the USS Yorktown is hit twice, disabling her. I am down to two carriers.
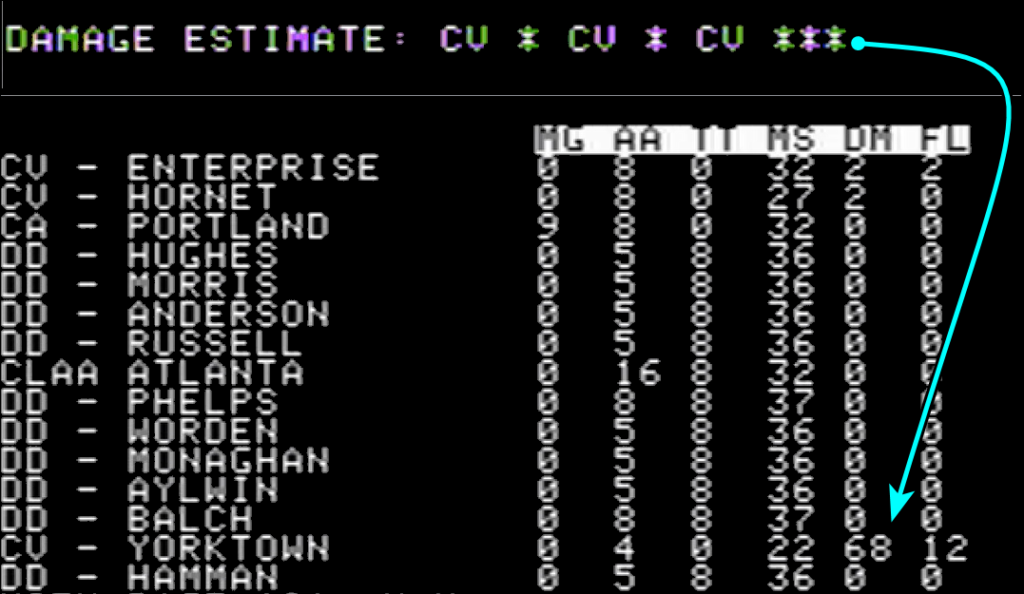
At the same moment, two other waves of American planes – including torpedo bombers this time – reach the Japanese fleet, scoring some more hits, but they don’t change the damage report, so presumably they only hit the ships I had already disabled.
Alas, all those attacks are costly. The Japanese carrier fleet was at the edge of the range of the American planes. There is a bit of randomisation in the distance a plane can cross every turn, and some of my planes can’t make it back to the carriers. Others have to land on Midway and are then stuck there because the base is too damaged for planes to take-off. I also lose some F2A Brewster Buffalo because I expected them to be able to land on a carrier and, well, they can’t in this game.

The Japanese surface fleet is now approaching Midway. I have a decision to take between attacking the carriers or attacking the battleships and the transports …
.
…just kidding ! Of course I am going after the carriers, they are worth way more points than Midway !
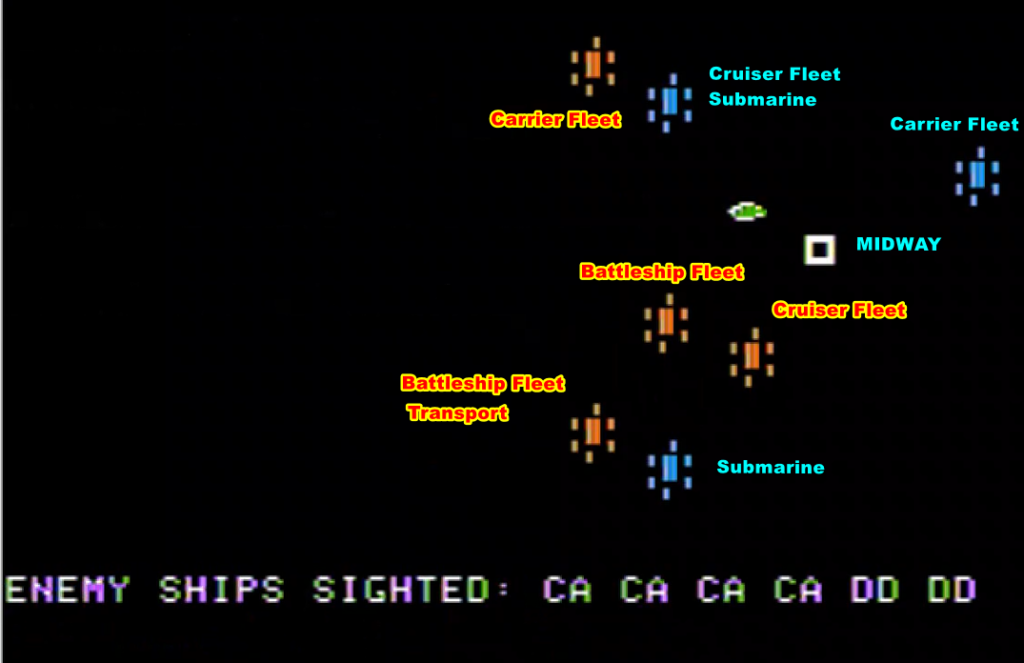
The good news is that the airstrip on Midway is slowly getting repaired, and will soon be operational again. It will allow me to bring some 50 bombers and 25 fighters back into the fray :

After fending off small groups of bombers and torpedo bombers launched from the Japanese Light Carriers and Escort Carriers accompanying the battleships and transports, I am able at around 2PM to launch my bombers from both my carrier fleet and Midway.
In the four or so hours separating my first attack to the departure of these new waves of bombers, the Japanese carrier fleet has moved away and is now out of my range – alas they may still be able to attack me as the Japanese bombers can fly further than the American ones. Not a problem, I have another target : the Japanese battleship fleet that is about to bombard Midway !
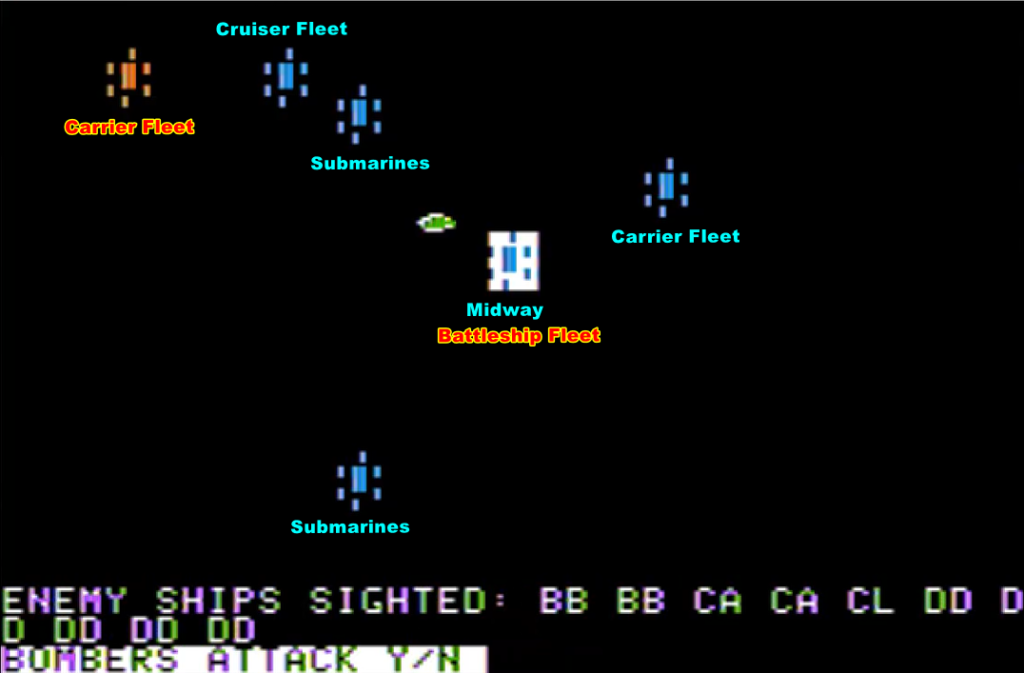
The battleship fleet is escorted by one light carrier and my pilots initially focus on the latter. She is hit again, and again, and again. An initial report states 3 stars of damage. As later attacks at 3 PM will focus on the battleships and fail to even report on the carrier, so I can safely assume Midway just received a new coral reef.
I don’t get to celebrate though :

Two Japanese battleships and a large number of small ships pound Midway, which receives so much damage I have no hope to ever repair it. All my heavy B26s and B17s are now stranded in the air where they will serve as impromptu scout planes before ditching in the ocean, the rest will have to land on the carriers. This means I have a lot of planes to pick up, and since I need to face the wind for places to land I need to head South-East for a while…
… which allows some enemy planes launched from, well, somewhere, to find me at 4 PM.
There is one fleet carrier worth of enemy planes (30+), but all my fighters are there and the battle is fierce above my fleet. Only a few Japanese planes pass the gauntlet and they focus on the already disabled USS Yorktown. A destroyer also receives a stray bomb, but the USS Enterprise and the USS Hornet are not hit at all !
I am pretty happy with this outcome, especially since half of my fighters were almost out of fuel, so it was a good time to be attacked. That’s when this happens :

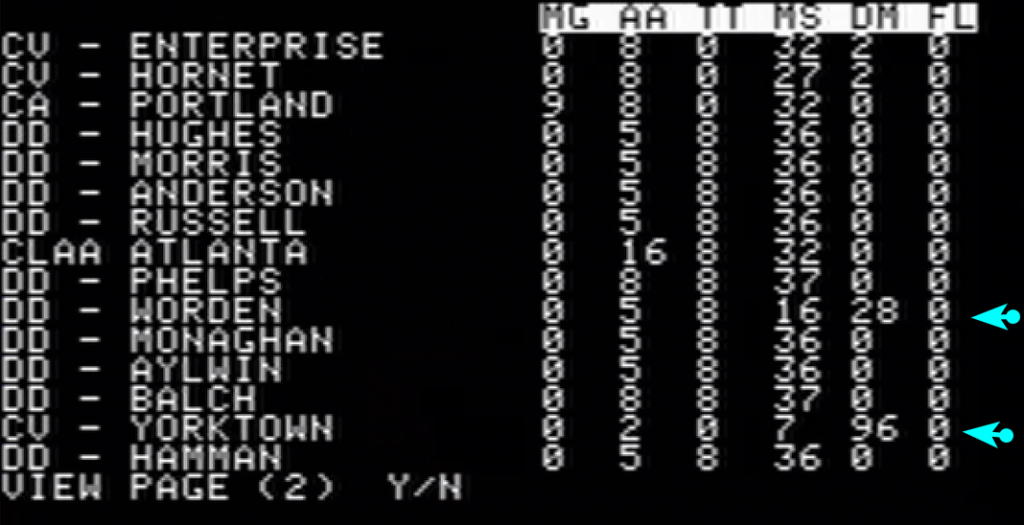
I have only a few fighters available, and this time I am hit badly :
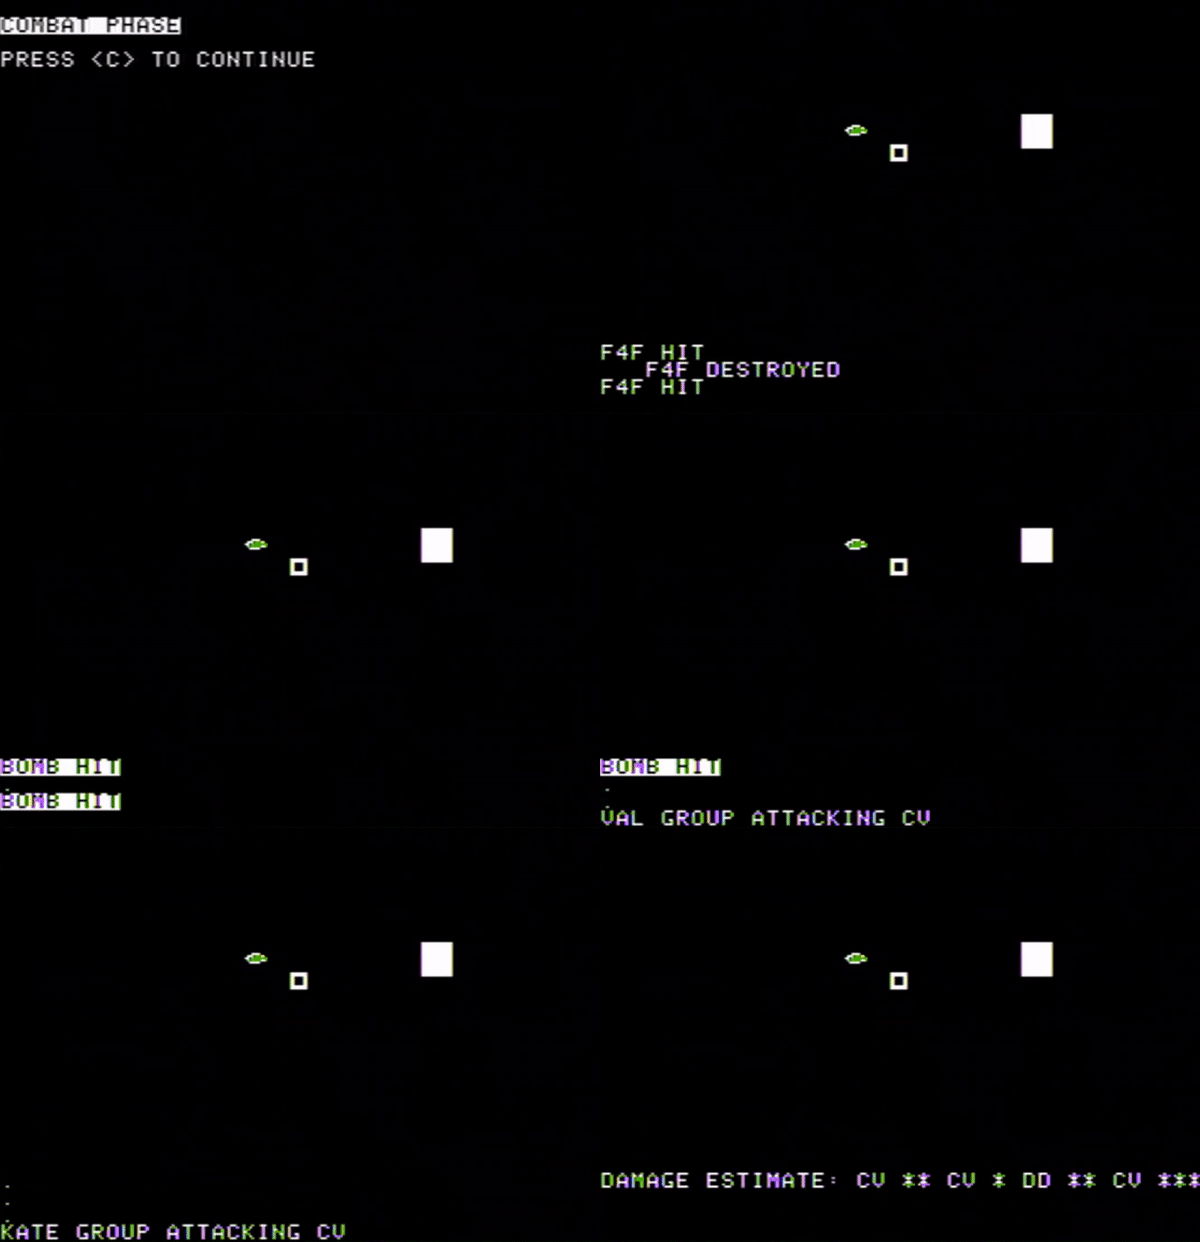
The USS Yorktown is sunk. The USS Enterprise is disabled. I am left with the USS Hornet which somehow avoided being hit during this battle.
The USS Hornet remains in the area for one more hour to recover the last planes before the night (it is 6 PM), then it starts heading East. The battle of Midway is lost.
But from the point of view of the Japanese, the battle is not over yet. I have lost a lot of time recovering the planes from Midway. Meanwhile, the Japanese battleships had approached, and at 8 PM the unthinkable happens !
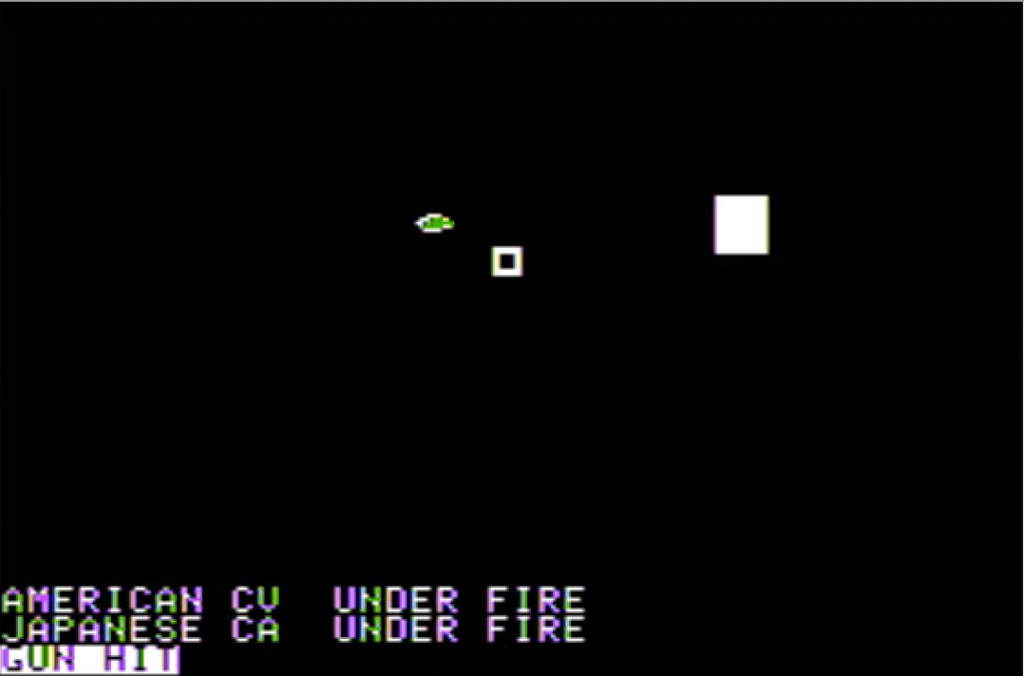
A gunnery fight between my carrier fleet and the Japanese battleships. You may remember that I had detached most of my cruisers to attack the Japanese directly, so most of the escort my carriers have is composed of destroyers. The battle does not go well.
At the exact same time, my own cruiser fleet finds the Japanese carrier fleet ! Awesome ! Alas, it also finds another Japanese battleship fleet that had moved to support the carriers, and that fleet has the Yamato with it. The battle does not go well either.
I receive a loss report at 9 PM. They are significant :

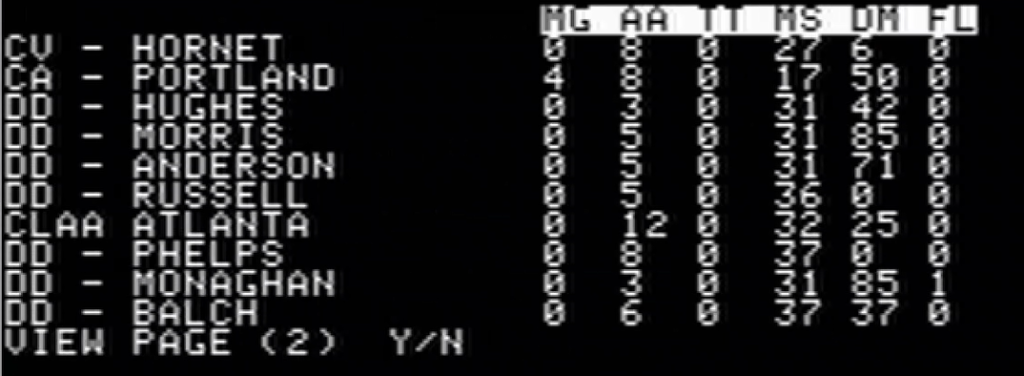
Worse, both my fleets are now full of crippled ships :
- My carrier fleet, though miraculously the USS Hornet has only been grazed
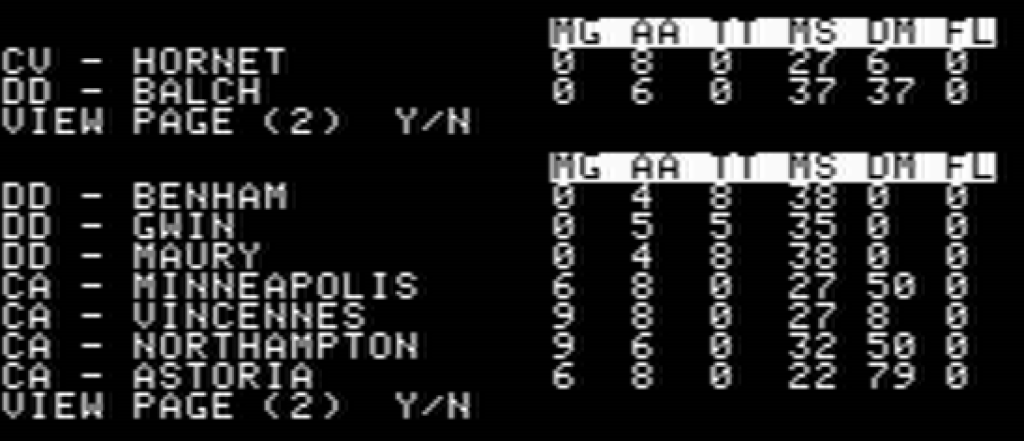
- My cruiser fleet, which is quite simply not combat-capable any more :

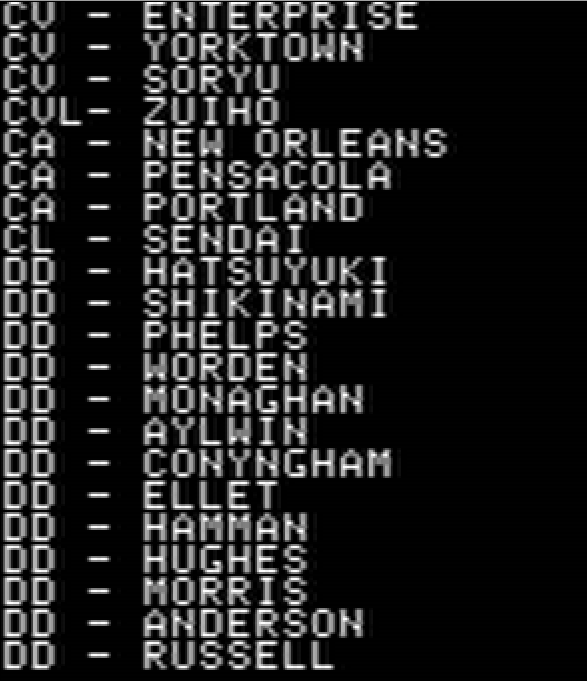
But that’s still not over. The Japanese fleet manages to tag the USS Yorktown for two more hours, en passant catching back and sinking the slower USS Enterprise. I eventually elude them, but not before losing almost all my escort ships. My cruiser fleet is luckier, avoiding further engagements… but only because I left behind two ships that were too damaged to keep the pace. When the sun rises the following day, my main forces are well out of range of the enemy fleets, but the stragglers are easily picked up by the Japanese bombers. When the combats stop, it is easier to keep track of those ships which survived :
It is a decisive defeat. Midway is lost and the Pacific is mostly in the control of the Japanese. I could only save the USS Hornet, barely. I suppose its sailors and pilots will be the nucleus of the future US Navy V2.
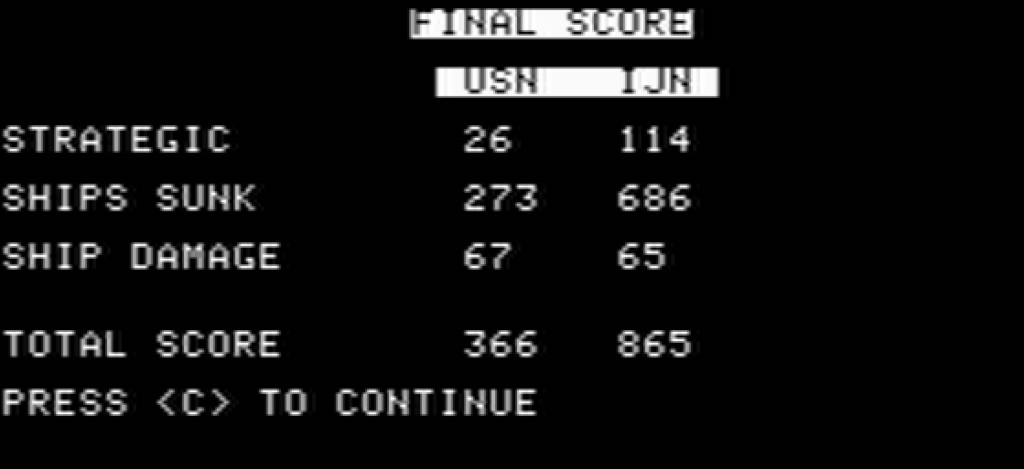
As for the losses I inflicted to the Japanese, they are below expectations : one fleet carrier (the Soryu), one light carrier (the Zuiho), one light cruiser (the Sendai) and two destroyers. As for the 3 other Japanese fleet carriers, the Akagi was disabled but overall only moderately damaged, the Kaga and the Hiryu barely dented. Humiliating, and possibly my worst defeat on this blog.
I have mixed feelings about how it all played out. I feel I have lost the battle in the first 3 hours of the battle :
- I did not protect Midway from air attacks, preferring to double-down on the protection of the carriers,
- I sent my Dauntless bombers in large and unescorted groups of 36 planes, rather than in smaller groups. Large groups protect better against fighters, but they take one hour to assemble. If I had hit the Japanese carriers one hour earlier, I could have possibly caught them with their planes on the deck,
I am not sure having planes over Midway would have saved the airstrip, nor that smaller groups would have made it through the fighter cover, but Pacific War games are always about optimizing the odds and then hoping for the best.
In any case, after those initial mistakes, I don’t believe anything I could have done would have reversed the situation, so it was two more hours of dull and pointless playing. Still, I have to admit that there was nothing I could do because the AI played well : it rerouted its Yamato fleet to intercept my cruisers, it kept its carriers in that golden distance where I can’t reach them but they can reach me and finally it aggressively went after my own carriers with its other battleship fleet. Well played. I am not even mad, just disappointed in myself.
I am done with Carrier Force, and I will move to the Ratings & Review in my next and last article about this game.