Excalibur: Part 1, Part 2, Part 3, Part 4, R&R
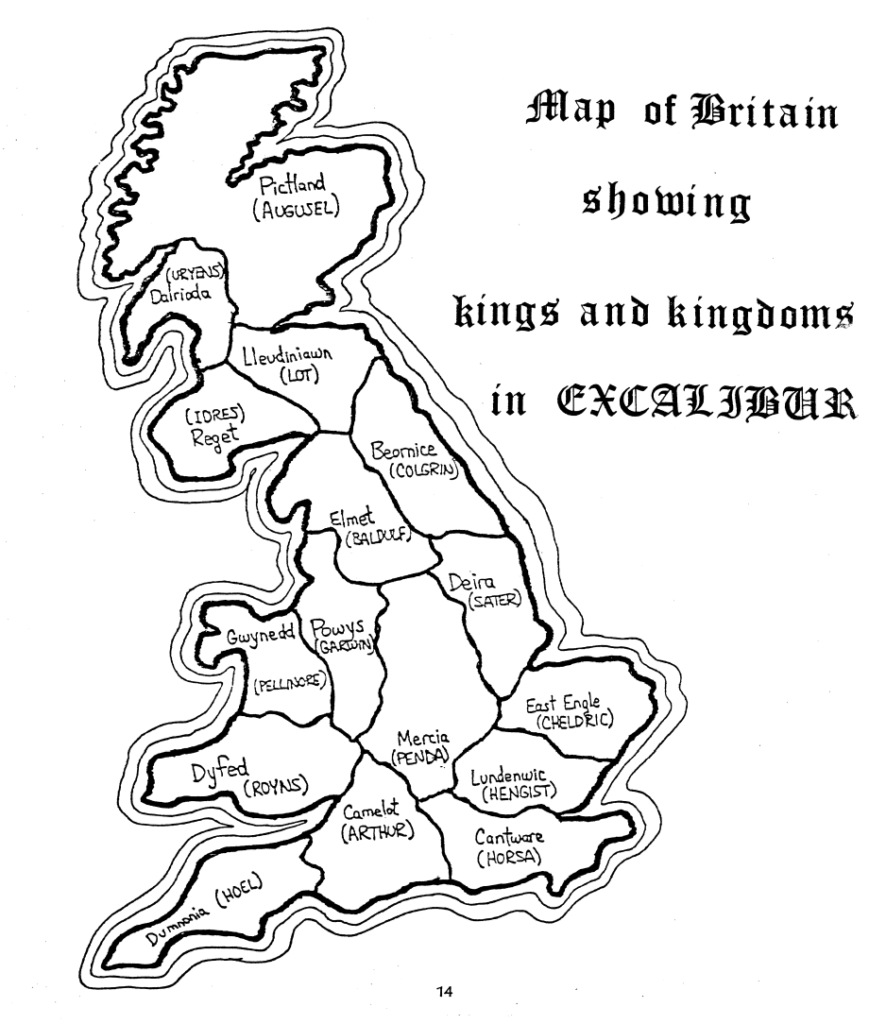
Ah ! You are back !
I had stopped my narration after I thwarted King Royns’s attempt to expand his beard collection. Immediately after my costly victory – Sir Lucas and my brother Sir Kay died in the battle – I received two messengers, one from King Uryens from the far North, bearing presents, and another from the Jute King Hengist, declaring war to me.
My first action is to rush to Merlin, who had done so much to help me defeat King Royns by deploying not-yet-banned-bioweapons. I ask him to show me what kind of armies King Hengist had.
My spirit is teleported to Hengist’s treasury room, and I check the ledgers quickly. His total available force is 30 men-at-arms, plus an unknown number of Knights. On my side, I have 5 knights and 14 men-at-arms. There are only 2 Knights still hanging in Hengist’s throne room which means most of Hengist’s army is marching on Camelot:
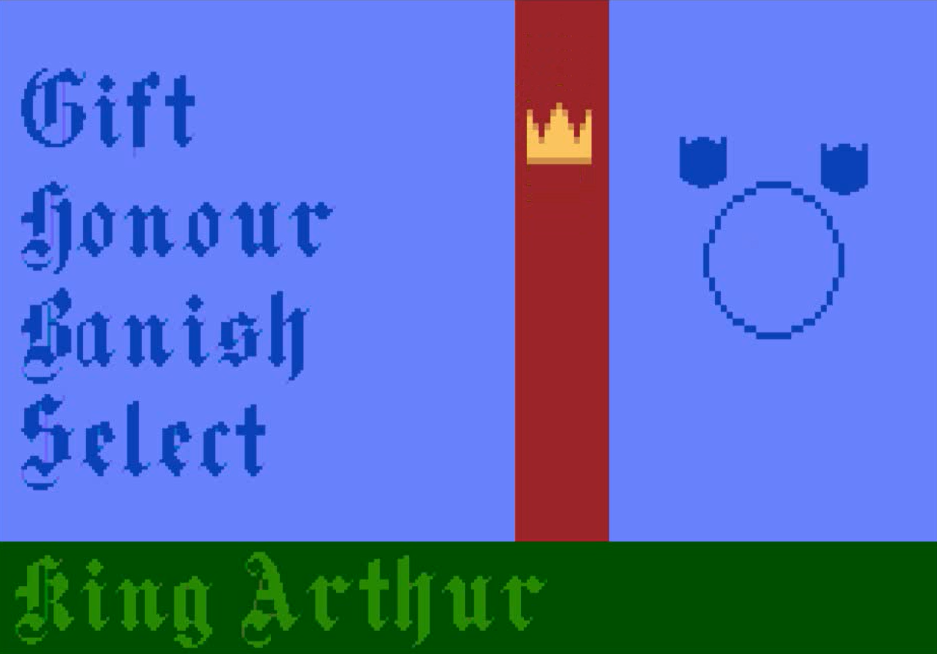
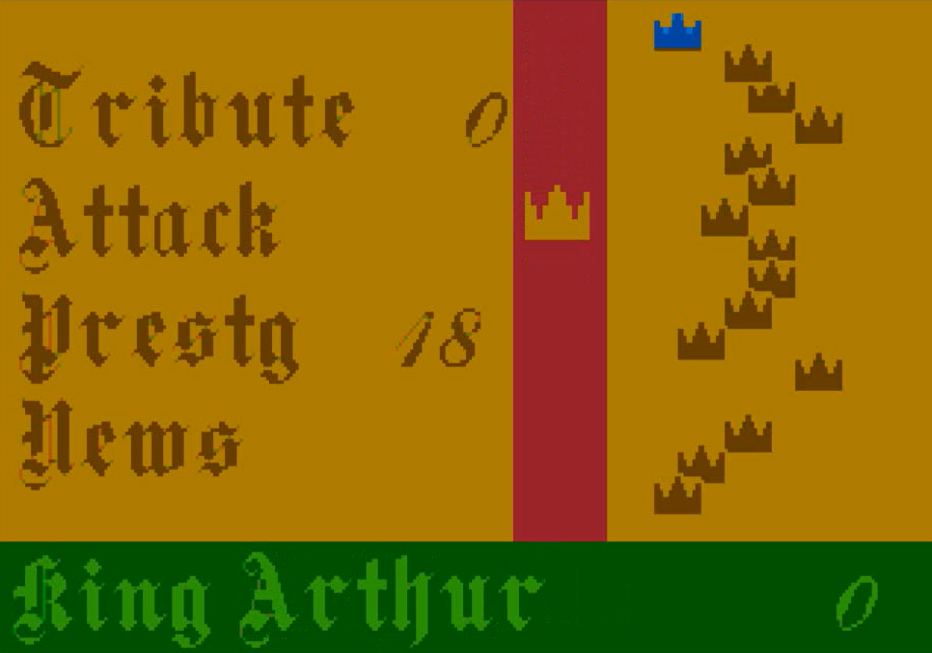
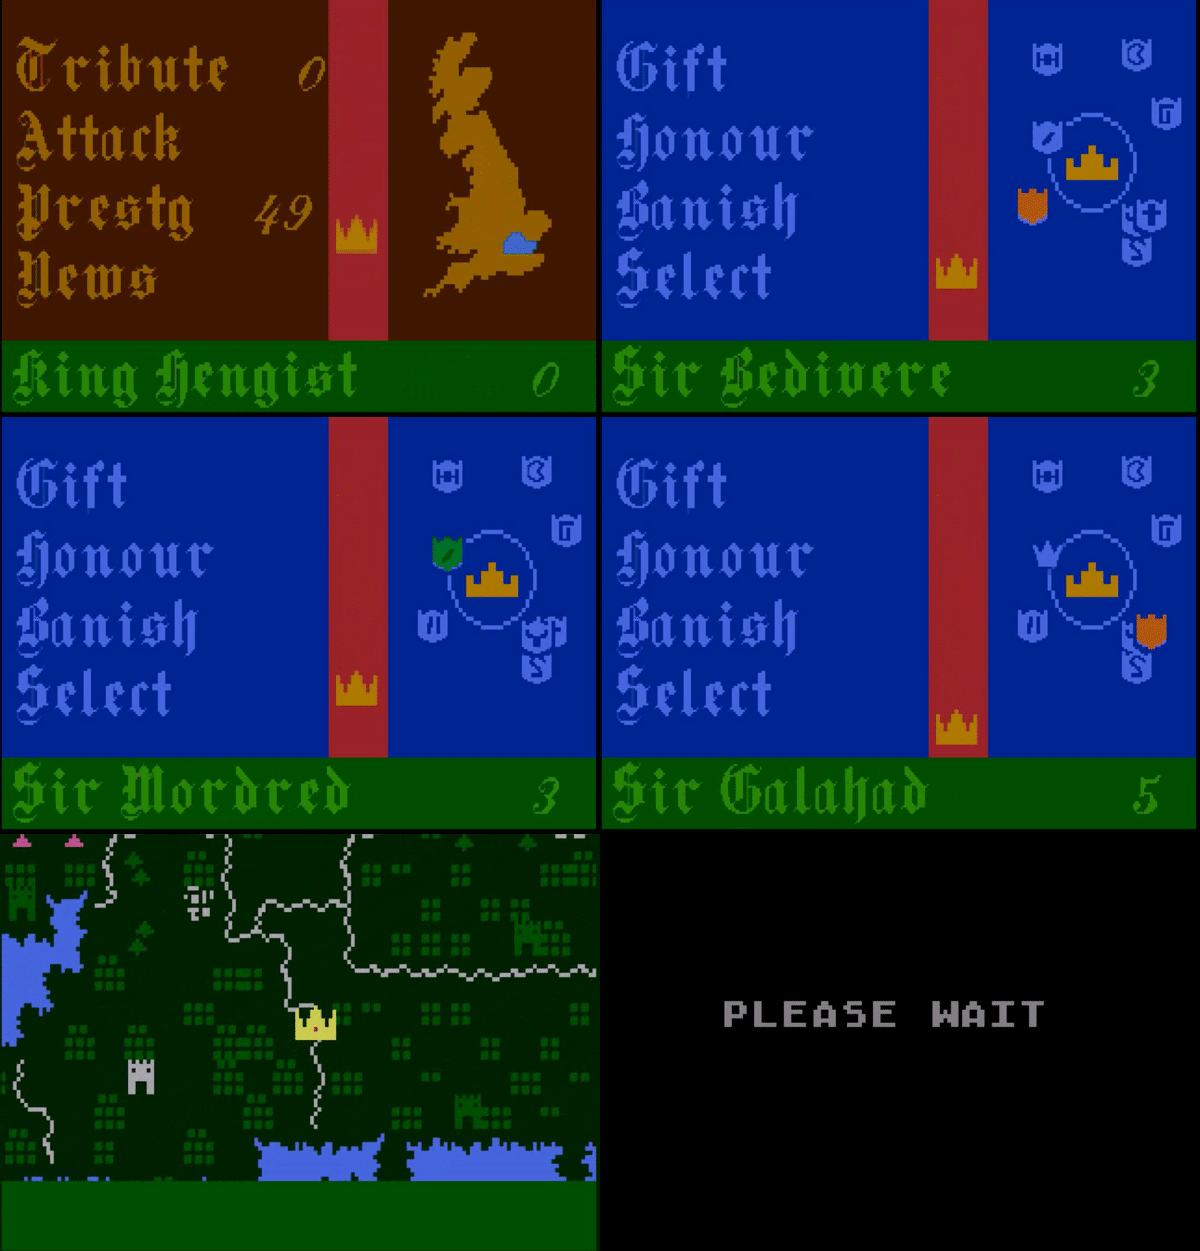
Before returning to my body, I inspect King Hengist’s “map room”, replaced by a handy display showing how much the King likes his peers. Each of these “crowns” represents a King and the more it is on the left, the less King Hengist likes him. Hengist does not like anyone, but he likes me least.
Back to my castle I ask Merlin to deploy the same epidemic warfare as last time. Merlin disappears in the shadows…
… and before I can leave Merlin’s lair, the enemy is at the gate :
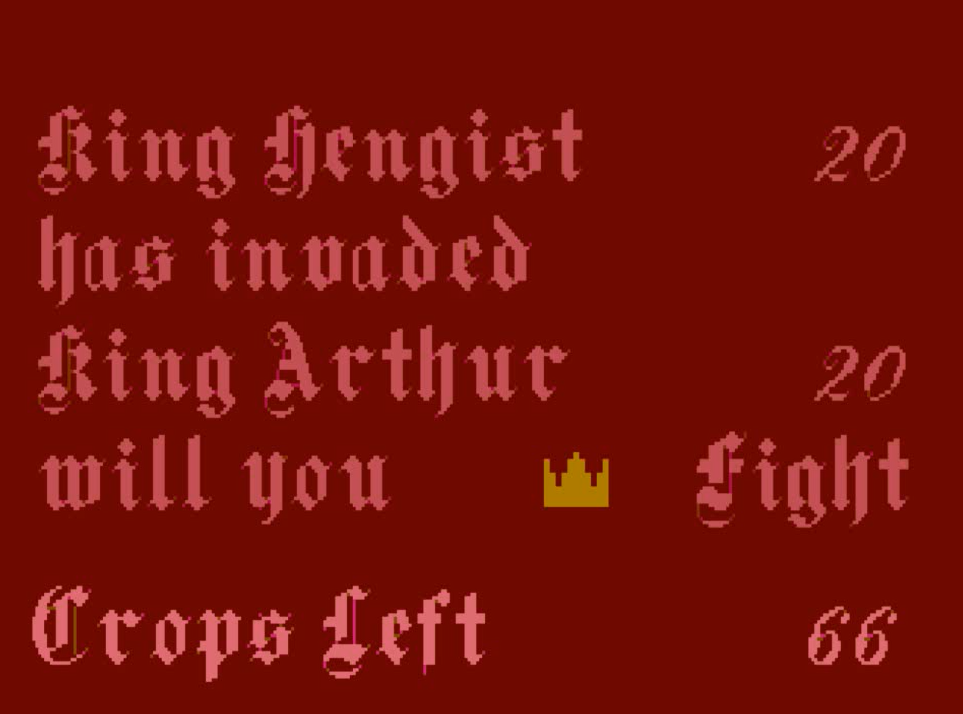
This seems like a fair fight, and I accept combat.
Before the combat starts, my peasants attack King Hengist’s men, taking 6 of them down. Now I have more men, but only 5 Knights against 8 for Hengist, and each Knight is worth 3 men-at-arms.
Before contact, Hengist’s left wing panics and routs. On my own left, Lamerok and Sremmus hold the line. Hengist charges alone in the middle, then panics when Sremmus, Nosnikta and myself move toward him. We catch him before he can escape, and defeat him. His army dissolves :
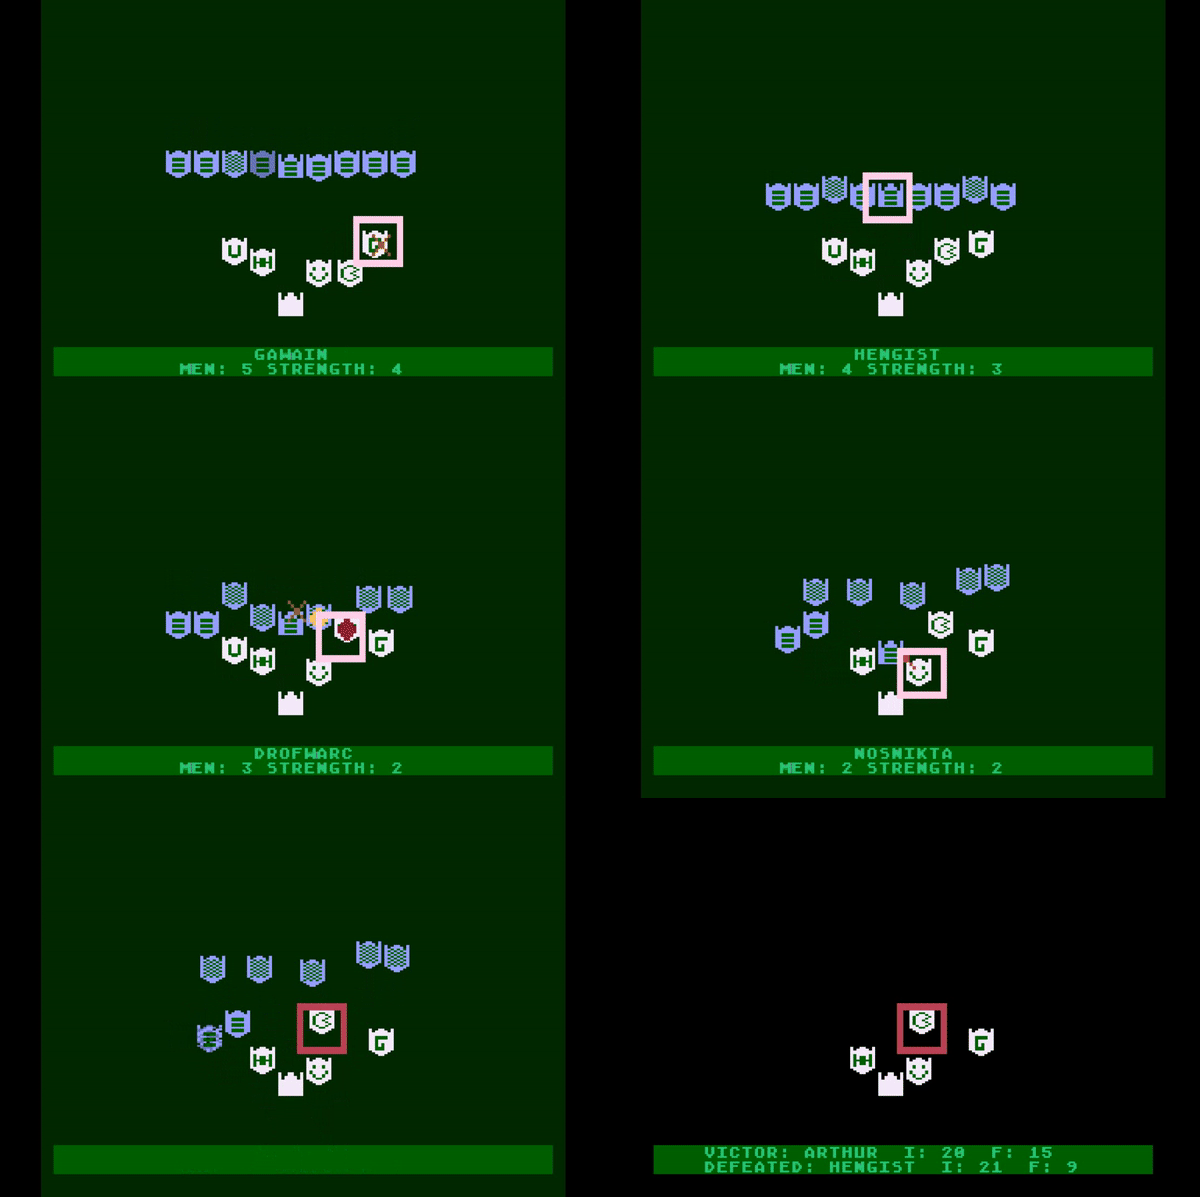
I lost one more Knight : Lamerok. I mostly lament the loss of his panic-inducing horse. Still, I defeated Hengist. He manages somehow to return to his castle, immediately starts paying a tribute, probably fearing I might follow-up on my victory and attack him in his Kingdom. My father-in-law Hoel, impressed, starts supporting me financially. I also receive a new Knight – Sir Lancelot.
King Uryens had stopped paying tribute a bit earlier as he realized I was not in position to help him, but I am soon full of cash from Hengist and Hoel, so I decrease taxes and increase the number of soldiers.
Unfortunately, peace time does not last very long! King Colgrin of Bernicia smells weakness, and declares war. I am warned well in advance, but Hengist, realizing I am going to be busy defending, stops paying his tribute.
I go to Merlin’s lair again to learn more about my new opponent, but Merlin has not returned yet. I try to remember what the old man told me :

It takes some time for Colgrin to arrive in my Kingdom, with 26 men against 29 of mine. I know Colgrin cannot stay for long – his neighbour Lot attacked him while he was marching toward me – and I don’t want to lose more Knights. I refuse battle, and as expected, Colgrin leaves without destroying anything.
Meanwhile, King Hengist has reinforced, and declares war on me again ! Without Merlin to even the odds, I don’t feel confident to fight a force comparable to mine. I stay in my castle while Hengist pillages a few of my crops (4 out of 72). He eventually leaves.
That’s the last attack for some time. King Royns has been humbled. King Hengist has found new targets. King Penda has his hands full with all his other neighbours, and the other Kings are either peaceful or too far away. I use the opportunity to build up, partly on Hoel’s dime. From time to time, for no discernable reason at all, some other King pays me a one-off tribute. With this bonus in cash and King’s Hoel constant support, I bring my army to more than 30 men-at-arms.
New Knights also arrive : Sir Percival, Sir Galahad and Sir Mordred.
The arrival of this new batch puts me in a new situation. Up to now, the skills of my Knights went from “Very poor” to “Average”. Now this range expands in both directions.
Expanding toward zero : Mordred. At the school of Knighthood, Mordred was probably at the equivalent of House Slytherin, and then received a failing grade, probably only completing his diploma thanks to his family connections :

Then in order of increasing skill, the loyal Knights that have been there since the beginning. Not quite as terrible as Mordred, but not quite the concentration of talents I had been promised by Merlin either. I have :
- Sir Average :

- Sir Below-Average, but here at every office party :

- Sir Below-Average, not even here at the Chrismas party :

Gawain, who had joined later, shows more potential :
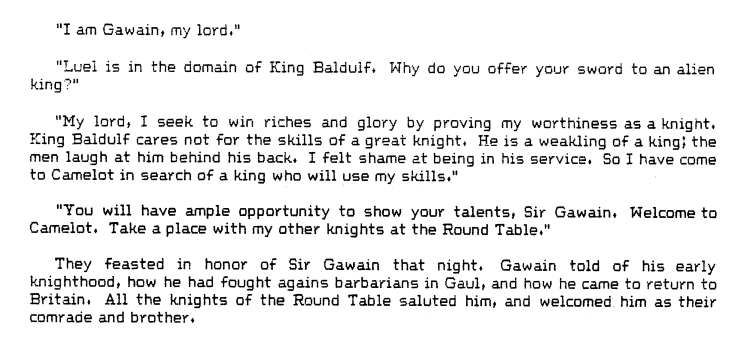
Then there is Sir Percivale :

Finally, I have the Cum Summa Laude guys. First, Lancelot :

And finally, Galahad :

Those 8 Knights are leading my men-at-arms, but the distribution of these men-at-arms depends on their prestige. Alas, Arthur’s early followers (Drofwarc, Sremmus, Nosnikta) had more prestige than the others, so more troops to command more poorly.
To compound the issue, some of the Knights trust me a lot less than the other : the further away they are from the table, the more they are sulking. Clearly Sremmus and Drofwarc are not impressed with my style of leadership, which translates in more chance to flee during battle and some chance of them not opening the gates to let me back into my own castle after I return from warring.
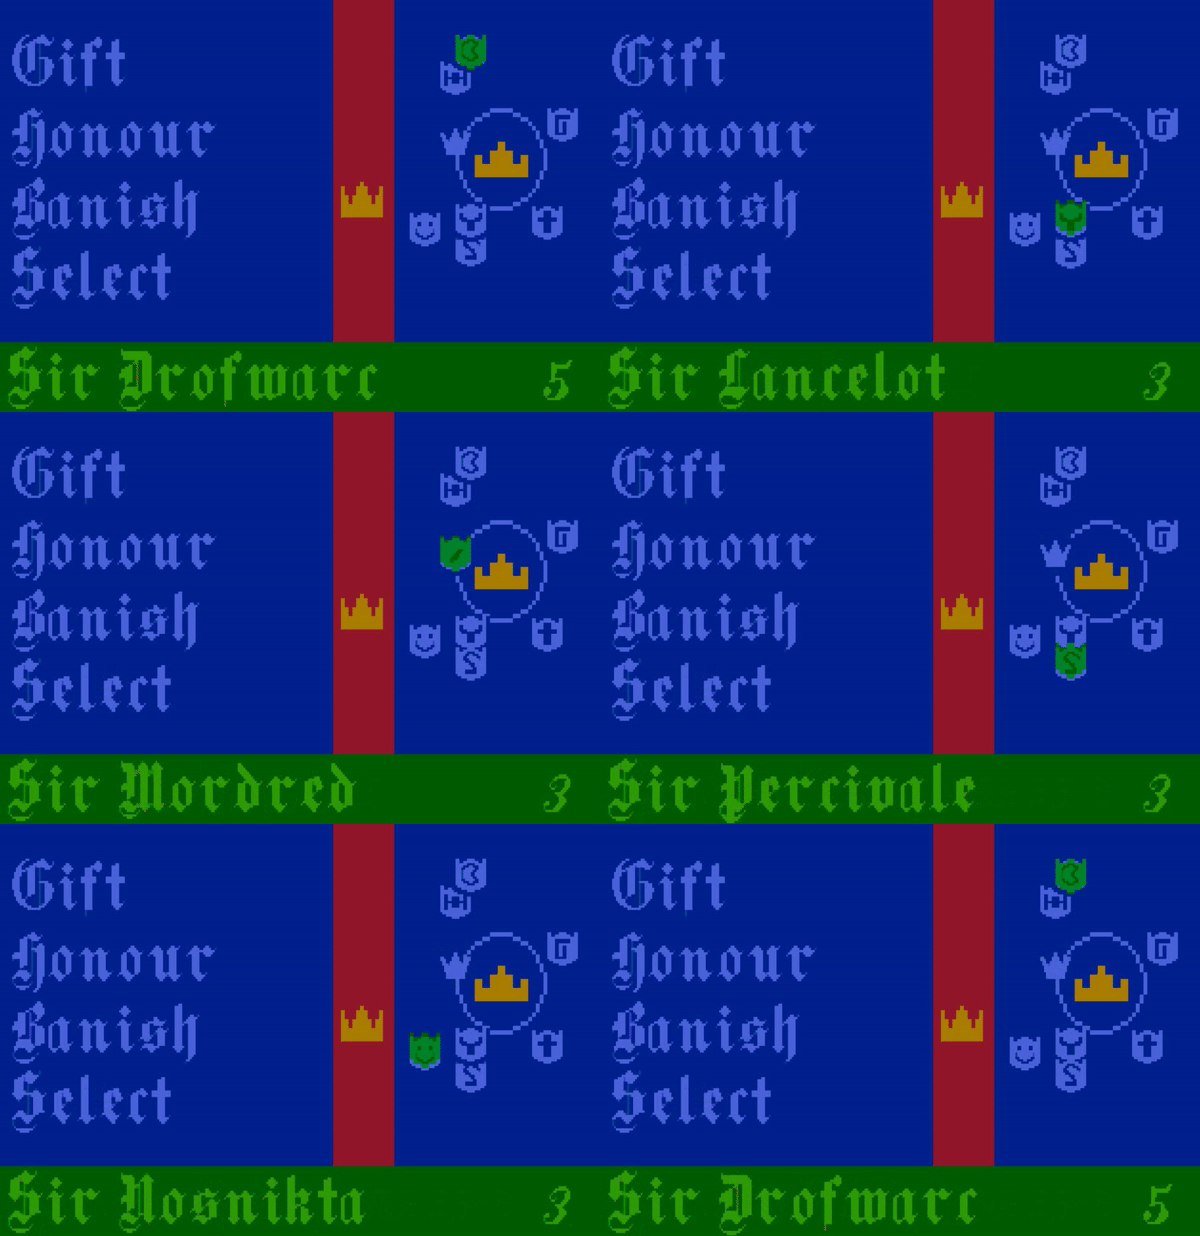
My only tool to pilot who gets to command troop is to hand out “honour” – the more honourable a Knight, the more troops he commands. It also has the side effect of making him happier, but only if he cares for honour. If I want to make a Knight happy without giving them troops, I can gift them cash directly, too. Merlin warned me it was not going to be that easy though :
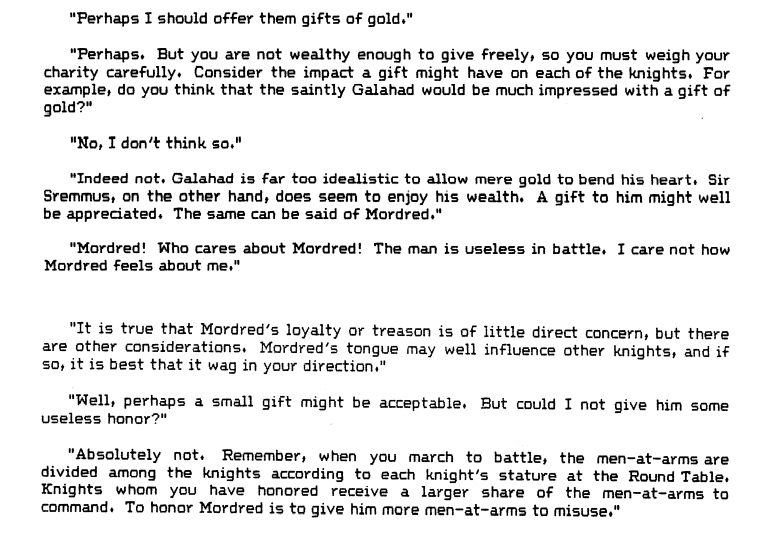
So, Galahad for instance is interested by neither gold nor honour, so there is no direct way to make him happier. For other Knights, either Merlin was kind enough to say more or less directly what they like, or I need to do an exegesis of his sacred 60-pages novellas to try to guess.
As much as I can gather, Sir Sremmus and Sir Drofwarc can be bought by honour and cash, but I don’t have the latter and I don’t want them to lead more troops. Instead, I distribute “honour” to Sir Lancelot and Sir Galahad. Sir Galahad does not care about honour, but I want him to lead more troops in battle. I think it makes Sir Sremmus and Sir Drofwarc hate me even more, but I don’t care for the two losers.
I just finished my Arthurian version of Much Ado About Nothing when I receive some big news : King Colgrin’s busy schedule cleared up, and he’s on the move against me again !
Merlin is back and I can check King Colgrim’s kingdom. He has a vast army, but 5 knights remained in his Hall, so I don’t expect to encounter more than 30 enemies. I ask Merlin to plague King Colgrin’s army to reduce that number further.
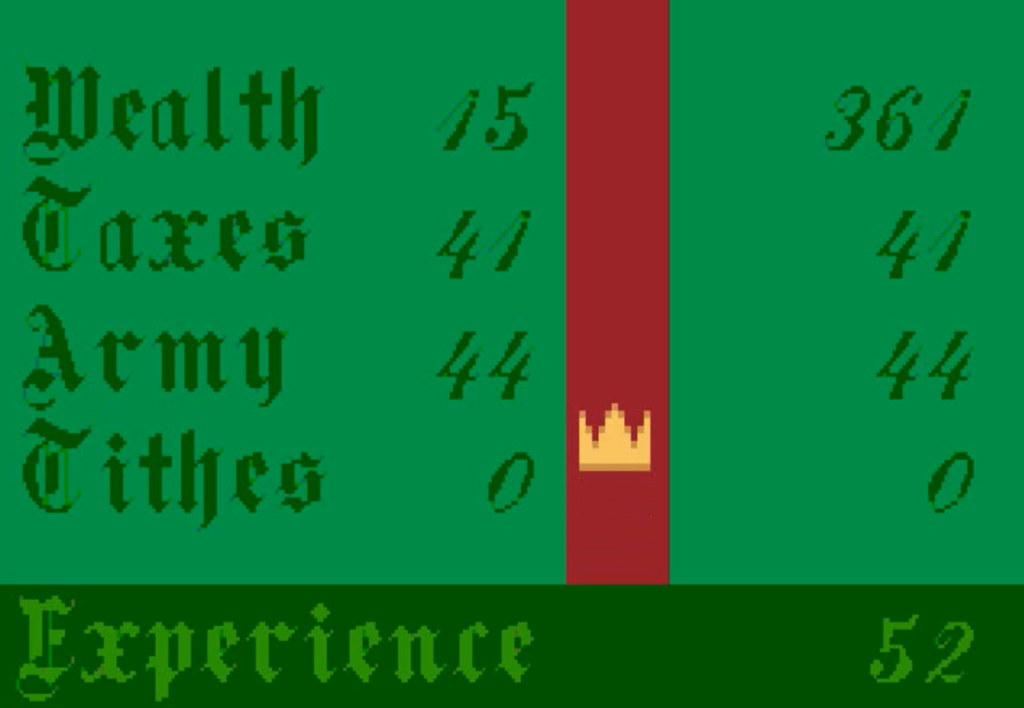
When King Colgrin arrives, I am outnumbering his army 5:2. Good old plague delivered again !
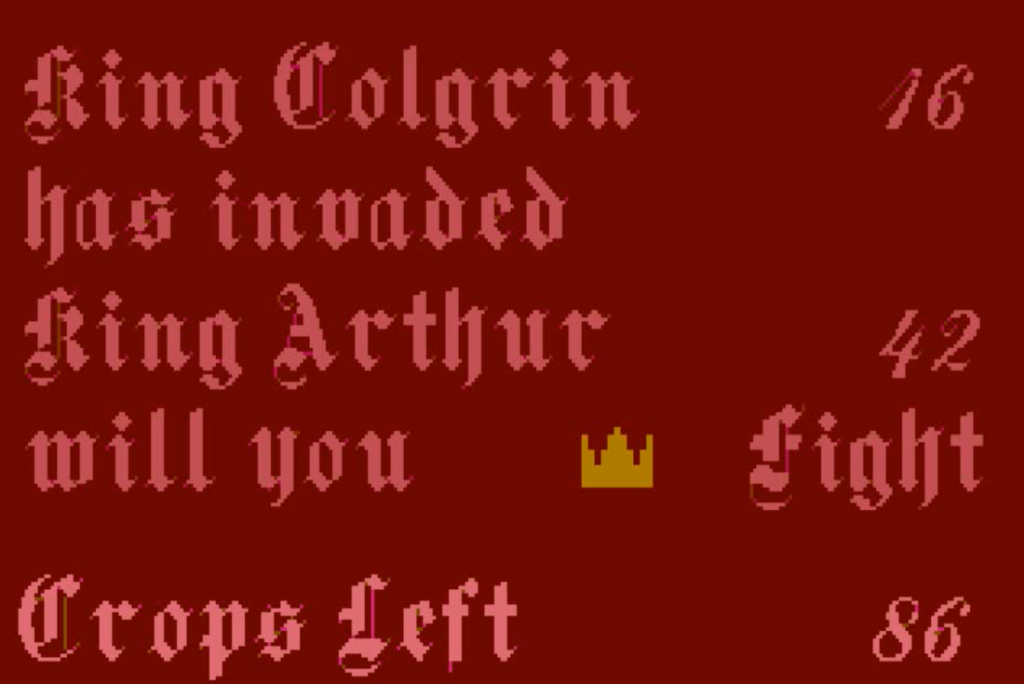
The battle is a disaster for King Colgrin. The peasants kill 6 of his men-at-arms, and I then easily kill 4 of his 5 Knights. I lose 3 men-at-arms.
Time to push my advantage ! I immediately grab all my Knights and march toward Bernicia. It is a long trek across England :
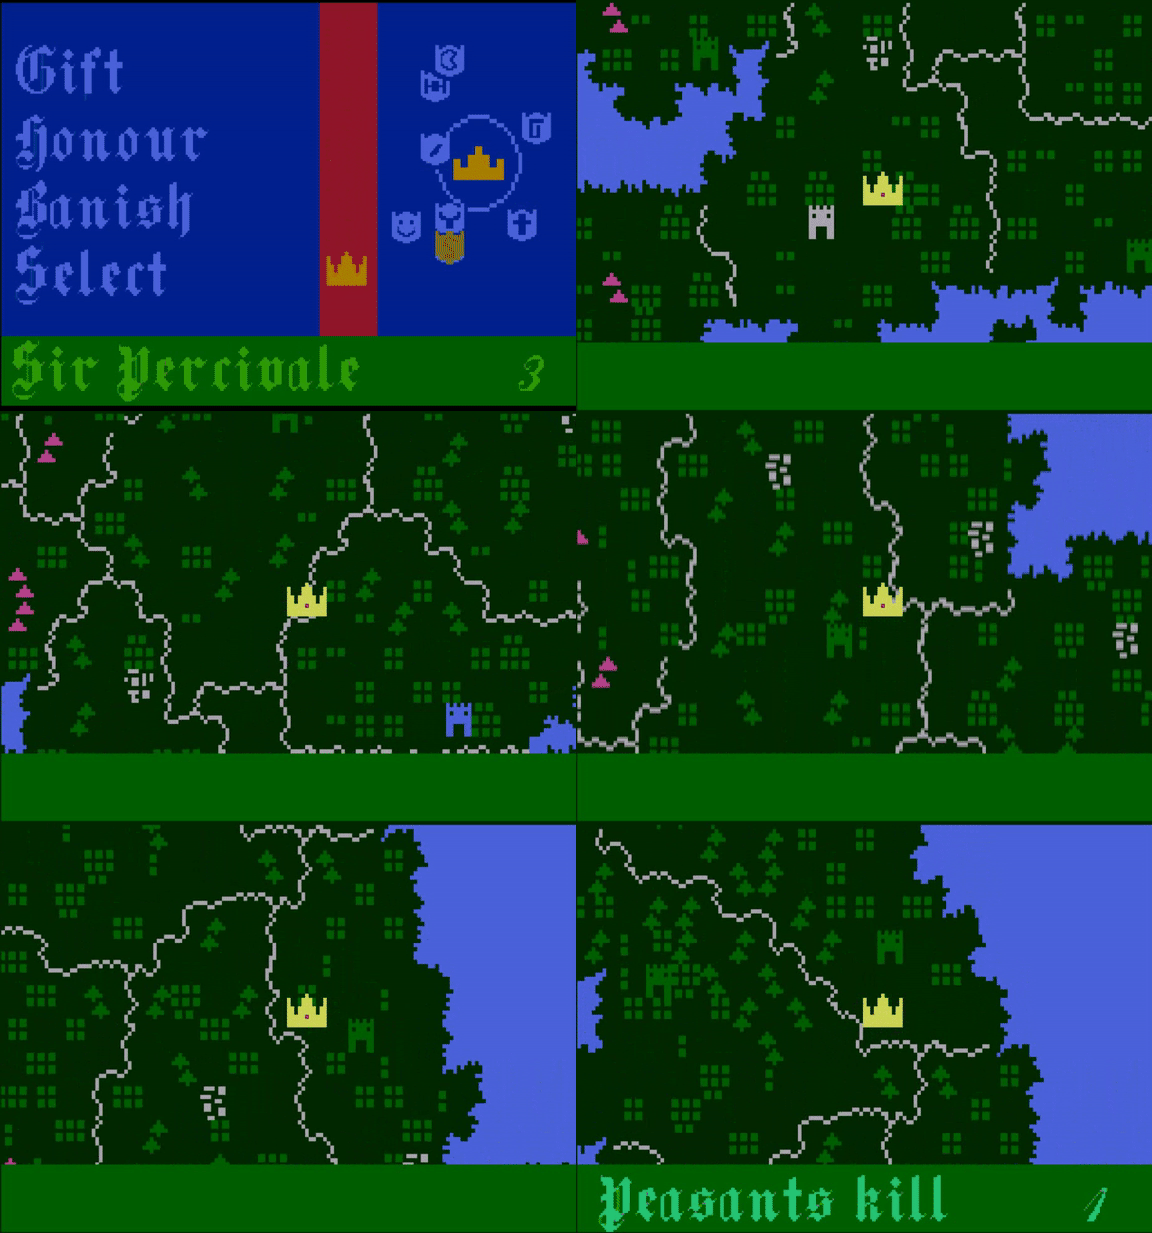
I destroy a few fields, hoping to force King Colgrin to sortie and meet me on the battlefield. A good chunk of Southern Bernicia goes ablaze. The local peasantry disagrees with my actions and occasionally kills a man-at-arms or two but nothing tragic. I let Mordred write the letters to the widows, he has a way with words.
When I am done with those heroic deeds and start to head home, King Colgrin attacks ! Bad news, he used his time wisely and has a fresh army : 45, including only 5 Knights against 39 of my men and 8 Knights. The battle is weird : Colgrin’s men are inexperienced, so they approach, break, retreat. I charge them in pursuit and …
What happened Merlin ? What is this place ?
I am afraid you have been slain, Arthur !
I expected death to be different ? Where is Saint Peter ? Where is the choir of angels ? Is this Hell ?
I used my greatest and least documented power, Arthur. We are returning back in time to before you die. It is called “reloading”. More specifically “using a savestate”, but I don’t expect you to understand !
That’s… hard to believe Merlin. But could I use this power of yours to provoke in duel every other King and fight them again and again until I triumph.
That would be called “savescumming”, Arthur, and that’s an utterly wicked thing to do. Let’s return to the beginning of the battle. You will not remember anything. It is after all the second time you died, Arthur !
What do you mean the second ti…
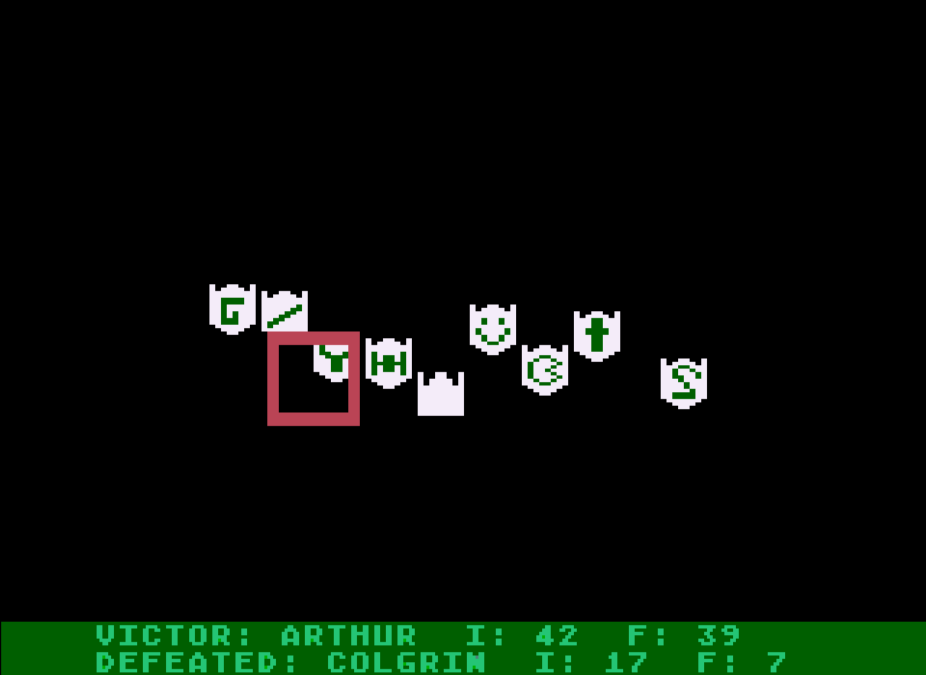
When I am done with those heroic deeds and start to head home, King Colgrin attacks ! Bad news, he used his time wisely and has a fresh army : 45, including only 5 Knights against 39 of my men and 8 Knights. The battle is weird : Colgrin’s men are inexperienced, so they approach, break, retreat; I advance slowly, to avoid fatigue, wait a bit then move again. Finally, I manage to kill one of Colgrin’s Knights, and then defeat Colgrin himself.
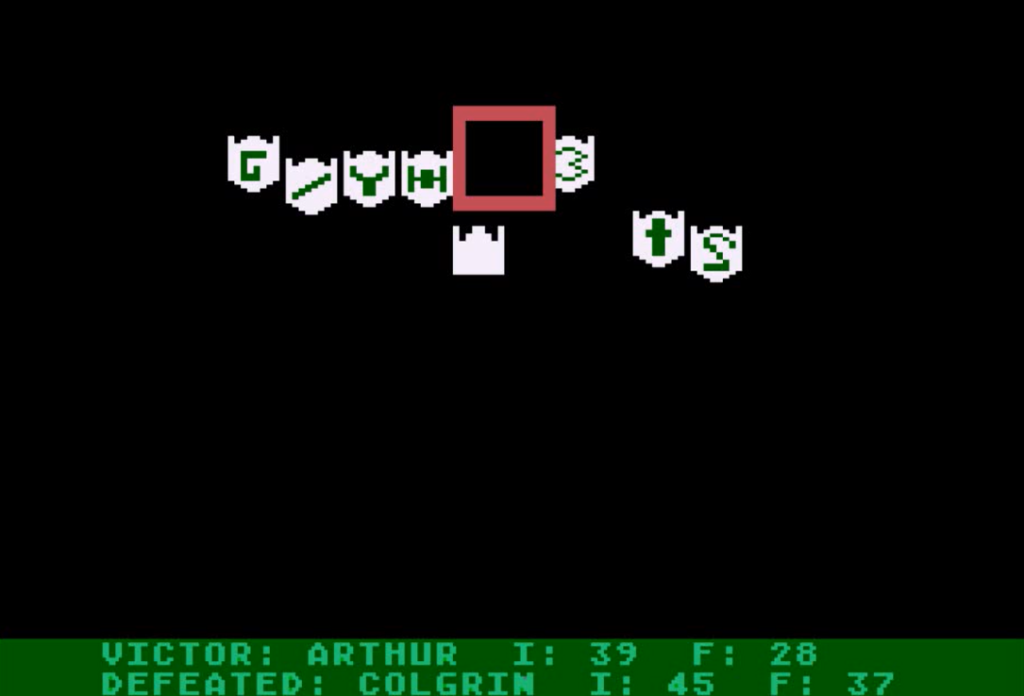
The battle was costly, I lost 11 even when Colgrin lost only 8. Still, I am victorious. But before I can do one more tile on the world map, Colgrin attacks again. 38 men including 4 Knights against my 28 men including 7 knights. 7 Knights ? Ah yes, we lost Nosnikta last battle and no one seemed to have really noticed.
The morale of Colgrin’s men is low and they retreat before the melee. I finally reach the borders of Bernicia and return to Camelot. The campaign in Bernicia has not achieved its aims. I gained some prestige but I did not significantely reduce Colgrin’s power. Worse : my power had weakened : I lost half the soldiers I brought to the North. The soldiers could be replaced, but the experience level can only be accumulated over time so that’s a set-back in experience level.
Arriving in Camelot, I have a surprise : there are 8 Knights again ! Sir Bedivere sat down at the Round Table, exactly where Nosnikta used to sit, including metaphorically :

In The Morte d’Arthur, he is the one handing Excalibur back to the Lady of the Lake at the end of the lease.
A group of messengers are waiting for me in the map room. Among other news, I learn that King Lot of Lleudiniaw is weakening, that King Lot of Lleudiniaw is”desperate”, that King Lot of Lleudiniaw is ready to abdicate, that King Lot of Lleudiniaw became my vassal and King Lot of Lleudiniaw became vassal of King Uryens of Dairiada. That’s a lot to take in.
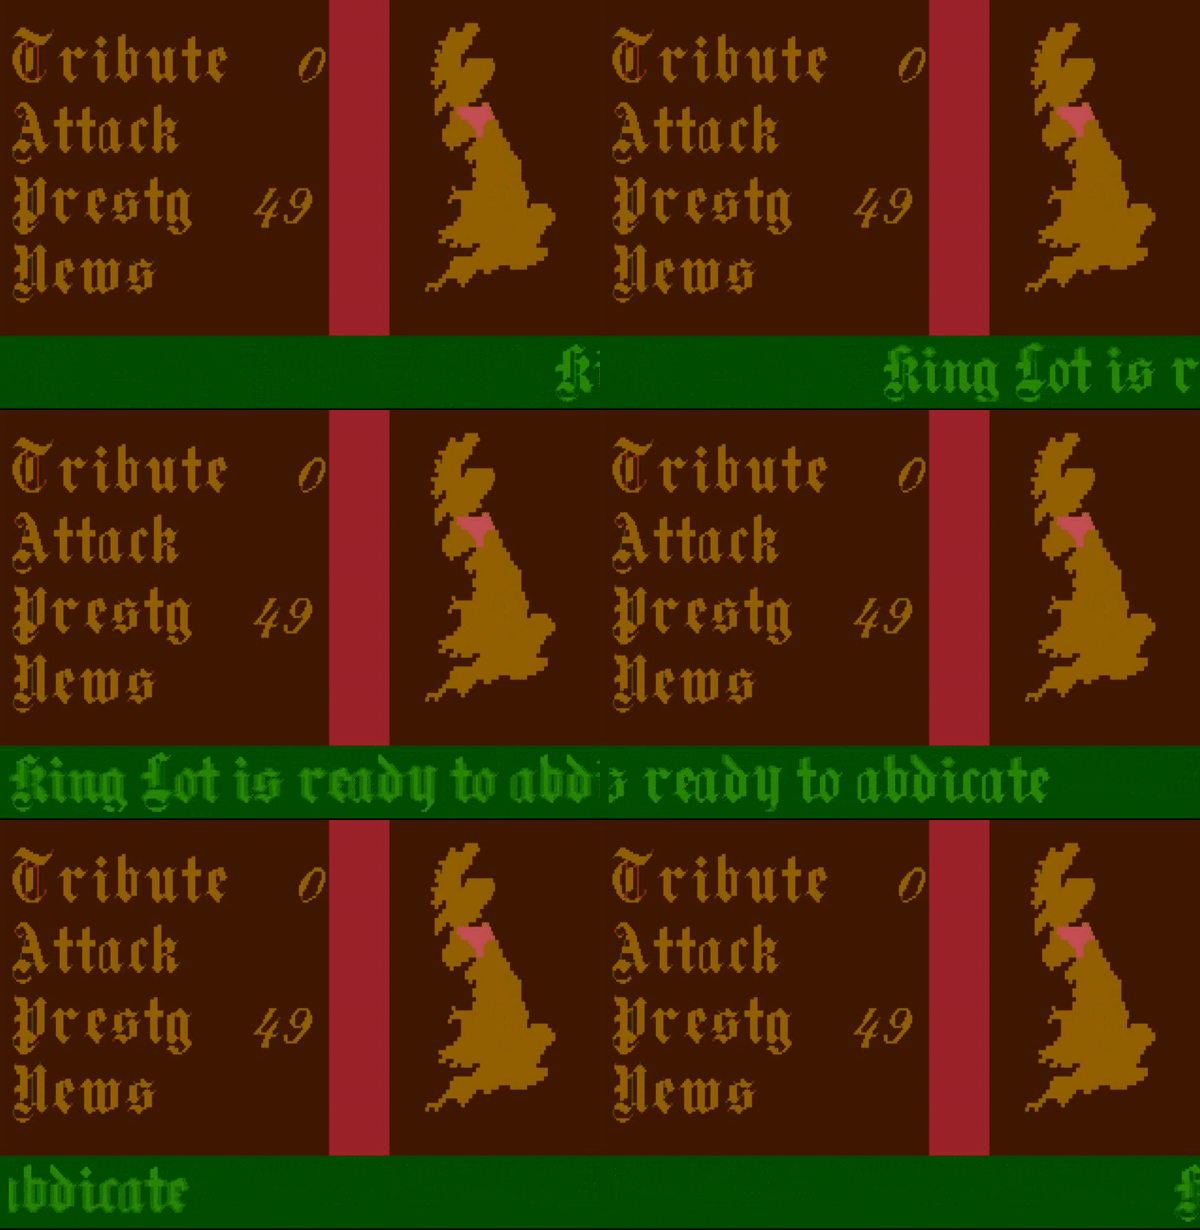
The Battle Royale entered in its third stage, where Kings start dropping out and become vassals. When a King becomes a vassal, its status changes :
- Vassals never attack anyone on their own,
- Their castles can be visited by their liege (and not as a ghost) to set the tithe or to defend them. Probably for courtesy visits as well, but who has the time for that !
Because there is no returning from the “vassal” status, the “King” becomes “Vassal” on Merlin’s handy map:
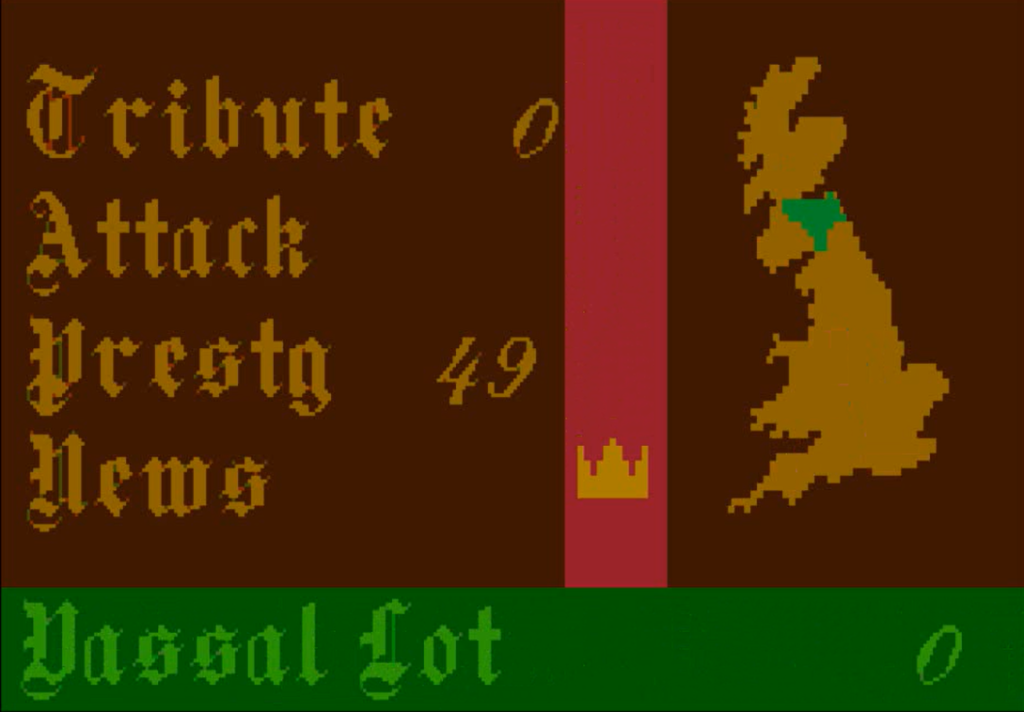
“Vassal Lot” almost picked me as his Lord, but ultimately went for King Uryens, massively increasing his power. There is more to worry about : the last message available informs me that another of Uryens’ neighbours, King Idres of Reget, is “faltering”.
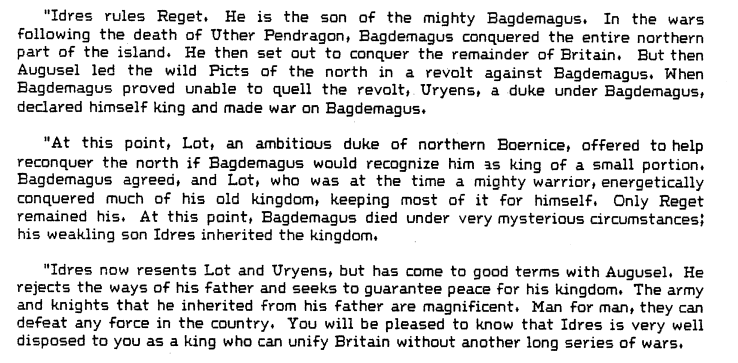
King Idres likes me, but I need to show that I can unify Britain… and what better way to do that than to humiliate that one King everyone hates : King Hengist.
King Hengist, I am coming for you !
… but this is for the next episode.
Now, a small note about my AARs and savescumming.
One of the things I like about wargames is that you can suffer setbacks and carry on. In, say, a RPG, if you lose a battle it is (usually) game over. Sure, sometimes RPGs have been designed around being played Ironman (roguelikes in particular), but most of them expect you to reload and try again. On the other hand, a wargame where you never suffer a defeat or lose an important asset is probably going to be a dull one.
My general practice has been to test games until I am confident I master them well enough, and then try a “real run”. In the interest of the AARs, I have restarted “real runs” that ended too early, either because I lost in the very first turns (I will shamefully admit that it happened a lot in Nobunaga’s Ambition, where I aborted 3 “real runs” in a row) or more rarely because I got lucky and won early (in my first “real run” of Computer Bismarck, I found the ship at the end of turn 1 and sank it turn 2, so I had to restart). Provided I survive the first turns, I accept whatever the game throws at me (except input issues). It also means that sometimes I lose, but I believe it makes my AARs more interesting.
But then, Excalibur is something else. First, if Arthur dies it is game over. But even when protecting Arthur, it is easy to lose the game : you cannot win without Knights, there is only a limited number of them and they die very, very quickly on the battlefield. If Excalibur had been a short game, that would have been it, but it isn’t. This is an AAR spanning several articles, and I don’t want to interrupt it in the middle without showcasing the later features of the game. Also, I really want to see the end of Excalibur.

So full disclosure, I had to reload quite a lot ! The first time, it was after defeating King Hengist at the cost of most of my Knights. I carried on a bit, but I had to fight my battles almost alone and soon died, so I reloaded back to basically the end of my first article. After that, one more death and one more “no more Knights” situation, both of them during my little expedition against King Colgrin which was a lot harder than I could expect. All in all, three reloads so far, and probably counting. I still will strive to play carefully.