Back for the last part of the campaign for Eagles. Early 1918 had not been good for our Jasta, with our only succesful pilots (Snokers and Argyraspide) both dying in the final mission. We start the last part of the war with only 2 pilots with experience : Gubisson and myself. Everyone else is either fresh or, in the specific case of Harland, has already been shot down twice.
July 1918
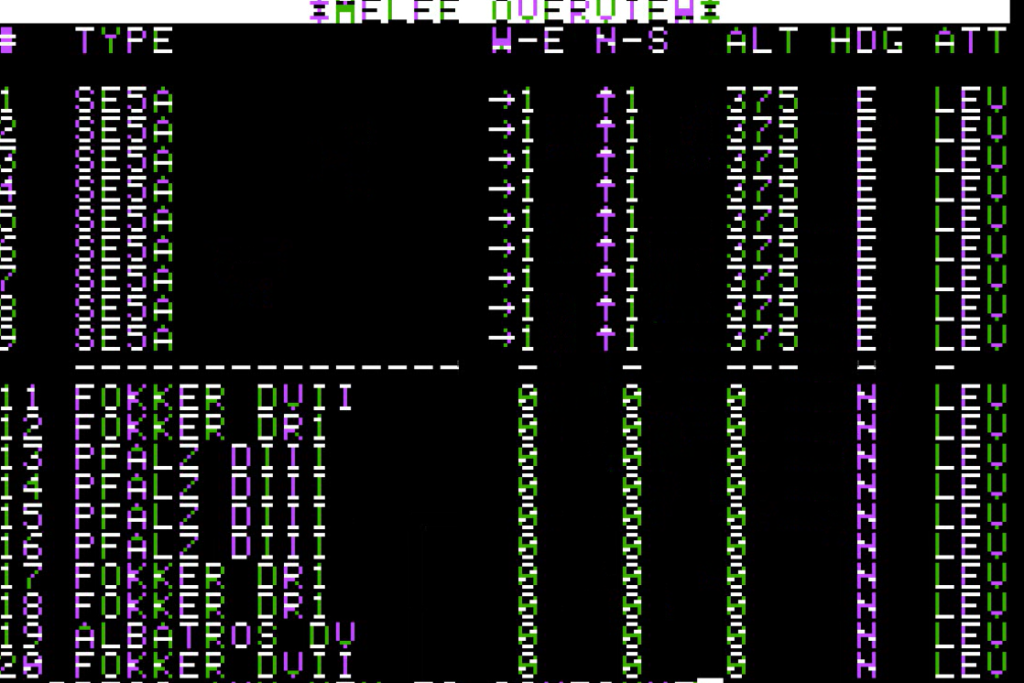
In the last period of the war, patrols are always pretty large (8-10 planes). Our line-up is therefore the following :
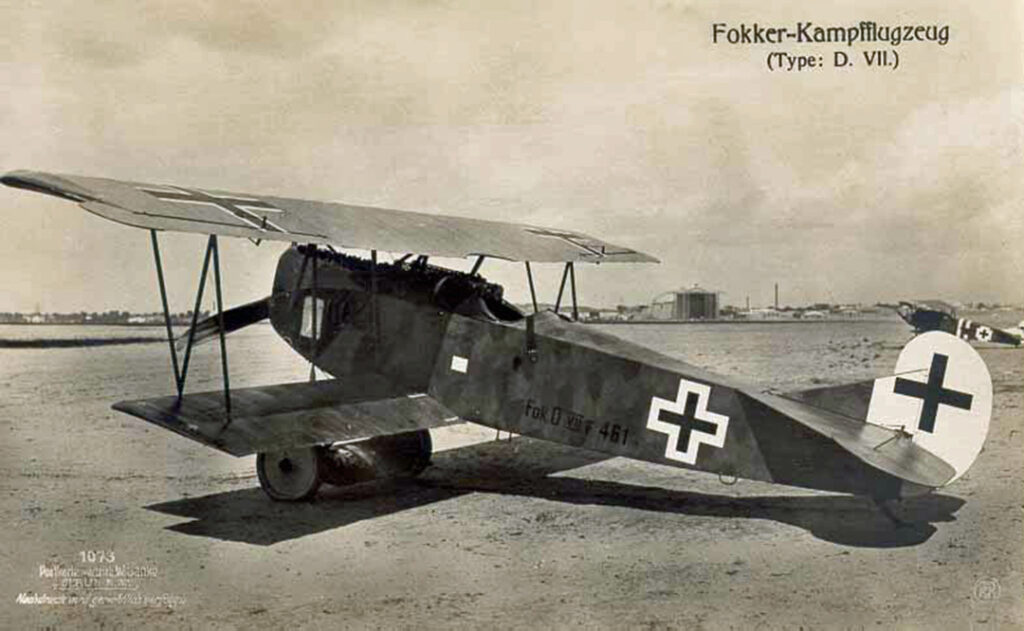
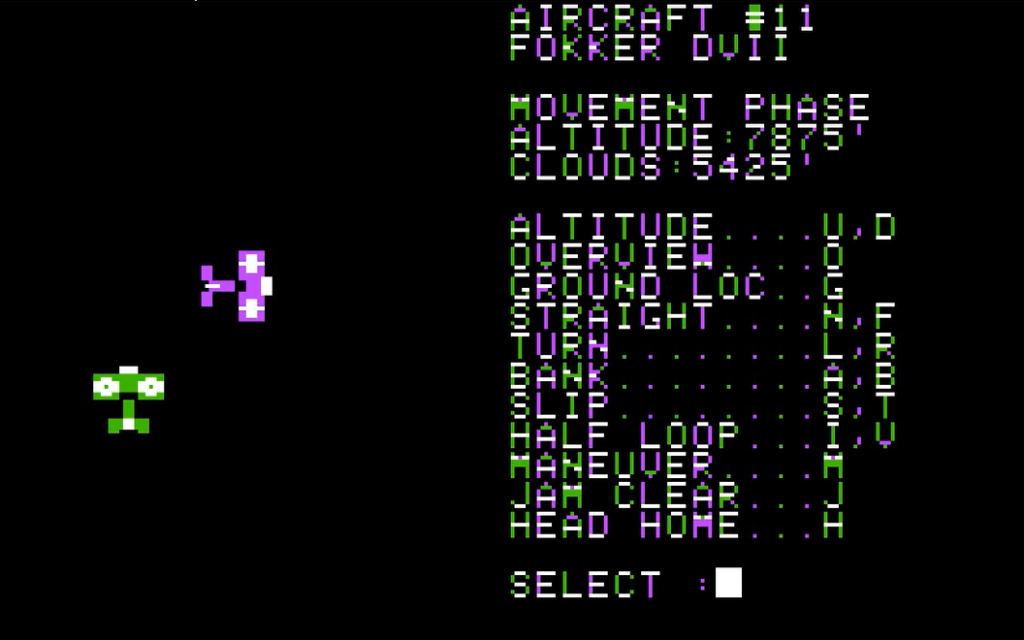
- Leutnant Scribe on Fokker D. VII (plane #11)
- Feldwebel Gubisson on Fokker Dr. 1 (plane #12)
- Flieger Ahab on Pfalz D.III (plane #13)
- Flieger Alejo on Pfalz D.III (plane #14)
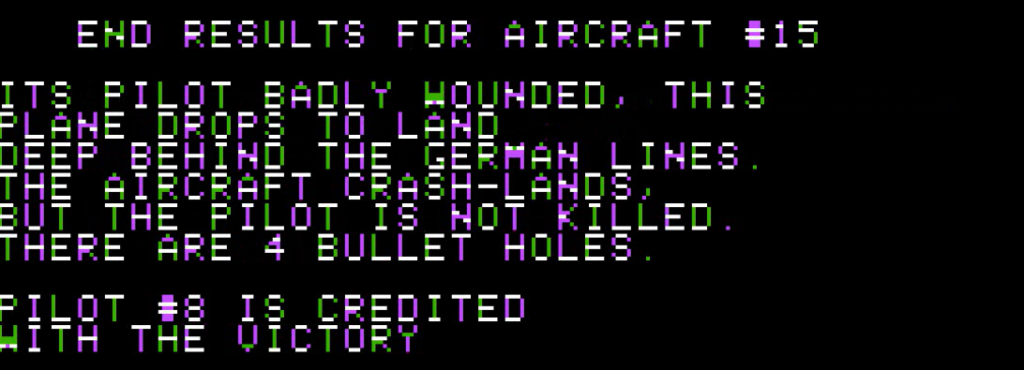
- Flieger Harland on Pfalz D.III (plane #15)
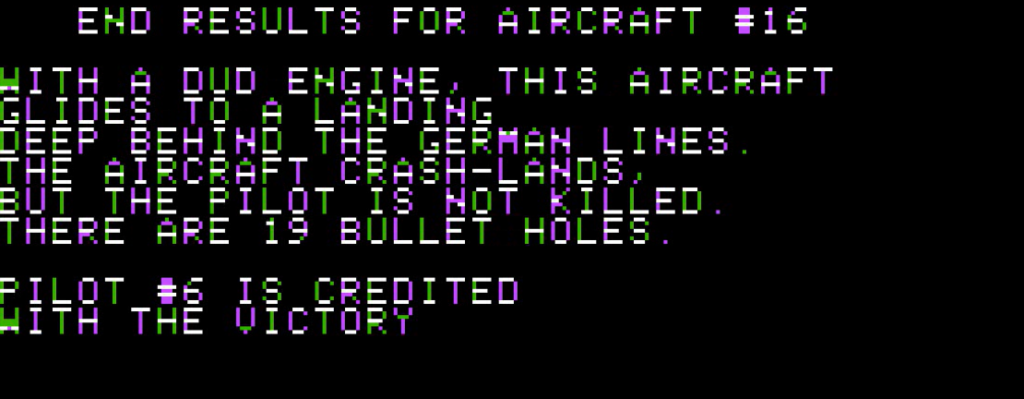
- Flieger KarbonKitty on Pfaltz D.III (plane #16)
- One extra Fokker Dr. 1 (plane #17)
- Another extra Fokker Dr. 1 (plane #18)
- An Albatros D.V (plane #19)
- A Fokker D. VII (plane #20)
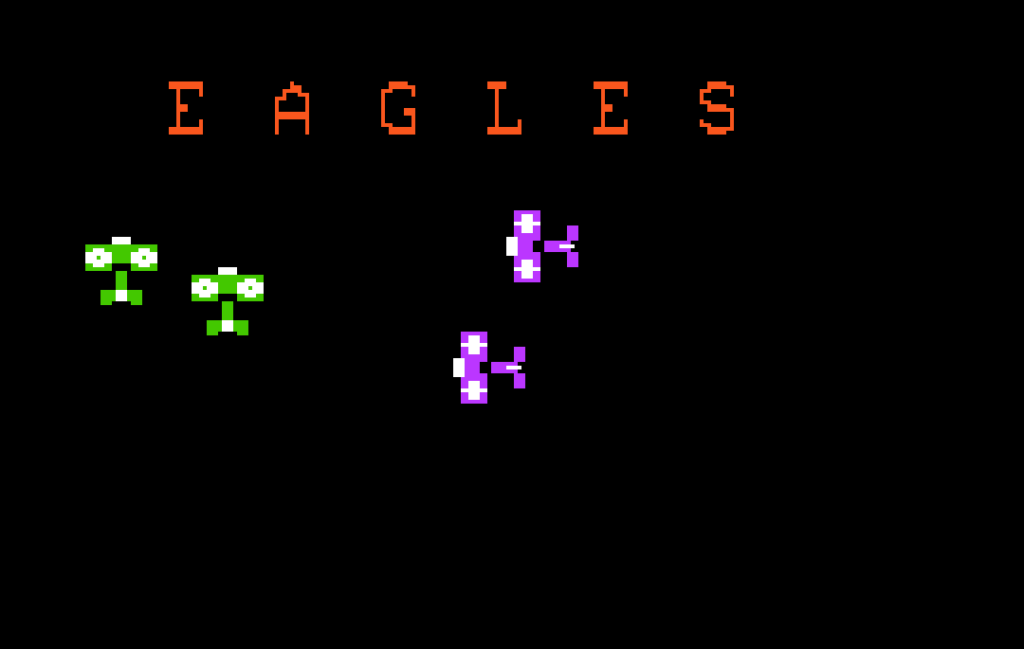
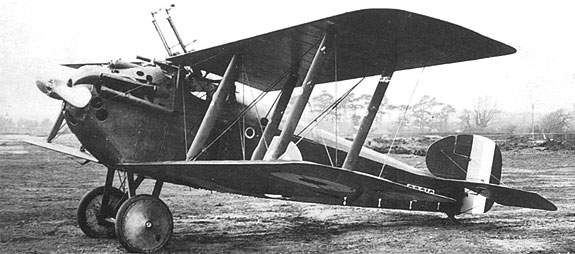
We are fighting a group of 9 English S.E.5a, so nothing incredibly dangerous.
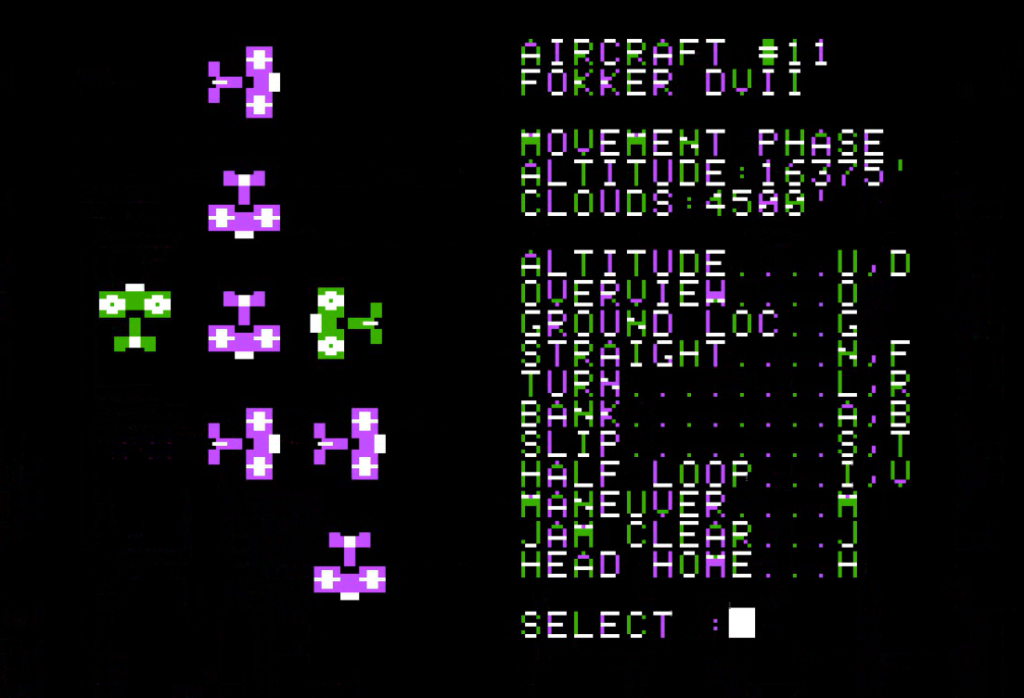
The Fokker D.VII I am using is the best plane in the roster, with no weakness and the best speed and sturdiness in the game (same as the SPAD XIII). It has also better-than-average turn rate and solid climbing and diving speed.
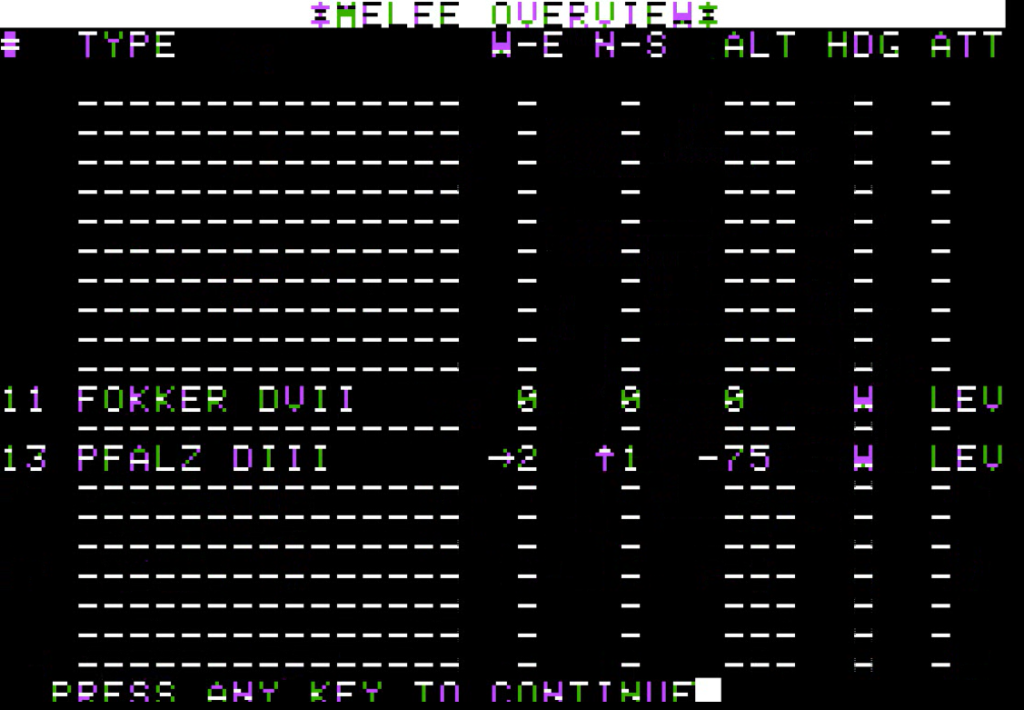
We start a bit at the back of the British planes, playing first :
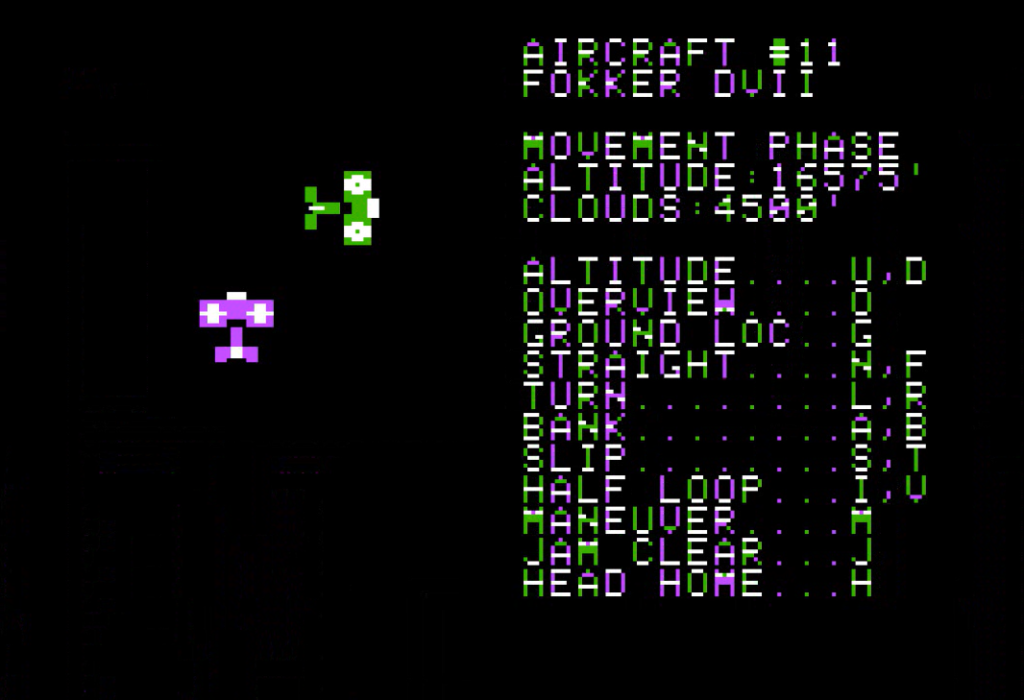
From this starting situation, there is one correct decision and one terrible decision.
- The correct decision is to go straight to remain in their back,
- The terrible decision is to turn right, allowing the British planes to shoot if they themselves turn left,
Most of the German pilots go straight, but Alejo starts “manoeuvering” for some reason (“maneuver” moves a plane in a random neighbouring location at a cost of altitude and of being unable to shoot that turn) and Harland decides to make the suicidal choice :

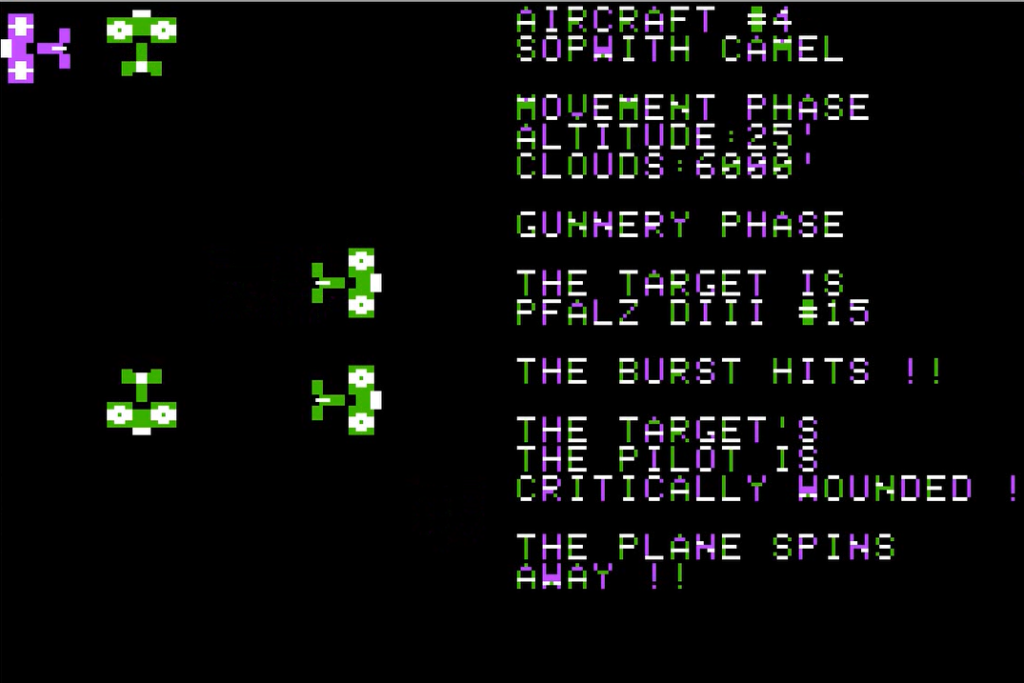
Of course, all the S.E.5a try to turn right, and those who succeed shoot at Harland on the way. Most miss, but one does not :
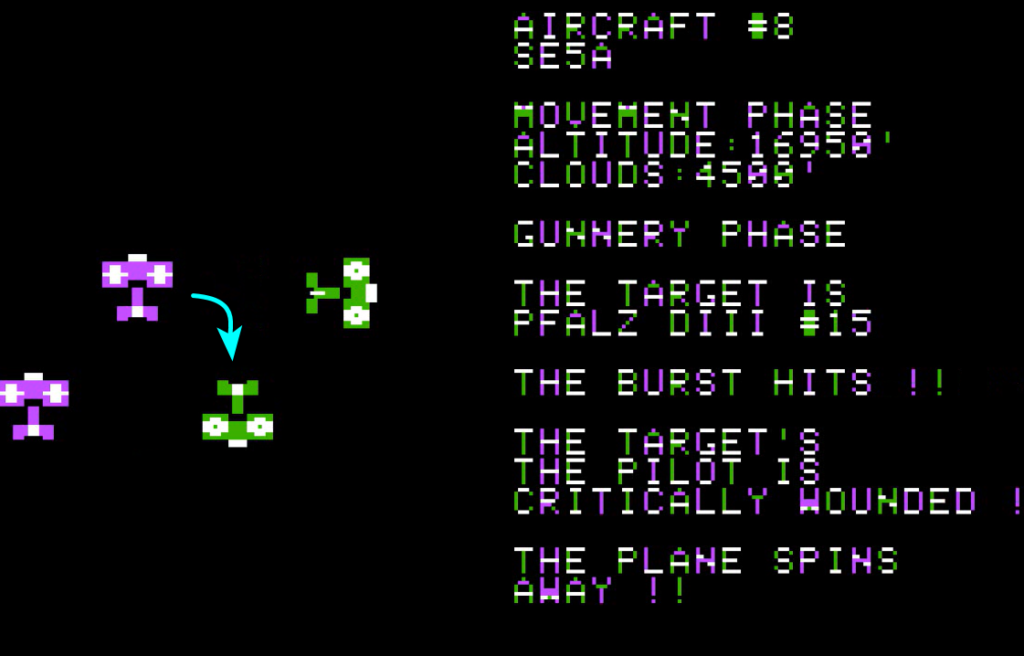
Despite this early loss, my jasta has the upper hand. Two of the S.E.5a jammed while attacking Harland and have to retreat, while my wingmen manage to remain in the back of the other British planes. One of the S.E.5a is shot down in flames.
I say “my wingmen”, because I don’t really partake. I failed to turn and by the time I come back in the melee my team has destroyed another enemy plane and forced two others to retreat. Given I have one of the few planes able to match the speed of the S.E.5a, I decide to pursue one of the retreating S.E.5a. It is not cowardice if you have a good reason to do it !
Alas, I fail most of my speed rolls, and I manage to lose sight of the escaping S.E.5a. This pursuit brought me so far from the melee that all I can see is Ahab’s plane who dutifully followed the squadron leader :
When I come back to where I think the melee was, I only find 2 German planes (including Alejo’s) fighting a last British S.E.5a. I line-up a perfect shot (95% hit chance) and it explodes :
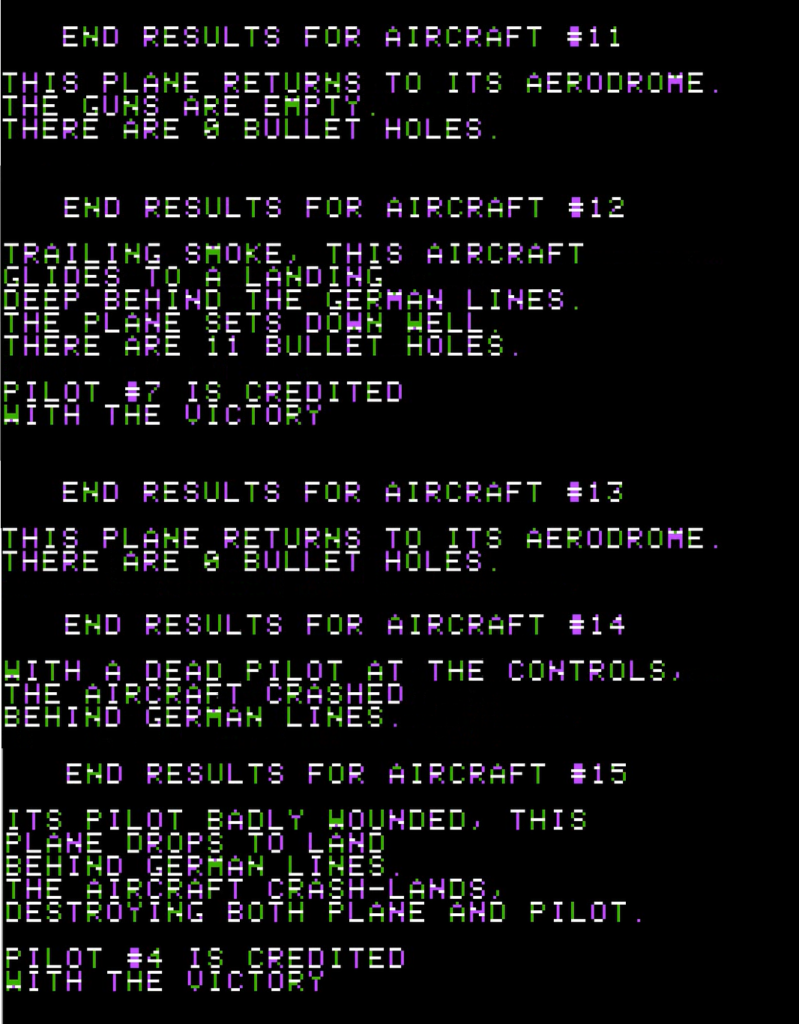
This mission went well, with 4 British planes destroyed : one by me, one by Feldwebel Gubisson, one by Flieger Alejo and one by the extra pilots.
We lost three planes, but by some sort of miracle none of the pilots we care about died !
- Harland has lost his third plane, but he is back. Again.
- KarbonKitty was clearly in the heat of the melee and lost his engine, but managed to glide home :
The only pilot we lose is Herr #18, but we don’t care about him.
October 1918
Back to the grind for the last normal mission. With Harland incapacitated, here is our line-up :
- Leutnant Scribe on Fokker D. VII (plane #11)
- Feldwebel Gubisson on Fokker Dr. 1 (plane #12)
- Flieger Ahab on Pfalz D.III (plane #13)
- Gefreiter Alejo on Albatros D.V (plane #14)
- Flieger KarbonKitty on Pfaltz D.III (plane #15)
- A pilot in a Fokker Dr. 1 (plane #16)
- A pilot in an Albatros D.V (plane #17)
- Another pilot in an Albatros D.V (plane #18)
- Yet another pilot in an Albatros D.V (plane #19)
- A poor sod flying an Albatros D.III (plane #20)
Today, we are going to fight planes new to us : a patrol of 8 Sopwith Dolphins. The Dolphin is one of those planes I don’t know very well because I rarely reached 1918 in Red Baron, but it is a faster and easier to handle Sopwith than the Camel, at the cost of being less nimble.
The Dolphins in Eagles are not better than an Albatros D.V in turning speed, and much worse than the Fokker, and we are also outnumbering them. The problem is that the British are coming from our rear, so we need to survive the beginning of the battle.
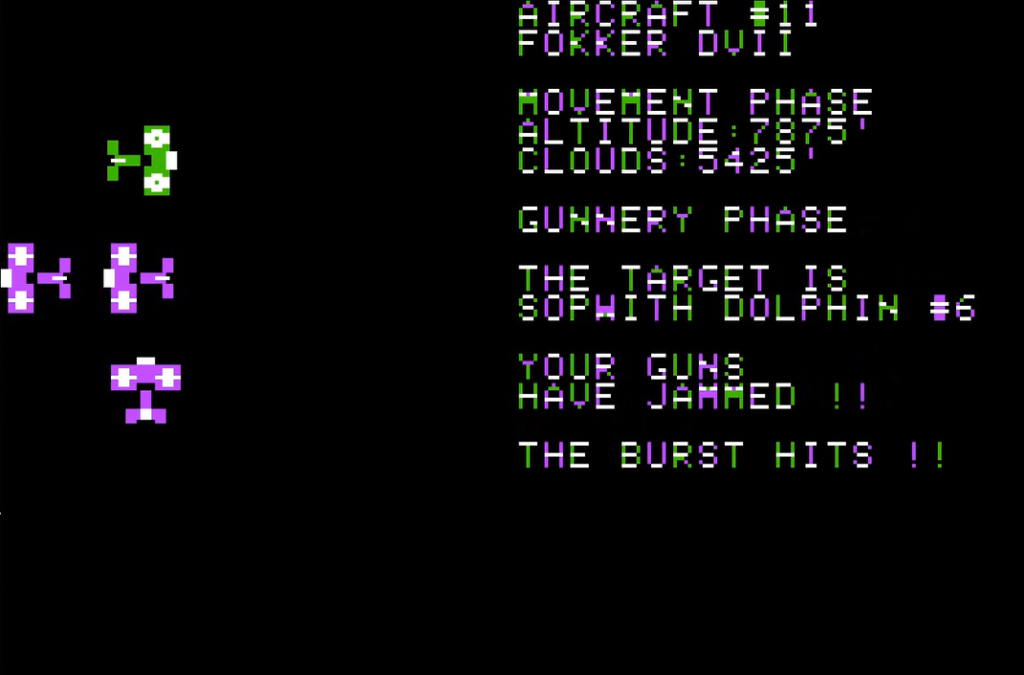
At the beginning, all planes, whatever their side, start turning left. With my superior Fokker, I soon outturn the British plane and I am able to execute the perfect attack pass at one of the British plane.. but my machine-gun jams and can’t be repaired. The battle is over for me.
The same turn, Alejo had managed somehow to turn just as well as I did with his Albatros D.V and fires a perfect shot on the British leader :
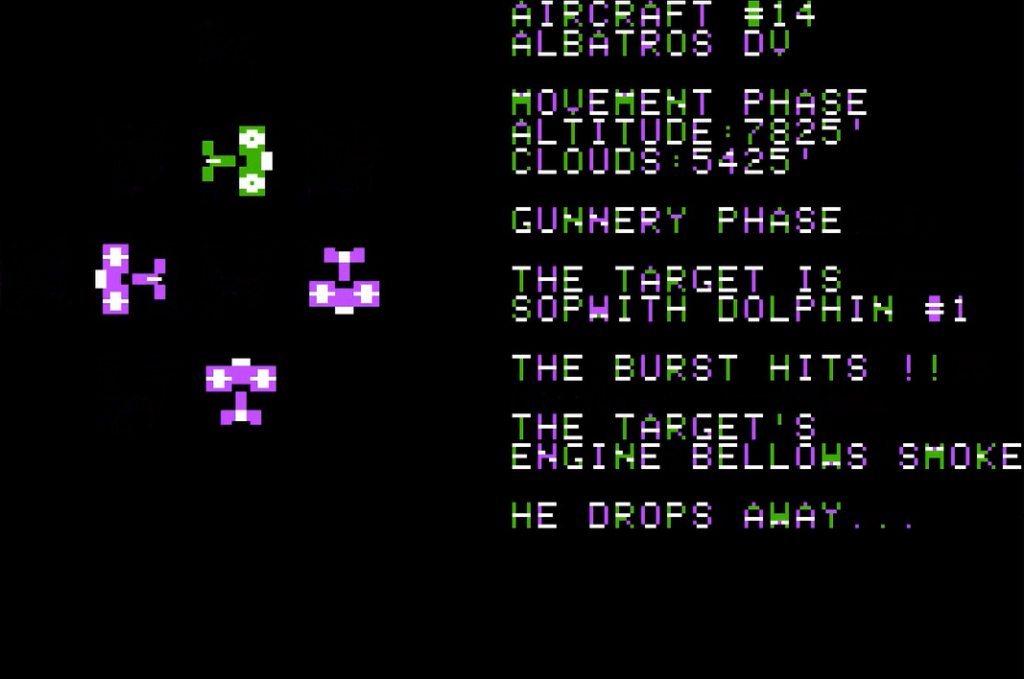
As his eyes follow his victim dropping toward the ground. Alejo misses the plane coming to his rear, and …
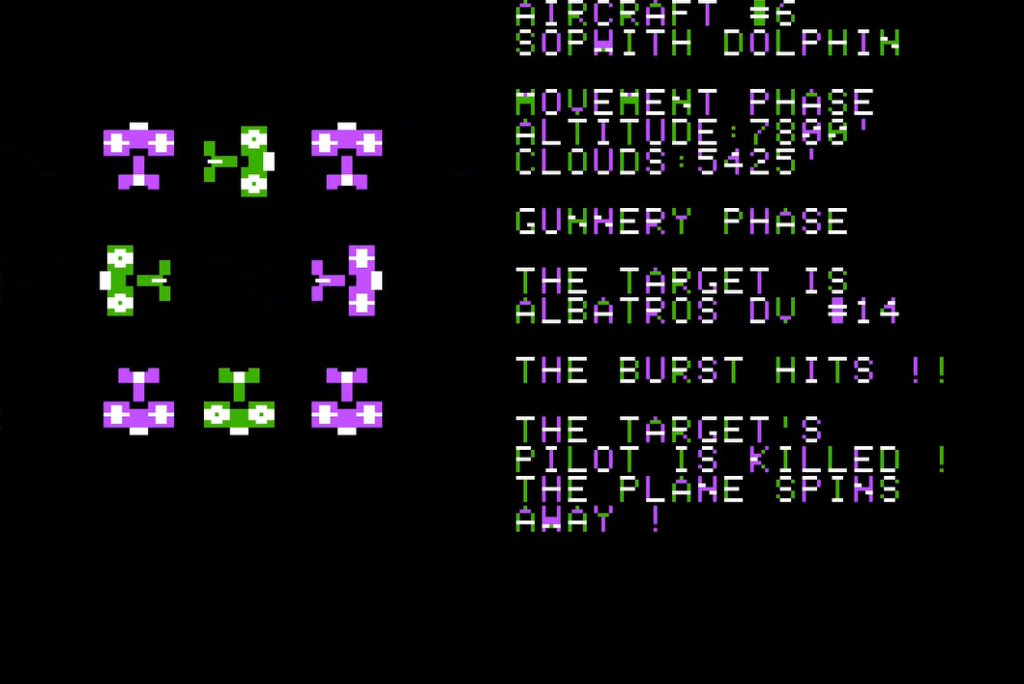
Venezuela has just been deprived of the future builder of its air force.
As I am returning to my base, the combat turns into a brawl. Several German pilots are focused on the British plane #6, who is hit and hit again, but still flies somehow. This uncanny resilience allows the other British plane to flee easily when too damaged or out of ammunition. When Gubisson finally finishes off plane #6, the battle is already over.
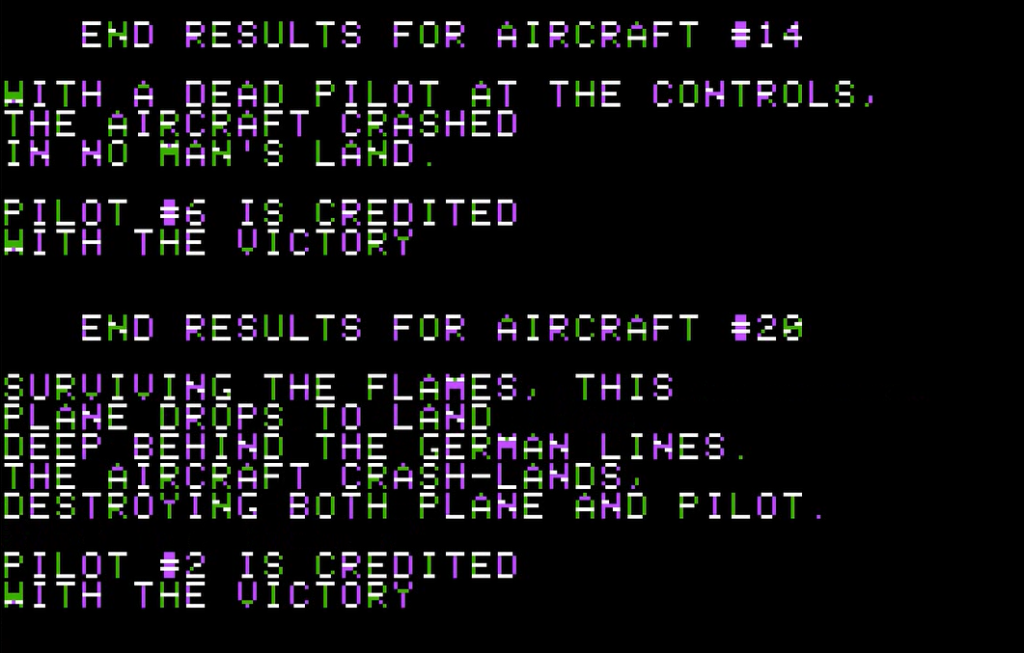
We shot down 3 British planes out of 8, but all British pilots survived unscathed :
On our side, we lost 2 pilots, including one we actually care for.
November 1918
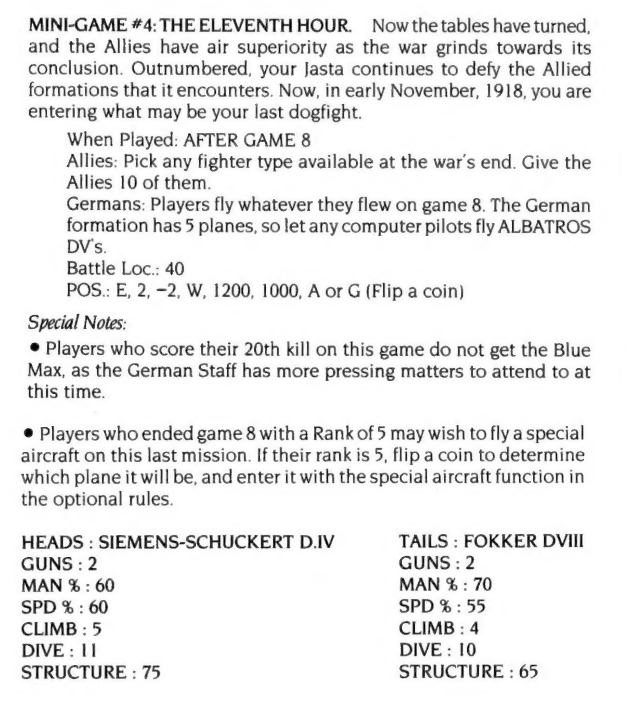
This is our last mission. A desperate attempt to repulse the Allied planes flying over our retreating troops. We are outnumbered and outgunned, but we will still fight :
For the last mission, our patrol will be composed of
- Leutnant Scribe on Fokker D. VIII (plane #11)
- Feldwebel Gubisson on Fokker D. VIII (plane #12)
- Flieger Ahab on Pfalz D.III (plane #13)
- Flieger Harland on his fourth Pfalz D.III (plane #14)
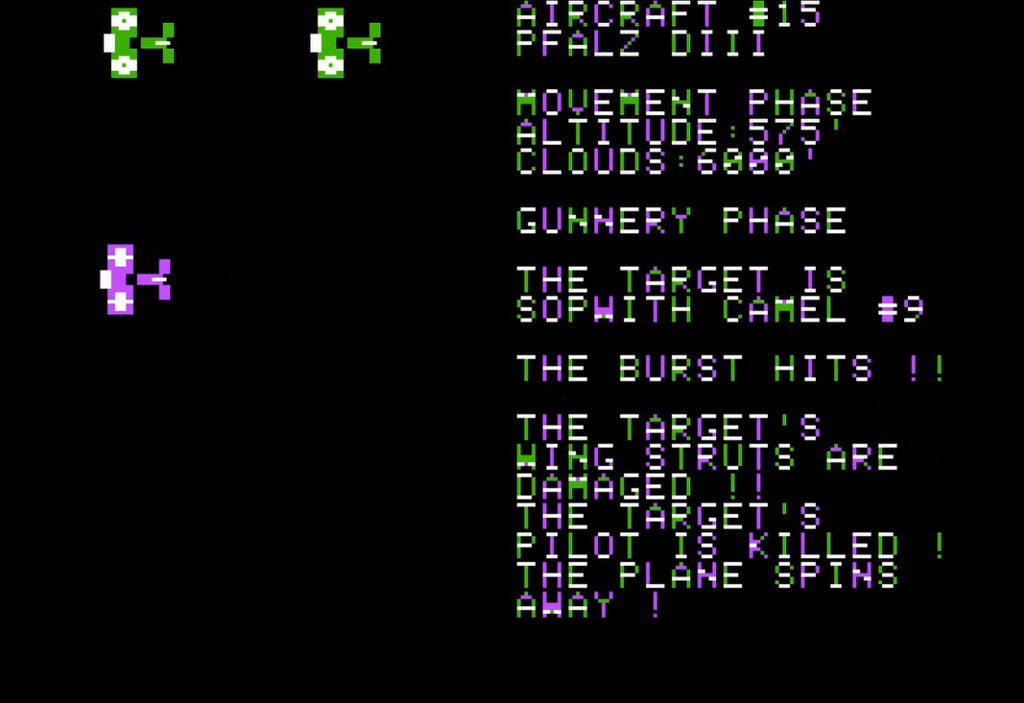
- Flieger KarbonKitty on Pfaltz D.III (plane #15)
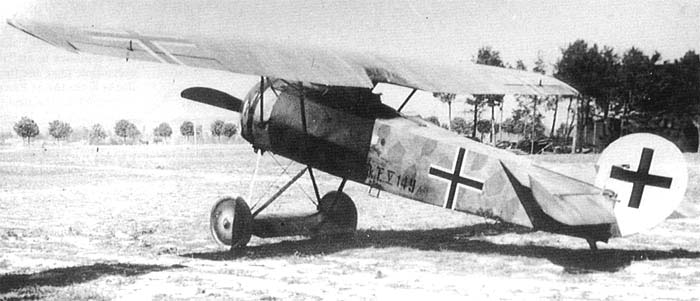
For this last mission, Gubisson and myself will be flying the Fokker D. VIII, a plane that was only deployed among frontline units in October 1918. It is as nimble as a Fokker Dr. I but much faster though still pretty fragile.
The rest of the patrol is going to fly inadequate Pfaltz D.III, against a British squadron of 10 Sopwith Camels. What could go right ?
The starting position is not ideal :

Both squadrons are separated by 4 tiles. My squadron moves first, so if we move by one tile a turn horizontally or vertically the British will get to shoot first – and I don’t need to describe what is bound to happen when 10 planes focus their fire on 5.
The solution is to try a “slip” manoeuver, moving in diagonal. It requires a dice roll in maneuver, and if it fails the plane goes straight ahead.
All of us try to slip, but only 3 of us manage to pull it off :
This means that Harland and Gubisson are right in front of 8 enemy planes. It does not go well for them : Harland is killed at the command of his planes, and Gubisson shot down.
We are now 3 against 10. One of the British planes has not followed his buddies and headed West for some reason. The 3 of us attack it, and follow it perfectly as it tries to escape. We hit it again and again, until finally KarbonKitty shoots it down !
The other British planes seem to have lost sight of us, and are heading West, presumably returning home. Conveniently, Ahab’s guns have jammed so he has a good reason to head home. But for KarbonKitty and myself, the battle is not over, and we resume our attack, 2 against 9 !
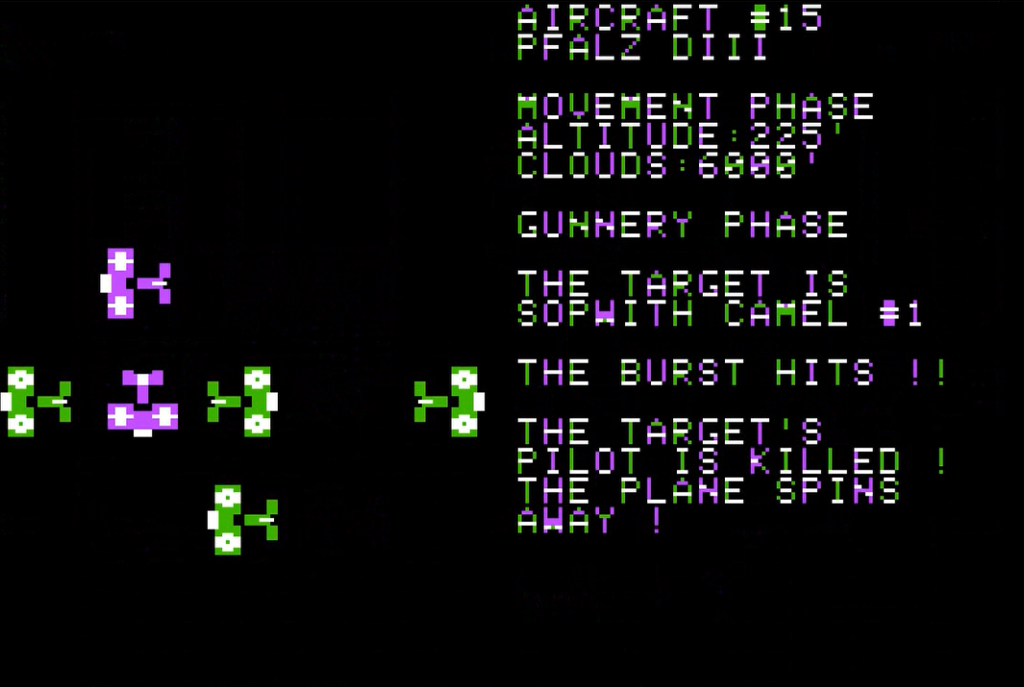
I attack the leader, damaging his plane. KarbonKitty follows, and shoots the leader down !
The 8 other British fighters turn to attack us, and we give them Hell. KarbonKitty shoots a third plane :
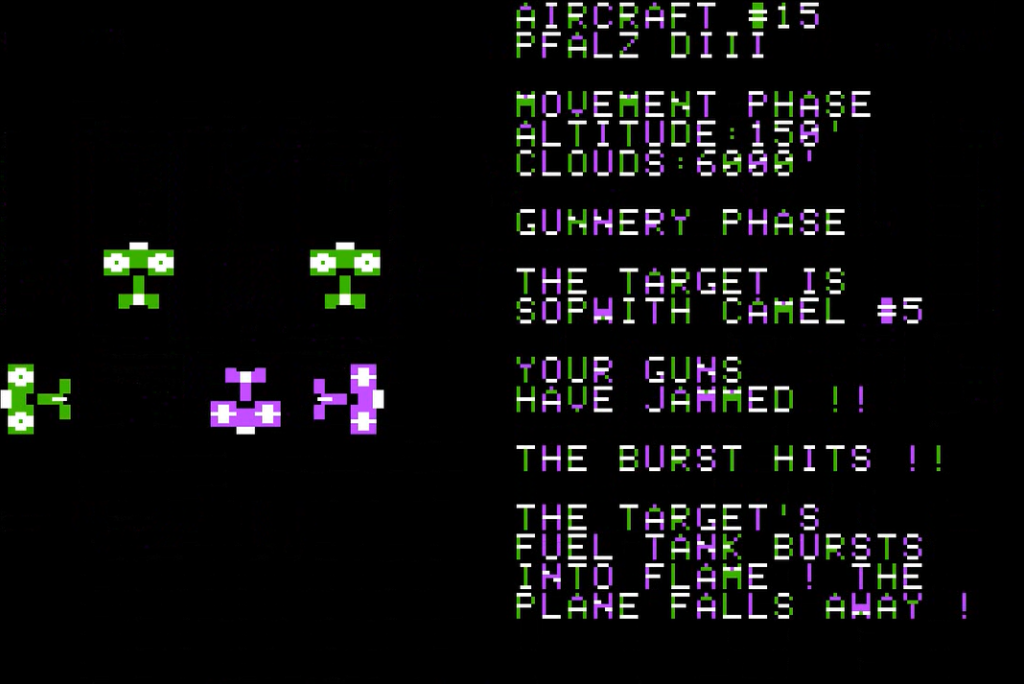
I am out of ammo, and KarbonKitty has jammed. Time to head home with a bunch of planes on our tails.
I can easily escape, but KarbonKitty on his sluggish Pflalz cannot, so I try to remain in the melee even though I can’t shoot. I manage to attract three planes, but that’s not enough to save KarbonKitty :
As for me, the Fokker DR. VIII has better climbing speed than the Sopwith Camel, so I easily escape up and return to base.
We lost 3 planes, but the British paid a heavy price despite their numerical and qualitative superiority : 4 planes lost – including one that I did not know had hit the ground at some point.
As for us, I managed to escape without being hit once – a testament to the quality of the newest Fokker. I find Ahab waiting for me with his perfect plane mounting two perfect machine-guns – suspicious. Gubisson manages to arrive a bit later on foot. As per tradition, the one competent pilot that was neither Gubisson nor myself never returns.
That’s the end of the campaign, here is the final tally :
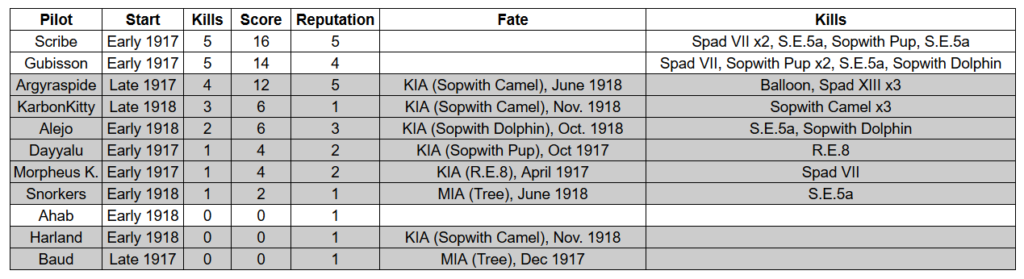
3 pilots out of 11 survived, and together we shot down 21 planes and one ballon. None of us received the Blue Max (you need 20 in “score”). Gubisson was lucky (he was shot down twice and came back), while I was being protected by being less gung-ho than the computer.
That’s all for the Eagles campaign ; it has been a bit to long as an AAR – I expected to end it earlier after a glorious death, ideally after the balloon mission. I was planning to have the Rating and Review in the same article but, well, tune in next week!
7 Comments
You’ve spelled a few instances of Sopwith as “Sopwich”.
Thanks, corrected. I always pronounce it “Sop-ouiche” for some reason, I think dating back to when I was a kid playing … Sopwith.
Dangit, I was going for getting shot down one more time – five lost planes would have made me a Negative Ace.
I chuckled. To be honest I wished the end result for you had been “shot down every time, survived the war”
Don’t worry about me, I faked my own death to defect to newly independent Poland. 😉
Also, with Revolution Under Siege, I’m up to knowing one game featuring interwar Poland, which is one more than I knew before, so thanks for that. It seems like a great moment in time to make a wargame about – in general, the entire post-WW I Eastern Europe is really a fertile ground for that kind of thing, and it’s quite sad for me that it remains unexplored. Maybe one day I’ll make my own game set there and then?
Also, I’d say your posts were quite readable even early on. 🙂
Good job faking your wound and your crash, it was probably not easy.
Revolution Under Siege is a fantastic little game, though complex, often pointlessly obscure and plenty of “is this yet another bug, or yet another poorly documented rule I did not know about ?” moments. The Polish-Soviet War has its own scenario, and the “main campaign” of the game (the Russian Civil War) of course includes a Polish moment (most of the time anyway, the long campaign can veer a bit from history, especially with regards to foreign interventions). You will be happy to know that the Polish leaders have the best average stats of any nationality in the game (with the Finns). The French developers did not miss the French leaders, with iirc all of them except Franchet d’Esperey having terrible stats. They even gave General Maurice Janin a unique “double-faced” trait, according to which (IIRC still) he decreases over time the prestige of all the other generals in the same location as him.
I have never played the Polish campaign, so if you are into PBEM and are willing to learn the game, send me an email. I could even publish the AAR here or on the forum, because the game deserves it.
Rest in Peace Harland! Good job!