Lieutenant Narwhal, are you ready for your mission ?
Sir Yes Sir ! I did not sleep for a month, but I learned Polish, Latvian and Estonian, and I know all the roads we could use from Stettin to Narva !
Perfect ! I can tell you now : the whole “Baltic” thing was a decoy, you are going straight to Berlin !
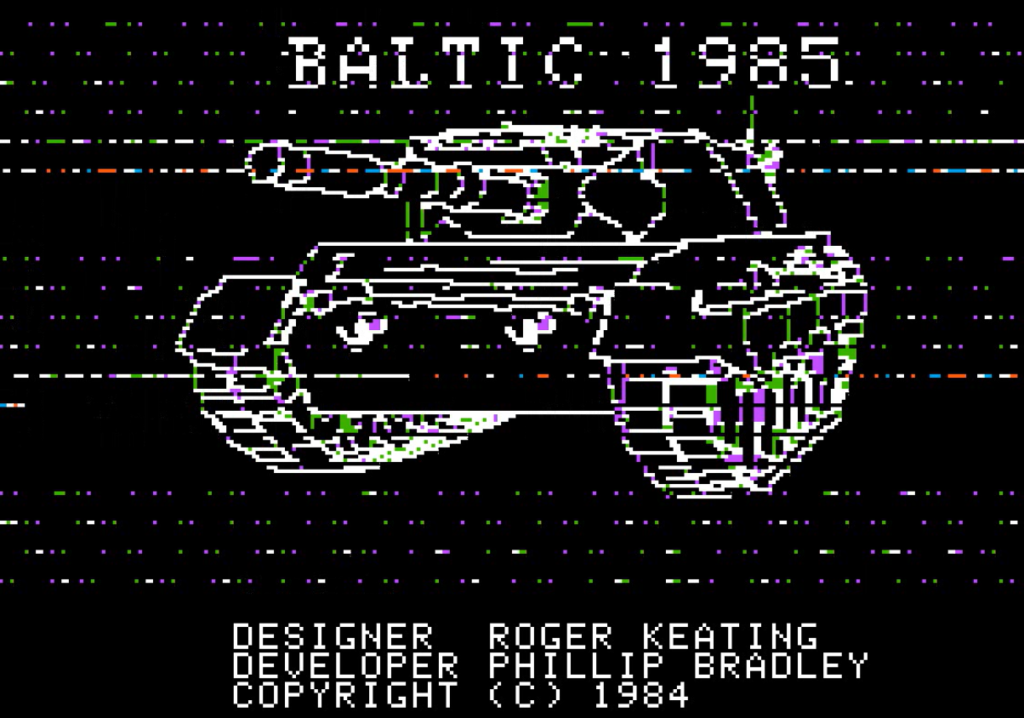
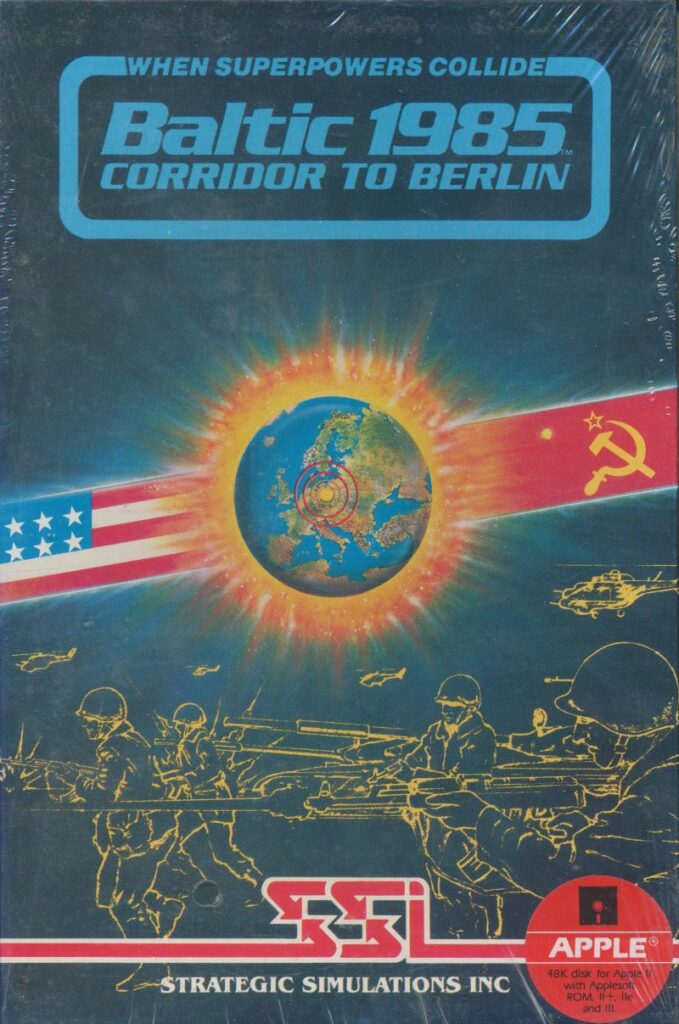
We are back to Roger Keating’s ’85 series (officially the When Superpowers collide series but it does not really roll off the tongue). After the opening battles in Germany 1985 and a campaign for control of the Arabian oil fields in RDF 1985, the third opus Baltic 1985 covers… the liberation of Berlin by NATO.
According to the manual, the Soviet Union offensive has been stopped. NATO intelligence is hard at work, and it receives an important piece of information: radio contacts from Berlin indicate that the NATO garrison there, bypassed by the initial Soviet offensive, is still holding part of the city. I would have called that an obvious trap, but the NATO High Command knows better and orders the opening of a corridor to Berlin, hence the second part of the title. Why “Baltic” in the first part of the title ? The manual states there is also some unrest in Poland, and that’s the extent of the Baltic-adjacent content in this game.
The NATO forces start spread out : they control one-half of Berlin with a handful of infantry units and one short-range artillery unit, with some additional paratroopers having landed West and North-West of Berlin before the start of the game. A small number of artillery, transports and armors just arrived on the left of the map :
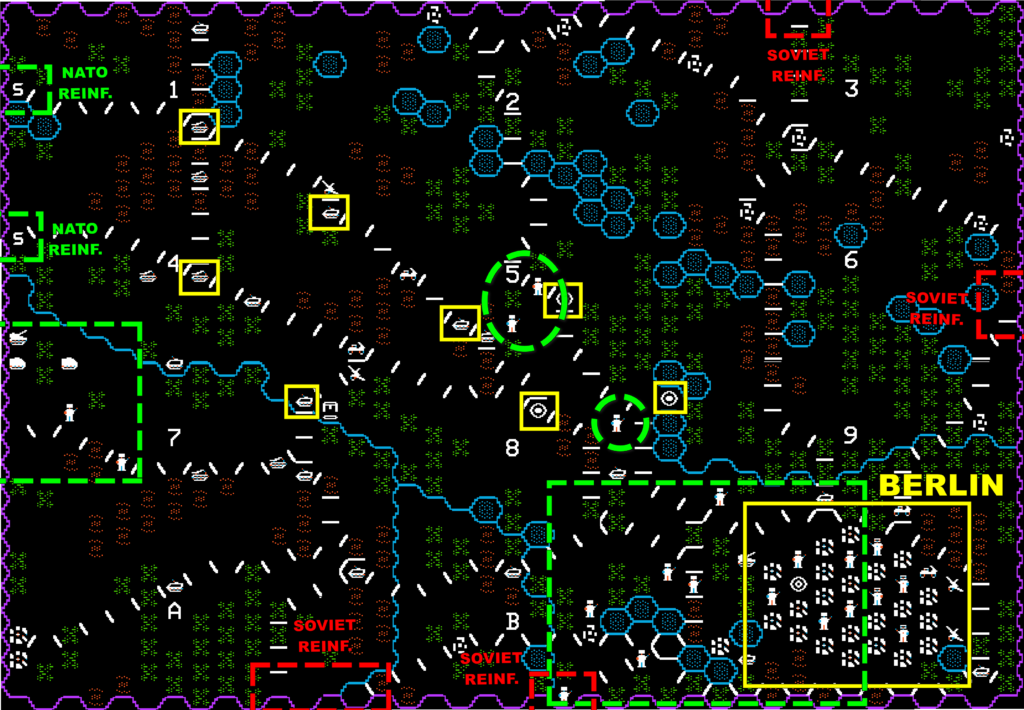
NATO’s objective is to occupy the 11 objective hexagons : 3 in Berlin and 8 in the corridor leading to it. Of course, destroying enemy units also brings points, but the priority is really those hexagons because not only do they give points every turn, they also give twice as many points to the Soviet player.
The Soviet Union must have had appalling performance to give NATO the confidence to counter-attack Berlin so soon after the beginning of the war that the Berlin garrison is still active. Checking the manual, I understand better : NATO infantry can beat any Soviet unit in one-vs-one, its only flaws being the lack of ranged attack and the fact that it cannot use the “transport” mode and thus lacks mobility. Still, the Soviets have massive artillery and numerical superiority in Berlin so there is nothing my infantry can do alone there, except dig in and try to survive until the corridor opens.
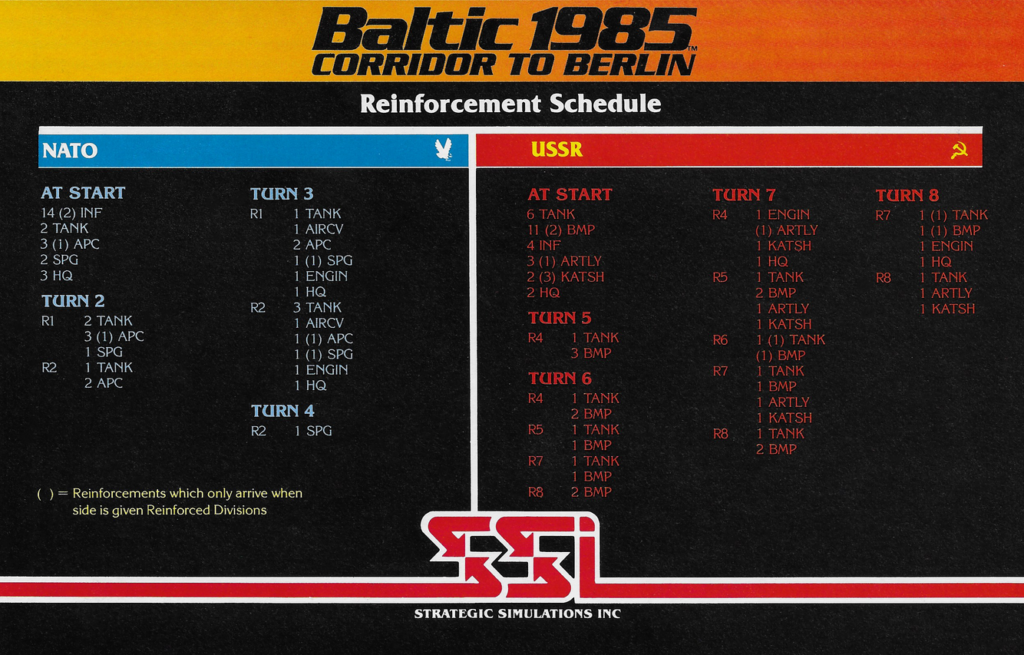
Overall, the Soviets significantly outnumber my forces at the beginning (34 Soviet units vs 24 NATO units), but they start spread out (except around Berlin), presumably totally flat-footed because they knew about the title of the game and were expecting NATO to land near Gdansk or Riga. I will also receive absolutely massive reinforcements in the first 4 turns of the game, bringing my total number to 49. The Soviet reinforcements will start to show up turn 5, bringing their total number to 75 turn 8 !
The best strategy is obvious : dash to Berlin as fast as possible, no matter the losses, and reach it turn 5 at the latest. In those first 5 turns, destroy as many units as possible to avoid being overwhelmed by the number of Soviet units in the second part of the game. After that, guard the corridor : the Soviet reinforcements come from both sides of the map so as long as the corridor holds they will not be able to regroup and reach critical mass.
In the North-West, the beginning of the campaign goes exactly according to plan. The enemy resists a bit the first two turns, but by turn 3 my forces overwhelm them
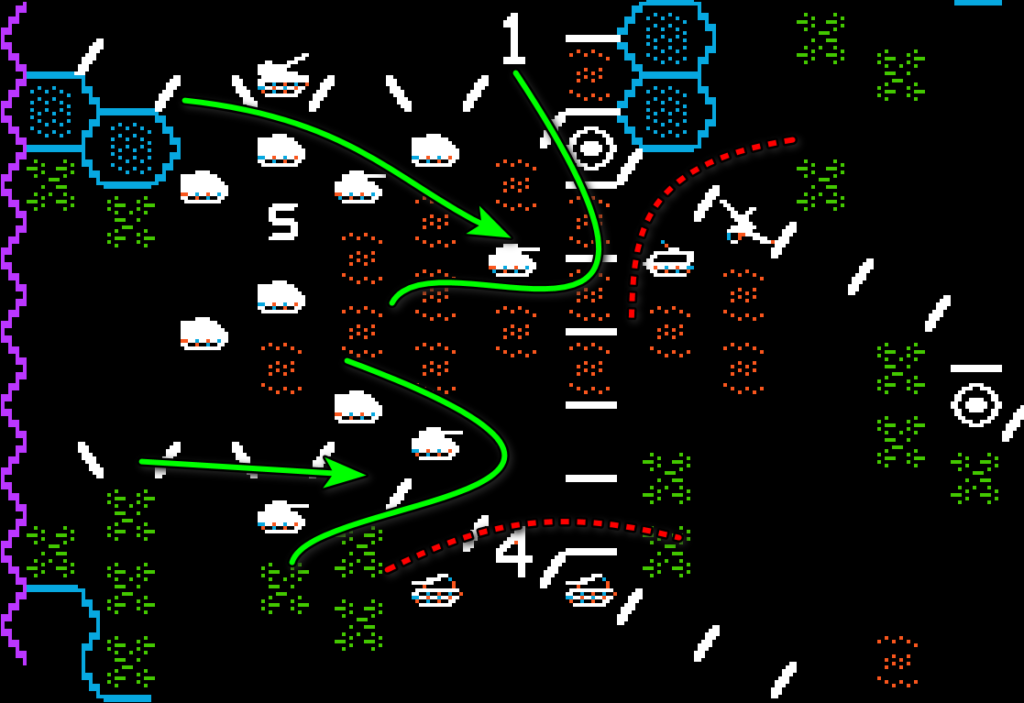
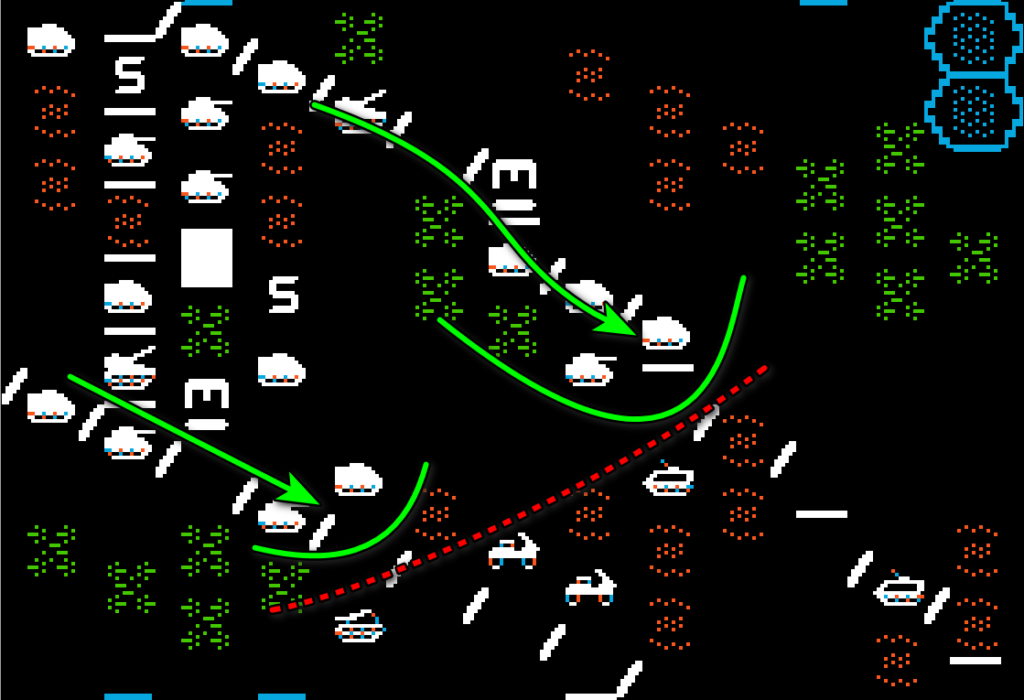
I am of course helped by the ruleset (exactly the same as Germany 1985 and RDF 1985) : you receive a bonus in combat for each of your units that can sight the enemy, and well I have a lot more eyes than they have. Add to this a massive artillery advantage and air superiority, and the Soviets don’t stand a chance.
The AI is not at fault, and it manages the best it can : it retreats slowly, sometimes hiding its units so they are only revealed when I approach them. Those hidden units also leverage another feature of the ruleset : the more enemy units have a “sight” on your units, the slower your units move.
Finally, turn 4, my mobile forces join up with my paratroopers slowly creeping North-West :
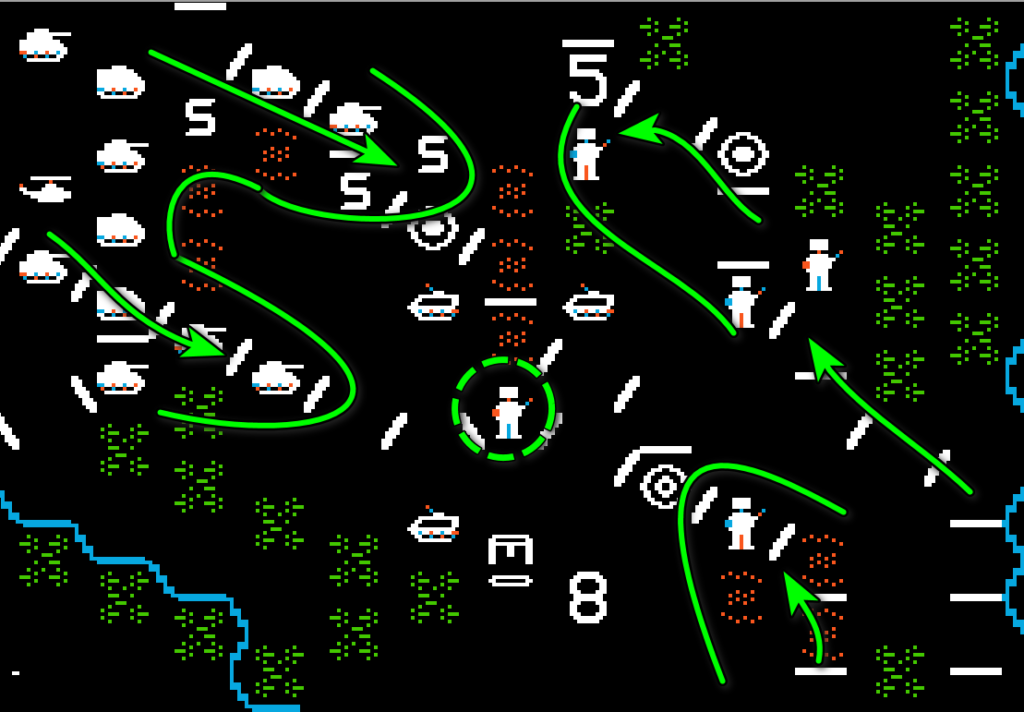
I destroyed 13 units already (including 2 destroyed by the paratroopers) and the corridor is fully open. Still, I am still some distance away from Berlin where the situation is dire. Massive artillery or other ranged attacks have drained my units, which were forced to slowly give ground :
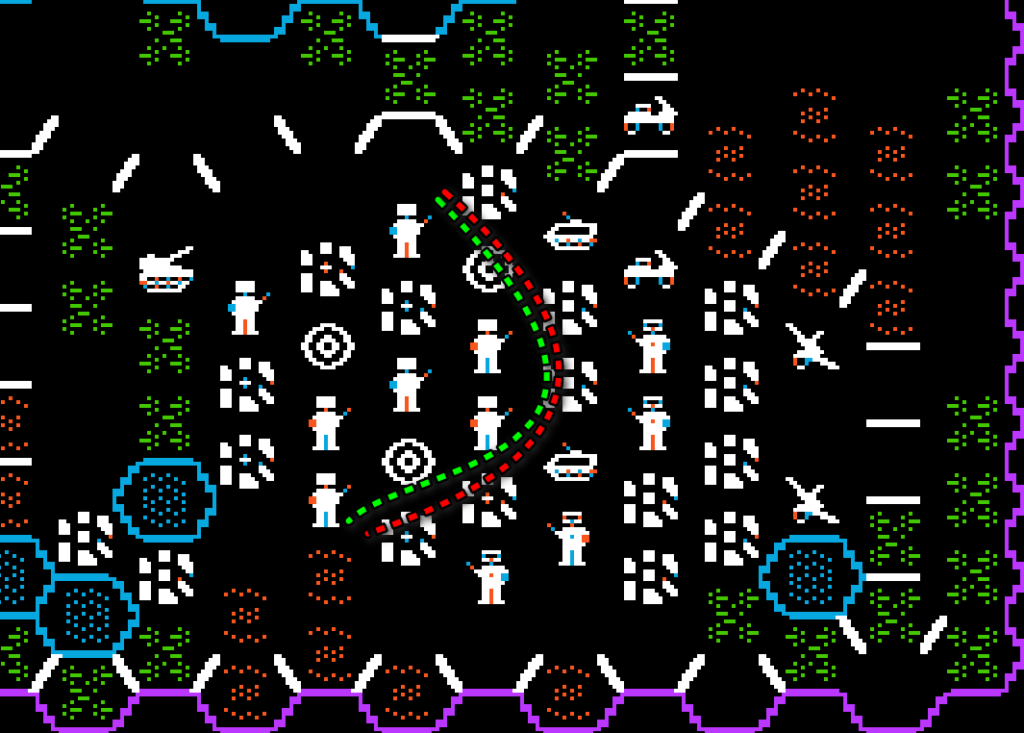
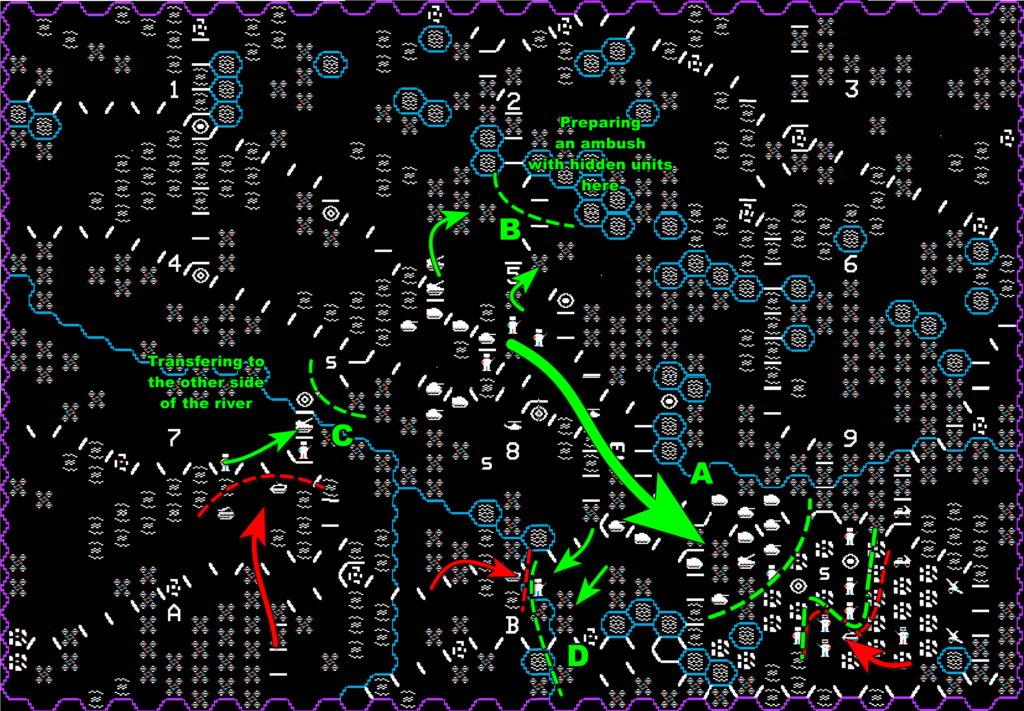
Berlin is finally reached during the night (A in the image below). The vanguard includes maybe 40% of my mobile force, but a good chunk of my units remains behind : artillery, units allocated to mop up Soviet stragglers, but also units earmarked to prepare an ambush against forces coming from the North (B). In the South, I try to cross the river with my units which started on the wrong side (C) – the bridge with be a strong defensive position, and if I hold the 2 bridges near Berlin (D) I can bottle up the Soviets on the wrong side of the river. Of course, currently, I only have two infantry defending the two bridges near Berlin, but I will allocate more troops as soon as possible.
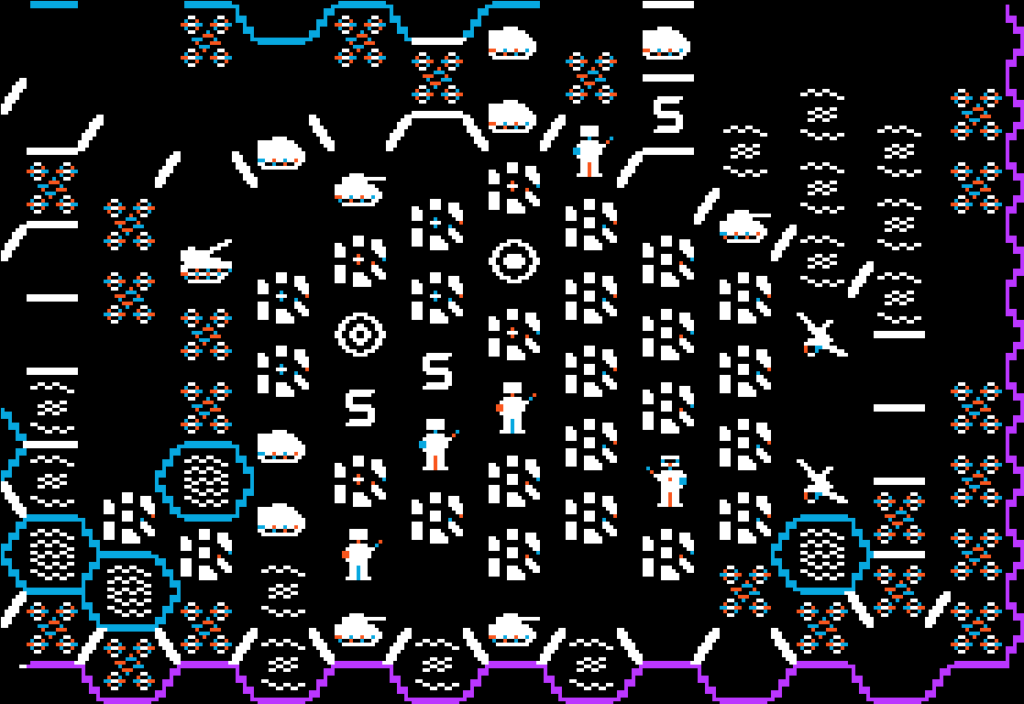
I arrive just in time. The Berlin garrison is exhausted and unable to fight anymore – I even lose one of my units – but the reinforcements turn the situation around and win that battle !
It is looking good. Turn 8, when the last batch of Russian reinforcements arrives, I have destroyed 27 Soviet units, losing only one of mine. It means that I have the same number of units as the Russians. It looks like I’ve got this in the bag!

The map also looks good overall :
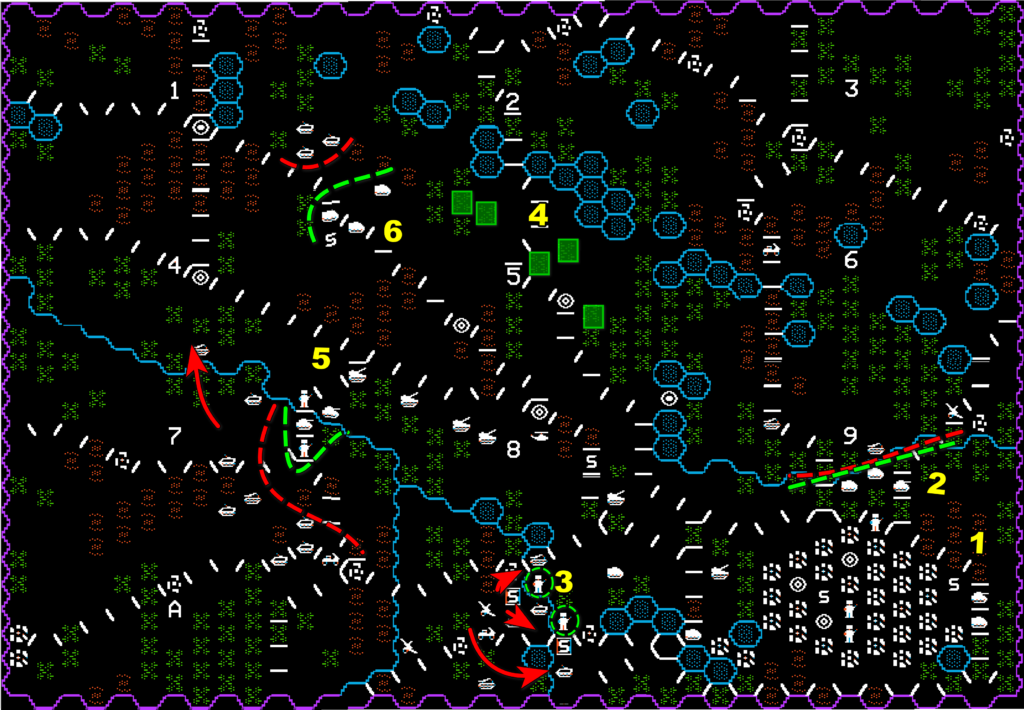
Berlin (in 1) is totally free of enemy units. I also left a significant force to block any crossing from the North (2); in the West I still only have those two infantry units holding the bridge (3), but they soon should be supported by more units coming from the North and from Berlin.
In the middle of the corridor, I am preparing a surprise for units coming from the North with 5 hidden units (4). In 5, I am finishing the evacuation of the forces South of the river – they needed some support, but now most of them crossed. I am not paying too much attention to some Russian units crossing the river without a bridge to the West. Finally, in 6, I am sending some forces to recapture a victory hexagon that had been snatched by hidden Soviet units – I have more units so I am confident.
There are two things I did not take into account :
- I may have more forces than the Russians, but their forces are perfectly fresh, mine are exhausted, in particular the infantry will need several turns of reorganization before being operational again,
- I lose air superiority turn 9, and effectively will not recover it for the duration of the campaign. According to this ruleset, it means the movement speed of my units moving in transport mode (the fastest) is halved – I cannot quickly bring those units that are operational where I need them !
The Soviets correctly identify where I am the weakest, and hit where it hurts the most : in 3 where only 2 paratrooper units hold the line :
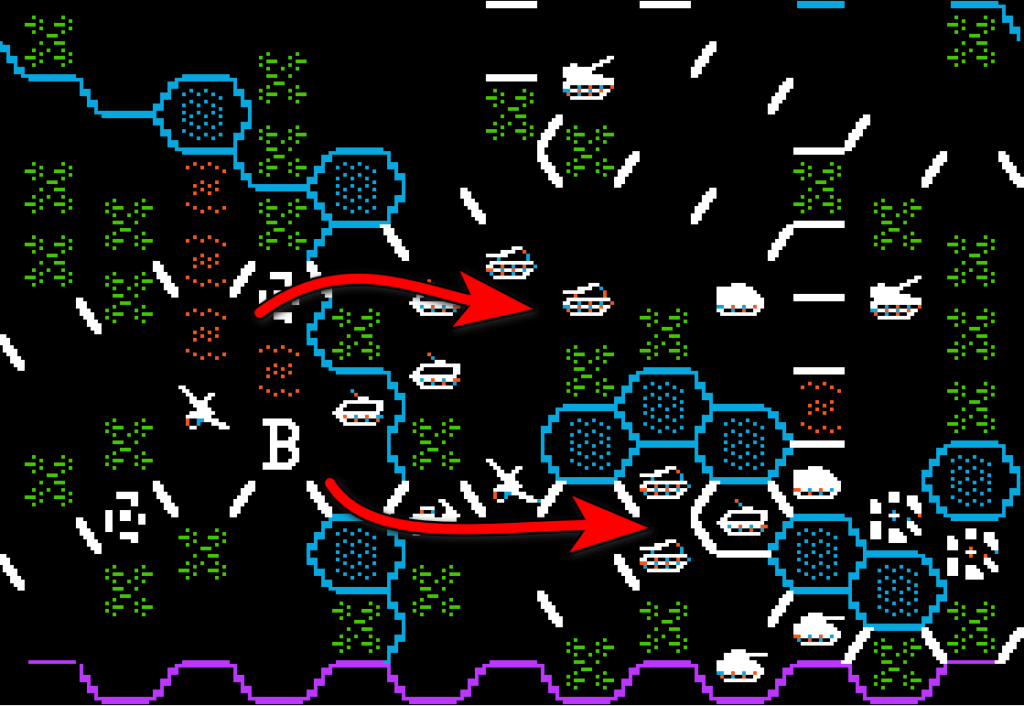
The following turn, they also cross en masse in the center from the South. All I have to defend is a few exhausted units – after that they will reach not only the victory hexagons but also most of my artillery !
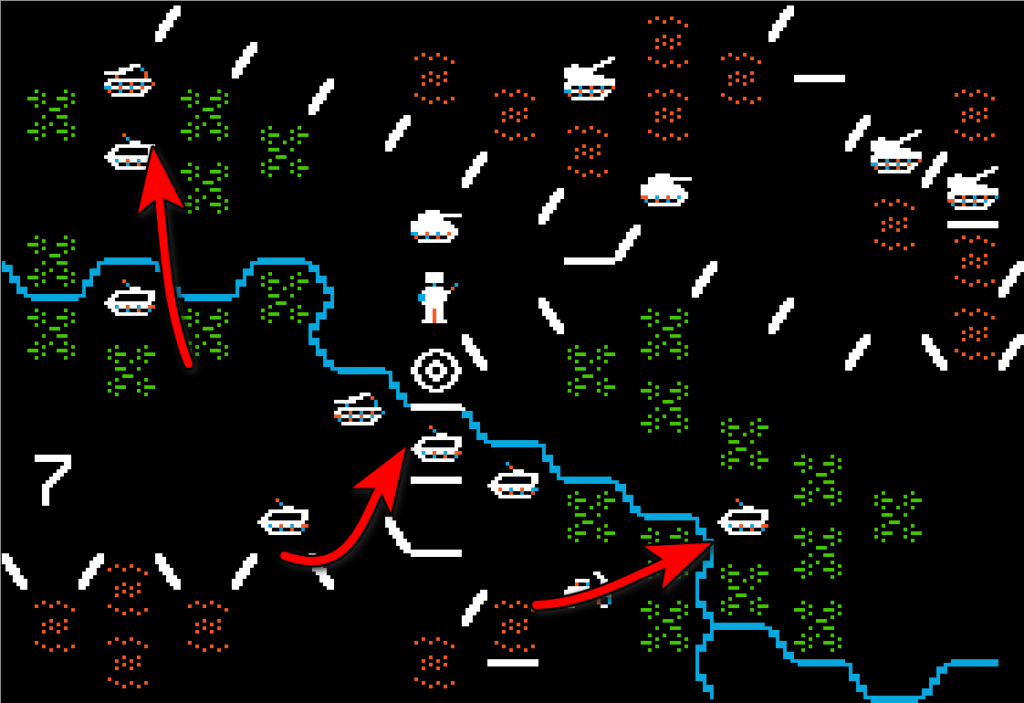
Fortunately, their troops in the North-East are less successful. Near Berlin they crash against my forces immediately after crossing, and some of the armors are destroyed as they cannot cross the river back. North of the corridor, the trap springs as expected – I immediately destroy one unit, corner another one against the lake, the rest is routed in two different directions !
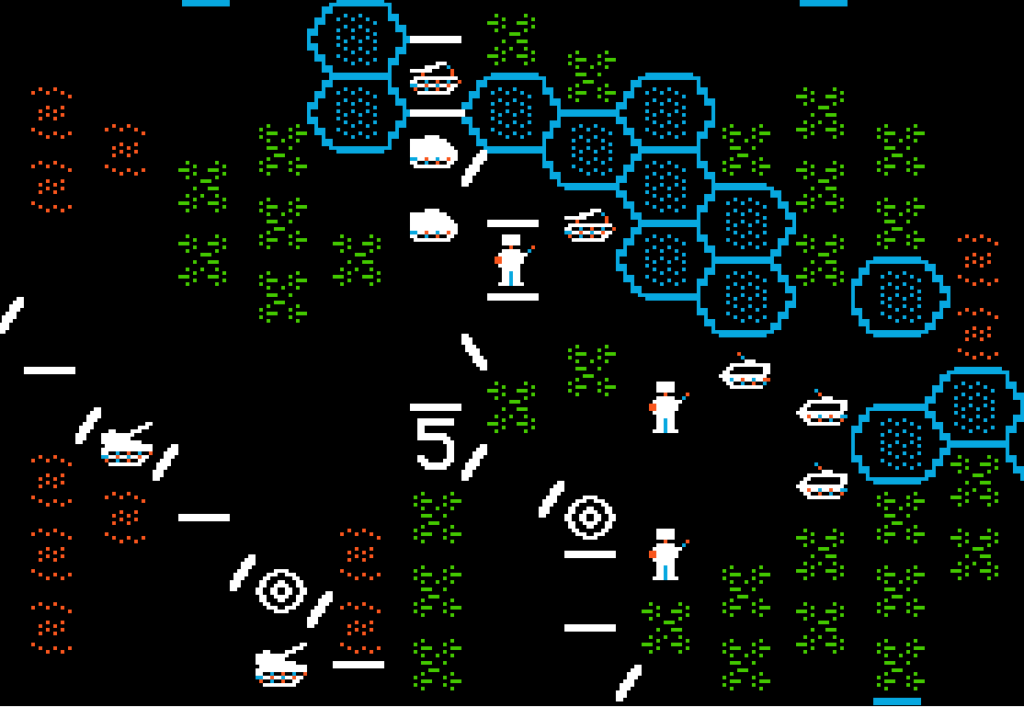
Overall, the Soviets North of Berlin stop being a threat. I will slowly destroy them during the rest of the campaign, with only a small volume of my artillery allocated to that front.
But back to the situation West of Berlin. Initially, there are so many enemy units that I cannot even approach due to the sighting rule ! My units are destroyed one after the other, though at least they act as roadblocks. I had lost only one unit turn 8, I have lost 8 now :

The situation changes when night falls : the maximum sighting distance is limited to 2 so I can build a real frontline on the outskirts of Berlin !
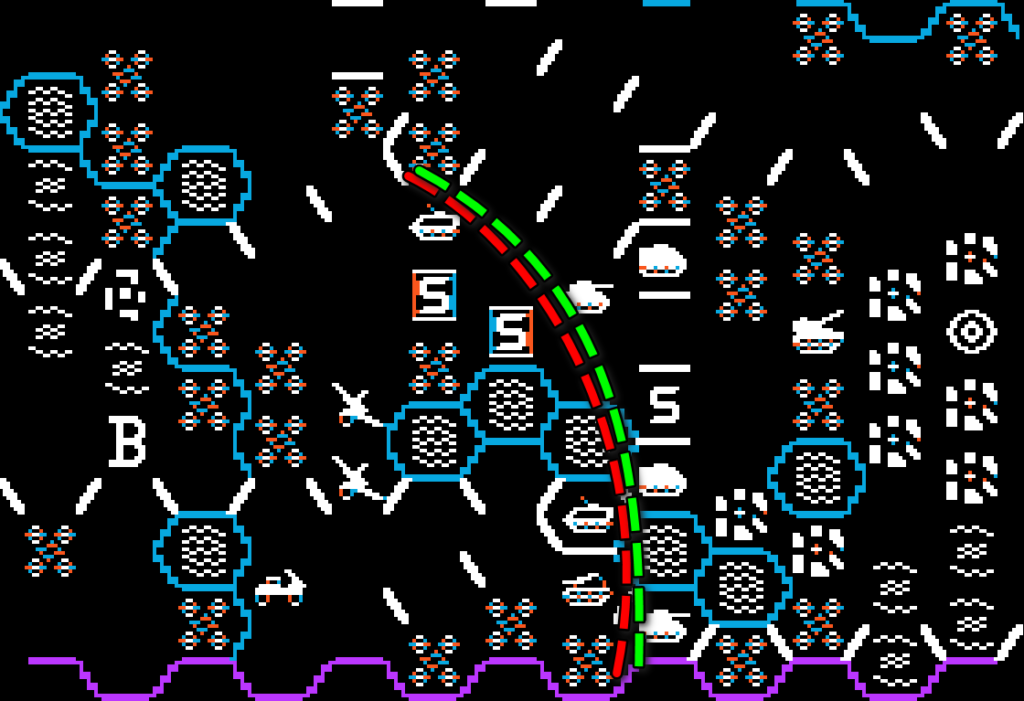
The same turn, I reckon the infantry that started in Berlin has repaired enough. They relieve the units that defended the river North of Berlin, so the latter can pour to the rescue. Now, I am the one with the numerical advantage :
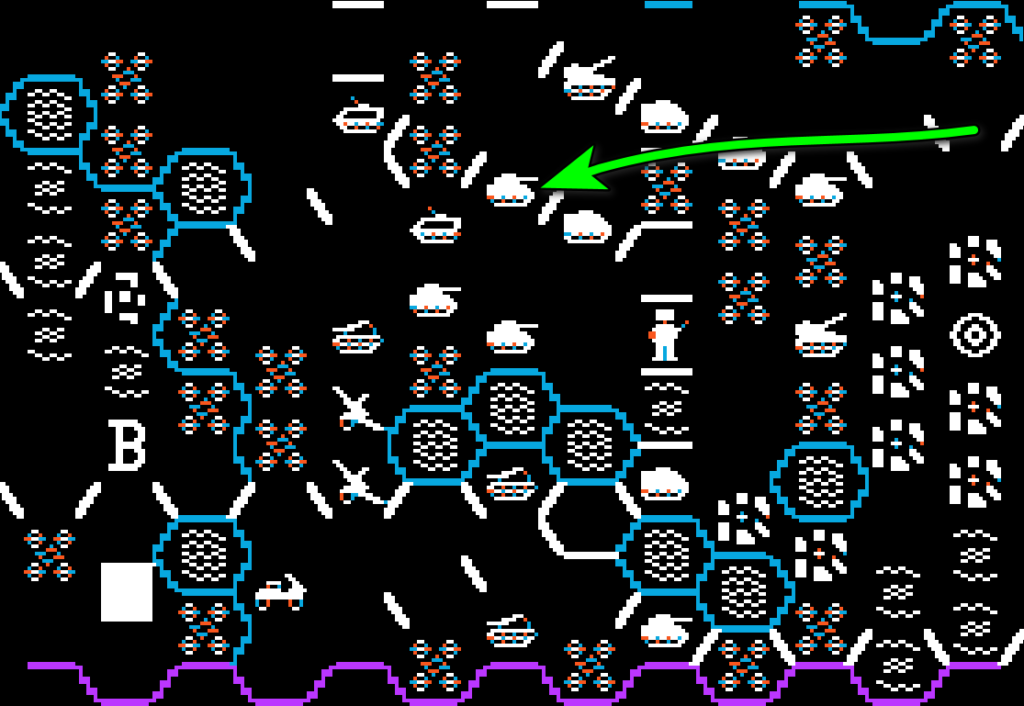
When the sun rises, the sighting rule gives me a massive bonus, and I push the Russians to the other side of the river. It is a slow process, only ending turn 15 :
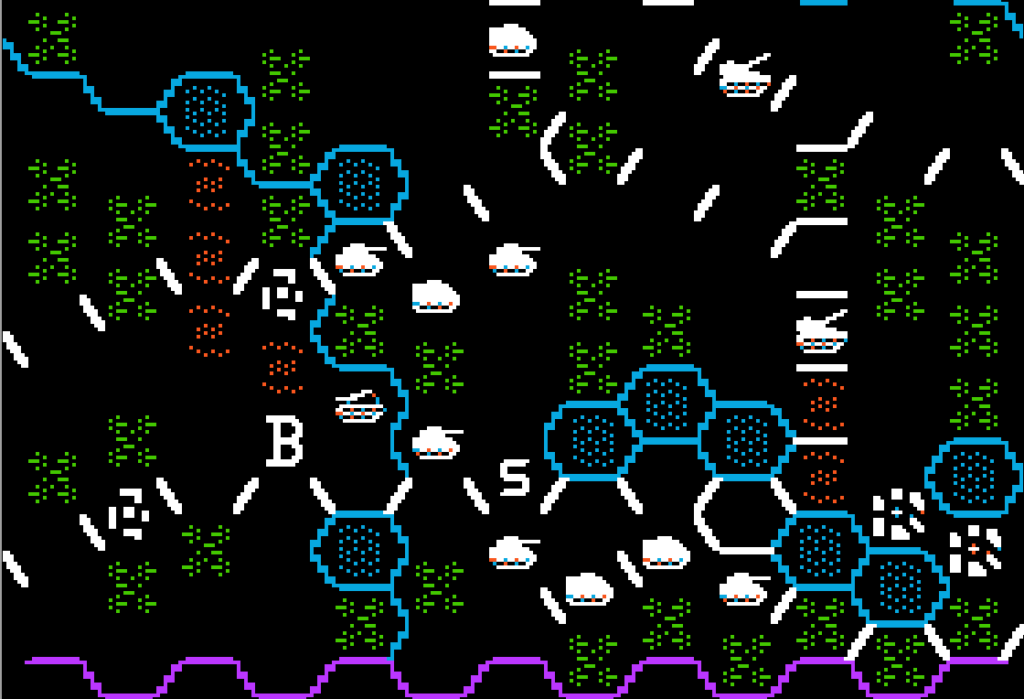
As for the Russian crossing in the middle of the corridor, it turned out better than expected. The Russian units which crossed on the left ignored my artillery to focus on the victory hexagons. A lone dug-in NATO infantry unit managed to block the road coming out of the bridge, leaving only a handful of Russian units crossing on the right to go after my artillery. One of my tank divisions sacrificed itself so I could regroup my artillery and support them with that one mechanized infantry I have in the general area.
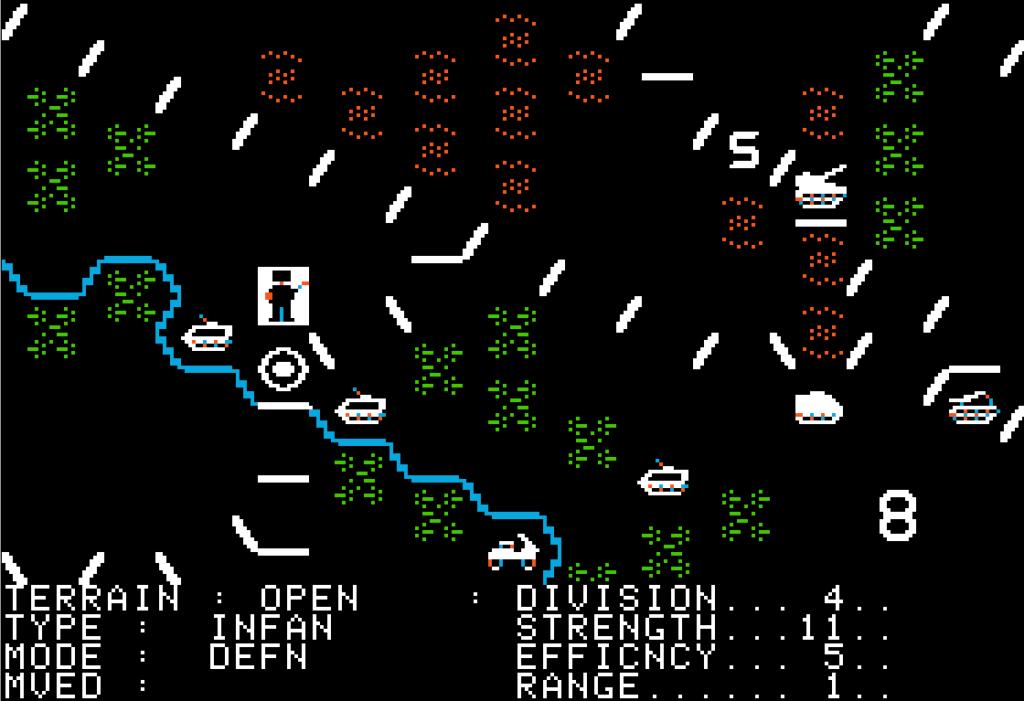
Turn 15, the situation has not changed, and the infantry is still holding – though it is on its last leg :
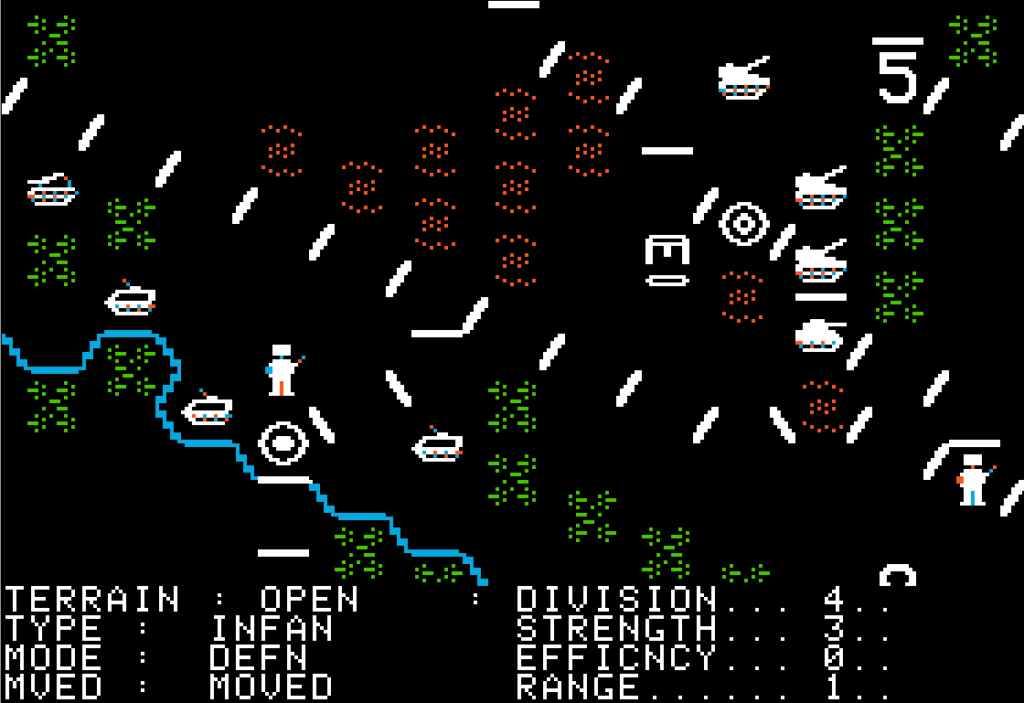
The game lasts a random duration between 15 and 17 turns. I am at the end of turn 15, and now I have it in the bag for real :

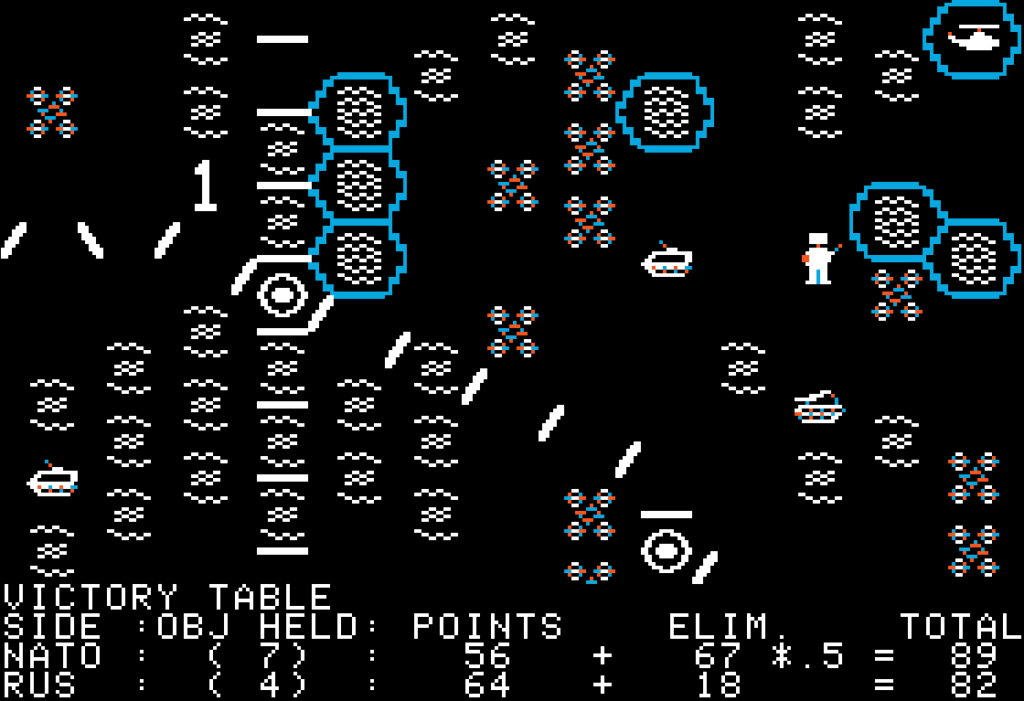
I have 33 NATO units left, against 12 Soviet units – most of them protecting objective hexagons in the top-left quarter of the map. In the one or two turns I have left, I try to retake those objectives :
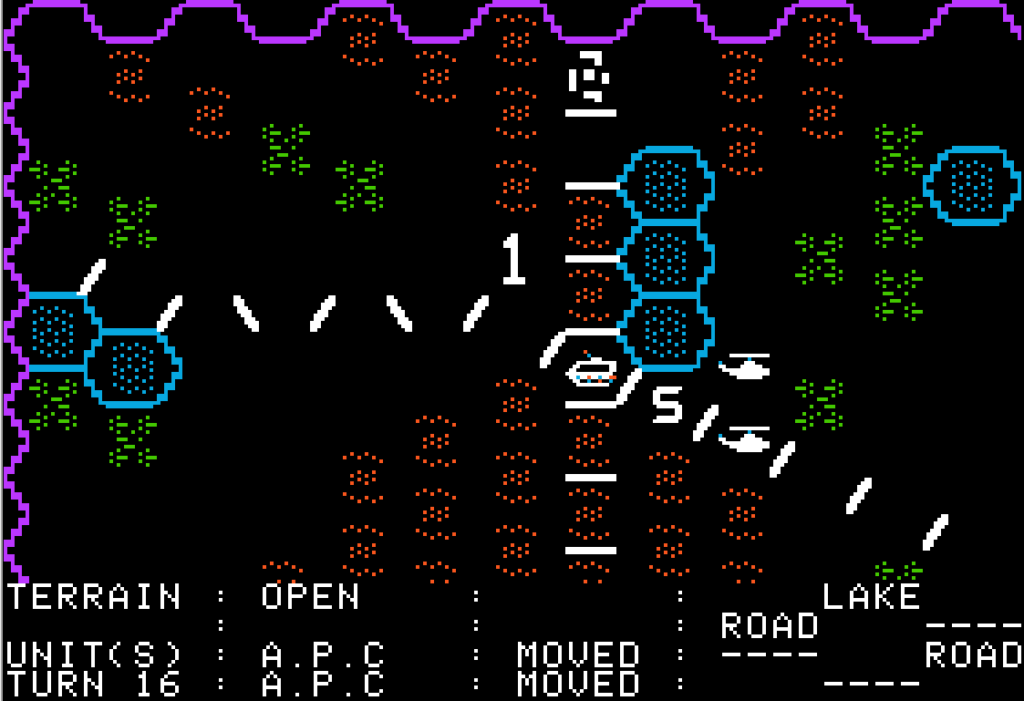
It does not pan out very well. While I take some poorly defended objectives and finish off some isolated units, my own units are spread out all over the map, and they arrive piecemeal to the last objectives if at all. Many are depleted, and unable to fight.
The AI counter-attacks on the very last turn (turn 17), destroying three of my units – including one of my two chopper units – and routing the rest.
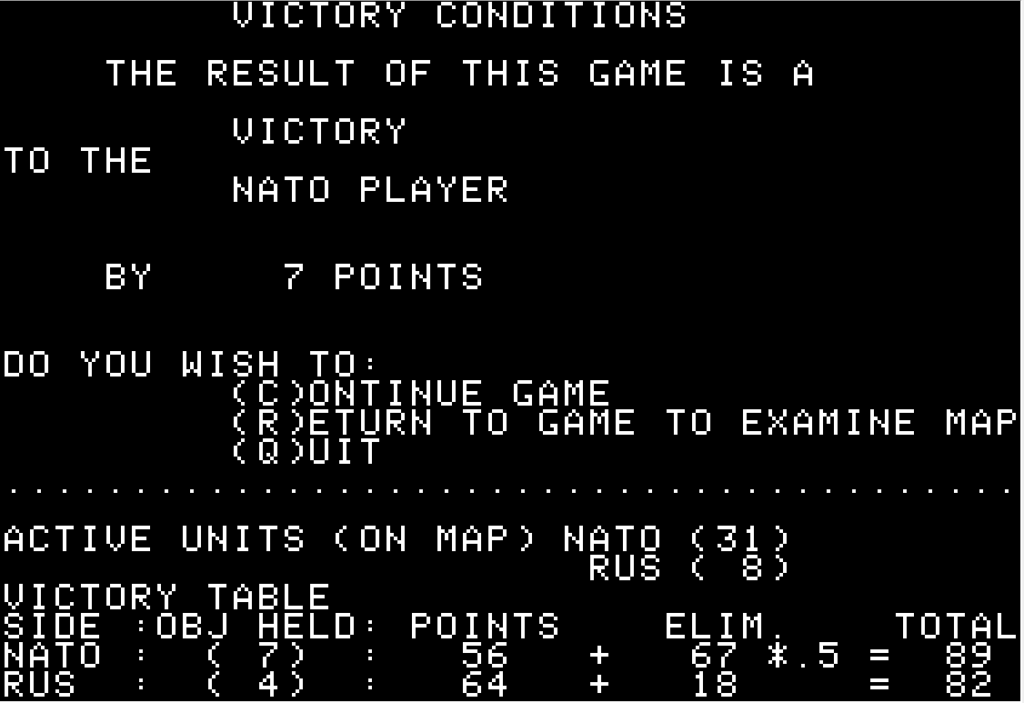
Still, I won. With a meager 7 points, that’s not the glorious victory I had achieved in Germany 1985 (101 points, no enemy left) and RDF 1985 (136 points, with 4 enemies left), but it is a victory nonetheless :
Predictably, Berlin Baltic 1985 feels closer to Germany 1985 than to RDF 1985. I find the scenario well-designed, better than the two offered in Germany 1985 : it has this perfect balance where terrain is extremely important but the game does not revolve around chokepoints. There are chokepoints, of course, but they are not absolute, only relative. All units can cross rivers, albeit slowly. There are a lot of units, but also a lot of objective hexagons to cover, so the game is not about pushing a huge mass of units forward, but about allocating them smartly. Of course, it also comes with fewer randomization features so for a contemporary player Germany 1985 probably has much better replay value.
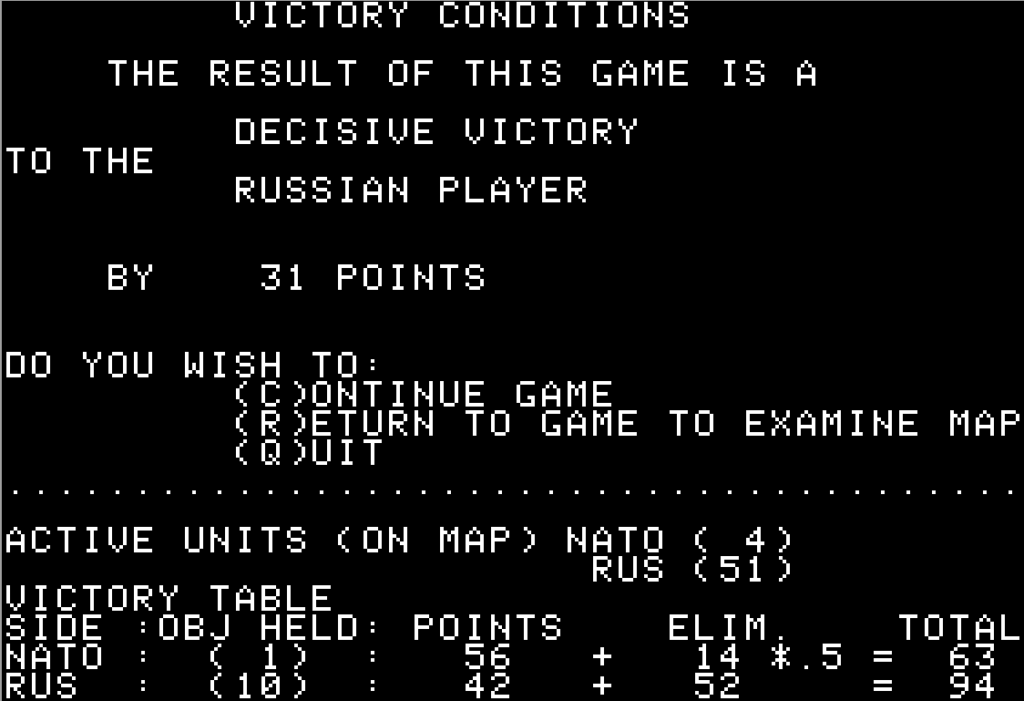
The scenario also feels well-balanced. I liked the game enough to play as the Soviets, and I won with a larger margin after a few hectic turns at the beginning. In RDF 1985 I was consistently wiped off the map early on and was never able to catch back.
We have one last opus of When Superpowers Collide to cover : Norway 1985. It was released in 1986 and is a bit different from the earlier games, but I need closure on the series, so the AAR will be published before the end of the year.