Lieutenant Narwhal, we are going to give you yet another chance.
Yet another chance of what ?
To sink the Zuikaku of course. Hopefully, the fourth time is going to be the charm !
I approach Gary Grigsby’s games with a mix of excitement and dread. Excitation, because his games have few rivals in terms of sheer ambition. Dread, because his games typically intertwine long turns where nothing happens and short bursts of excitation, and I never know in advance which ratio of both the next game will have.
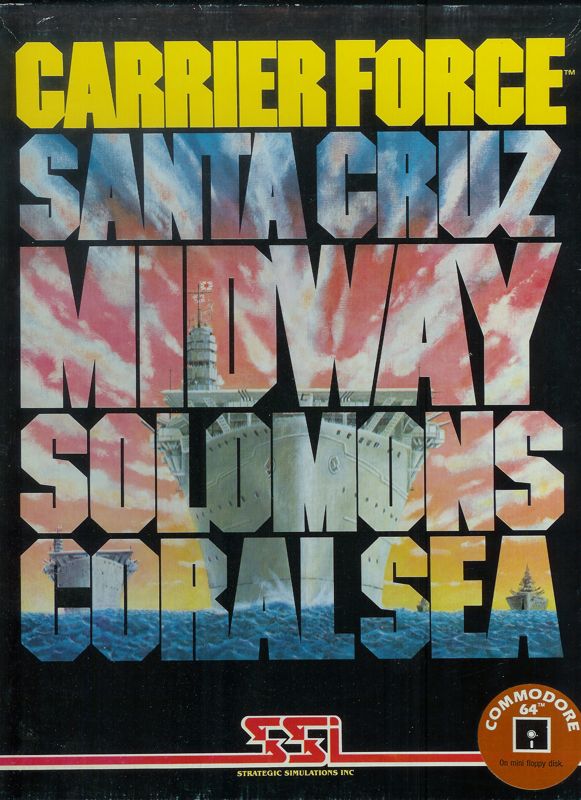
With Carrier Force, Grigsby returns to the Pacific with 4 different battles, including the battle of Midway which was absent from his earlier Guadalcanal Campaign. Despite a similar theme, the scopes of Guadalcanal Campaign and of Carrier Force are different. The long campaign of the former spanned more than 4 months, whereas the largest battle of the latter (Coral Sea) lasts only 5 days. But Carrier Force is not a short game : a game turn represents 1 hour of real-life and the micro-management has exploded since Guadalcanal Campaign.
So we are back to the battle of the Coral Sea, in which I have already been defeated once. My objective is to stop the Japanese from landing troops on Port Moresby, just North of Australia. As usual, my real objective is to gain points by sinking aircraft carriers, and my own personal mission is to finally sink the Japanese aircraft carrier Zuikaku, which has managed to survive every encounter thus far in earlier AARs.
4th of May, 1942
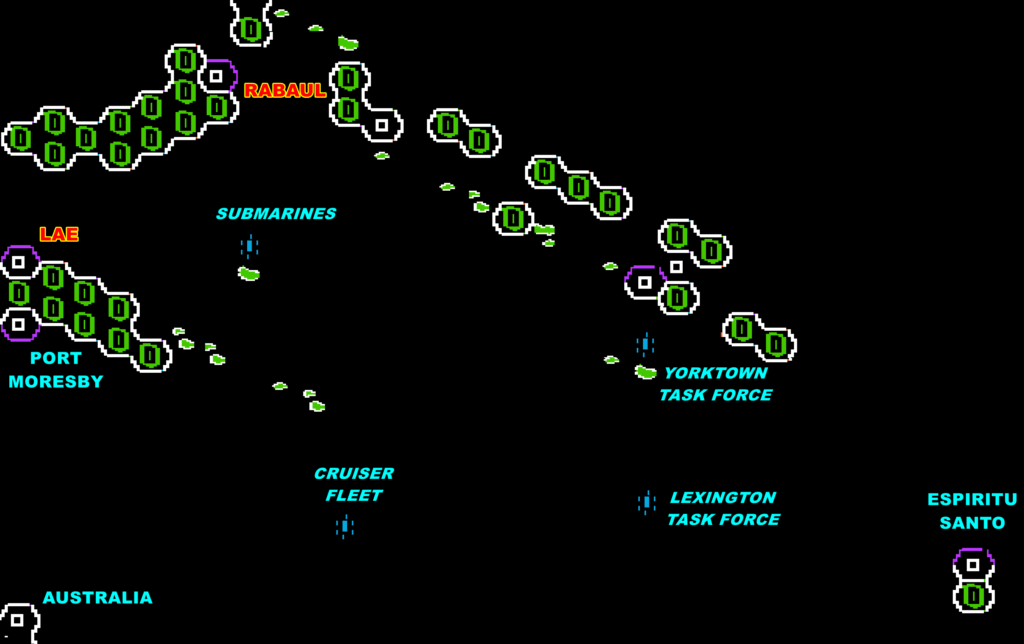
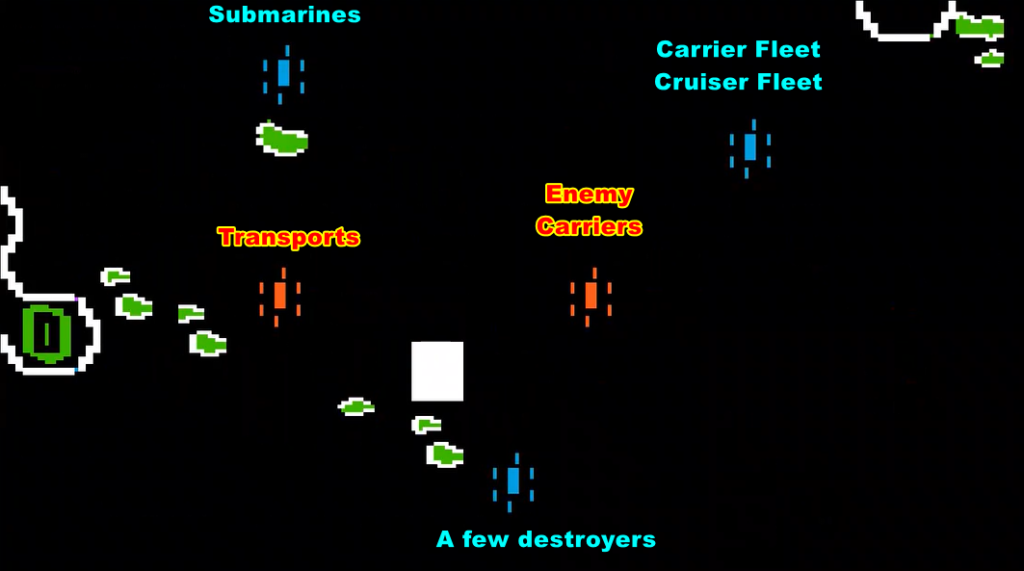
The battle ignites on the 4th of May 1942, precisely at 6 AM. I command two fleet carriers, a cruiser fleet, a group of submarines, and finally a historical but useless gameplay-wise tanker fleet. The Japanese forces comprise two fleet carriers and one light carrier, submarines, escorted transports, and, of course, their base of Rabaul.
I have no idea where the Japanese are, and this time the carrier-based planes are terrible scouts. Therefore, I dispatch floatplanes (10 in total) from Australia and Espiritu Santo, although their arrival in the region of interest between Port Moresby and Rabaul takes several hours.
Simultaneously, I dedicate the initial hours to relocate all bombers and fighters currently stationed in Australia to Port Moresby. This maneuver is more intricate than it initially appears, necessitating an hour to transfer the planes to the “deck,” another hour to facilitate their take-off, and an additional hour to secure their landing post-flight.

Meanwhile, I send the useless tankers South so they exit the map – I will never mention them again – and try to merge my three surface fleets into one.
The USS Yorktown is delayed. Initially, a southwest wind coincides with the ship’s directional heading, allowing the dispatch of 36 planes in an hour for patrol. Unfortunately, upon their return, the winds swivelled northwards, so now I need to sail in that direction to recover my planes – carrier planes can only take off or land against the wind.
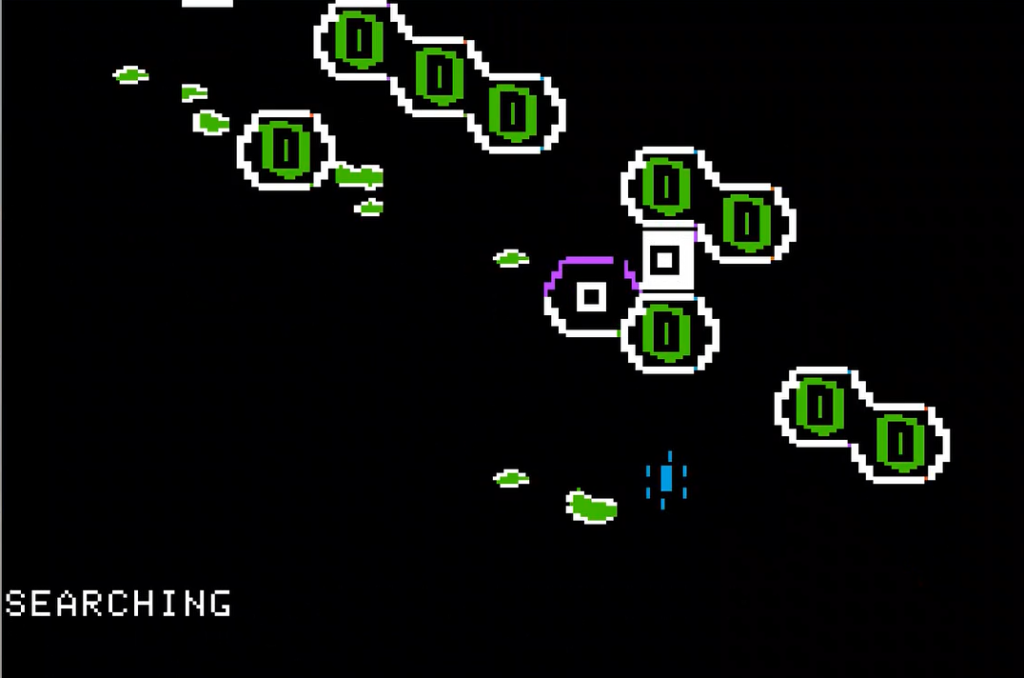
At 1 PM, I receive an early warning about an impending Japanese raid on Port Moresby.

I immediately scramble the P39 I had “on deck” and they meet the enemy in the air :
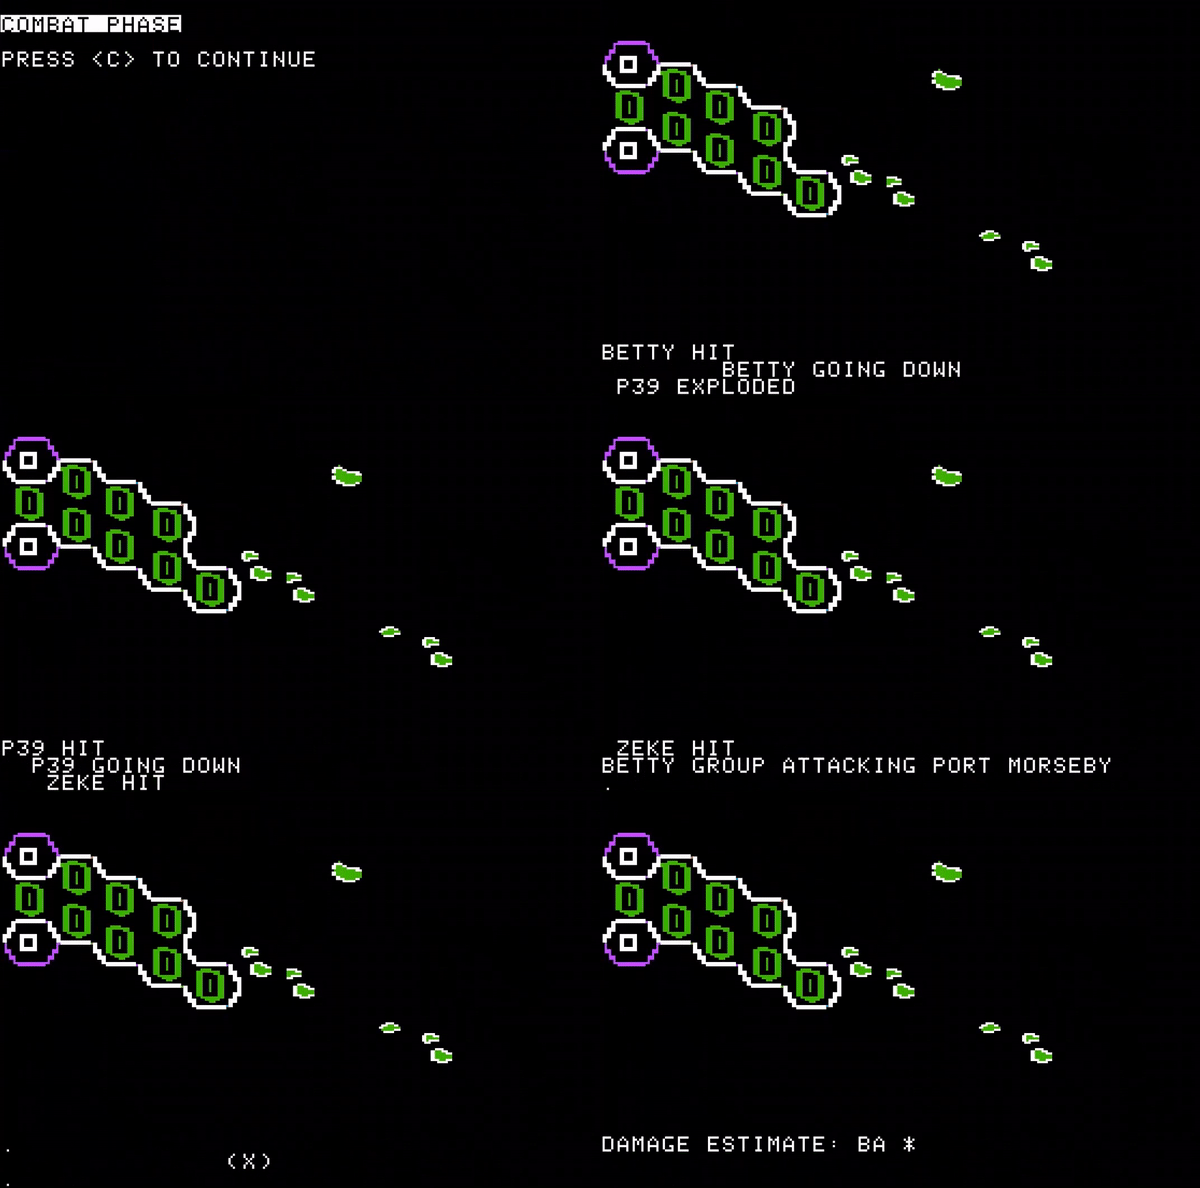
I receive only marginal damage from the Japanese land bombers, leaving the base fully operational.
At 3 PM, a Japanese transport convoy is sighted just south of Rabaul, and an hour later, I detect a Japanese carrier fleet in proximity to that convoy – a discovery that costs me a seaplane, shot down by enemy fighters.
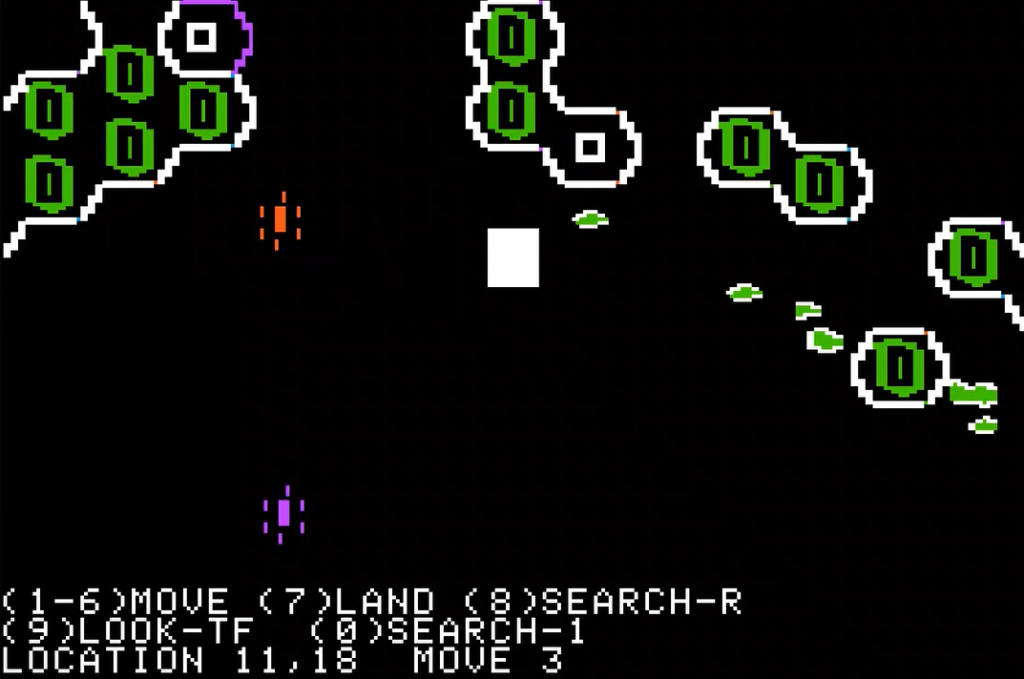
The Japanese fleets are too far to do anything from my carriers, and I will not be able to track the enemy movement easily during the night. My seaplanes also reached the limit of their autonomy (18 hours), and they must return home. When their replacements sent in the afternoon arrive, they have to face not only the night but also a heavy cloud cover and they don’t find anything. Similarly, long-range B-26s launched from Port Moresby to target the transport fleet circle the last known location of the enemy transports, only to return home empty-handed.
Around midnight, my submarines attack a transport and a cruiser, hitting the first one.

5th of May, 1942
As dawn breaks, my cruiser fleet and carriers merge into Task Force 15, barring a few ships – a limitation due to the maximum capacity of 20 ships per task force, and I possess 23.
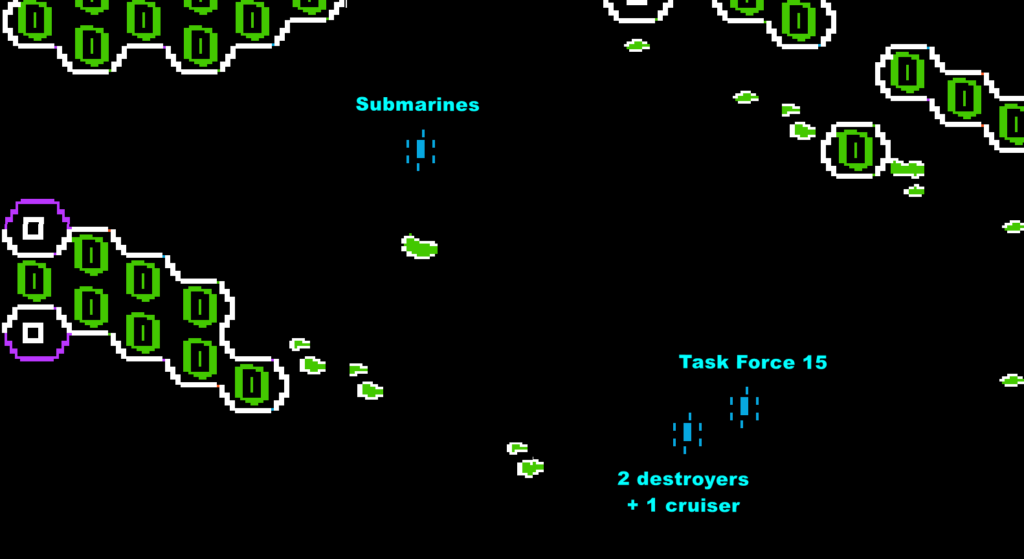
The sun rises at 6 in the morning, with some of my seaplanes arriving in the general area. This immediately happens :

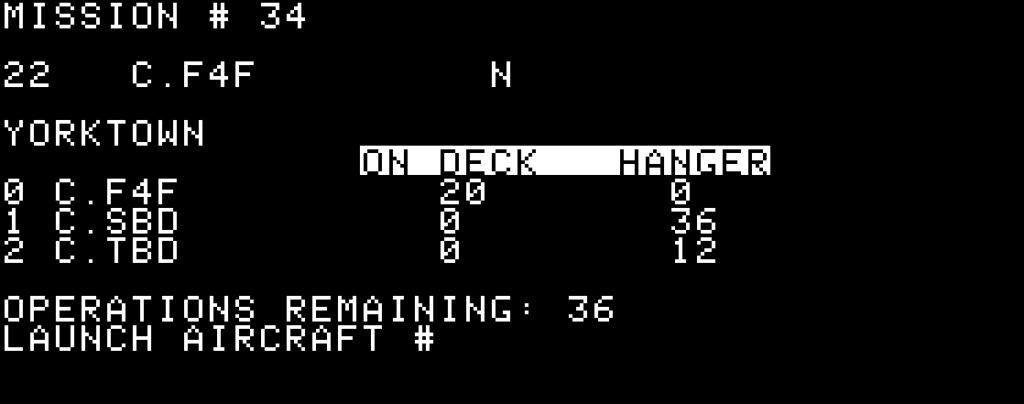
I had put fighters on deck just for that kind of surprise, and they immediately take off. They are immediately replaced on the deck by my dive-bombers (SBD Dauntless). While it is risky to put planes loaded with bombs on deck during an enemy raid, I also know that if I don’t send them now I may never send them at all. I also have 42 F4F Wildcat fighters against 25 estimated planes, so I should be able to shoot down most of them.
I also reroute all my seaplanes and my land-based bombers to the area. I had expected the enemy to still be North-East of Port Moresby, but obviously I was wrong.
I am lucky, the sky is still cloudy and the enemy air raid misses my carriers. Meanwhile, one of my B-17 wings manages to sight an enemy fleet and immediately attack, hitting a carrier once.
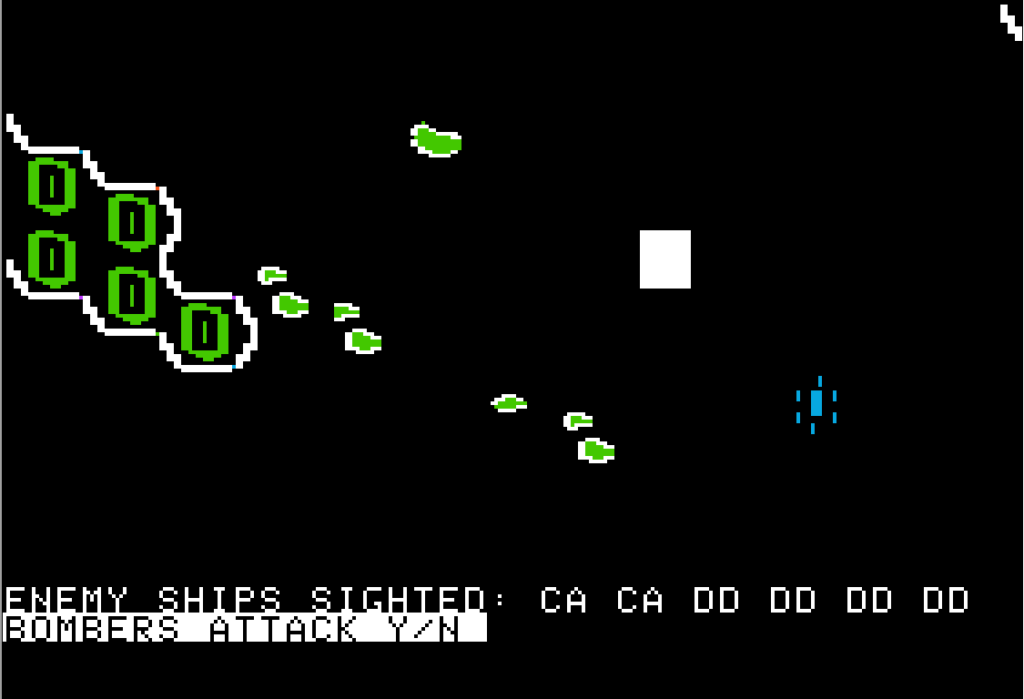
I know where the enemy is, it is time to go all-in. I send everything I have :
- A wing of 12 B-25s from Port Moresby,
- Two wings of around 12 B-26s each also from Port Moresby which will not have the fuel to return home,
- Two wings of 36 Dauntless each,
- One wing of 24 Torpedo-Bombers (TBD Devastator), lagging behind
The weather is still cloudy, though less so than earlier in the morning. Among my planes only the B-25s, one wing of B-26s and one wing of Dauntless find the Japanese carrier fleet. The Dauntless strike true :
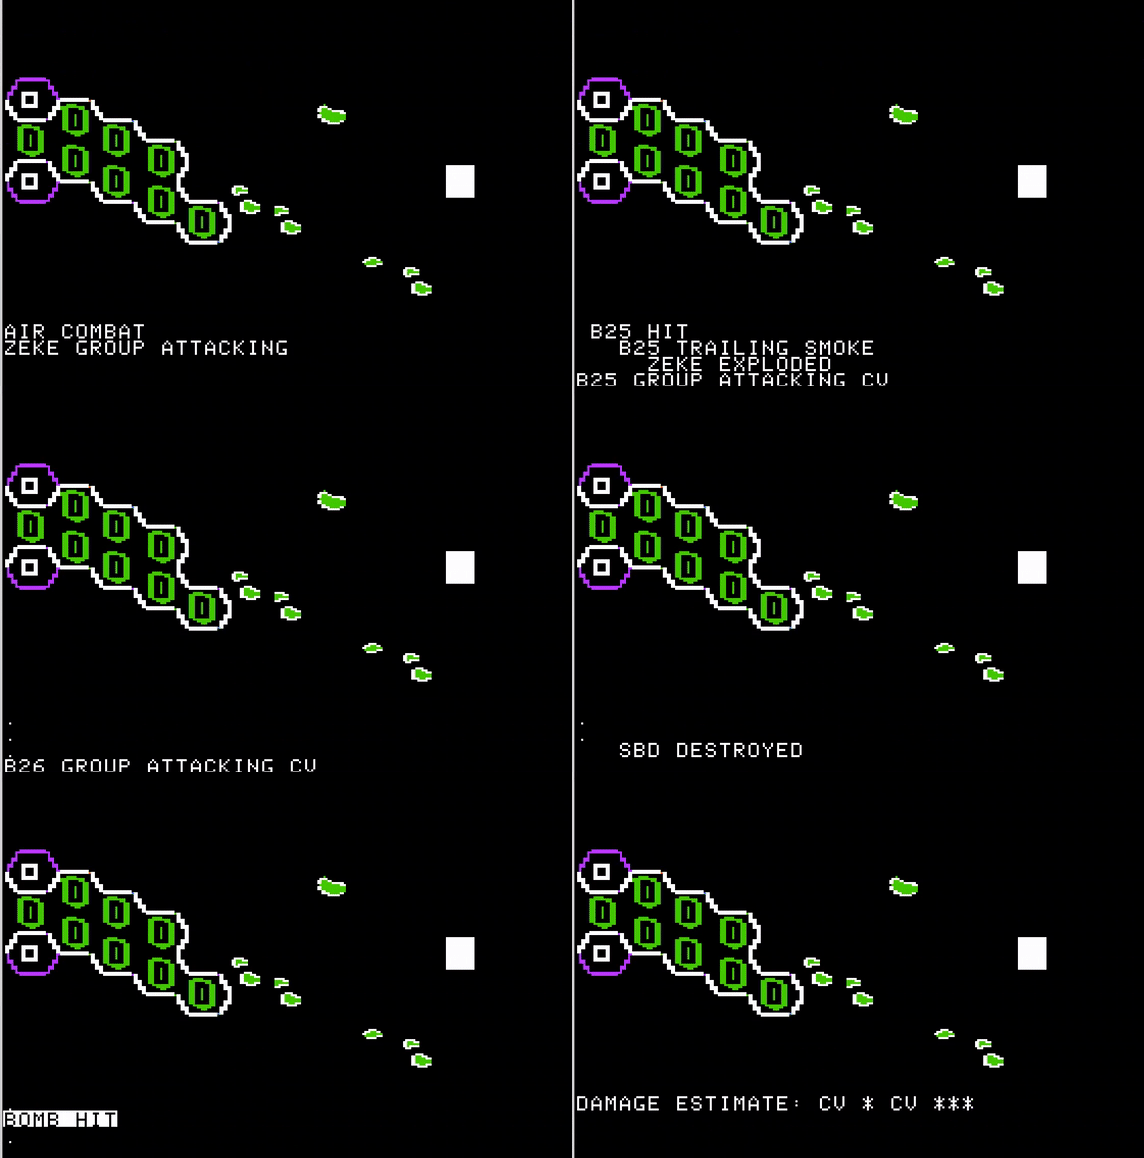
It seems I have inflicted substantial damage on one of the Japanese carriers, while my own fleet remains unscathed. Things are shaping up favourably ! I divert some of my cruisers to intercept and ideally destroy the enemy fleet in a gunnery duel, if necessary.
Unfortunately, the clouds which protected my fleet also protect the Japanese fleet, and the rest of my bombers (36 Dauntless and 24 Devastator) never locate their target. The enemy fighters on the other hand find the rest of the Dauntless, and shoot down a good number of them.
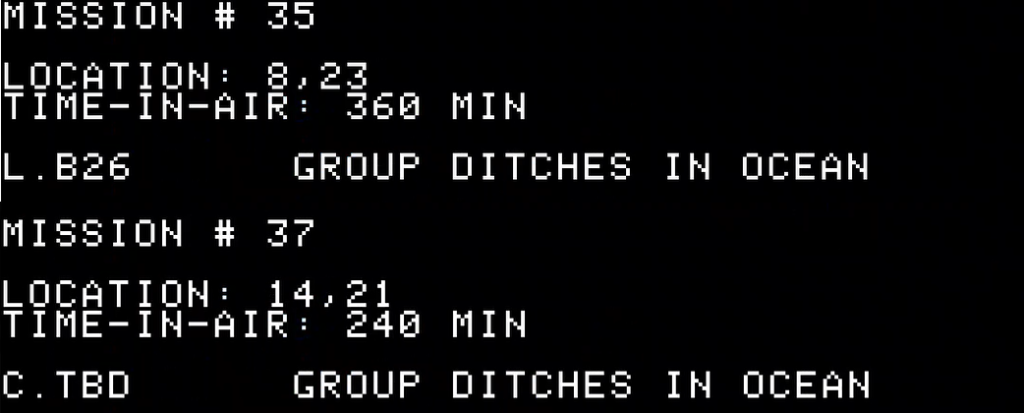
Then, the tide begins to turn. Predictably, my fuel-depleted B-26s are forced to ditch in the ocean. To exacerbate the situation, I mishandle my Devastator squadron, and they fail to make the journey home.
Worse : immediately after I land my now out-of-fuel fighters, a Japanese strike force finds my own carrier. Battle resolution reports one bomb and two torpedo hits on the carriers, yet upon checking the damage, it is fairly minimal: USS Lexington received 8% damage with a 25% reduction in speed. She is good to go.
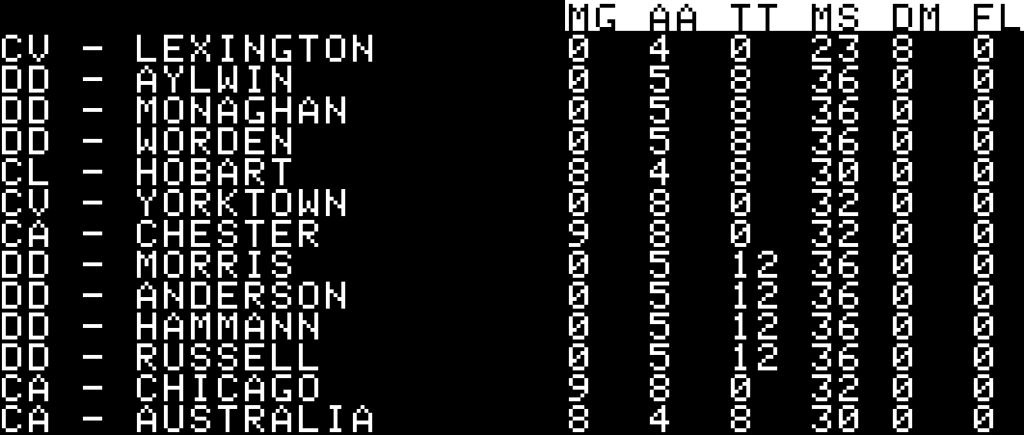
Recovering and relaunching my dive bombers takes me five hours (2 for movement, 3 for landing / refuelling / put back on deck). Meanwhile, I successfully repel an attack from land-based Bettys originating from Rabaul. While my seaplanes have kept intermittent contact with the enemy carrier fleet, my dive bombers fail to locate any targets upon their return and return to base empty-handed.
At 4 PM, another wave of enemy carrier-based bombers and torpedo-bombers launch an assault on my carriers as I was rotating my fighters. They manage to land two hits on the USS Yorktown. Consequently, I end the day with two carriers mildly damaged. I order my planes and seaplanes back to base for the night, with several seaplanes running low on fuel and falling into the ocean before reaching Australia or Espiritu Santo.
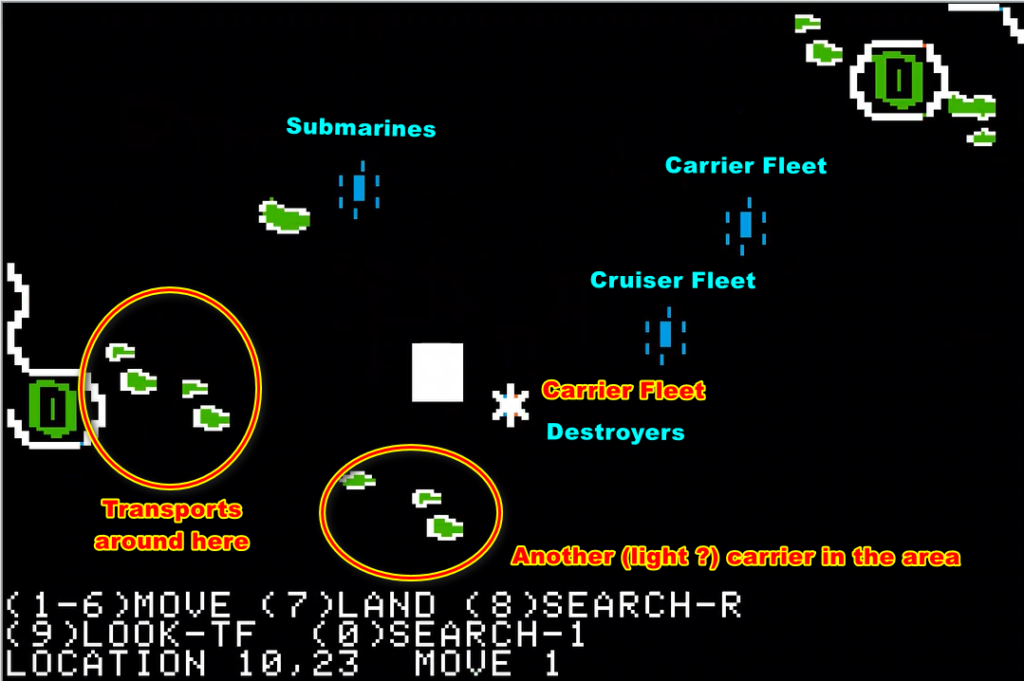
With nightfall, combat operations cease. However, I have a problem. My carriers are totally out of position to intercept the transports. My solution ? Divert my dive bombers to Port Moresby (planes without bombs can reach further). I retain my carriers around Port Moresby ; after all once the transports are destroyed, the pursuit of the Japanese carriers will resume.
6th of May 1942
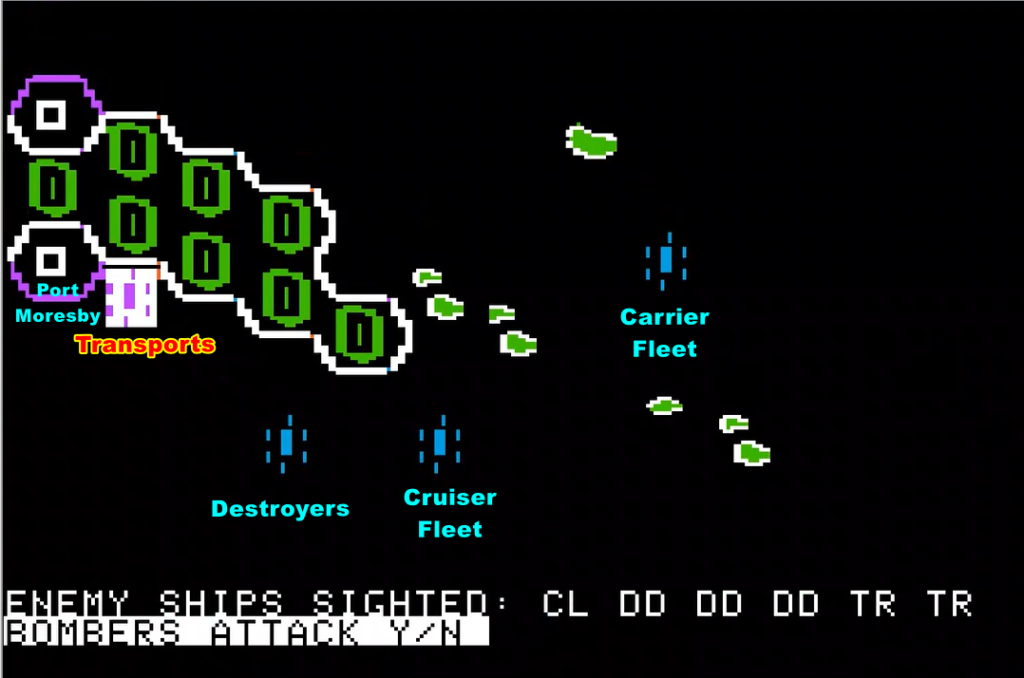
The sunrise reveals both the Japanese transport fleet and that my decision was correct. The Japanese transports are just a couple hours away from Port Moresby, and because the sky is perfectly devoid of clouds I am able to devastate them with bombers :
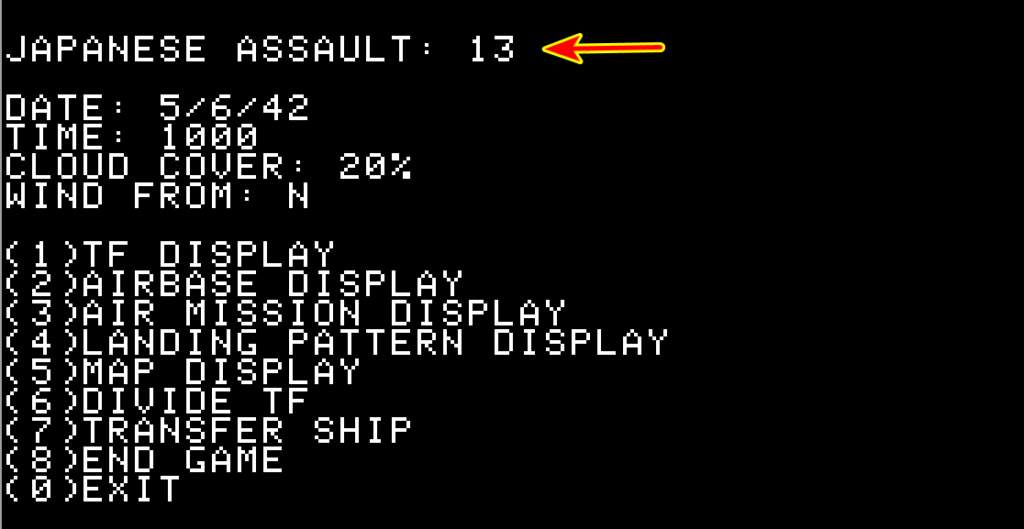
Still, there are a lot of transports, and my bombers only have so many bombs. It will take 4 hours to resupply, and the Japanese have the time to start disembarking :
I strike with bombers another time, and then my cruiser fleet finally arrives at 1PM and finishes the job with guns and torpedoes :
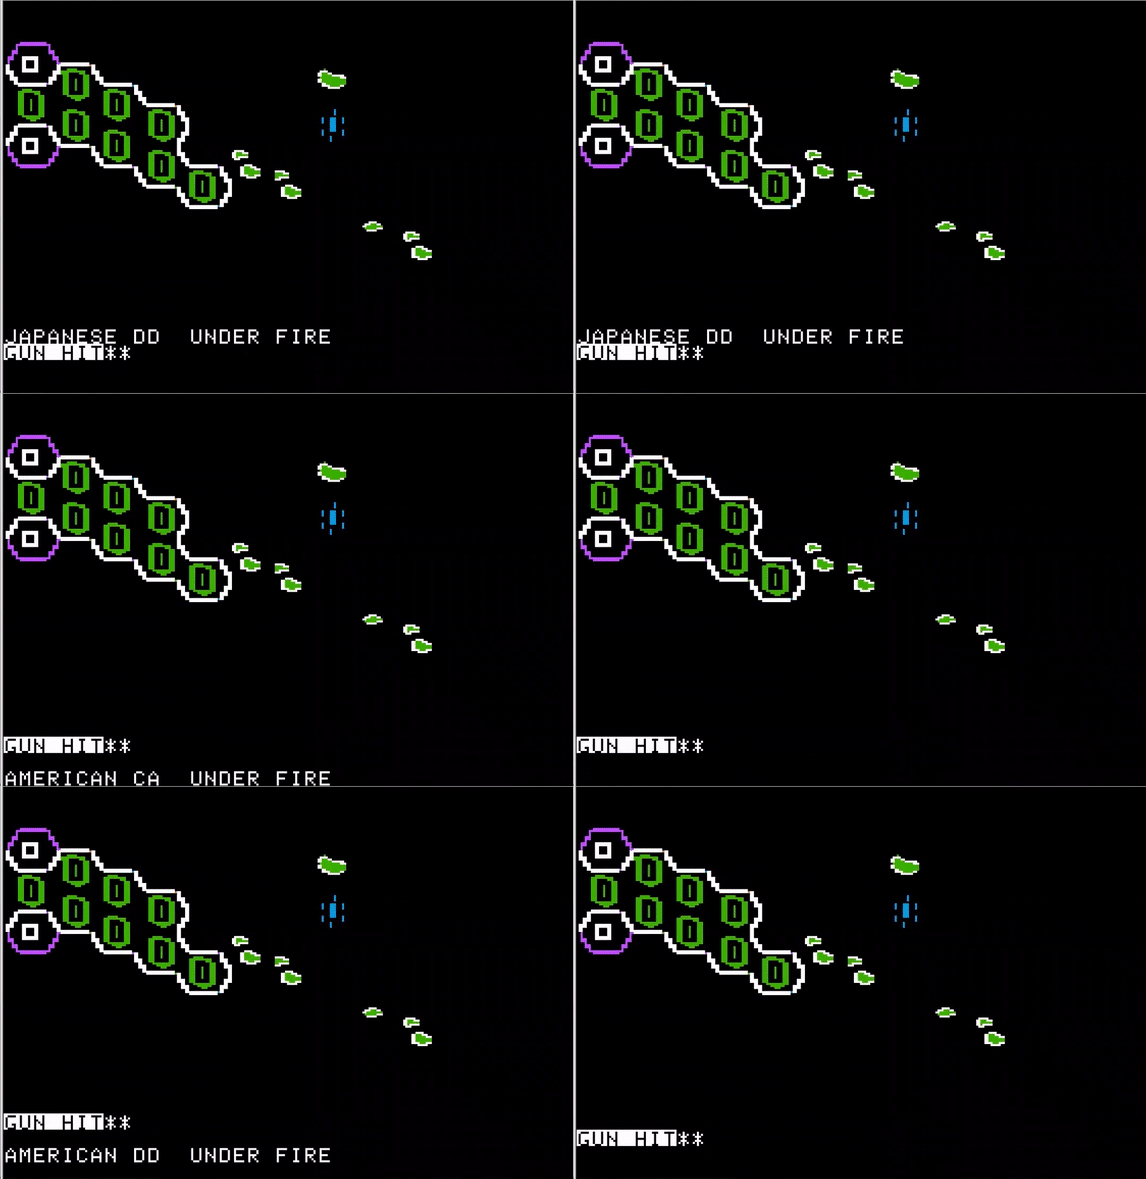
After two hours of fierce fighting, the Japanese transport fleet is thoroughly decimated. My cruiser fleet incurs only minor damage. A total of 58 Japanese assault groups manage to land – not much in game terms.
This would be hailed as the end of the campaign and a great victory, if not for the problems my carrier fleet encounters. At 5 PM, just as the sun begins to set, my carriers are attacked by bombers and torpedo bombers. The escort fighters manage to down a few, but the remainder are more accurate than usual. The USS Lexington and the USS Yorktown are hit by two torpedoes and two bombs (the game does not specify the distribution). Planes were lining up on the deck for the next rotation of fighters, and some blow up, increasing damage. Both carriers surpass the 25% damage threshold, preventing them from sending or receiving planes any longer:
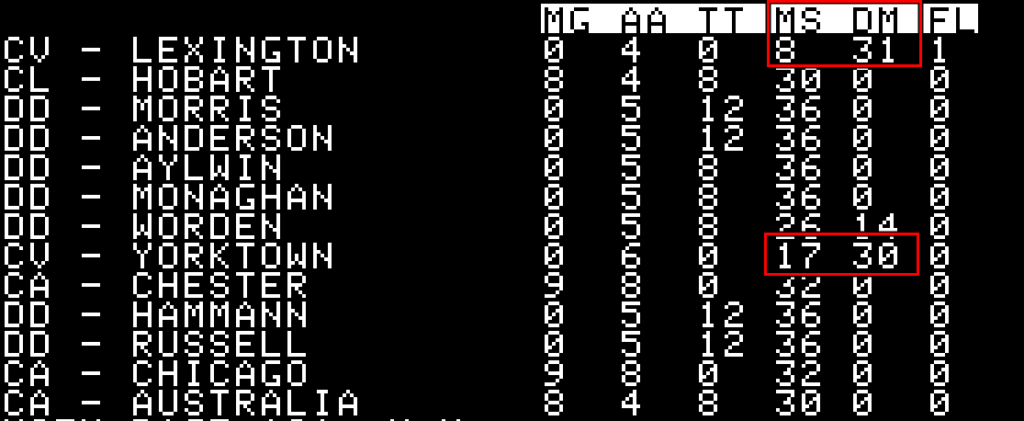
Nightfall provides a temporary respite. I separate the two carriers so that the slower Lexington does not hinder the still faster Yorktown. It works for the Yorktown, but the Lexington is just too slow. She is caught by enemy bombers on the morning of the 7th, immobilized and eventually destroyed. With no remaining Japanese transports and no more US carriers, the battle of the Coral Sea comes to an end.
The result of the battle is an American marginal victory [0-299 point difference], with the 58 points from the Japanese assault group having little overall impact. Not great, but better than what I did in Guadalcanal Campaign.
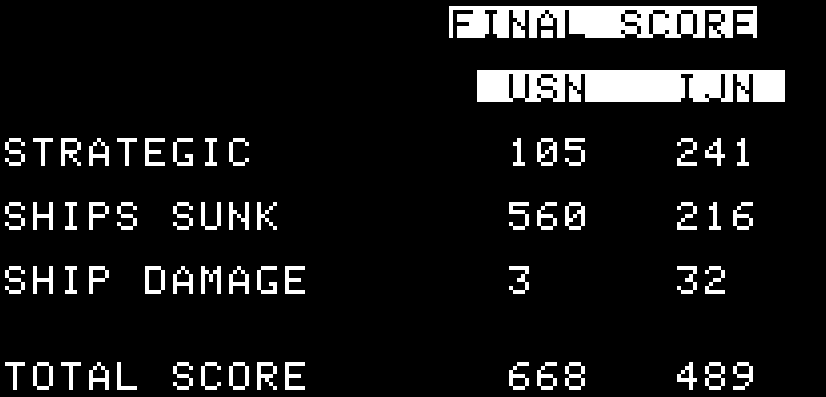
Most of my points come from sinking the Japanese transports and their escort. It also turns out I have sunk the Japanese carrier Shokaku, and that once again the Zuikaku evaded me !
Looking back, I was particularly lucky on the 5th of May when several attacks by bombers and torpedo bombers only resulted in marginal damage to my carriers. I also underestimated the speed at which the Japanese ships moved – the sort of “historical” surprise that you only have the first time you play a scenario or even a game.
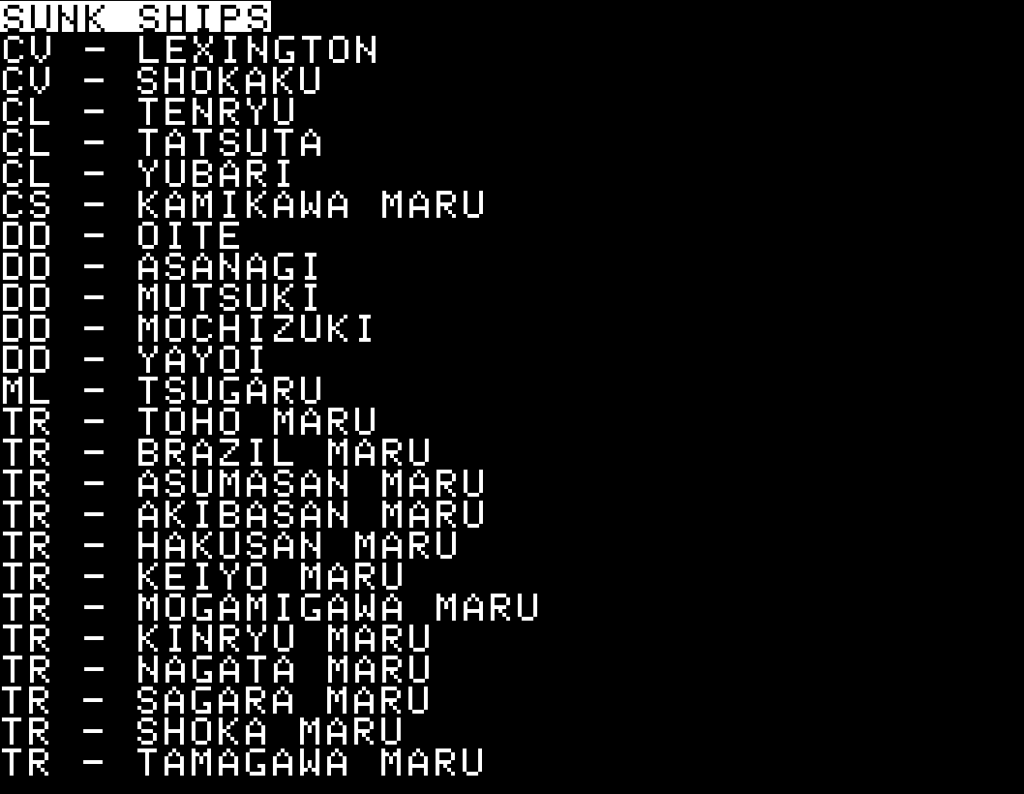
This was long – maybe 5 or 6 hours, including crashes and rage-reload when the poor UI of the game triggered silly mistakes, usually involving my planes ditching into the ocean. It was also thankless, the game is extremely dry, not even letting you know when you sink enemy ships. I am not even sure whether I want to play the other scenarios ; that decision is still pending. In any case, before that, I will play some much lighter games.